There are dips that show up to the party, and then there are dips that are the party. This Ultimate 7-Layer Touchdown Taco Dip is the latter. It is the first thing to disappear from the table, the dish everyone asks you to bring, and the one you find yourself sneaking bites of while you are supposedly just “checking on it.” This isn’t just another layered dip; it’s a fully loaded, flavor-packed touchdown that redefines what game day snacking is all about.
Why This 7-Layer Taco Dip is Your New Game Day MVP
Let’s be honest—most layered dips are good, but they can be a little boring. You get one layer of beans, a sad smear of sour cream, and a sad sprinkle of cheese. Not this one. This recipe is engineered for maximum flavor and texture in every single bite.
- Unbeatable Texture: We’ve got creamy, crunchy, cool, and zesty all in one dish. It’s a party for your mouth.
- Perfect for a Crowd: This recipe makes a huge platter. It’s ideal for Super Bowl parties, potlucks, and backyard barbecues. It feeds a crowd without breaking a sweat.
- Simple, Real Ingredients: No canned “nacho cheese” or mystery sauces here. We’re using real sour cream, fresh veggies, and a homemade taco seasoning blend that blows the packet stuff out of the water.
- Make-Ahead Magic: This dip actually gets better after a few hours in the fridge. You can assemble it the morning of your party and just pull it out when guests arrive.
- Totally Customizable: This is your dip. Add more heat, swap out a layer, or load it up with extra toppings. The base is perfect, but the variations are endless.
This isn’t just a dip. It’s a centerpiece. It’s the thing that gets people hovering around the kitchen island, chips in hand, talking about that one play from the first quarter. It’s the kind of recipe that turns a good party into a great one.
What Ingredients You’ll Need for the Ultimate 7-Layer Touchdown Taco Dip
The magic of this dip is that it uses simple, grocery-store ingredients, but the way they are layered and seasoned makes all the difference. Here is your shopping list for a dip that will score big.
For the Refried Bean Base:
- 1 can (16 oz) refried beans (I prefer Rosarita or a vegetarian brand for the smoothest texture)
- 1/2 packet (about 1 tablespoon) taco seasoning (or use my homemade mix below)
- 2 tablespoons water
For the Creamy Sour Cream Layer:
- 1 cup sour cream (full-fat is best for richness, but low-fat works)
- 4 oz cream cheese, softened (this is the secret to a thick, stable layer that doesn’t slide off)
- 1/2 packet (about 1 tablespoon) taco seasoning
For the Guacamole Layer:
- 2 large, ripe avocados
- 1 tablespoon lime juice (fresh is non-negotiable here)
- 1/4 cup finely chopped red onion
- 1 small Roma tomato, seeded and diced
- Salt and a pinch of cumin to taste
For the Salsa Layer:
- 1 cup of your favorite chunky salsa (I use a restaurant-style salsa for the best consistency)
For the Cheese & Topping Layers:
- 2 cups shredded Mexican blend cheese (or a mix of cheddar and Monterey Jack)
- 1 cup shredded iceberg lettuce (gives that perfect, classic crunch)
- 1/2 cup sliced black olives
- 1/2 cup diced Roma tomatoes
- 1/4 cup chopped green onions (the green and white parts)
- Fresh cilantro for garnish (optional, but highly recommended)
For the Homemade Taco Seasoning (Optional but Recommended):
- 1 tablespoon chili powder
- 1 teaspoon cumin
- 1/2 teaspoon garlic powder
- 1/2 teaspoon onion powder
- 1/2 teaspoon paprika
- 1/4 teaspoon cayenne pepper (optional, for heat)
- 1/2 teaspoon salt
- 1/2 teaspoon black pepper
Substitution Tips:
- Dairy-Free: Use a plant-based sour cream and cream cheese. Check the labels for a good consistency.
- Gluten-Free: This dip is naturally gluten-free. Just be sure to check your taco seasoning packet for any hidden gluten.
- Spice Level: For a milder dip, use a mild salsa and skip the cayenne. For a spicy kick, add a diced jalapeño to the guacamole or use a hot salsa.
Equipment Needed
You don’t need any fancy gadgets for this one, which is part of its beauty. Here is what you will need:
- A 9×13-inch baking dish or a large, shallow serving platter (a glass dish is great for showing off the layers)
- A spatula for spreading the layers evenly
- A small mixing bowl for the sour cream mixture
- A medium bowl for mashing the guacamole
- A chef’s knife and cutting board
- A can opener
Pro Tip: If you are using a platter instead of a dish, build a small “wall” with the refried beans to keep the sour cream layer from sliding off. It’s a little trick I learned after a few messy dip disasters!
How to Make the Ultimate 7-Layer Touchdown Taco Dip
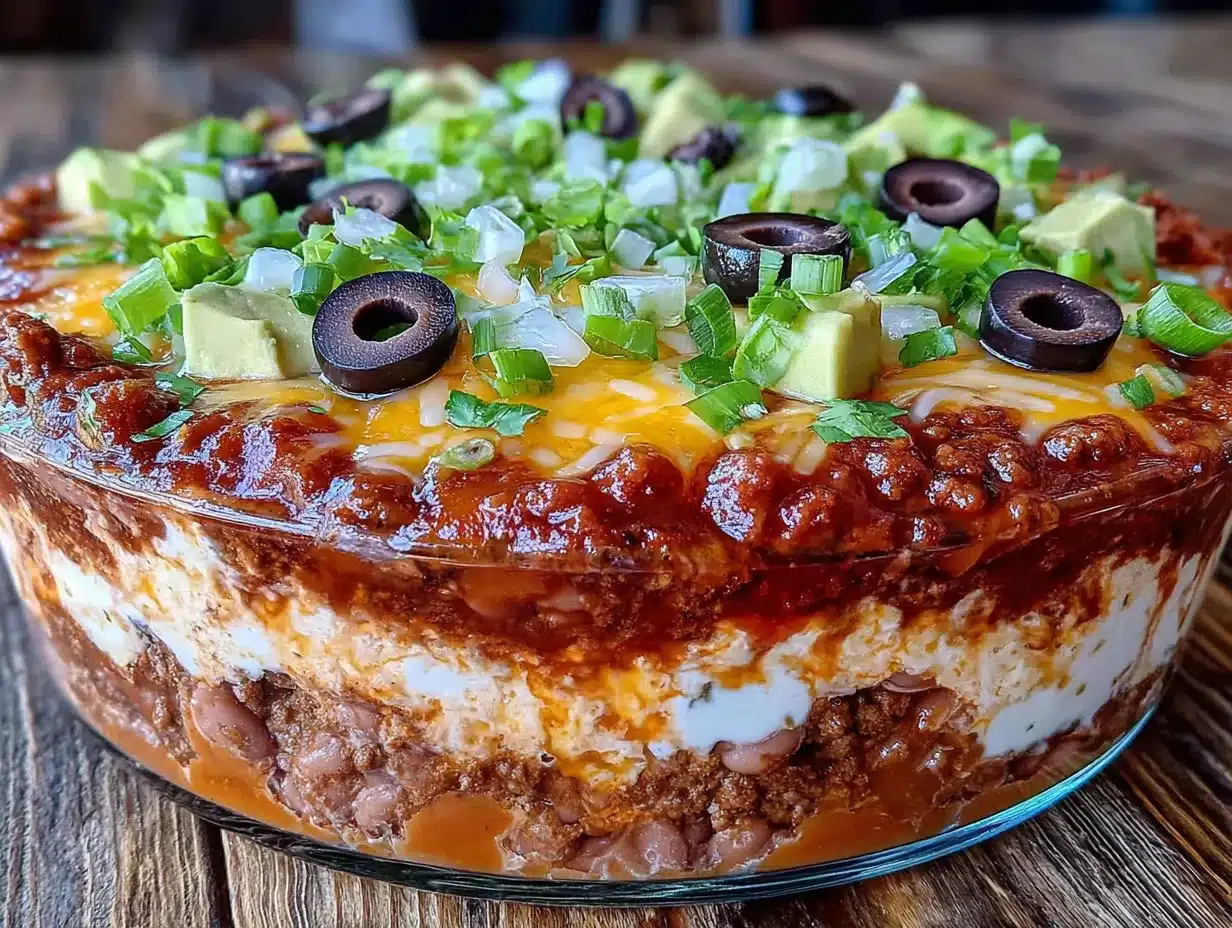
Alright, let’s get to the fun part. This is a straightforward assembly, but a few key steps make all the difference.
- Prep the Bean Base: In a small bowl, mix the refried beans with 1 tablespoon of taco seasoning and 2 tablespoons of water. Stir until smooth and spreadable. This thins the beans out just enough so they spread easily without cracking. Spread this mixture evenly across the bottom of your 9×13 dish.
- Make the Creamy Layer: In a separate bowl, beat the softened cream cheese with an electric mixer or a sturdy fork until it’s smooth. Add the sour cream and the remaining taco seasoning (or about 1 tablespoon of your homemade mix). Mix until fully combined and fluffy. This layer is the glue that holds everything together. Spread it gently over the bean layer.
- Whip Up the Guacamole: Cut the avocados in half, remove the pits, and scoop the flesh into a bowl. Add the lime juice and mash with a fork until you reach your desired consistency—I like mine a little chunky. Fold in the red onion, diced tomato, and a pinch of salt and cumin. Spread this layer over the sour cream mixture.
- Add the Salsa: Spoon the salsa over the guacamole. Don’t spread it too aggressively, or you’ll mix the layers. Just dollop it on and gently smooth it out with the back of a spoon.
- Cheese, Please: Sprinkle the shredded Mexican blend cheese evenly over the salsa. This is the layer that gets all melty and inviting.
- The Crunchy Toppings: Now for the fun part. Layer on the shredded lettuce, then the black olives, diced tomatoes, and green onions. This is where the dip gets its vibrant, fresh look.
- Final Touch: Garnish with fresh cilantro if you’re using it. Cover the dish with plastic wrap and refrigerate for at least 30 minutes before serving. This allows the flavors to meld together beautifully. Trust me on this—the wait is worth it.
Tips & Techniques for the Perfect Dip
I’ve made this dip more times than I can count, and I’ve learned a few things the hard way so you don’t have to.
- Don’t Skip the Cream Cheese: This is my number one tip. The cream cheese in the sour cream layer is what makes it so stable. Without it, the sour cream can get watery and slide right off the beans. It’s a game-changer.
- Room Temperature Ingredients: Make sure your cream cheese is at room temperature before you mix it. Cold cream cheese will leave lumps in your sour cream layer. Just set it out on the counter for 30 minutes.
- Watch Your Guacamole: The key to good guacamole is not over-mashing it and using enough lime juice. The lime juice not only adds flavor but also helps prevent the avocado from browning too quickly.
- The Chill is Crucial: I know you want to dive in, but letting the dip chill for at least 30 minutes is non-negotiable. It sets the layers, making it easier to scoop up with a chip without everything falling apart.
- Use a Wide Chip: For the love of all that is holy, use a sturdy, wide tortilla chip. Thin chips will break under the weight of this masterpiece. I’m a big fan of scoop-style chips for this exact reason.
Variations & Adaptations
This recipe is a fantastic base, but don’t be afraid to make it your own. Here are a few of my favorite twists.
- Spicy Southwest: Add a can of drained and rinsed black beans to the refried bean layer. Top with a drizzle of hot sauce and some pickled jalapeños.
- Protein-Packed: Add a layer of seasoned ground beef or shredded chicken between the sour cream and cheese layers. Just cook the meat with a little taco seasoning first.
- Veggie Lover’s: Add a layer of sautéed bell peppers and onions, or swap the iceberg lettuce for fresh baby spinach for a nutrient boost.
- Skinny Dip: Use fat-free sour cream, reduced-fat cream cheese, and low-fat cheese. It’s still delicious, just a little lighter on the waistline.
- Breakfast Taco Dip: This might sound wild, but trust me. Swap the beans for a layer of seasoned scrambled eggs, and add a layer of crumbled chorizo or bacon. Serve with warm tortilla chips for the ultimate brunch dip.
Serving & Storage Suggestions
This dip is best served cold or at room temperature, straight from the fridge. It’s the perfect make-ahead appetizer.
- Serving: Serve it with a big bowl of sturdy tortilla chips. You can also use it as a topping for tacos, nachos, or even a baked potato. For a fun presentation, serve it in a clear glass dish so everyone can see the beautiful layers.
- Storage: Leftovers (if you have any!) can be stored in an airtight container in the refrigerator for up to 2 days. The guacamole will brown a bit, but it will still taste great. I do not recommend freezing this dip—the texture of the sour cream and avocado will be compromised.
- Reheating: This dip is meant to be served cold. If you want a warm version, you can make a “hot” taco dip by baking the bean, sour cream, and cheese layers at 350°F for 15-20 minutes, then adding the cold toppings (lettuce, tomatoes, olives) after it comes out of the oven.
Nutritional Information & Benefits
While this is definitely a treat, it does have some redeeming qualities. Here is a rough estimate per serving (assuming 12 servings).
- Calories: ~250-300
- Fat: 18-22g
- Carbohydrates: 15-18g
- Protein: 8-10g
- Fiber: 5-7g
The avocados provide healthy monounsaturated fats and fiber, while the beans are a great source of plant-based protein and fiber. The tomatoes and lettuce add a little bit of freshness and vitamins. It’s not health food, but it’s a whole lot better than a bag of greasy potato chips!
Conclusion
This Ultimate 7-Layer Touchdown Taco Dip is more than just a recipe; it’s a tradition in the making. It’s the dip that brings people together, the one that sparks conversations, and the one that gets devoured before the halftime show even starts. It’s forgiving, it’s flexible, and it’s undeniably delicious.
I love this recipe because it’s the ultimate crowd-pleaser. It’s the first thing I make for any party, and it never fails to impress. It’s a little bit of effort for a whole lot of payoff. So, go ahead, build your masterpiece. Make it your own. And when your guests ask for the recipe, just smile and tell them it’s a family secret—or just send them this link!
I’d love to hear how your dip turns out. Leave a comment below and tell me about your favorite game day snack. What’s your go-to layer? Don’t be shy—share your creations!
Frequently Asked Questions (FAQs)
Can I make this dip the night before?
Absolutely! In fact, it’s even better the next day. Just assemble it, cover it tightly with plastic wrap, and refrigerate. The flavors will meld beautifully. Just be aware that the guacamole may brown slightly on the surface. To prevent this, press a layer of plastic wrap directly onto the guacamole before adding the other layers.
How do I keep the guacamole from turning brown?
The best trick is to add plenty of lime juice to the guacamole and press a layer of plastic wrap directly onto its surface before adding the next layer. This prevents air from reaching it. Also, using very ripe avocados helps.
Can I use canned guacamole instead of fresh?
You can, but I honestly wouldn’t recommend it. Fresh guacamole is so easy to make and tastes infinitely better. Canned guacamole often has a different texture and a less vibrant flavor. The fresh lime juice and real avocado make a world of difference.
What is the best chip for this dip?
You need a sturdy, wide tortilla chip. My personal favorites are the scoop-style chips or thick, restaurant-style chips. They are strong enough to hold all those delicious layers without breaking.
Can I add meat to this dip?
Yes, absolutely! A layer of seasoned ground beef, shredded chicken, or even crumbled chorizo is a fantastic addition. Just cook it with some taco seasoning first, let it cool slightly, and add it as a layer between the sour cream and cheese.
Pin This Recipe!
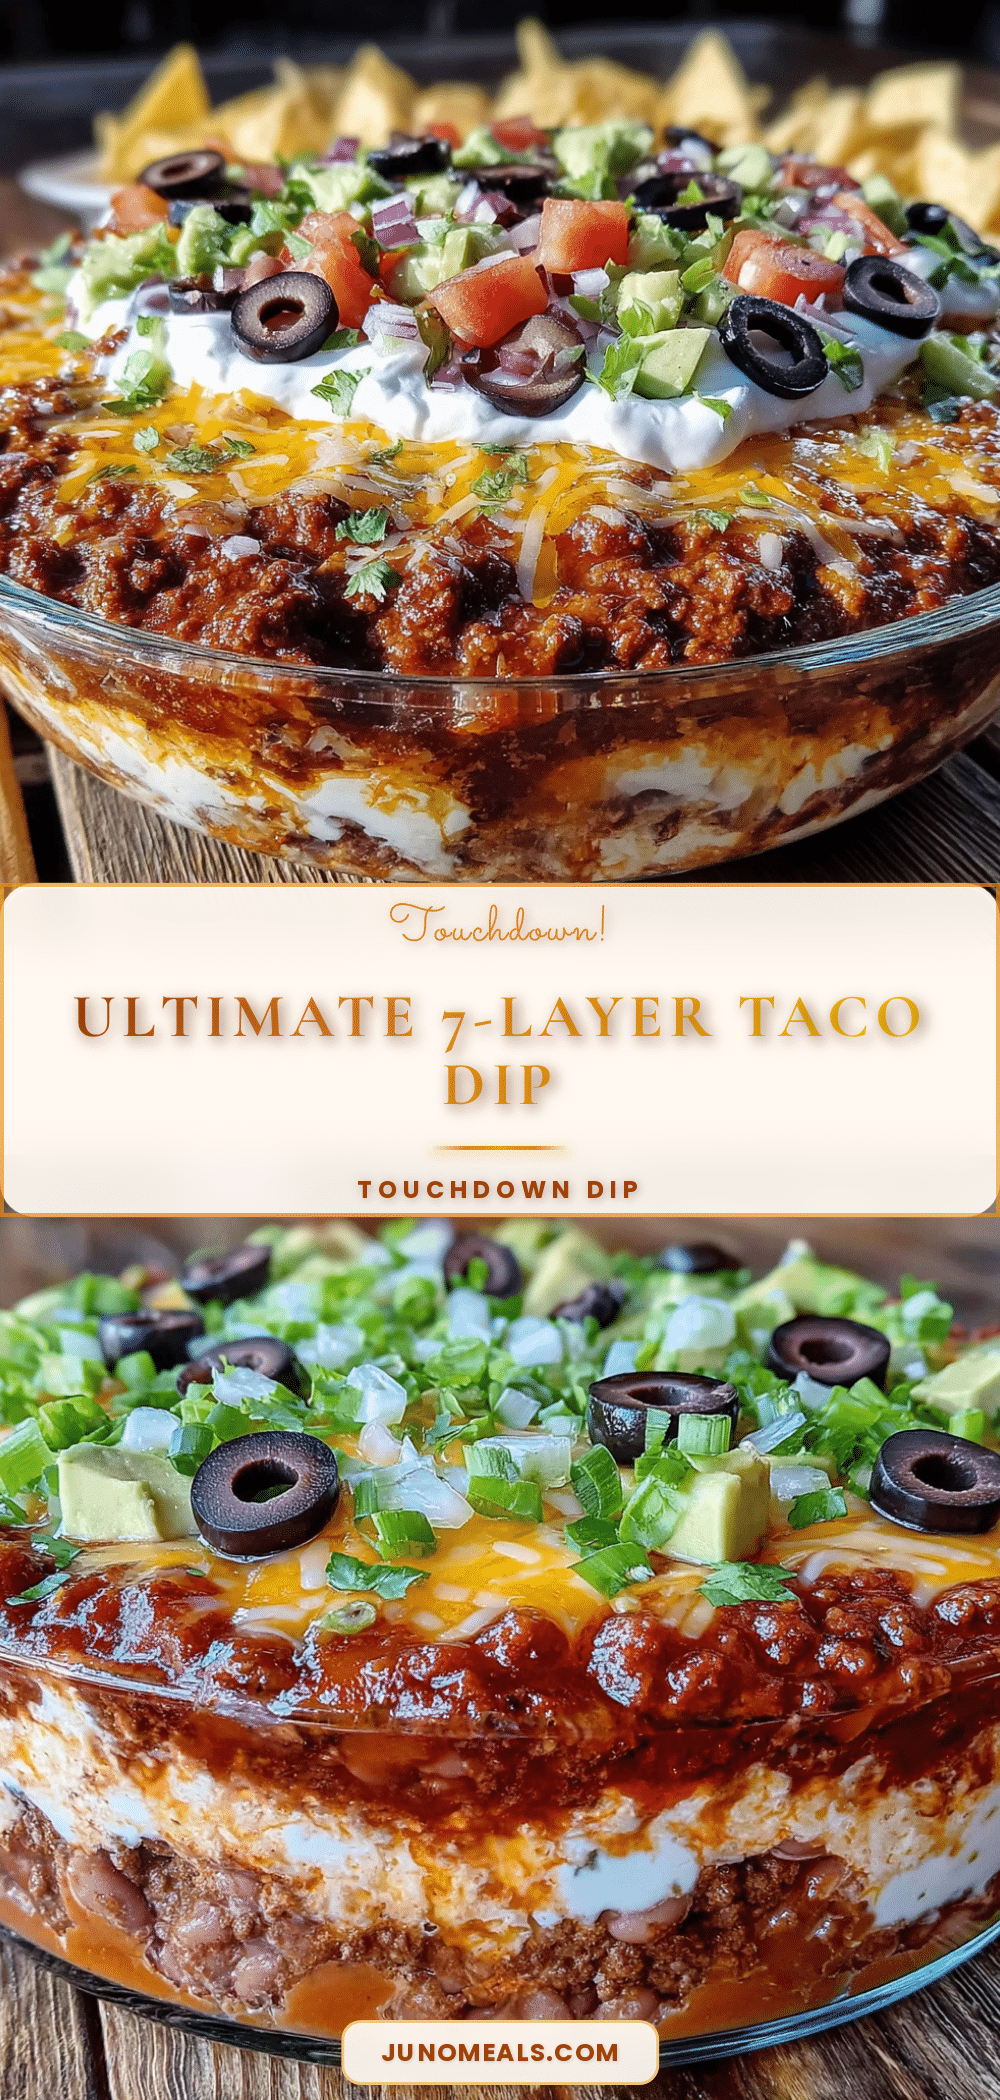
Ultimate 7-Layer Touchdown Taco Dip: Easy Game Day Recipe

This Ultimate 7-Layer Touchdown Taco Dip is a fully loaded, flavor-packed touchdown that redefines what game day snacking is all about. It’s the first thing to disappear from the table, the dish everyone asks you to bring, and the one you find yourself sneaking bites of while you are supposedly just ‘checking on it.’
- Prep Time: 20 minutes
- Cook Time: 0 minutes
- Total Time: 50 minutes (includes 30 minutes chilling)
- Yield: 12 servings 1x
- Category: Appetizer
- Cuisine: Mexican
Ingredients
- 1 can (16 oz) refried beans
- 1/2 packet (about 1 tablespoon) taco seasoning (or homemade mix)
- 2 tablespoons water
- 1 cup sour cream
- 4 oz cream cheese, softened
- 2 large, ripe avocados
- 1 tablespoon lime juice
- 1/4 cup finely chopped red onion
- 1 small Roma tomato, seeded and diced
- Salt and a pinch of cumin to taste
- 1 cup chunky salsa
- 2 cups shredded Mexican blend cheese (or cheddar and Monterey Jack)
- 1 cup shredded iceberg lettuce
- 1/2 cup sliced black olives
- 1/2 cup diced Roma tomatoes
- 1/4 cup chopped green onions
- Fresh cilantro for garnish (optional)
- For the Homemade Taco Seasoning (optional):
- 1 tablespoon chili powder
- 1 teaspoon cumin
- 1/2 teaspoon garlic powder
- 1/2 teaspoon onion powder
- 1/2 teaspoon paprika
- 1/4 teaspoon cayenne pepper (optional)
- 1/2 teaspoon salt
- 1/2 teaspoon black pepper
Instructions
- Prep the Bean Base: In a small bowl, mix the refried beans with 1 tablespoon of taco seasoning and 2 tablespoons of water. Stir until smooth and spreadable. Spread this mixture evenly across the bottom of your 9×13 dish.
- Make the Creamy Layer: In a separate bowl, beat the softened cream cheese with an electric mixer or a sturdy fork until it’s smooth. Add the sour cream and the remaining taco seasoning (or about 1 tablespoon of your homemade mix). Mix until fully combined and fluffy. Spread it gently over the bean layer.
- Whip Up the Guacamole: Cut the avocados in half, remove the pits, and scoop the flesh into a bowl. Add the lime juice and mash with a fork until you reach your desired consistency—I like mine a little chunky. Fold in the red onion, diced tomato, and a pinch of salt and cumin. Spread this layer over the sour cream mixture.
- Add the Salsa: Spoon the salsa over the guacamole. Don’t spread it too aggressively, or you’ll mix the layers. Just dollop it on and gently smooth it out with the back of a spoon.
- Cheese, Please: Sprinkle the shredded Mexican blend cheese evenly over the salsa.
- The Crunchy Toppings: Layer on the shredded lettuce, then the black olives, diced tomatoes, and green onions.
- Final Touch: Garnish with fresh cilantro if you’re using it. Cover the dish with plastic wrap and refrigerate for at least 30 minutes before serving.
Notes
For a stable sour cream layer, use cream cheese. Let the dip chill for at least 30 minutes before serving to meld flavors. Use sturdy, wide tortilla chips (scoop-style recommended). To prevent guacamole from browning, press plastic wrap directly onto its surface before adding next layers. Leftovers can be stored in an airtight container in the refrigerator for up to 2 days. Not recommended for freezing.
Nutrition
- Serving Size: 1 serving (1/12 of r
- Calories: 275
- Sugar: 3
- Sodium: 450
- Fat: 20
- Saturated Fat: 8
- Carbohydrates: 16
- Fiber: 6
- Protein: 9
Keywords: 7-layer dip, taco dip, game day dip, layered dip, Mexican dip, party dip, Super Bowl dip


