There used to be this little dive bar called The Skull & Crossbones off Route 9—the kind of place with sticky floors and the best damn appetizers you’ve ever had. When they closed in 2018 (health department, I think, but honestly, the food was worth the risk), I literally mourned their jalapeño popper egg rolls for months. After twelve tries—twelve, people, including one where I accidentally used ghost peppers and thought I was dying—I finally cracked the code. But then I thought, why stop at egg rolls? Let me tell you, these Party-Perfect Mummy Jalapeño Popper Crescent Wraps are what happens when that obsession meets Halloween hosting.
I remember the exact Tuesday I nailed it. I was prepping for our annual costume party—the one where I always go overboard—and I had this vision. What if I took that creamy, spicy, bacon-filled magic and wrapped it up in something cute and festive? Something that would make my guests actually gasp when they saw the snack table. Maybe you’ve been there, staring at Pinterest boards full of adorable Halloween food, wondering if you could actually pull it off. Well, grab your cream cheese, because this is the one that’ll make you the hero of the party.
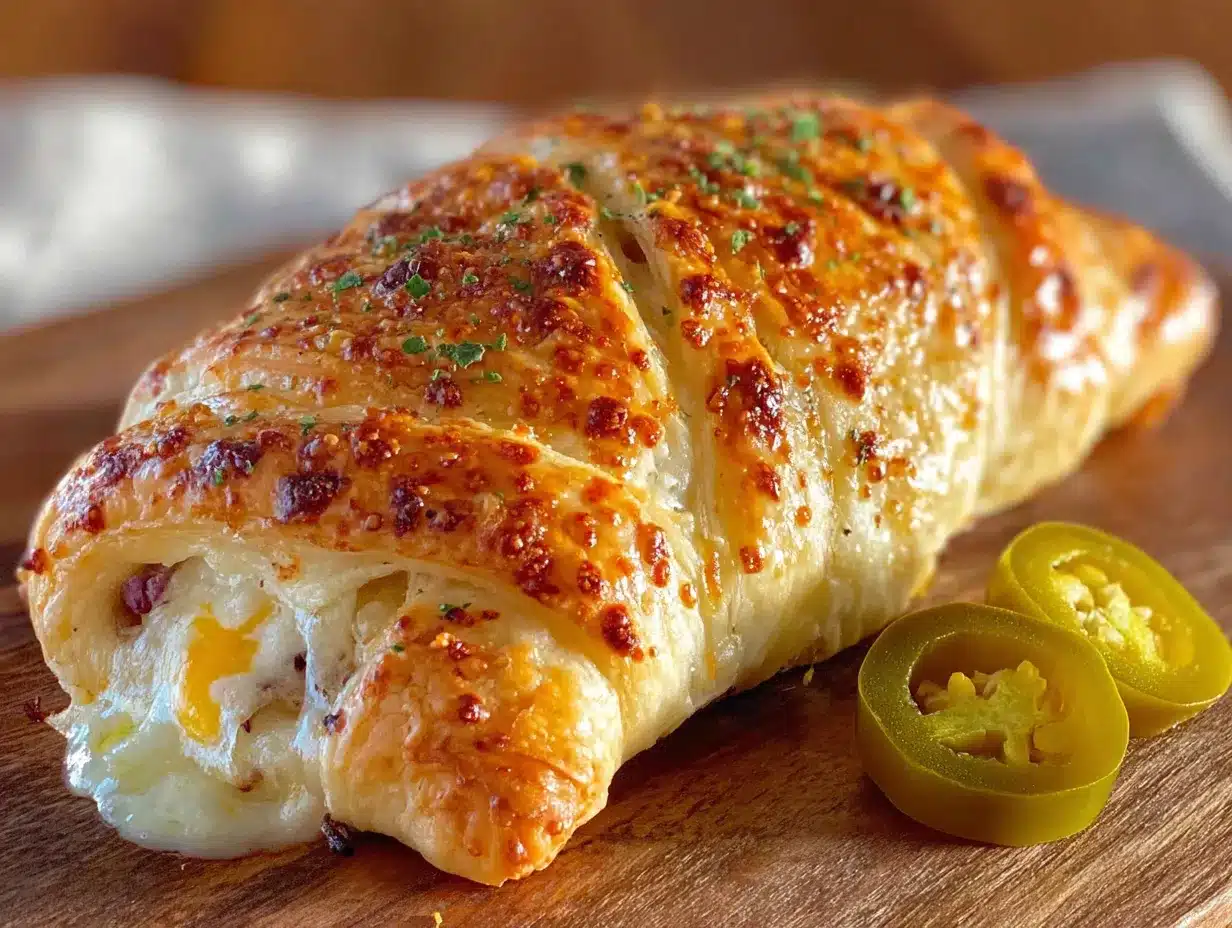
These little guys are everything you want in a party appetizer. They’re warm, they’re gooey, they’ve got that perfect jalapeño kick, and they look like adorable little mummies peeking out from the platter. The first time I set them out, my friend Karen (who never compliments my cooking) ate six before she even took off her costume. That’s the kind of success story we’re talking about here.
Why You’ll Love This Recipe
Okay, let’s be real for a second. Hosting a party is stressful enough without trying to pull off some complicated recipe that requires a culinary degree. These mummy wraps are about to become your secret weapon, and here’s why:
- Crazy Easy to Make: We’re talking 20 minutes of prep, 15 minutes in the oven. That’s it. You can literally make these between answering the doorbell and mixing cocktails.
- Simple Ingredients: Cream cheese, jalapeños, bacon, crescent rolls—stuff you probably already have in your fridge. No weird specialty items that cost a fortune.
- Perfect for Halloween Parties: They look like little mummies! The presentation alone is worth the five extra seconds it takes to wrap the dough. Your guests will think you spent hours on them.
- Crowd-Pleaser Guaranteed: I’ve served these at three different parties now, and they disappear faster than anything else on the table. Even people who swear they don’t like spicy food go back for seconds.
- Unbelievably Delicious: The creamy, tangy filling against the salty bacon and flaky crescent dough? It’s the kind of combo that makes people close their eyes and make those little happy noises.
What makes these different from every other jalapeño popper recipe out there? It’s the technique. I spent months perfecting the filling-to-dough ratio so you don’t end up with a soggy mess or a dry, overcooked wrap. Plus, using pre-made crescent dough means you skip all the fuss of making pastry from scratch. This isn’t just another version—it’s the version. The one that’ll have people asking for the recipe before the party’s even over.
And honestly? There’s something deeply satisfying about watching a room full of grown adults get excited about mummy-shaped food. It’s comfort food with a side of pure joy.
What Ingredients You Will Need
This recipe uses simple, punchy ingredients to deliver maximum flavor with minimum effort. Most of these are pantry staples, which is exactly what you want when you’re hosting a crowd.
For the Filling
- 8 ounces cream cheese, softened (full-fat works best for that creamy texture, but Neufchâtel works in a pinch)
- 1 cup shredded sharp cheddar cheese (I prefer Tillamook or Cabot for the best melt)
- 4-5 medium jalapeños, seeded and finely diced (leave some seeds in if you want more heat)
- 6 strips bacon, cooked crispy and crumbled (thick-cut gives you better texture)
- 1 teaspoon garlic powder
- 1 teaspoon onion powder
- ½ teaspoon smoked paprika (adds that subtle smoky depth)
- ¼ teaspoon black pepper
- Pinch of salt (remember, bacon is already salty)
For the Wraps
- 2 cans (8 ounces each) refrigerated crescent roll dough (I use Pillsbury, but store brands work fine)
- 24 candy eyeballs (you can find these at craft stores or in the baking aisle)
- 1 tablespoon melted butter (for brushing the tops)
For Dipping (Optional but Highly Recommended)
- Ranch dressing (classic)
- Blue cheese dressing (if you’re feeling fancy)
- Honey sriracha sauce (for a sweet-spicy kick)
Ingredient Selection Tips: When picking jalapeños, look for ones that are firm and smooth-skinned. Smaller jalapeños tend to be spicier than larger ones—something I learned the hard way after making a batch that cleared the room. If you’re serving a crowd with varying heat tolerances, remove all the seeds and membranes from at least half the jalapeños.
Substitution Guidance: Need to make these gluten-free? Use gluten-free crescent dough (I’ve had good luck with the brand from Whole Foods). Want a vegetarian version? Skip the bacon and add a teaspoon of liquid smoke to the cream cheese mixture. Dairy-free? Use vegan cream cheese and cheddar shreds—just know the texture will be slightly different.
Equipment Needed
You don’t need a professional kitchen to pull these off. Here’s what you’ll need:
- Baking sheet (one standard half-sheet pan works perfectly)
- Parchment paper or silicone baking mat (trust me on this—prevents sticking and makes cleanup a breeze)
- Medium mixing bowl
- Cutting board and sharp knife
- Small spoon (for scooping the filling)
- Pastry brush (for the butter wash—you can use a paper towel in a pinch)
- Measuring spoons
If you don’t have a pastry brush, just use your fingers to spread the melted butter. I’ve done it a dozen times and it works perfectly fine. Also, if you’re making these for a big party, you can prep everything on the baking sheet and refrigerate them up to 4 hours before baking. Just add 2-3 minutes to the baking time if they’re going in cold.
Preparation Method
Alright, let’s make some mummies. I’ve broken this down so even a first-timer can nail it.
- Preheat your oven to 375°F (190°C). Line your baking sheet with parchment paper. This is non-negotiable—you don’t want your beautiful mummies stuck to the pan.
- Cook the bacon. I like to do this in the oven while I’m prepping everything else. Lay the strips on a foil-lined baking sheet and bake at 400°F for 12-15 minutes, until crispy. Let them cool, then crumble into small pieces. You can also use pre-cooked bacon in a pinch, but fresh-cooked has way better flavor.
- Prep the jalapeños. Cut each jalapeño in half lengthwise. Use a small spoon to scrape out the seeds and white membranes. Dice them into tiny pieces—about ¼-inch cubes. Here’s a pro tip: wear gloves when handling jalapeños, or wash your hands immediately after. I learned this one the hard way when I rubbed my eye halfway through and spent the next hour in agony.
- Make the filling. In your medium mixing bowl, combine the softened cream cheese, shredded cheddar, diced jalapeños, crumbled bacon, garlic powder, onion powder, smoked paprika, black pepper, and salt. Mix until everything is evenly distributed. Taste it—seriously, do it now. Adjust the seasoning if needed. The filling should be creamy with little pops of bacon and jalapeño in every bite.
- Prepare the crescent dough. Open the cans and unroll the dough. Separate it into the pre-cut triangles along the perforated lines. You should have 8 triangles per can, 16 total. If the dough feels too soft, pop it in the fridge for 5 minutes.
- Cut the dough strips. Here’s the key to making them look like mummies: take each triangle and cut it lengthwise into 3-4 thin strips, leaving the wide end intact. You want them to look like little ribbons. Don’t cut all the way through—leave about an inch connected at the wide end so they stay together.
- Fill the wraps. Place a heaping tablespoon of the cream cheese mixture at the wide end of each dough triangle. Don’t overfill—about a golf ball-sized amount is perfect. You want the filling to be visible but not spilling out everywhere.
- Wrap the mummies. Starting at the wide end, fold the dough strips over the filling, alternating sides as you go up. Think of it like wrapping a bandage—crisscross the strips to create that mummy look. Leave a small gap at the top where the face will go. Tuck the last strip underneath to secure it.
- Add the eyes. Press two candy eyeballs gently into the exposed filling at the top. Don’t push them in too far—you want them to be visible after baking. If the filling is too soft, you can add the eyes after baking instead.
- Brush with butter. Use your pastry brush to gently coat each mummy with melted butter. This gives them that beautiful golden-brown color and helps the dough crisp up nicely.
- Bake. Place the mummies on your prepared baking sheet, spacing them about 2 inches apart. Bake for 12-15 minutes, until the dough is golden brown and the filling is bubbly. The kitchen will smell absolutely incredible at this point.
- Cool slightly. Let them rest on the baking sheet for 5 minutes before transferring to a serving platter. The filling will be molten hot—trust me, let them cool. I burned the roof of my mouth on the first batch because I couldn’t wait.
Sensory Cues: When they’re done, the dough should be puffed and golden, with little spots of darker brown on the edges. The filling should be visibly bubbling through the gaps. You’ll smell the bacon, the toasted pastry, and a hint of warm jalapeño. It’s intoxicating.
Cooking Tips & Techniques
After making these more times than I care to admit, here’s what I’ve learned:
Don’t overwork the dough. Crescent roll dough is delicate. If you handle it too much, it gets tough and doesn’t puff up properly. Work quickly and gently. If the dough starts feeling sticky or too soft, pop it in the fridge for 5-10 minutes.
Room temperature cream cheese is crucial. Cold cream cheese won’t mix evenly, and you’ll end up with lumps of cream cheese in some bites and none in others. Let it sit on the counter for at least 30 minutes before you start. I forgot once and tried to microwave it—ended up with melted cream cheese soup. Not ideal.
Seal the edges well. If you don’t pinch the dough closed around the filling, it’ll leak out during baking. Nobody wants a puddle of cream cheese on their baking sheet. Take the extra 5 seconds to press the dough together.
Make ahead strategy for parties. You can assemble these up to 4 hours ahead and keep them in the fridge, unbaked. Just add 2-3 minutes to the baking time. I’ve also frozen them (unbaked) for up to a month—bake from frozen, adding 5-7 minutes to the time.
The biggest mistake I’ve made: Overfilling. I got greedy and stuffed them with too much cream cheese mixture. They exploded in the oven, and I ended up with a tray of sad, deflated dough blobs. Stick to a heaping tablespoon per wrap. Less is more here.
Timing strategy for hosting: Have everything prepped and ready to go. Pop them in the oven about 20 minutes before guests arrive. They’ll come out hot and perfect just as people are walking in the door. The smell alone will get everyone excited.
Variations & Adaptations
Once you’ve mastered the basic recipe, here are some fun ways to switch it up:
Spicy Mummy Wraps: Leave the seeds and membranes in all the jalapeños, and add a diced serrano pepper to the mix. These are for the brave souls who like their appetizers with a serious kick. I made these once for a friend’s Halloween party, and they cleared the room—in a good way.
Smoky Bacon Cheddar: Swap the cheddar for smoked gouda and add an extra strip of bacon. The smoky flavor pairs beautifully with the jalapeño. This is my personal favorite variation—it’s like a jalapeño popper went to culinary school.
Vegetarian Version: Skip the bacon and add ½ cup of finely chopped mushrooms that you’ve sautéed with a little soy sauce and liquid smoke. The umami flavor mimics the savory depth of bacon without the meat. I’ve served this to vegetarians and meat-eaters alike, and nobody complained.
Dipping Sauce Variations: Beyond classic ranch, try a chipotle mayo (mix ½ cup mayo with 1 teaspoon adobo sauce from chipotles in adobo) or a cilantro lime crema (blend ½ cup sour cream with ¼ cup cilantro and juice of 1 lime). Both take these wraps to another level.
Air Fryer Method: If you don’t want to heat up your whole kitchen, these work great in an air fryer. Cook at 350°F for 8-10 minutes, flipping halfway through. They come out even crispier than oven-baked. Just don’t crowd the basket—work in batches.
Serving & Storage Suggestions
These are best served warm, right out of the oven. The contrast between the hot, gooey filling and the flaky, buttery dough is what makes them so addictive. Arrange them on a large platter with a small bowl of dipping sauce in the center. For Halloween parties, I like to scatter a few fake spider webs or plastic spiders around the platter for extra effect.
What to serve alongside: These pair beautifully with other finger foods. I usually put out a veggie platter, some deviled eggs, and maybe a batch of my famous buffalo chicken dip. For drinks, a crisp lager or a spicy margarita cuts through the richness perfectly. Non-alcoholic? Try a ginger beer or a tart lemonade.
Storage: If you have leftovers (unlikely, but possible), store them in an airtight container in the fridge for up to 3 days. The dough will soften, but they’re still delicious.
Reheating: The best way to bring them back to life is in the oven at 350°F for 5-7 minutes. The microwave works in a pinch, but the dough will be soft and sad. If you’re reheating for a party, pop them in the oven while guests are grabbing their first drink—they’ll be perfect by the time everyone settles in.
Flavor development note: Honestly, these are best fresh. The magic is in that first bite when the filling is still molten and the dough is perfectly crisp. That said, cold leftovers straight from the fridge? Still pretty amazing. Don’t judge me.
Nutritional Information & Benefits
Let’s be real—these are a treat, not a health food. But here’s the breakdown per wrap (assuming 16 servings):
- Calories: Approximately 180-200
- Protein: 6-7 grams
- Fat: 13-15 grams
- Carbohydrates: 10-12 grams
- Fiber: 0.5 grams
- Sugar: 2-3 grams
Health benefits of key ingredients: Jalapeños contain capsaicin, which has anti-inflammatory properties and can boost metabolism. Cream cheese provides calcium and vitamin A. Bacon? Well, it’s bacon—it makes everything better and adds protein. The cheddar cheese offers additional calcium and protein, plus that glorious melt factor.
Dietary considerations: This recipe contains dairy (cream cheese, cheddar, butter) and gluten (crescent roll dough). It can be made gluten-free with appropriate dough substitutions and vegetarian by omitting the bacon. For a lower-fat version, use reduced-fat cream cheese and turkey bacon—the texture will be slightly different, but the flavor holds up well.
My personal wellness perspective: I’m a firm believer in balance. These are for parties and celebrations—special occasions where food is part of the joy. I don’t worry about the calories when I’m serving them at a Halloween bash. Life’s too short to skip the good stuff. Just maybe don’t eat twelve in one sitting. Or do. I’m not your mom.
Conclusion
Look, I know there are a million Halloween appetizer recipes out there. But these Party-Perfect Mummy Jalapeño Popper Crescent Wraps? They’re different. They’re the recipe that’ll make your friends text you the next day asking for the link. They’re the appetizer that disappears before the main course even hits the table. And honestly? They’re just fun.
I still think about those jalapeño popper egg rolls from The Skull & Crossbones, but now I’ve got something even better. Something I can share with the people I love, at parties where we’re all laughing and eating too much and having the best time. That’s what cooking is really about, isn’t it?
So go ahead—make these for your Halloween party, your football watch party, or just because it’s Tuesday and you deserve something delicious. Customize them however you want. Add extra spice, skip the bacon, make them your own. And when someone asks where you got the recipe, tell them it’s your secret. I won’t tell.
Drop a comment below and let me know how yours turn out! Did you try a fun variation? Did your guests go wild? I’d love to hear about it. And if you’re looking for more party-perfect appetizers, check out my crispy garlic chicken wings or my loaded smash burger sliders—both are guaranteed crowd-pleasers. Happy Halloween, and happy eating!
Frequently Asked Questions
Can I make these ahead of time for a party?
Absolutely! You can assemble them up to 4 hours ahead and keep them in the fridge, unbaked. Just add 2-3 minutes to the baking time. You can also freeze them unbaked for up to a month—bake from frozen, adding 5-7 minutes.
How do I keep the crescent dough from getting soggy?
The key is not overfilling and making sure your cream cheese mixture isn’t too wet. Also, baking them immediately after assembling (or at least within a few hours) helps. If you’re prepping ahead, keep the filling and dough separate until you’re ready to assemble.
Can I use something other than crescent roll dough?
Yes! Puff pastry sheets work beautifully—just cut them into strips and wrap the same way. Pizza dough also works in a pinch, though the texture will be more bread-like. For a low-carb option, use large slices of provolone or mozzarella as the wrap.
How spicy are these?
That depends on your jalapeños and whether you leave the seeds in. With seeds removed, they’re mild to medium—enough to taste the jalapeño without overwhelming anyone. If you want them milder, use only half the jalapeños. For extra heat, leave the seeds in or add a serrano pepper.
What’s the best way to reheat leftovers?
The oven is your best friend here. Reheat at 350°F for 5-7 minutes to restore some of the crispiness. The microwave works in a pinch but will make the dough soft. If you’re reheating a large batch for a party, the oven is definitely the way to go.
Pin This Recipe!
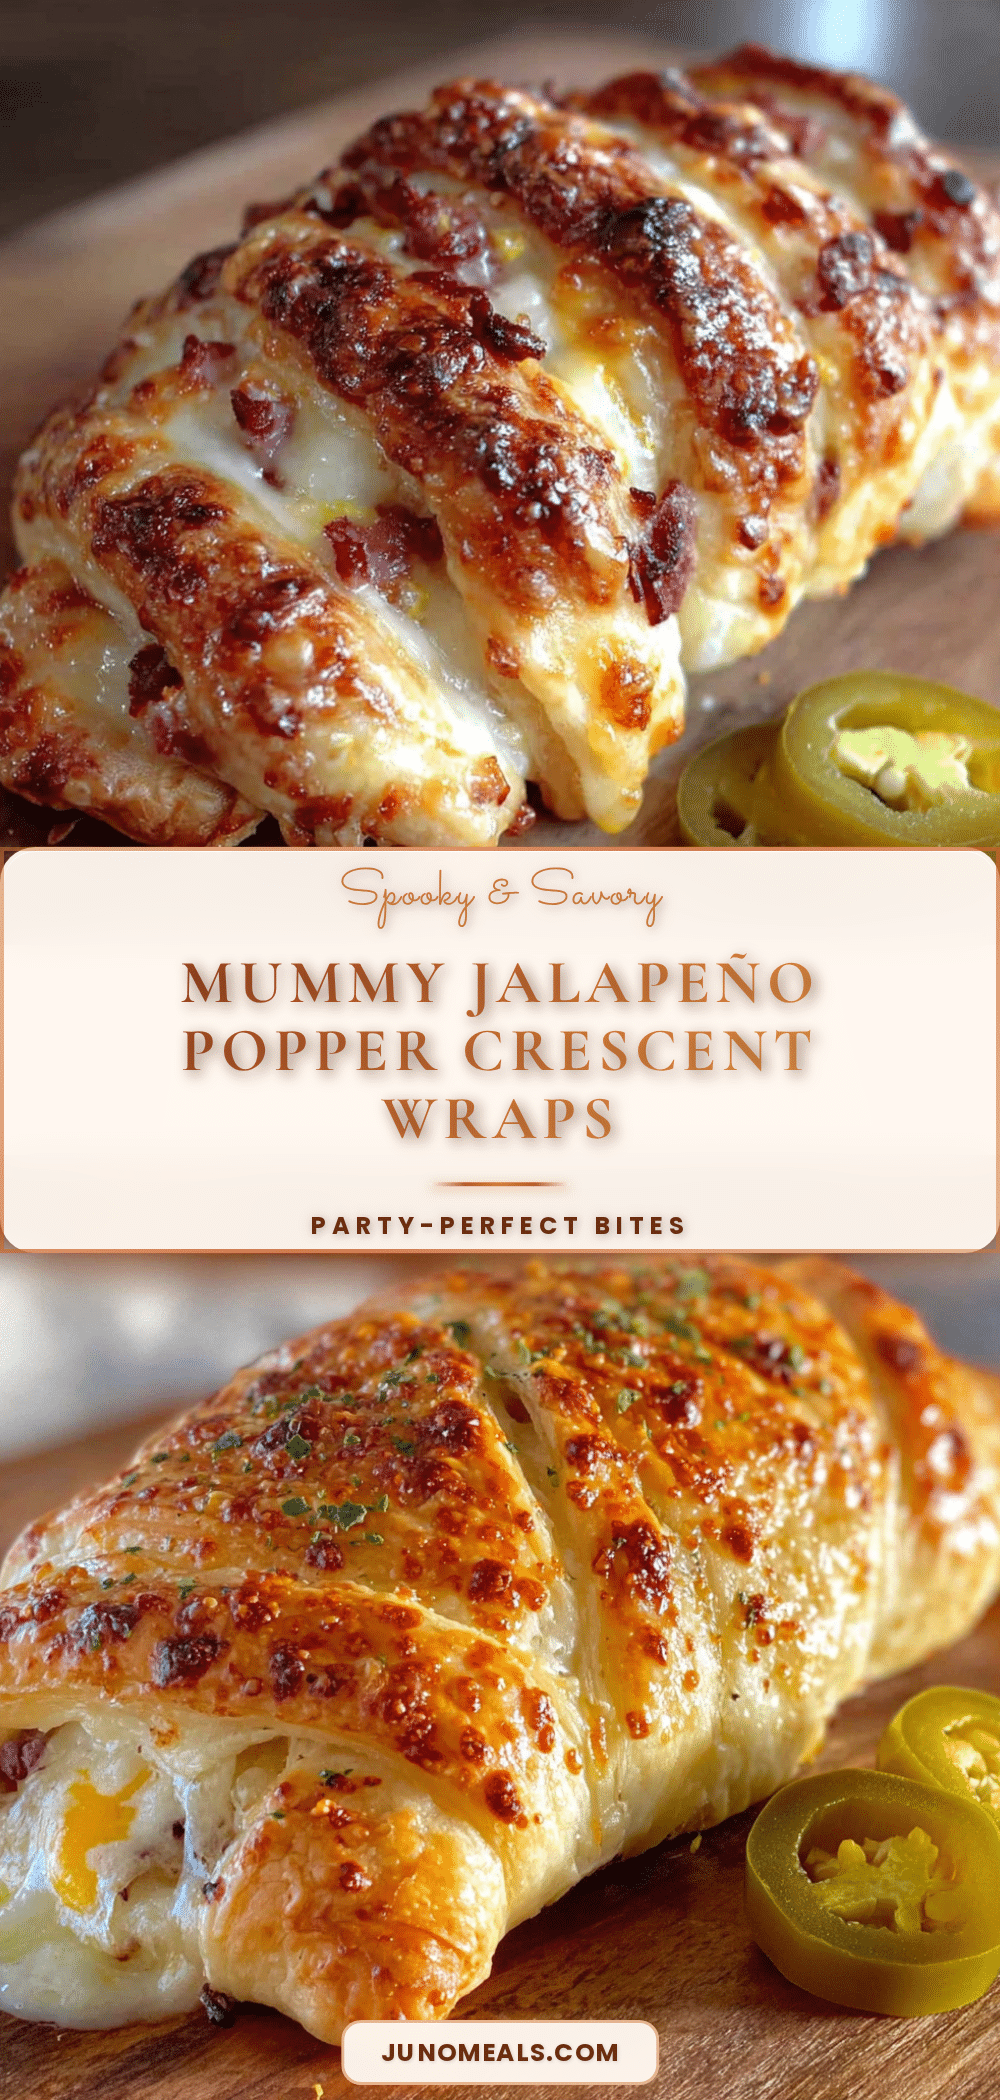
Party-Perfect Mummy Jalapeño Popper Crescent Wraps
These adorable mummy-shaped jalapeño popper crescent wraps are the ultimate Halloween party appetizer. Creamy, spicy, bacon-filled, and wrapped in flaky crescent dough, they’re easy to make and guaranteed to disappear fast.
- Prep Time: 20 minutes
- Cook Time: 15 minutes
- Total Time: 35 minutes
- Yield: 16 servings 1x
- Category: Appetizer
- Cuisine: American
Ingredients
- 8 ounces cream cheese, softened
- 1 cup shredded sharp cheddar cheese
- 4–5 medium jalapeños, seeded and finely diced
- 6 strips bacon, cooked crispy and crumbled
- 1 teaspoon garlic powder
- 1 teaspoon onion powder
- ½ teaspoon smoked paprika
- ¼ teaspoon black pepper
- Pinch of salt
- 2 cans (8 ounces each) refrigerated crescent roll dough
- 24 candy eyeballs
- 1 tablespoon melted butter
- Ranch dressing (for dipping, optional)
- Blue cheese dressing (for dipping, optional)
- Honey sriracha sauce (for dipping, optional)
Instructions
- Preheat your oven to 375°F (190°C). Line your baking sheet with parchment paper.
- Cook the bacon: Lay strips on a foil-lined baking sheet and bake at 400°F for 12-15 minutes until crispy. Let cool, then crumble.
- Prep the jalapeños: Cut each in half lengthwise, remove seeds and membranes, and dice into ¼-inch cubes.
- Make the filling: In a medium bowl, combine cream cheese, cheddar, diced jalapeños, crumbled bacon, garlic powder, onion powder, smoked paprika, black pepper, and salt. Mix until evenly distributed.
- Prepare the crescent dough: Unroll the dough and separate into triangles along perforations (8 per can, 16 total).
- Cut the dough strips: Cut each triangle lengthwise into 3-4 thin strips, leaving about 1 inch connected at the wide end.
- Fill the wraps: Place a heaping tablespoon of filling at the wide end of each triangle.
- Wrap the mummies: Starting at the wide end, fold the dough strips over the filling, alternating sides to create a crisscross mummy look. Leave a small gap at the top for the face.
- Add the eyes: Press two candy eyeballs gently into the exposed filling at the top.
- Brush with butter: Use a pastry brush to coat each mummy with melted butter.
- Bake: Place mummies on the prepared baking sheet, spacing 2 inches apart. Bake for 12-15 minutes until golden brown and filling is bubbly.
- Cool slightly: Let rest on the baking sheet for 5 minutes before serving.
Notes
Don’t overfill the wraps—use a heaping tablespoon per wrap. Room temperature cream cheese is crucial for even mixing. Wear gloves when handling jalapeños. For make-ahead, assemble up to 4 hours ahead and refrigerate unbaked; add 2-3 minutes to baking time. Can be frozen unbaked for up to a month; bake from frozen adding 5-7 minutes.
Nutrition
- Serving Size: 1 wrap
- Calories: 190
- Sugar: 2.5
- Sodium: 350
- Fat: 14
- Saturated Fat: 7
- Carbohydrates: 11
- Fiber: 0.5
- Protein: 6.5
Keywords: Halloween appetizer, mummy wraps, jalapeño popper, crescent rolls, party food, bacon, cream cheese


