The second jar was the one that got me. I had made the first batch of garlic honey back in October, more out of curiosity than anything else. I stirred it, burped the jar, and watched it bubble for a month. Then I forgot about it in the back of the pantry. When I finally pulled it out in January, the honey had turned dark and runny, and the garlic cloves had softened into these jammy, almost sweet little morsels. I took a spoonful straight from the jar, and honestly, it was like tasting a secret. A little spicy, deeply savory, with this warm tingle at the back of my throat. That was the moment I realized I wasn’t just making a condiment—I was building a little jar of winter armor.
Fermenting garlic in raw honey is one of those old-world kitchen projects that feels both ancient and completely new. It’s not a quick recipe, and that’s exactly the point. The patience is part of the medicine. Over the course of a few weeks, the honey pulls the moisture from the garlic cloves, creating a brine that naturally ferments. The result is a sweet, savory, slightly tangy tonic that I now reach for every single day. It’s become my cold-weather ritual—a spoonful in the morning, sometimes stirred into hot tea, sometimes just straight up.
If you’ve never fermented anything before, this homemade garlic honey fermented immune tonic is the gentlest place to start. It asks for nothing but time and trust. And in return, it gives you something that feels a little bit like kitchen magic—a golden, bubbling jar of pure protection.
Why You’ll Love This Recipe
I have tested this recipe through three different honey brands, two garlic varieties, and one very questionable jar that I left in a hot car for an afternoon (do not recommend). What I learned is that this tonic is forgiving, adaptable, and genuinely effective. Here is why it belongs in your kitchen:
- Simple Ingredients: Two ingredients. Garlic and honey. That’s it. No trips to specialty stores or weird powders.
- Natural Immune Support: Raw honey is antimicrobial, and garlic is packed with allicin, a compound known for its immune-boosting properties. Together, they create a potent, natural tonic.
- Zero Cooking Required: No heat. No stovetop. You just assemble, wait, and enjoy.
- Long Shelf Life: Properly fermented, this tonic lasts for months in the pantry. It only gets better with age.
- Versatile Uses: Use it in salad dressings, drizzle it over roasted vegetables, stir it into tea, or take it straight by the spoonful.
- Gut-Healthy: Fermentation introduces beneficial probiotics, making this tonic a friend to your digestive system too.
This isn’t just another wellness trend. It’s a traditional preparation that has been used in various cultures for centuries. I love that something so simple can be so powerful. It feels like a secret weapon, but one that anyone can make.
What Ingredients You Will Need
This recipe uses two whole-food ingredients to create a fermented tonic that is greater than the sum of its parts. The quality of each ingredient matters here, so choose wisely.
For the Tonic
- Raw, Unfiltered Honey (1 cup / 340g): This is non-negotiable. Raw honey contains the natural enzymes and beneficial bacteria needed for fermentation. Pasteurized honey will not work—it has been heated to kill those helpful microbes. Look for a local honey or a trusted brand like Y.S. Eco Bee Farms. The flavor of the honey will directly impact the final tonic, so use one you love.
- Fresh Garlic Cloves (1 cup / about 140g, peeled): Use firm, fresh garlic bulbs. Avoid any cloves that are soft, sprouting, or showing signs of mold. The fresher the garlic, the more allicin it contains, and the more potent your tonic will be. I prefer organic garlic when possible, as it is less likely to have been treated with sprout inhibitors.
That’s it. Two ingredients. But the magic happens in the ratio. You want enough honey to completely submerge the garlic cloves, plus a little extra headspace in the jar for bubbling activity.
If you want to add a little complexity, you can include a small pinch of sea salt (to support fermentation) or a dried chili pepper for heat. But the classic version is just garlic and honey. Trust the simplicity.
Equipment Needed
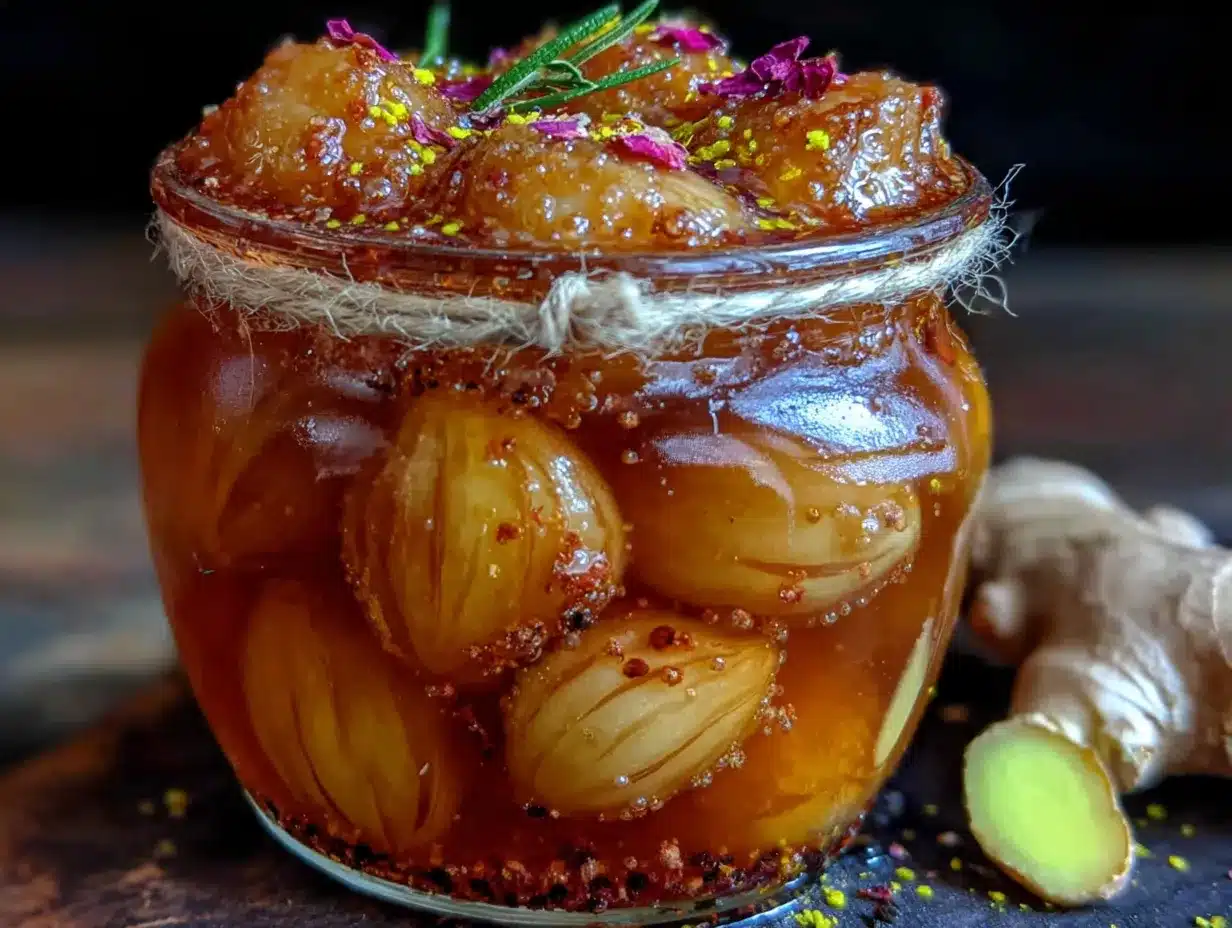
You don’t need a fancy fermentation setup for this recipe. Here is what you will need:
- Glass Jar with Tight-Fitting Lid (16 oz / 500 ml): A wide-mouth mason jar works perfectly. Avoid metal lids if possible, as the acidity of the ferment can cause corrosion over time. Plastic lids or food-safe rubber gaskets are ideal. If you only have a metal lid, line it with a piece of parchment paper before screwing it on.
- Cutting Board and Knife: For peeling and prepping the garlic. A chef’s knife makes quick work of smashing the cloves.
- Measuring Cups and Spoons: For accurate proportions.
- Clean Spoon or Chopstick: For stirring and releasing air bubbles.
- Small Bowl: To hold the peeled garlic cloves as you work.
That is genuinely all you need. No airlocks, no weights, no special equipment. I have made this tonic in a repurposed pickle jar and it worked beautifully. Don’t overthink the gear.
Preparation Method
This process is slow and meditative. There is no rush. The fermentation happens on its own schedule, and your job is simply to set the stage.
- Prepare the Garlic: Separate the garlic bulbs into individual cloves. Peel each clove by pressing down firmly with the flat side of your knife—the skin will crack and slide right off. Discard any cloves that are bruised, soft, or discolored. You want about 1 cup of peeled cloves.
- Fill the Jar: Place the peeled garlic cloves into your clean, dry glass jar. Pack them in somewhat tightly, but leave about an inch of headspace at the top. The cloves will float as the fermentation progresses, so you want room for them to move.
- Cover with Honey: Pour the raw honey over the garlic cloves, completely submerging them. Use a clean spoon or chopstick to gently stir and release any trapped air bubbles. Make sure every clove is fully coated. The honey will be thick at first—that’s normal.
- Seal and Swirl: Tighten the lid on the jar. Give it a gentle swirl to distribute the honey evenly. Do not shake vigorously; you want to avoid introducing too much oxygen.
- Start the Fermentation: Place the jar in a cool, dark place in your kitchen, away from direct sunlight. A cupboard or pantry shelf works perfectly. The ideal temperature range is 60-75°F (15-24°C). Avoid spots that are too warm, as that can cause the honey to crystallize or the garlic to spoil.
- Daily Burping: For the first week, you need to “burp” the jar once a day. Simply open the lid for a second to release any built-up gas. You will see tiny bubbles forming in the honey—that is a sign of active fermentation. If you forget a day, it’s usually fine, but consistent burping prevents pressure buildup.
- Stir and Rotate: Every few days, use a clean spoon to gently stir the mixture, ensuring the garlic cloves stay submerged. If any cloves are floating above the honey line, push them back down. This prevents mold from forming on exposed garlic.
- Wait: The fermentation takes a minimum of 2 weeks, but the flavor really develops after 4-6 weeks. The honey will gradually thin out and become more liquid. The garlic cloves will soften and turn a darker, amber color. The taste will shift from sharp and sweet to complex, savory, and slightly tangy.
- Taste and Test: After two weeks, take a tiny taste. If it’s to your liking, you can start using it. If you want a deeper, more fermented flavor, let it go longer. I personally prefer mine at the 6-week mark, when the garlic has become almost spreadable.
- Store: Once the tonic has reached your desired flavor, you can move it to the refrigerator to slow down the fermentation. It will keep for 6-12 months. The honey may crystallize in the fridge, but that’s fine—just let it come to room temperature before using.
Cooking Tips & Techniques
I have made a few mistakes with this tonic so you don’t have to. Here is what I learned the hard way.
Don’t Use Old Garlic: I once used a head of garlic that had been sitting in my pantry for two months. The cloves were just starting to sprout. The tonic still fermented, but it had a bitter, slightly off flavor. Fresh garlic is essential for the best result.
Watch the Temperature: My kitchen got hot during an unexpected heatwave, and my jar of garlic honey started fermenting aggressively. The honey turned foamy and smelled a little like alcohol. It was still safe to eat, but the flavor was not as clean. Aim for a stable, cool spot.
Don’t Overfill the Jar: Leave that headspace. The fermentation produces gas, and if the jar is too full, the honey can bubble over when you burp it. Trust me, cleaning sticky honey off your pantry shelf is not fun.
Use a Clean Spoon Every Time: Every time you dip into the jar, use a clean, dry spoon. Introducing moisture or food particles can introduce unwanted bacteria or mold. Treat this tonic with the same care you would a jar of jam.
Burp with Confidence: When you open the lid to burp the jar, do it over the sink. The pressure can sometimes cause a little spritz of honey. It’s a small thing, but it saves you a mess.
Trust Your Senses: Your nose and eyes are your best tools. If the tonic smells yeasty or sour in a pleasant way, that’s normal. If it smells rotten, musty, or like nail polish remover, something went wrong. A little bit of white sediment at the bottom of the jar is normal—that’s dead yeast. But if you see fuzzy mold on the surface, discard the entire batch.
Variations & Adaptations
This tonic is a wonderful base for experimentation. Here are a few variations I have tried and loved.
- Spicy Garlic Honey: Add 1-2 dried red chili peppers (like arbol or cayenne) to the jar along with the garlic. The heat infuses into the honey over time, creating a spicy-sweet tonic that is incredible drizzled over pizza or roasted chicken.
- Ginger-Garlic Honey: Add a 1-inch piece of fresh ginger, peeled and thinly sliced, to the jar. Ginger adds a bright, warming note that complements the garlic beautifully. This version is my go-to for cold season.
- Herbal Infusion: Add a sprig of fresh rosemary, thyme, or sage to the jar. The herbs infuse a subtle earthy flavor and add their own immune-supporting properties. I love the rosemary version stirred into a warm cup of tea.
- Lemon Twist: Add a strip of lemon zest (avoid the white pith, which is bitter) to the jar. The citrus brightens the flavor and adds a lovely aromatic quality.
- Turmeric Boost: Add a 1-inch piece of fresh turmeric, peeled and thinly sliced, for an anti-inflammatory kick. It will turn the honey a beautiful golden-orange color.
You can also adjust the ratio of garlic to honey. If you want a milder tonic, use less garlic. If you want a more potent one, pack in extra cloves. The fermentation will still work as long as the garlic is fully submerged.
Serving & Storage Suggestions
This tonic is incredibly versatile. Here is how I use it in my daily life.
How to Take It: The simplest way is by the spoonful—1 tablespoon straight from the jar. I do this first thing in the morning during cold and flu season. It wakes up my palate and gives me a little energy boost. You can also stir a spoonful into a cup of hot water or herbal tea. The honey dissolves and the garlic pieces soften, making a savory, soothing drink.
Cooking with It: The fermented honey is amazing in savory dishes. Drizzle it over roasted vegetables, use it in a vinaigrette (whisk with olive oil and vinegar), or brush it onto grilled chicken or pork in the last few minutes of cooking. The fermented garlic cloves themselves are delicious—spread them on toast with butter, mash them into salad dressings, or chop them up and add to stir-fries.
Storage: Once the tonic has reached your preferred level of fermentation, store it in the refrigerator. The cold will slow down the fermentation dramatically, preserving the flavor. It will keep for 6-12 months. If the honey crystallizes in the fridge, simply place the jar in a bowl of warm water for a few minutes to liquefy it again. Do not microwave it, as that will kill the beneficial enzymes.
Flavor Development: The flavor of the tonic continues to deepen over time. After 3 months, the garlic becomes incredibly mellow and almost sweet. After 6 months, it takes on a complex, almost balsamic-like quality. I always keep a jar going in my fridge, and I love tasting how it evolves.
Nutritional Information & Benefits
While I am not a doctor or a nutritionist, I can share what the research and traditional wisdom say about these ingredients. The nutritional values below are approximate for a 1-tablespoon serving (15g) of the honey and one fermented garlic clove.
| Nutrient | Amount per Serving |
|---|---|
| Calories | 45-60 kcal |
| Carbohydrates | 12-15 g |
| Sugars | 10-12 g (from honey) |
| Vitamin C | 1 mg |
| Manganese | 2% DV |
| Vitamin B6 | 2% DV |
Key Benefits:
- Allicin: Garlic contains allicin, a sulfur compound with potent antimicrobial and immune-boosting properties. Fermentation may actually make allicin more bioavailable.
- Probiotics: The fermentation process introduces beneficial lactic acid bacteria, which support gut health. A healthy gut is directly linked to a strong immune system.
- Antioxidants: Both garlic and honey are rich in antioxidants, which help combat oxidative stress and inflammation in the body.
- Prebiotics: Garlic also contains inulin, a type of prebiotic fiber that feeds the good bacteria in your gut.
Dietary Considerations:
- Vegan: This recipe is vegan-friendly (honey is a plant product, though some vegans avoid it).
- Gluten-Free: Naturally gluten-free.
- Paleo & Keto: Can be used in small amounts on a paleo diet. Keto users should be mindful of the carbohydrate content from honey.
- Allergens: No common allergens, but those with garlic or honey allergies should avoid this.
Frequently Asked Questions
Can I use pasteurized honey?
No. Pasteurized honey has been heated to kill bacteria, including the beneficial microbes needed for fermentation. Your tonic will not ferment properly and may spoil. Always use raw, unfiltered honey.
How do I know if my garlic honey has gone bad?
Trust your nose. A healthy ferment smells pleasantly yeasty, sour, or savory. If it smells rotten, like nail polish remover, or like moldy basement, discard it. Also look for fuzzy mold on the surface—if you see it, throw the whole batch away. A little bit of white sediment at the bottom is normal.
Do I have to burp the jar every day?
Yes, for the first week. The fermentation produces carbon dioxide, and if the pressure builds up too much, the jar can explode or the lid can pop off. After the first week, the fermentation slows down, and you can burp it every few days. I keep a sticky note on my fridge to remind me.
Can I eat the fermented garlic cloves?
Absolutely. The cloves soften and become mellow, almost sweet. They are delicious spread on toast, chopped into salad dressings, or eaten straight from the jar. Just be aware that they still contain garlic compounds, so you might have garlic breath afterward.
How long does this tonic last?
Stored in the refrigerator, it will keep for 6-12 months. The flavor will continue to deepen over time. If stored at room temperature, the fermentation will continue and the tonic will eventually become too sour or alcoholic. Refrigeration is best for long-term storage.
Conclusion
This homemade garlic honey fermented immune tonic is one of those recipes that feels like a secret handshake. It’s simple, ancient, and quietly powerful. It asks for nothing but two ingredients and a little patience, and in return, it gives you a jar of golden protection that you can reach for anytime you feel a tickle in your throat or a dip in your energy.
I love that this recipe connects me to a tradition of kitchen medicine that has been practiced for centuries. It’s not about quick fixes or trendy superfoods. It’s about slowing down, trusting the process, and letting nature do its work. Every time I take a spoonful, I feel a little bit more grounded, a little bit more prepared for whatever the season throws my way.
I encourage you to make a batch for yourself. Let it sit on your counter, watch it bubble, and taste it as it transforms. And then, I would love to hear how it goes. Drop a comment below and tell me about your fermentation journey. Did you add any spices? How long did you let it ferment? Your stories make this community so much richer. Until next time, stay healthy and keep fermenting.
Pin This Recipe!
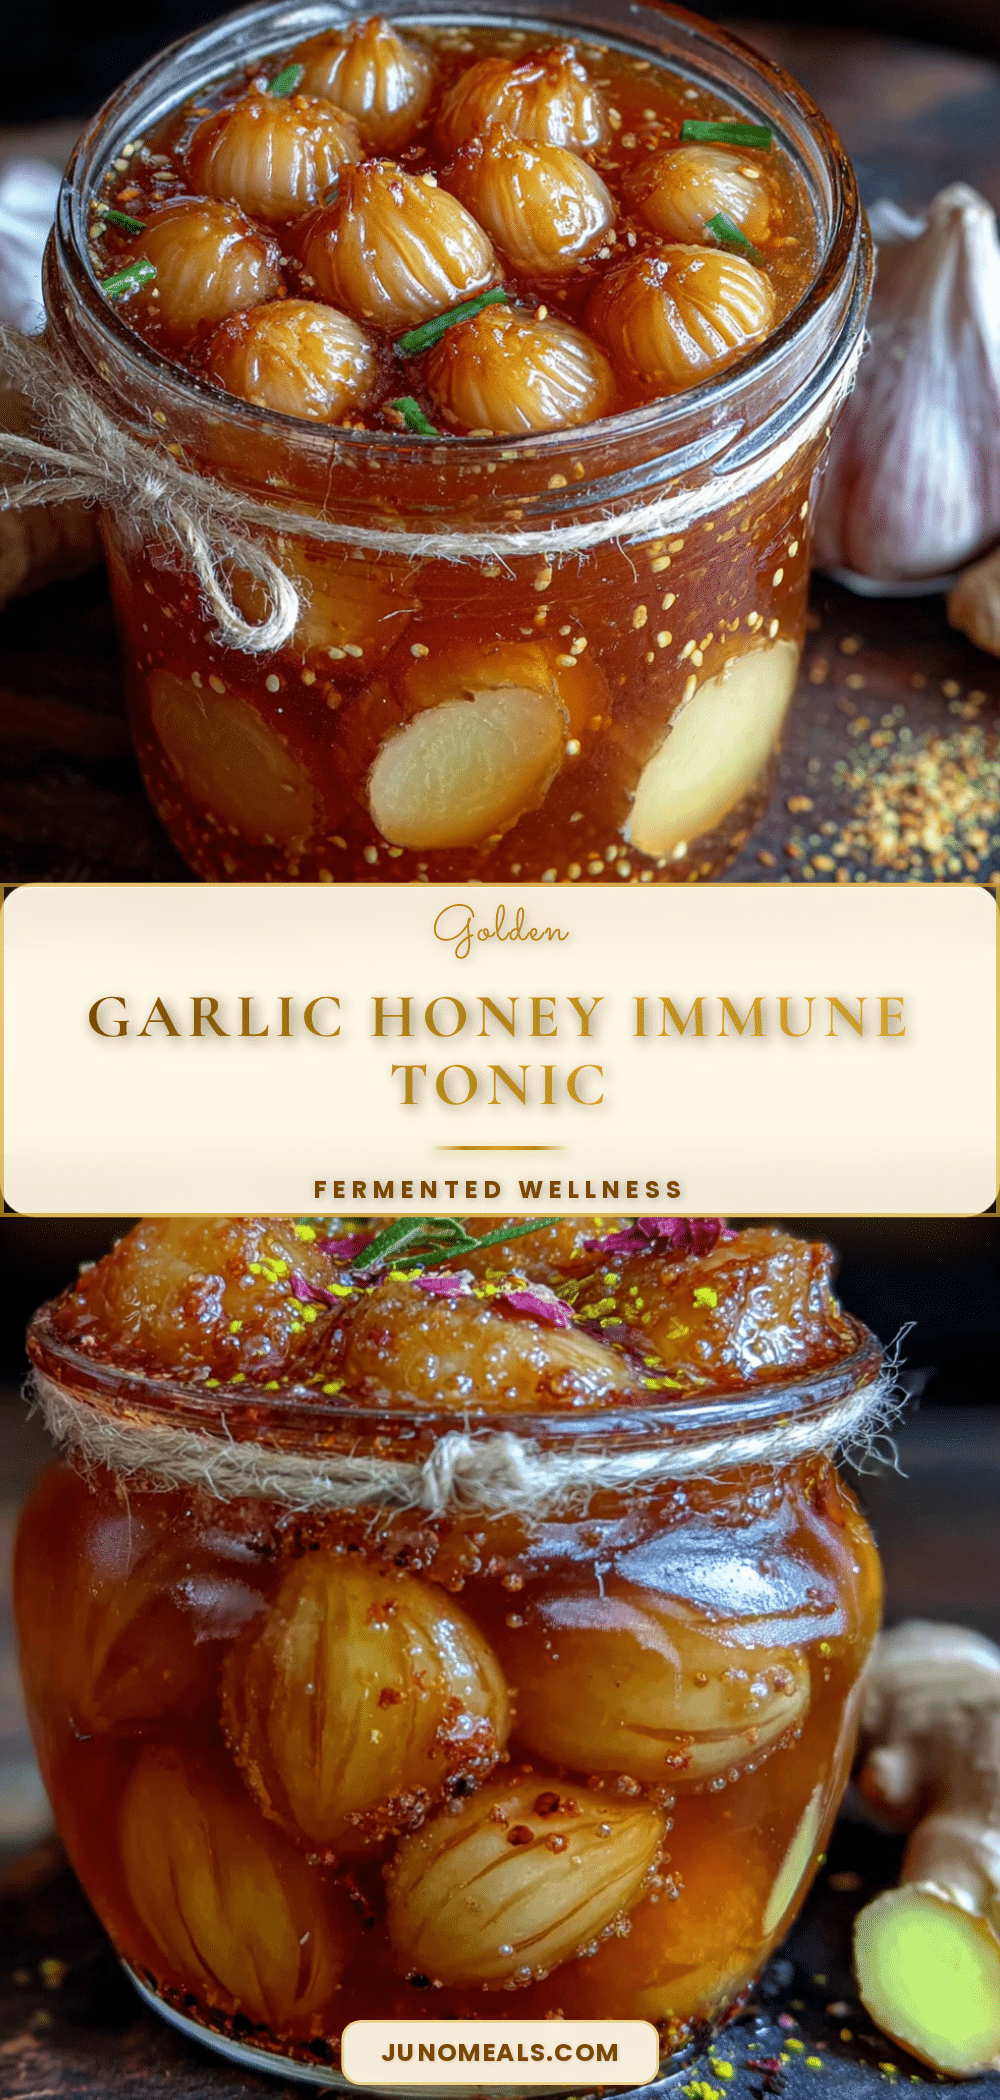
Homemade Garlic Honey Fermented Immune Tonic
A simple two-ingredient fermented tonic made with raw honey and fresh garlic, offering natural immune support and gut-healthy probiotics. This old-world preparation requires patience but rewards you with a sweet, savory, and slightly tangy elixir that can be taken by the spoonful or used in cooking.
- Prep Time: 15 minutes
- Cook Time: 0 minutes
- Total Time: 15 minutes (plus 2-6 weeks fermentation)
- Yield: 1 cup (about 16 servings of 1 tablespoon each) 1x
- Category: Condiment / Tonic
- Cuisine: American / Traditional
Ingredients
- 1 cup (340g) raw, unfiltered honey
- 1 cup (about 140g) fresh garlic cloves, peeled
Instructions
- Prepare the Garlic: Separate the garlic bulbs into individual cloves. Peel each clove by pressing down firmly with the flat side of your knife—the skin will crack and slide right off. Discard any cloves that are bruised, soft, or discolored. You want about 1 cup of peeled cloves.
- Fill the Jar: Place the peeled garlic cloves into your clean, dry glass jar. Pack them in somewhat tightly, but leave about an inch of headspace at the top. The cloves will float as the fermentation progresses, so you want room for them to move.
- Cover with Honey: Pour the raw honey over the garlic cloves, completely submerging them. Use a clean spoon or chopstick to gently stir and release any trapped air bubbles. Make sure every clove is fully coated. The honey will be thick at first—that’s normal.
- Seal and Swirl: Tighten the lid on the jar. Give it a gentle swirl to distribute the honey evenly. Do not shake vigorously; you want to avoid introducing too much oxygen.
- Start the Fermentation: Place the jar in a cool, dark place in your kitchen, away from direct sunlight. A cupboard or pantry shelf works perfectly. The ideal temperature range is 60-75°F (15-24°C). Avoid spots that are too warm, as that can cause the honey to crystallize or the garlic to spoil.
- Daily Burping: For the first week, you need to ‘burp’ the jar once a day. Simply open the lid for a second to release any built-up gas. You will see tiny bubbles forming in the honey—that is a sign of active fermentation. If you forget a day, it’s usually fine, but consistent burping prevents pressure buildup.
- Stir and Rotate: Every few days, use a clean spoon to gently stir the mixture, ensuring the garlic cloves stay submerged. If any cloves are floating above the honey line, push them back down. This prevents mold from forming on exposed garlic.
- Wait: The fermentation takes a minimum of 2 weeks, but the flavor really develops after 4-6 weeks. The honey will gradually thin out and become more liquid. The garlic cloves will soften and turn a darker, amber color. The taste will shift from sharp and sweet to complex, savory, and slightly tangy.
- Taste and Test: After two weeks, take a tiny taste. If it’s to your liking, you can start using it. If you want a deeper, more fermented flavor, let it go longer. I personally prefer mine at the 6-week mark, when the garlic has become almost spreadable.
- Store: Once the tonic has reached your desired flavor, you can move it to the refrigerator to slow down the fermentation. It will keep for 6-12 months. The honey may crystallize in the fridge, but that’s fine—just let it come to room temperature before using.
Notes
Use only raw, unfiltered honey—pasteurized honey will not ferment. Fresh garlic is essential; avoid old or sprouting cloves. Burp the jar daily for the first week to release gas. If any garlic floats above the honey, push it down to prevent mold. The tonic is ready after 2 weeks but develops best flavor at 4-6 weeks. Store in the refrigerator for up to 12 months. If honey crystallizes, warm the jar in a bowl of warm water—do not microwave.
Nutrition
- Serving Size: 1 tablespoon (15g) h
- Calories: 4560
- Sugar: 1012
- Carbohydrates: 1215
Keywords: garlic honey, fermented garlic, immune tonic, raw honey, garlic honey ferment, homemade tonic, natural immune support, probiotic, gut health


