My friend Jenna texted me a photo of a jar filled with what looked like swamp water. “You have to make this,” she wrote. I stared at the murky liquid, spotted with garlic cloves and what I hoped was horseradish. I texted back: “I’ll pass.” Jenna is the type who drinks wheatgrass shots and does cold plunges in November. I love her, but I do not always trust her kitchen experiments. She had been talking about “fire cider” for weeks, claiming it kept her cold-free through two winters. I figured it was just another wellness trend she’d ditch by spring.
Then I got the flu. The kind that settles in your chest and makes you forget what breathing felt like before. Jenna showed up at my door with a small bottle of that swamp water. “One shot a day,” she said. I was desperate enough to try anything. I took a sip and honestly thought my sinuses might launch out of my ears. It was vinegar, garlic, horseradish, and heat—a combination that should not work but somehow does. After three days of taking it, I could breathe again. After a week, I felt like myself. I had to admit it: Jenna was right. I have been making my own batch every month since.
This Homemade Fire Cider Immune Boost Shots recipe is the one that finally convinced me. It is not complicated, and it does not require any fancy equipment. You just need a jar, some patience, and a willingness to trust the process. The result is a spicy, tangy, potent tonic that actually makes a difference when cold season hits. I still think it looks like swamp water, but now that is exactly why I love it.
Why You’ll Love This Recipe
I have tested this recipe through four different batches, adjusting the ratios until the balance was just right. Too much horseradish and it becomes undrinkable. Too little garlic and you lose the antimicrobial punch. This version hits the sweet spot—potent enough to work, but balanced enough that you will actually want to take it daily.
- Simple Ingredients: You likely have most of these in your pantry right now. No exotic powders or hard-to-find herbs.
- Cost-Effective: A single batch costs about the same as one bottle of store-bought immune tonic, but makes four times as much.
- Fully Customizable: Adjust the heat, swap herbs, or add extra garlic. This recipe bends to your taste.
- Actually Works: I am not a doctor, but I am someone who used to get sick every winter. Since starting fire cider, I have had exactly one mild cold in two years.
- No Cooking Required: This is a cold infusion. You chop, you jar, you wait. That is it.
What makes this recipe different from other fire cider recipes online is the method. Most tell you to just throw everything in a jar and forget it. I found that lightly bruising the herbs and aromatics before adding the vinegar releases more of their beneficial compounds. It is a small step that makes a noticeable difference in both flavor and potency.
This is not just another wellness drink. It is the kind of recipe that becomes a winter ritual. The first shot of the season feels like putting on armor. You can almost feel your immune system waking up. And honestly, there is something deeply satisfying about making your own medicine from whole foods.
What Ingredients You Will Need
This recipe uses common kitchen ingredients that each play a specific role. The vinegar acts as both preservative and extractor, pulling the beneficial compounds from the herbs and aromatics. The garlic and horseradish provide antimicrobial properties, while the ginger and turmeric add anti-inflammatory support.
- Raw apple cider vinegar, 2 cups (unfiltered, with the mother — I prefer Braggs or Vermont Village for consistent quality)
- Fresh garlic, 8-10 cloves (peeled and lightly crushed to release allicin)
- Fresh horseradish root, 1/4 cup (peeled and chopped into small cubes; look for firm roots without soft spots)
- Fresh ginger root, 2 inches (peeled and sliced into thin rounds)
- Fresh turmeric root, 1 inch (peeled and sliced; it will stain your hands, so wear gloves)
- Medium yellow onion, 1/2 (chopped roughly)
- Fresh jalapeño or habanero, 1 (sliced; remove seeds for less heat, leave them in for maximum kick)
- Lemon, 1 whole (washed and sliced into rounds)
- Fresh rosemary sprig, 1 (or 1 teaspoon dried)
- Fresh thyme sprigs, 2-3 (or 1/2 teaspoon dried)
- Ground black pepper, 1 teaspoon (essential for turmeric absorption)
- Raw honey, 2-4 tablespoons (add after steeping; use local honey for additional immune benefits)
For substitutions: If you cannot find fresh horseradish, use 2 tablespoons of prepared horseradish in vinegar. Dried turmeric works in a pinch, but fresh is significantly more potent. If you are avoiding nightshades, skip the jalapeño and add extra ginger for heat instead. The rosemary and thyme are flexible—use what you have on hand. I have made excellent batches with oregano and sage when that was what the garden offered.
Equipment Needed
The beauty of this recipe is that it requires almost nothing special. You probably own everything already.
- Quart-sized glass jar with a tight-fitting lid (Mason jars work perfectly; avoid plastic as the vinegar can leach chemicals)
- Cutting board and sharp knife
- Wooden spoon or muddler for bruising the aromatics
- Fine-mesh strainer or cheesecloth for straining the finished cider
- Funnel for transferring to storage bottles (optional but helpful)
- Dark glass bottles for long-term storage (amber or cobalt blue protect the vinegar from light degradation)
I have strained fire cider through a clean kitchen towel in a pinch, and it worked fine. The cheesecloth just makes it easier to squeeze out every last drop of liquid from the solids. Do not skip the squeezing step—there is a surprising amount of vinegar trapped in the vegetables, and it is the most potent part.
Preparation Method
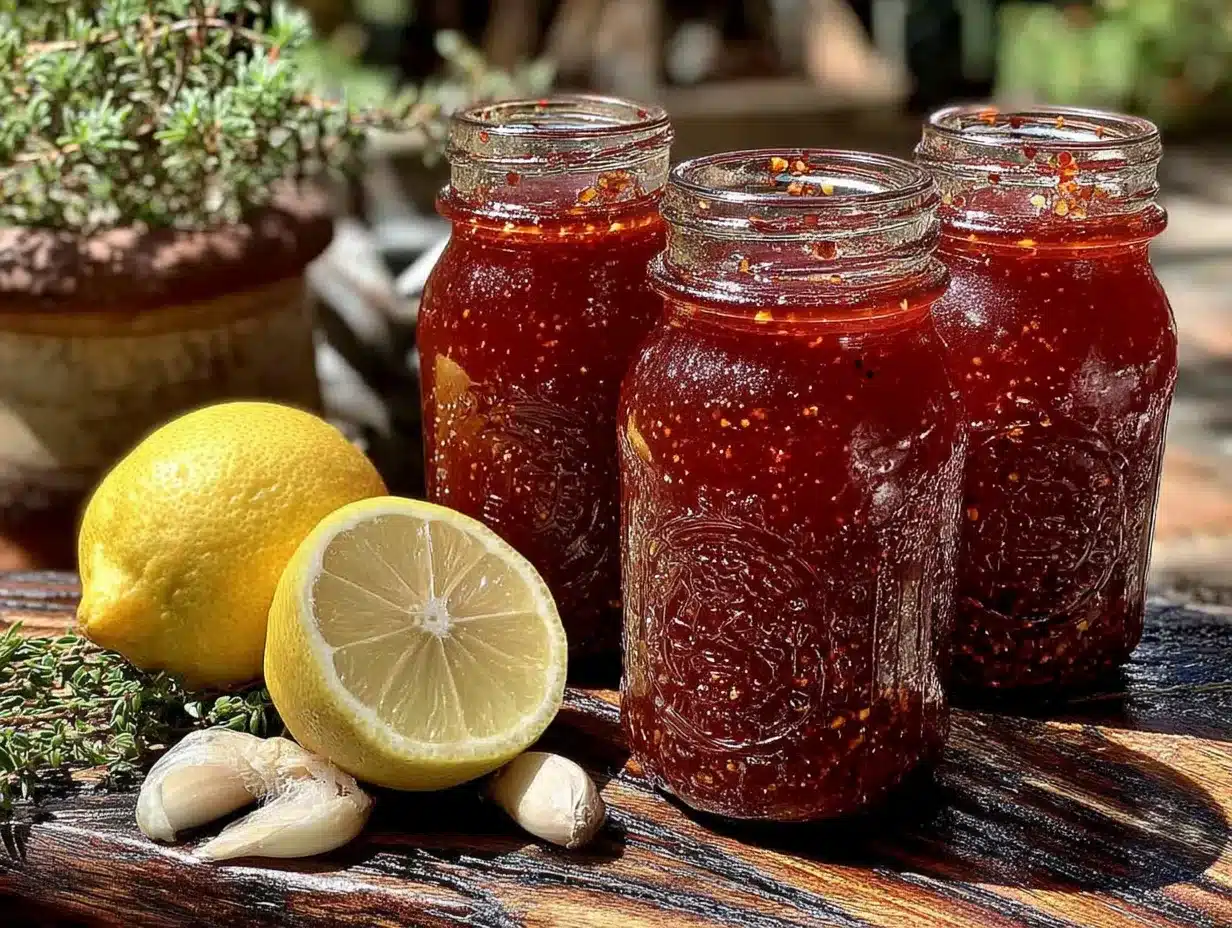
- Prepare your aromatics: Peel and roughly chop the garlic, horseradish, ginger, turmeric, and onion. Slice the lemon and jalapeño into thin rounds. Bruise the rosemary and thyme sprigs slightly by rolling them between your palms or pressing them with the flat side of your knife. This step releases the essential oils and makes a noticeable difference in the final flavor.
- Layer everything in the jar: Start with the harder ingredients—horseradish, ginger, turmeric—at the bottom. Add the garlic, onion, and pepper next. Tuck the herb sprigs and lemon slices along the sides of the jar where they will be visible. This layering is not just for looks; it helps the vinegar circulate evenly during steeping.
- Add the spices: Sprinkle the black pepper over the layered ingredients. The piperine in black pepper increases the bioavailability of curcumin in turmeric by up to 2000%. This is not a suggestion—it is science. Do not skip the pepper.
- Pour the vinegar: Slowly pour the apple cider vinegar over the ingredients until they are completely submerged. Leave about 1/2 inch of headspace at the top of the jar. Tap the jar gently on the counter to release any air bubbles trapped between the layers.
- Seal and shake: Close the lid tightly and give the jar a good shake. You should see the herbs and aromatics swirling around in the vinegar. If any ingredients are floating above the vinegar line, use a clean utensil to push them down. Everything must stay submerged to prevent mold.
- Label and store: Write the date on a piece of masking tape and stick it to the jar. Place the jar in a cool, dark cupboard—not the refrigerator. A kitchen cabinet away from the stove works well. The temperature should be consistent, ideally between 60-70°F.
- Shake daily: For the next four weeks, shake the jar once a day. I keep mine on the counter and give it a shake every time I walk past. This agitation helps the vinegar extract the maximum amount of beneficial compounds from the ingredients.
- Test at week three: Around day 21, start tasting your fire cider. Dip a clean spoon into the liquid and taste it. It should be pungent, spicy, and intensely flavored. If you want it stronger, let it steep another week. I prefer a full four-week steep for maximum potency.
- Strain and bottle: When the flavor is where you want it, set a fine-mesh strainer over a large bowl or measuring cup. Line the strainer with cheesecloth for a clearer final product. Pour the contents of the jar through the strainer. Gather the edges of the cheesecloth and squeeze firmly to extract every drop of liquid from the solids. Do not discard this liquid—it is the strongest part of the batch.
- Sweeten to taste: Whisk the raw honey into the strained liquid until fully dissolved. Start with 2 tablespoons and add more if needed. The honey balances the sharp acidity of the vinegar without masking the medicinal qualities. I use 3 tablespoons for a batch that is pleasantly sweet but still assertive.
- Store properly: Transfer the finished fire cider to dark glass bottles using a funnel. Seal tightly and store in the refrigerator for up to six months. The flavor will continue to mellow slightly over time, but the potency remains stable.
A note on timing: The four-week steep feels long, but it is mostly hands-off. You spend maybe ten minutes total over the entire month. The hardest part is waiting. I usually start a new batch the day I finish the previous one, so there is always a jar steeping in the cupboard.
Cooking Tips & Techniques
The first batch I made, I did not bruise the herbs. I just tossed everything in the jar and poured the vinegar over it. The result was fine, but it lacked the depth of flavor that Jenna’s batch had. Bruising the aromatics—gently crushing the garlic, rolling the rosemary between your palms—releases the volatile oils that give fire cider its complexity. It is a small step, but it matters.
Another mistake I made early on: I used distilled white vinegar because it was what I had. Do not do this. The flavor is harsh and flat. Raw apple cider vinegar with the mother adds a gentle fruitiness that complements the spices. Plus, the mother contains beneficial bacteria that support gut health, which is directly tied to immune function.
Temperature matters during the steeping process. I once stored a batch in a cabinet above the refrigerator, which runs slightly warmer. The vinegar fermented slightly and developed an off flavor. Keep your jar in a spot that stays consistently cool. A basement or root cellar is ideal, but a standard kitchen cabinet works perfectly.
If you are short on time, you can make a quick version by simmering the ingredients in vinegar for 15 minutes, then cooling and straining. It will not be as potent, but it works in a pinch. I have done this when I felt a cold coming on and did not have a batch ready. It is better than nothing, but the slow steep is worth the wait.
One more thing: do not use metal utensils or metal lids that will come in direct contact with the vinegar. The acid can react with certain metals and alter the flavor. Glass jars with plastic or vinegar-safe lids are best. Most Mason jar lids have a plastic coating on the inside, which is fine.
Variations & Adaptations
Fire cider is endlessly customizable. I have made at least a dozen variations over the past two years, and each one taught me something new about the balance of flavors.
- Milder version: Use only half a jalapeño with seeds removed, and reduce the horseradish to 2 tablespoons. Add an extra slice of lemon for brightness. This version is still effective but gentle enough for kids or those with sensitive stomachs.
- Extra spicy version: Add a whole habanero pepper (seeds included), double the ginger, and use 1/3 cup horseradish. This is the version I make for deep winter. It clears your sinuses and warms you from the inside out.
- Herbal garden version: Swap the rosemary and thyme for fresh sage, oregano, and lemon balm from your garden. Each herb brings its own immune-supporting properties. Sage is particularly good for sore throats.
- Golden milk twist: Add a cinnamon stick, 3 whole cloves, and an extra inch of turmeric. This version tastes almost like a savory chai when mixed with warm water. It is my favorite for sipping slowly on cold mornings.
- Low-sugar option: Skip the honey entirely or use stevia to taste. The fire cider will be sharper and more vinegar-forward, but still effective. I make a honey-free batch for a friend who avoids sugar, and she loves it.
I once tried a version with beetroot added for color and extra antioxidants. It turned the fire cider a stunning magenta, but the earthy flavor overwhelmed the other ingredients. Some experiments fail, and that is okay. Stick with the base recipe and adjust one ingredient at a time so you know what each change does.
Serving & Storage Suggestions
Fire cider is best taken as a daily shot, 1-2 tablespoons straight from the refrigerator. I take mine first thing in the morning, before coffee. The initial hit is sharp and spicy, but it fades quickly into a warm sensation in your chest. If the straight shot is too intense for you, dilute it in a small glass of warm water or add it to salad dressing.
It also makes an incredible vinaigrette. Whisk 2 tablespoons of fire cider with 1/4 cup olive oil, a pinch of salt, and a dab of mustard. The dressing is bright, spicy, and perfect on bitter greens. I use it on arugula salads throughout winter.
For storage, keep the finished fire cider in the refrigerator. The cold temperature preserves the freshness and keeps the flavors bright. It will last up to six months, though I have never had a batch last that long because I use it too quickly. The flavor does mellow slightly after the first month, but the potency remains stable.
Do not freeze fire cider. The vinegar base does not freeze solid, but the texture changes and the honey can crystallize. Refrigeration is all it needs.
I also recommend making a double batch during peak cold and flu season. Having two jars steeping at different stages means you always have a fresh batch ready when the previous one runs out. It becomes a rhythm, like sourdough feeding or weekly meal prep.
Nutritional Information & Benefits
Per 1-tablespoon serving (approximate):
- Calories: 15
- Carbohydrates: 3g
- Sugars: 2g (from honey)
- Vitamin C: 2mg
- Manganese: 0.1mg
- Potassium: 20mg
The real value here is not in the macros but in the bioactive compounds. Garlic contains allicin, a sulfur compound with demonstrated antimicrobial and antiviral properties. Ginger and turmeric are potent anti-inflammatories, and the black pepper ensures your body actually absorbs the curcumin. Horseradish contains glucosinolates that support the body’s natural detoxification pathways. Raw apple cider vinegar with the mother provides probiotics that support gut health, which is directly linked to immune function.
This recipe is naturally gluten-free, dairy-free, and vegan if you omit the honey. The only potential allergen is the nightshade family (jalapeño or habanero), which is easily omitted. If you are on blood-thinning medication, consult your doctor before consuming high amounts of ginger and turmeric regularly.
I am not a nutritionist, and this is not medical advice. But I can tell you that since I started making fire cider, my winter sick days dropped from three or four per season to maybe one mild cold that lasted two days. That is enough evidence for me.
Conclusion
This Homemade Fire Cider Immune Boost Shots recipe turned me from a skeptic into someone who keeps a jar steeping year-round. It is simple, affordable, and genuinely effective. The process is forgiving, the ingredients are flexible, and the result is something you will actually look forward to taking each morning.
I encourage you to make this recipe your own. Adjust the heat, swap the herbs, or double the garlic. The first batch is a starting point, not a final destination. Every batch teaches you something new about how flavors work together and what your body responds to.
If you make this fire cider, I would love to hear how it turns out. Leave a comment below and tell me about your version. Did you add something unexpected? Did you make it for someone who was skeptical at first? Those are my favorite stories to read.
And if you are looking for another recipe that feels like a warm hug during cold season, try these mini lemon blueberry cheesecakes—they are the perfect treat to enjoy after your daily immune shot. Trust me, the contrast between spicy and sweet is exactly what winter needs.
Stay well, keep a jar steeping, and do not be afraid of the swamp water.
Frequently Asked Questions
How long does homemade fire cider last?
Stored properly in the refrigerator, fire cider lasts up to six months. The flavor will mellow slightly after the first month, but it remains effective. If you notice any mold, cloudiness, or off smells, discard it and start fresh.
Can I drink fire cider every day?
Yes, 1-2 tablespoons daily is a common maintenance dose. Start with a smaller amount to see how your digestive system responds, especially if you are not used to raw vinegar or spicy foods. Some people prefer to take it only during cold and flu season rather than year-round.
Do I need to refrigerate fire cider while it steeps?
No. During the four-week steeping period, keep the jar in a cool, dark cupboard at room temperature. Refrigerating it will slow the extraction process significantly. Only refrigerate after straining and bottling.
Can I use dried herbs instead of fresh?
Yes, dried herbs work well in this recipe. Use about 1 teaspoon of dried herb for every 1 tablespoon of fresh called for. Dried herbs are more concentrated, so you need less. They also rehydrate in the vinegar and release their compounds effectively.
Is fire cider safe for children?
In small amounts, yes. Start with 1/2 teaspoon diluted in water or juice for children over age two. Reduce the spice level in the batch if making it specifically for kids. Always consult your pediatrician before introducing any herbal remedy to a child’s routine.
For more simple, wholesome recipes, browse the full collection on Junomeals.
Pin This Recipe!
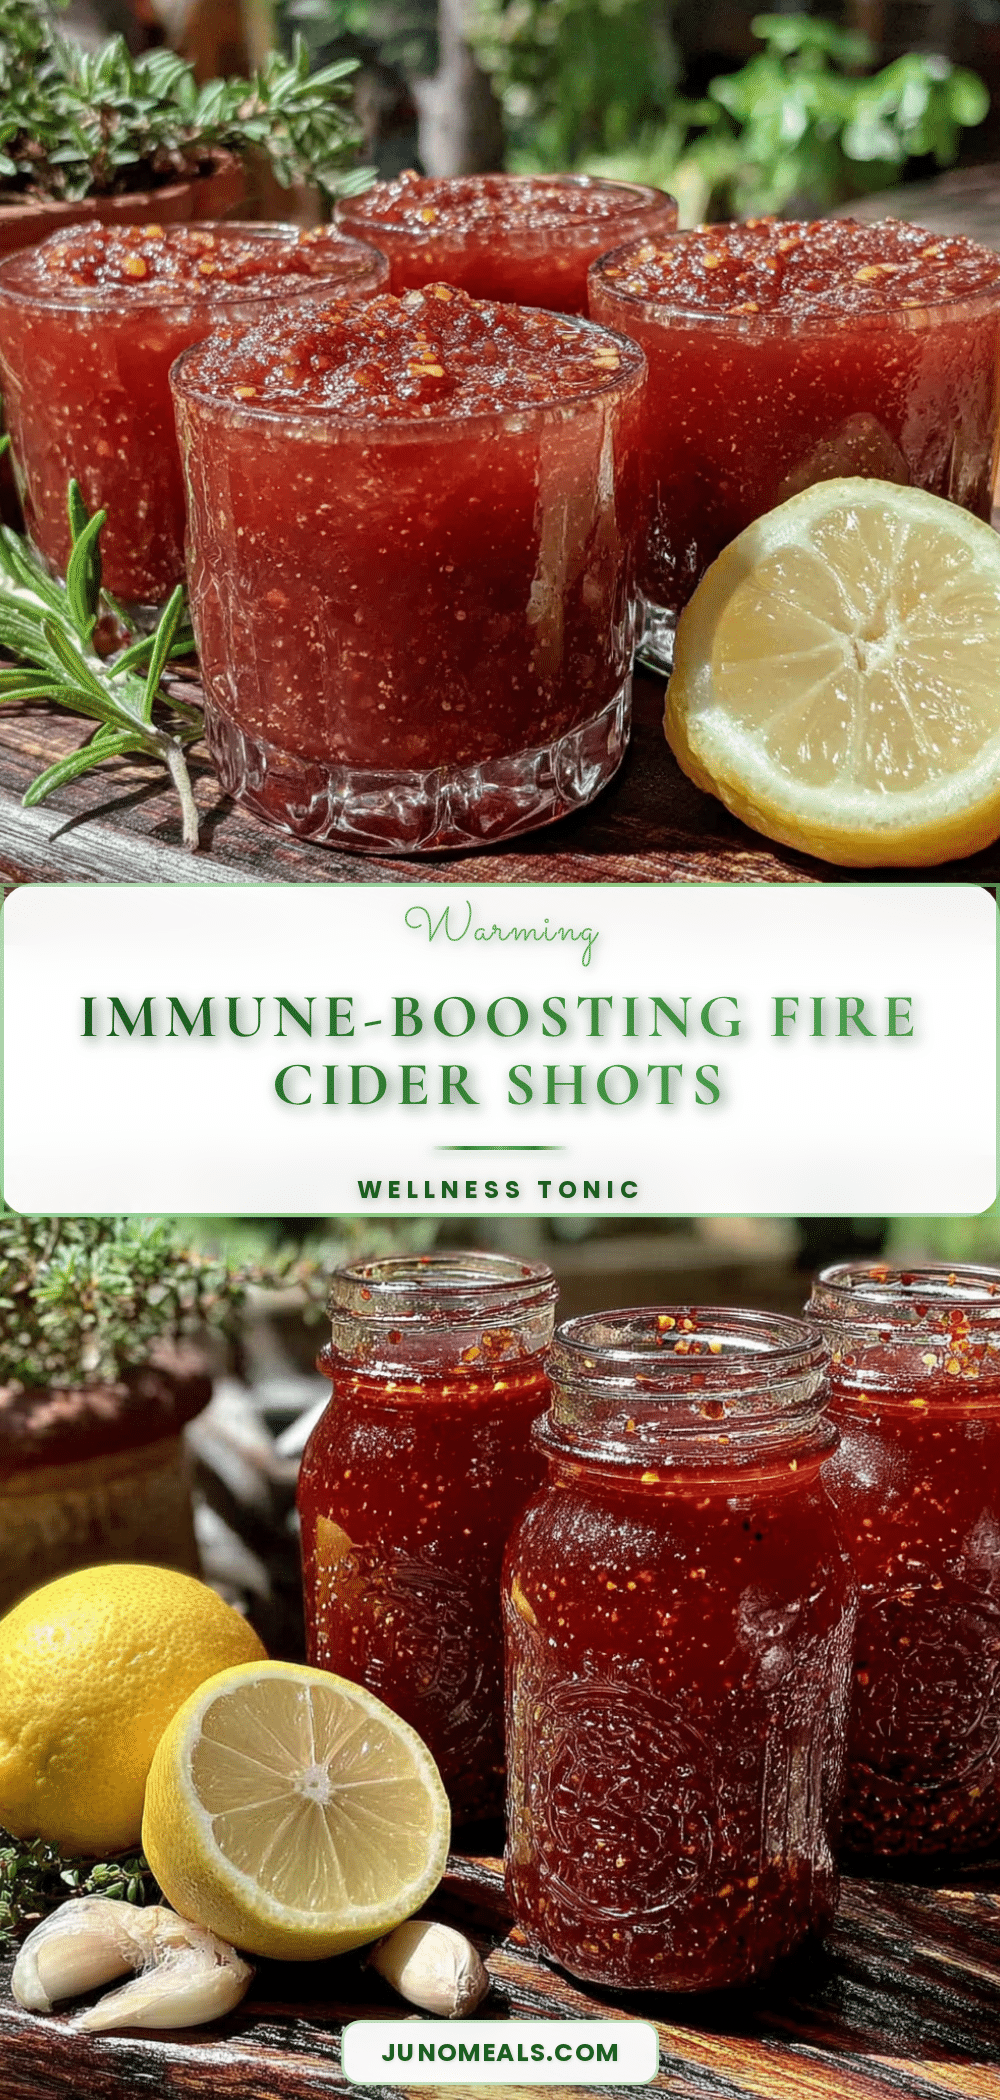
Homemade Fire Cider Immune Boost Shots: Best Easy Recipe
This Homemade Fire Cider Immune Boost Shots recipe is a spicy, tangy, potent tonic that actually makes a difference when cold season hits. It is simple, affordable, and fully customizable, using common kitchen ingredients to create a daily immune-boosting shot.
- Prep Time: 15 minutes
- Cook Time: 0 minutes
- Total Time: 28 days (4 weeks steeping)
- Yield: Approximately 2 cups (32 servings of 1 tablespoon each) 1x
- Category: Beverage / Wellness Tonic
- Cuisine: American
Ingredients
- 2 cups raw apple cider vinegar (unfiltered, with the mother)
- 8–10 cloves fresh garlic (peeled and lightly crushed)
- 1/4 cup fresh horseradish root (peeled and chopped into small cubes)
- 2 inches fresh ginger root (peeled and sliced into thin rounds)
- 1 inch fresh turmeric root (peeled and sliced)
- 1/2 medium yellow onion (chopped roughly)
- 1 fresh jalapeño or habanero (sliced; remove seeds for less heat)
- 1 whole lemon (washed and sliced into rounds)
- 1 sprig fresh rosemary (or 1 teaspoon dried)
- 2–3 sprigs fresh thyme (or 1/2 teaspoon dried)
- 1 teaspoon ground black pepper
- 2–4 tablespoons raw honey (add after steeping)
Instructions
- Prepare your aromatics: Peel and roughly chop the garlic, horseradish, ginger, turmeric, and onion. Slice the lemon and jalapeño into thin rounds. Bruise the rosemary and thyme sprigs slightly by rolling them between your palms or pressing them with the flat side of your knife.
- Layer everything in the jar: Start with the harder ingredients—horseradish, ginger, turmeric—at the bottom. Add the garlic, onion, and pepper next. Tuck the herb sprigs and lemon slices along the sides of the jar.
- Add the spices: Sprinkle the black pepper over the layered ingredients.
- Pour the vinegar: Slowly pour the apple cider vinegar over the ingredients until they are completely submerged. Leave about 1/2 inch of headspace at the top of the jar. Tap the jar gently on the counter to release any air bubbles.
- Seal and shake: Close the lid tightly and give the jar a good shake. If any ingredients are floating above the vinegar line, use a clean utensil to push them down.
- Label and store: Write the date on a piece of masking tape and stick it to the jar. Place the jar in a cool, dark cupboard (not the refrigerator) at a consistent temperature between 60-70°F.
- Shake daily: For the next four weeks, shake the jar once a day.
- Test at week three: Around day 21, start tasting your fire cider. If you want it stronger, let it steep another week. I prefer a full four-week steep for maximum potency.
- Strain and bottle: When the flavor is where you want it, set a fine-mesh strainer over a large bowl or measuring cup. Line the strainer with cheesecloth for a clearer final product. Pour the contents of the jar through the strainer. Gather the edges of the cheesecloth and squeeze firmly to extract every drop of liquid from the solids.
- Sweeten to taste: Whisk the raw honey into the strained liquid until fully dissolved. Start with 2 tablespoons and add more if needed.
- Store properly: Transfer the finished fire cider to dark glass bottles using a funnel. Seal tightly and store in the refrigerator for up to six months.
Notes
Bruising the aromatics (gently crushing garlic, rolling herbs) releases volatile oils for better flavor and potency. Use raw apple cider vinegar with the mother for best results. Avoid metal utensils or lids that contact the vinegar. Store in a cool, dark place during steeping (60-70°F). For a quick version, simmer ingredients in vinegar for 15 minutes, then cool and strain (less potent).
Nutrition
- Serving Size: 1 tablespoon
- Calories: 15
- Sugar: 2
- Carbohydrates: 3
Keywords: fire cider, immune boost, homemade fire cider, wellness shots, apple cider vinegar tonic, immune support, natural remedy, cold season remedy


