That first pop of the crescent roll can—the one that always makes me jump, even though I know it’s coming—still takes me straight to my friend Jenna’s cramped apartment kitchen, three Octobers ago. She was elbow-deep in cheese and flour, trying to wrangle a batch of stuffed jalapeños, and I was the designated “helper” who mostly just got in the way. “Just grab the pigs in a blanket,” she said, waving a flour-dusted hand at the fridge, “and make them look creepy.” I stared at the package of little smoked sausages, the can of dough, and a jar of mustard. Mummy Pigs in a Blanket for Halloween were born in that chaotic, laughing mess of a kitchen. They were the hit of the party, and honestly, they’ve been a non-negotiable part of my October ever since.
There’s a specific, almost primal satisfaction in wrapping a tiny sausage in a strip of dough. It feels like you’re making tiny little food babies, swaddling them for a spooky slumber party. The best part? They are deceptively simple. You don’t need to be a pastry chef or a special effects artist. You just need a steady hand and a willingness to play with your food. That’s the whole spirit of Halloween, isn’t it? A little bit of harmless, delicious chaos.
This isn’t just another appetizer recipe. It’s a shortcut to becoming the hero of your Halloween party without breaking a sweat. The kids will devour them, the adults will pretend they’re too sophisticated but will secretly eat six, and you’ll look like a culinary genius. With just three main ingredients, this is the kind of recipe that sticks. It’s the one you’ll make every single year, not because you have to, but because it’s become part of the fun.
Why You’ll Love This Recipe
Let’s be honest: Halloween cooking can be a trap. You see those incredibly intricate cakes and those perfectly sculpted cheese balls on Pinterest, and you think, “I can do that.” Then you’re three hours in, covered in orange food coloring, and crying over a melting ghost. Not this time. This recipe is your hall pass from all that stress.
- Unbelievably Easy: We are talking a 20-minute total time from fridge to table. You can literally make these while the pizza is in the oven. They are the ultimate last-minute party hero.
- Kid-Friendly Fun: This is the perfect recipe for little hands. My nephew, who refuses to touch a raw vegetable, will carefully wrap these sausages for an hour. It’s a craft project you can eat.
- Crowd-Pleasing Flavor: It’s the classic, unbeatable combo of flaky, buttery dough wrapped around a savory, smoky sausage. Dipped in ketchup or spicy mustard? Pure comfort food perfection.
- Minimal Cleanup: One baking sheet, a small bowl for the mustard “eyes,” and maybe a knife. You won’t be scrubbing pots and pans while your guests are having fun.
- Guaranteed Conversation Starter: People can’t help but smile when they see these little guys. They are visually funny and cute, which is the perfect icebreaker for any party.
I’ve tested this with different kinds of dough—the fancy, expensive puff pastry, the homemade stuff from scratch—and you know what? The classic, cheap can of crescent rolls wins every time. It’s flaky, it’s forgiving, and it tastes exactly like the Halloween parties of my childhood. This isn’t a recipe that needs to be “elevated.” It just needs to be made and eaten.
What Ingredients You Will Need
You are going to love this shopping list. It’s so short you could probably memorize it on your way to the store. These are the building blocks of your adorable little mummies.
- 1 can (8 oz) Refrigerated Crescent Roll Dough: This is the non-negotiable star. I’ve tried the store brands, and they work fine, but I personally find Pillsbury Original Crescents to have the best, most reliable flakiness. You want the sheet-style dough if you can find it (it has perforations to make four rectangles), but the classic triangle-style works perfectly too. If using triangles, you just press the seams together.
- 24 small Cocktail Smoked Sausages or Lit’l Smokies: These are the “bodies” of your mummies. I prefer the beef or pork Lit’l Smokies for their classic flavor, but you can find chicken or turkey versions for a lighter option. Look for the ones that are about 2 inches long. Don’t get the big, foot-long hot dogs—they won’t look as cute or cook as evenly.
- 1-2 tablespoons Yellow Mustard: This is for the “eyes.” The bright yellow color is perfect for creating a spooky, googly-eyed look. You can use Dijon for a more sophisticated flavor, but the color isn’t as vibrant. I’ve also used a dab of sriracha for a spicy, red-eyed monster look.
- Optional: Everything Bagel Seasoning or Poppy Seeds: This is my secret trick. A light sprinkle over the dough before baking gives the mummies a “dirt” or “ancient tomb” texture. It’s completely optional but adds a fantastic savory crunch and a visual layer that makes people say, “Ooh, what’s that?”
- Optional: Cooking Spray or Parchment Paper: You need something to prevent sticking. A silpat mat or a sheet of parchment paper is my go-to. It makes cleanup a breeze.
The beauty of this recipe is its simplicity. You don’t need to hunt down specialty ingredients. These are all pantry and fridge staples that you probably already have on hand, especially if you’re a regular party host. If you’re looking for another no-fuss party dessert, you might love my Mini Lemon Blueberry Cheesecakes—they’re just as easy to assemble and always disappear fast.
Equipment Needed
You won’t need to break out the stand mixer or the food processor for this one. The equipment list is as minimal as the ingredients.
- Baking Sheet: A standard half-sheet pan (18×13 inches) is perfect. You want a rimmed sheet to catch any butter that might drip off the dough.
- Parchment Paper or Silicone Baking Mat: This is crucial for easy cleanup and preventing the bottoms from sticking. I’ve had a few batches stick to a bare pan, and it’s heartbreaking to peel the crispy bottom off a mummy.
- Sharp Knife or Pizza Cutter: You need something sharp to cut the dough into thin strips. A pizza cutter is my favorite tool for this job—it’s fast and makes perfectly straight lines. A sharp chef’s knife works great too.
- Small Bowl: For the mustard. You’ll use a toothpick to dot the eyes.
- Toothpicks or a Small Offset Spatula: A toothpick is the perfect tool for applying the tiny mustard dots for the eyes. A small offset spatula is great for moving the delicate wrapped mummies from the cutting board to the baking sheet.
- Cooling Rack: While not strictly necessary, a cooling rack helps the bottoms stay crispy. If you leave them on the hot baking sheet, the steam can make them a little soggy.
That’s it! If you have a knife, a pan, and a toothpick, you are ready to go. No special equipment required.
Preparation Method
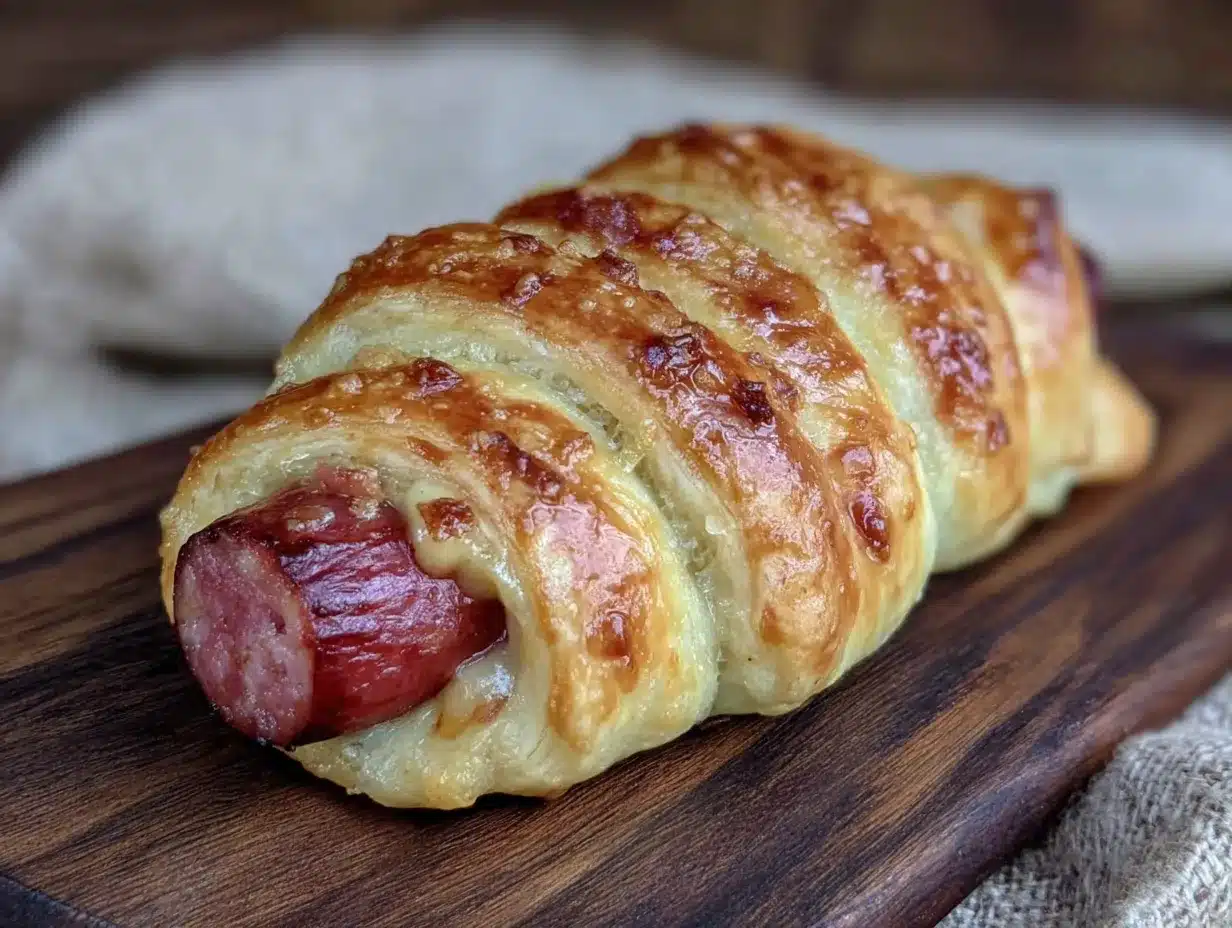
Alright, let’s get to the fun part. This is where you become a mummy maker. Follow these steps, and you’ll have a sheet pan full of adorable, delicious creatures in no time.
- Preheat and Prep: First things first, preheat your oven to 375°F (190°C). While it’s heating up, line your baking sheet with parchment paper or a silicone mat. This is a non-negotiable step for me—it saves so much cleanup time.
- Prepare the Dough: Open the can of crescent rolls. If you’re using the sheet-style dough, unroll it and press the perforations together to form one large rectangle. If you’re using the triangle-style dough, pinch the seams together to form two rectangles. You want a solid sheet of dough.
- Cut the Strips: Using your sharp knife or pizza cutter, cut the dough into long, thin strips. You want them to be about 1/4 to 1/2 inch wide. They don’t have to be perfectly uniform—a little imperfection makes the mummies look more “hand-wrapped” and authentic. For a standard can of dough, I usually get about 24-30 strips.
- Wrap the Mummies: Take one cocktail sausage and one strip of dough. Start at one end of the sausage and wrap the dough strip around it, slightly overlapping as you go. Leave a small gap at the top of the sausage for the “face.” Don’t wrap it too tightly—the dough will expand as it bakes, and you want the mummy to look a little loose and shambling, not like it’s in a straitjacket. Place the wrapped mummy on the prepared baking sheet, seam-side down.
- Repeat and Space: Continue wrapping the remaining sausages. Place them on the baking sheet about 1 inch apart. They will spread a little as they bake, but they don’t expand too much. You should be able to fit all 24 on one standard sheet pan.
- Add the Eyes (Before Baking): This is the step that brings them to life! Dip a toothpick into the yellow mustard and dot two small eyes onto the exposed sausage face. Don’t make them too big—a tiny dab is all you need. You can make them look scared, angry, or just derpy. I like to vary the expressions across the pan. Some get two dots, some get one big dot, some get a little “X” for a dead mummy.
- Bake to Perfection: Place the baking sheet on the middle rack of your preheated oven. Bake for 10-13 minutes, or until the dough is puffed up and a deep golden brown. The sausages are already cooked, so you’re just heating them through and cooking the dough. Keep an eye on them after 10 minutes—oven temperatures vary, and you don’t want burnt mummies.
- Cool and Serve: Remove the baking sheet from the oven. Let the mummies cool on the pan for 2-3 minutes. This allows the dough to set. Then, transfer them to a serving platter or a cooling rack. Serve them warm with extra mustard, ketchup, or your favorite dipping sauce.
Pro tip from my own kitchen disasters: If you find the dough is sticking to your fingers while you wrap, dip your fingertips in a little bit of water. It helps the dough slide off your skin without tearing.
Cooking Tips & Techniques
I’ve made these mummies more times than I can count, and I’ve learned a few things the hard way. Here are my top tips for guaranteed success.
- The Dough Temperature Trap: Cold dough is your best friend. If the dough gets too warm and soft, it becomes a sticky, impossible-to-work-with mess. If you’re a slow wrapper (like me), work with half the dough at a time and keep the other half in the fridge. If the strips start tearing, pop them in the fridge for 5 minutes to firm up.
- Don’t Overlap Too Much: You want to see the sausage peeking through the gaps in the dough. That’s what makes it look like a mummy. If you wrap it too tightly or overlap the dough too much, it just looks like a sausage in a bread coat. Leave some space! The dough will puff up and fill in some of the gaps anyway.
- The Mustard Eye Secret: I learned this from a disastrous first attempt. Do NOT use a piping bag for the mustard eyes. The dots will be too big and will run off the sausage. A toothpick gives you perfect, tiny, controlled dots. Also, don’t use too much mustard—a little dab will do ya. You want a hint of tanginess, not a mouthful of mustard.
- Spacing is Key: Don’t crowd the pan. The mummies need a little breathing room to puff up and get crispy. If they are touching, they will steam each other and the bottoms will be soft. A little space ensures they get that beautiful golden-brown crust all around.
- Make Ahead Magic: You can assemble these mummies up to a day in advance! Just wrap them, place them on the baking sheet, and cover the whole thing tightly with plastic wrap. Store them in the fridge. When you’re ready to bake, just add the mustard eyes and pop them in the oven. You might need to add 1-2 minutes to the baking time since the dough will be cold.
I once tried to rush and skipped the parchment paper. Let’s just say I spent more time scrubbing the pan than I did making the appetizer. Learn from my mistakes!
Variations & Adaptations
Once you master the basic mummy, the possibilities are endless. Here are a few of my favorite ways to switch it up.
- The Cheesy Mummy: Before wrapping the sausage, slice it lengthwise almost all the way through (like a hot dog bun). Stuff a thin strip of cheddar or mozzarella cheese into the slit. Then wrap as usual. The cheese will melt out slightly during baking, creating a gooey, delicious mess.
- The Spicy Mummy: Mix a tablespoon of sriracha or your favorite hot sauce into the mustard before dotting the eyes. Or, use spicy chorizo-style sausages instead of the classic Lit’l Smokies for a serious kick.
- The Puff Pastry Mummy: For a flakier, more buttery version, use a sheet of frozen puff pastry (thawed). Cut it into strips and wrap as usual. The puff pastry will create a much taller, more delicate mummy. Bake at 400°F (200°C) for about 15 minutes, or until golden and puffed.
- The Vegan Mummy: This is easier than you think! Use vegan cocktail sausages (like Field Roast or Beyond Meat breakfast links) and a can of vegan crescent rolls (many brands are accidentally vegan, but check the label). The process is exactly the same.
- The Breakfast Mummy: Swap the cocktail sausages for breakfast sausage links. Serve these with a side of maple syrup for dipping. The sweet and savory combo is absolutely incredible for a Halloween morning breakfast.
My personal favorite variation is the “Spider Mummy.” I cut eight very thin strips of dough and wrap them around the sausage so they look like eight spider legs sticking out. It’s a little more work, but the visual payoff at a party is huge.
Serving & Storage Suggestions
These little guys are best served warm, right out of the oven. The dough is at its peak flakiness, and the sausages are perfectly hot in the center.
- Serving Temperature: Serve them warm, but they are also perfectly delicious at room temperature. This makes them ideal for a buffet table. They won’t get sad and soggy like some other appetizers.
- Presentation Ideas: Arrange them on a large platter. I like to serve them on a black or orange plate for the full Halloween effect. Place a small bowl of mustard in the center for dipping, and maybe a bowl of ketchup on the side. You can even arrange them in the shape of a giant spider web on the platter.
- Dipping Sauces: Beyond the classic ketchup and mustard, try a spicy aioli, a creamy ranch dressing, a sweet chili sauce, or even a little bit of honey mustard. The savory, salty flavor of the mummies pairs well with almost anything.
- Storage: If you have leftovers (which is rare in my house), let them cool completely. Store them in an airtight container in the refrigerator for up to 3 days.
- Reheating: The oven is your best friend here. Reheat them on a baking sheet at 350°F (175°C) for 5-7 minutes, or until they are hot and the dough crisps back up. The microwave will work in a pinch, but the dough will be soft and chewy, not flaky.
I’ve noticed that the flavor actually gets a little better after a day. The mustard soaks into the sausage just a bit, and the dough absorbs some of the smoky flavor. They are a fantastic make-ahead option.
Nutritional Information & Benefits
Let’s be real: this is a party appetizer, not a health food. But that doesn’t mean we can’t be smart about it. Here’s a general estimate for one mummy (based on standard ingredients).
- Calories: Approximately 80-100 calories per mummy.
- Protein: About 3-4 grams, mostly from the sausage.
- Carbohydrates: Around 6-8 grams, primarily from the dough.
- Fat: 5-7 grams, depending on the type of sausage and dough.
While they aren’t a superfood, they do have a few surprising benefits. The cocktail sausages provide a decent amount of protein, which helps keep you full and satisfied—perfect for a party where you might be grazing for hours. The dough provides quick energy. Plus, you are in control of the portion size. It’s easy to grab two or three and feel satisfied without overdoing it.
If you are looking for a slightly lighter option, using the turkey or chicken sausages and the low-fat crescent rolls can cut the calories and fat by about 20-25%. But honestly, for a once-a-year Halloween treat, I say go for the full-fat version and enjoy every single bite.
For more delicious and easy party ideas, be sure to browse our other quick and simple recipes that are perfect for any occasion.
Conclusion
These Easy Mummy Pigs in a Blanket are more than just a recipe. They are a little piece of Halloween magic that you can create in your own kitchen with almost no effort. They are the appetizer that makes people stop, smile, and say, “Oh my gosh, those are so cute!” before they eat three of them in a row.
I love this recipe because it embodies the true spirit of Halloween: fun, a little bit spooky, and completely delicious. It’s a tradition I look forward to every year, and I hope it becomes one in your home too. Don’t be afraid to get creative with the faces, the dips, and the variations. Make these mummies your own.
So go ahead, grab a can of dough and a pack of sausages. Get the kids involved. Crank up the spooky playlist. And make a batch of the cutest, tastiest Halloween appetizer you’ve ever seen. When you make them, come back and tell me about it in the comments! I’d love to hear about your funniest mummy face or your favorite dipping sauce discovery. Happy Halloween, and happy cooking!
Frequently Asked Questions
Can I use hot dogs instead of cocktail sausages?
Absolutely! Cut each hot dog into 3-4 pieces (about 2 inches long). The wrapping process is exactly the same. You might need to cut your dough strips a little wider to accommodate the larger sausage pieces.
Can I make these in an air fryer?
Yes, you can! Preheat your air fryer to 350°F (175°C). Place the mummies in a single layer in the basket (you may need to work in batches). Cook for 5-7 minutes, or until the dough is golden brown and crispy. No need to flip them halfway through.
My dough keeps tearing. What am I doing wrong?
This usually happens when the dough is too cold or too warm. If it’s straight from the fridge, let it sit on the counter for 5 minutes to soften slightly. If it’s too warm and sticky, pop it in the fridge for 10 minutes. Also, make sure your knife or pizza cutter is very sharp—a dull blade will drag and tear the delicate dough.
Can I freeze the unbaked mummies?
Yes! This is a great make-ahead strategy. Assemble the mummies completely (including the mustard eyes) and place them on a parchment-lined baking sheet. Freeze them until they are solid (about 2 hours). Then transfer them to a freezer-safe bag or container. To bake, place them frozen on a baking sheet and add 3-5 minutes to the baking time.
What can I use instead of mustard for the eyes?
If you don’t like mustard, there are plenty of options! You can use a tiny dab of ketchup (it will look like bloodshot eyes), a small piece of black olive, a poppy seed, or a tiny dot of sriracha. The goal is just to have a small, dark dot that looks like an eye.
Pin This Recipe!
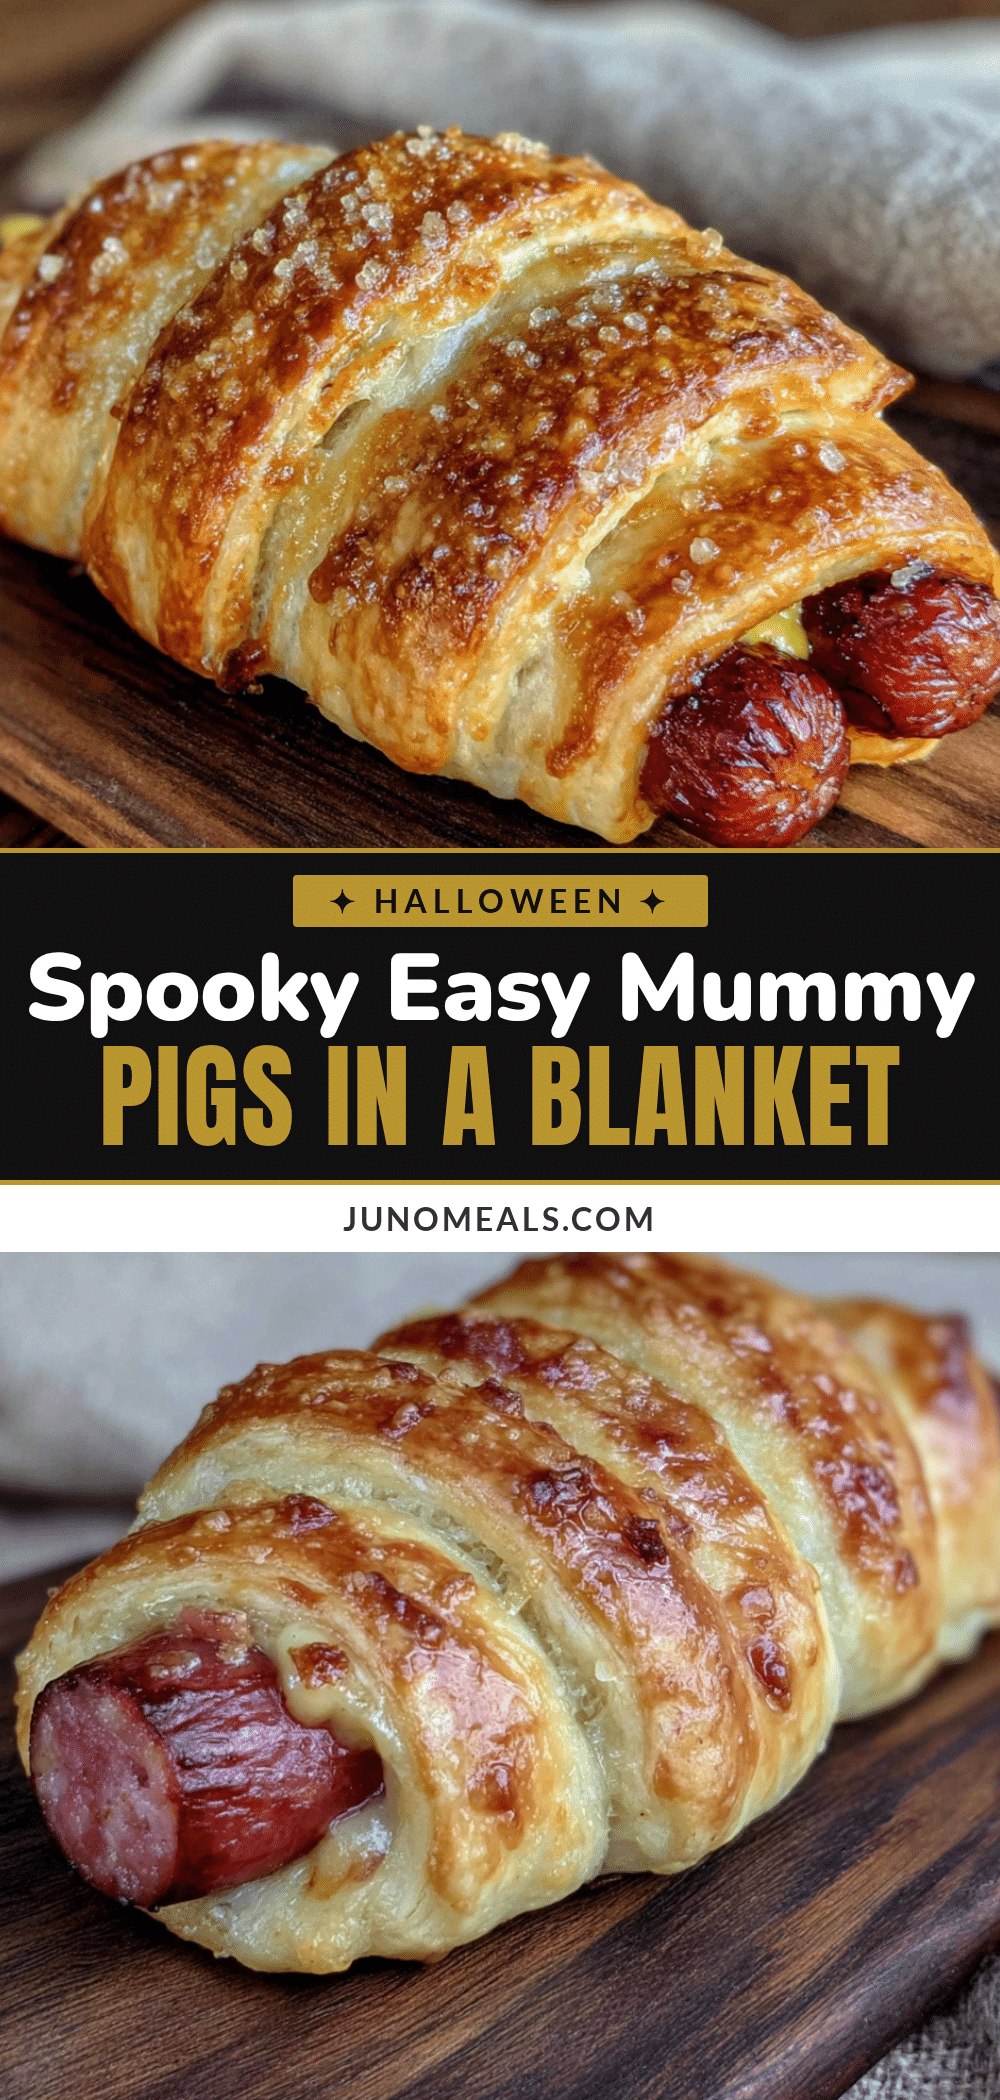
Easy Mummy Pigs in a Blanket: Best Halloween Appetizer
These adorable Mummy Pigs in a Blanket are the ultimate Halloween party appetizer. Made with just three main ingredients, they are unbelievably easy to make in 20 minutes and guaranteed to be a crowd-pleaser.
- Prep Time: 10 minutes
- Cook Time: 13 minutes
- Total Time: 23 minutes
- Yield: 24 mummies (about 8 servings) 1x
- Category: Appetizer
- Cuisine: American
Ingredients
- 1 can (8 oz) Refrigerated Crescent Roll Dough
- 24 small Cocktail Smoked Sausages or Lit’l Smokies
- 1–2 tablespoons Yellow Mustard
- Optional: Everything Bagel Seasoning or Poppy Seeds
- Optional: Cooking Spray or Parchment Paper
Instructions
- Preheat your oven to 375°F (190°C). Line a baking sheet with parchment paper or a silicone mat.
- Open the can of crescent rolls. If using sheet-style dough, unroll and press perforations together to form one large rectangle. If using triangle-style, pinch seams together to form two rectangles.
- Using a sharp knife or pizza cutter, cut the dough into long, thin strips about 1/4 to 1/2 inch wide. You should get about 24-30 strips.
- Take one cocktail sausage and one strip of dough. Start at one end of the sausage and wrap the dough strip around it, slightly overlapping as you go. Leave a small gap at the top for the ‘face.’ Place the wrapped mummy on the prepared baking sheet, seam-side down.
- Repeat with remaining sausages, placing them about 1 inch apart on the baking sheet.
- Dip a toothpick into the yellow mustard and dot two small eyes onto the exposed sausage face of each mummy.
- Place the baking sheet on the middle rack of the preheated oven. Bake for 10-13 minutes, or until the dough is puffed up and deep golden brown.
- Remove from the oven and let cool on the pan for 2-3 minutes. Transfer to a serving platter or cooling rack. Serve warm with extra mustard, ketchup, or your favorite dipping sauce.
Notes
Cold dough is easier to work with. If dough gets too warm, refrigerate for 5 minutes. Don’t overlap dough too much; leave gaps for the mummy look. Use a toothpick for perfect mustard eyes. Mummies can be assembled up to a day in advance and stored in the fridge. For freezing, assemble completely (with eyes), freeze solid, then store in a freezer bag. Add 3-5 minutes to baking time when baking from frozen.
Nutrition
- Serving Size: 3 mummies
- Calories: 270
- Sugar: 4
- Sodium: 680
- Fat: 18
- Saturated Fat: 6
- Carbohydrates: 21
- Protein: 9
Keywords: Halloween appetizer, mummy pigs in a blanket, easy appetizer, party food, kid-friendly, crescent roll recipe, cocktail sausages


