It was the last Sunday of October, and the rain had been falling in that steady, determined way that makes the whole world feel muffled and still. The kitchen was warm from the oven preheating, and I had a single can of pumpkin puree sitting on the counter, staring at me like a challenge. I wanted something that felt like fall but also felt like a reward—not just another pumpkin bread or a basic pie. I wanted a bar you could pick up with your fingers, bite into, and get that perfect moment where the tangy cheesecake meets the spiced pumpkin and then, right at the end, a thread of salty caramel pulls everything together. Honestly, I had no idea if it would work. I just started mixing, trusting the process, and letting the rain do the thinking for me.
The first batch came out fine. Edible. But it wasn’t the one. The crust was too crumbly, the caramel slid right off the top, and the pumpkin layer felt a little flat. So I did what any stubborn home cook does—I made it again the next day. And then again. By the third try, I had stopped measuring with precision and started measuring with instinct. That’s when everything clicked. The crust got that perfect buttery snap, the cheesecake layer turned velvety, and the caramel—oh, the caramel—stayed put, creating a beautiful, glossy top that cracked just slightly when you cut into it.
These ultimate salted caramel pumpkin cheesecake bars are the result of that rainy Sunday and two slightly frustrating follow-ups. They are the kind of dessert that makes people close their eyes when they take the first bite. They are not fussy, but they feel special. And honestly? They are the only pumpkin dessert I want to make anymore.
Why You’ll Love This Recipe
I have tested this recipe more times than I care to admit, and I can tell you with total confidence that this version is the one. It hits every single note you want from a fall dessert, without any of the stress.
- No Water Bath Required. Traditional cheesecake can be a drama queen. These bars bake up perfectly without a water bath, which means no soggy crusts or cracked tops to stress over.
- Simple, Real Ingredients. You don’t need anything weird. No obscure extracts or hard-to-find flours. Most of these are pantry staples or easy to grab at any grocery store.
- Perfect for Fall Gatherings. Whether it’s Thanksgiving, a Friendsgiving potluck, or just a cozy night in, these bars travel well and look gorgeous on a platter.
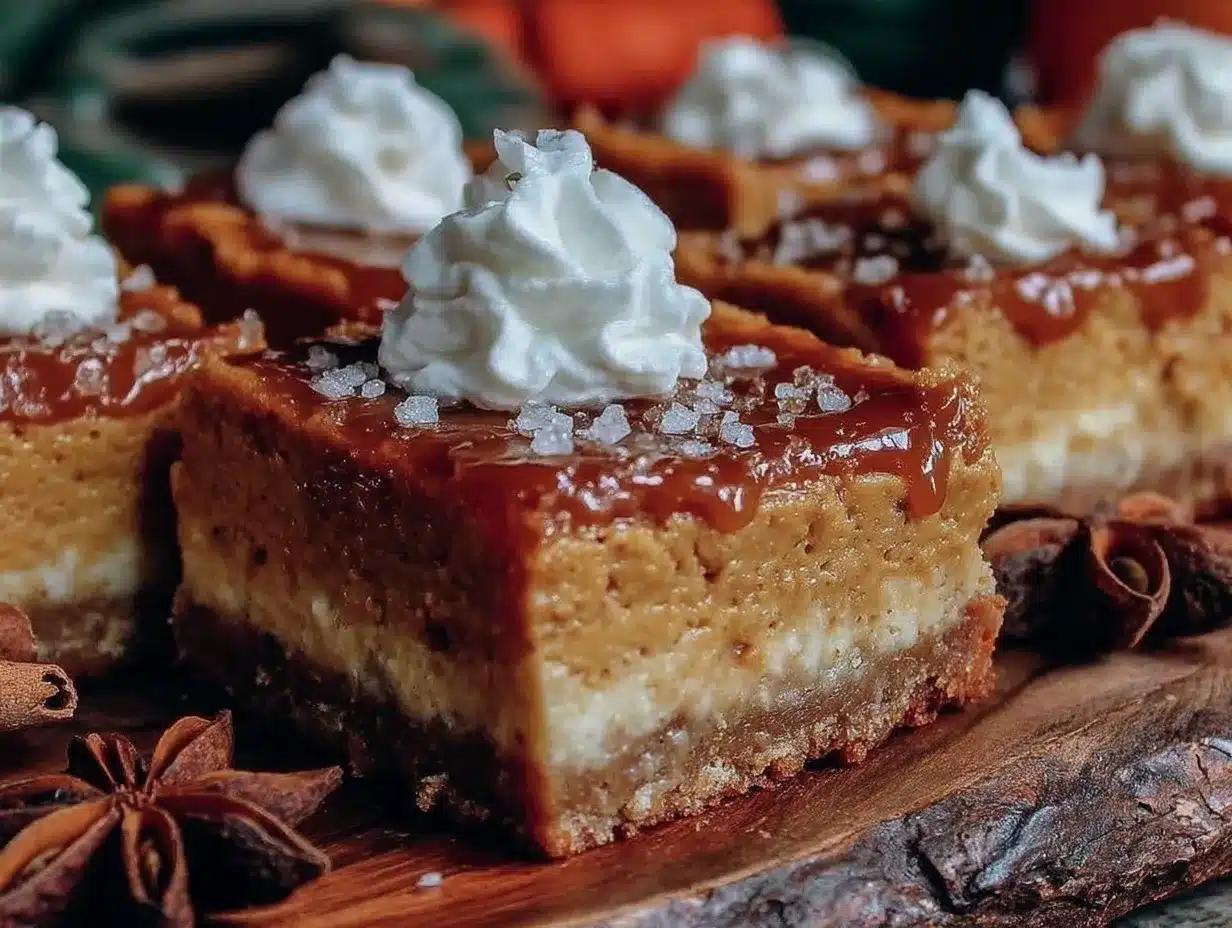
- The Ultimate Texture Combo. A crunchy graham cracker crust, a creamy cheesecake layer, a velvety pumpkin spice layer, and a salted caramel finish. It’s a lot of textures, and they all work together.
- Crowd-Pleaser, Through and Through. I brought a batch to my neighbor’s house, and her husband, who “doesn’t like pumpkin desserts,” asked for the recipe. That’s the kind of power these bars have.
This isn’t just another pumpkin cheesecake bar recipe. The trick here is the layering technique and the way the caramel is applied—not drizzled on top after baking, but swirled in and then finished with a final drizzle. It creates pockets of caramel throughout the bar, so every bite has a little surprise. Plus, the blend of pumpkin and warming spices is perfectly balanced against the tang of the cream cheese and the saltiness of the caramel. It is comfort food, reimagined as a handheld bar.
What Ingredients You Will Need
This recipe uses simple, wholesome ingredients that come together to deliver a dessert that tastes like you spent all day in the kitchen. Spoiler: you won’t.
For the Graham Cracker Crust
- Graham cracker crumbs, 1 ½ cups (about 12 full sheets, crushed finely)
- Granulated sugar, ¼ cup (adds just enough sweetness)
- Unsalted butter, 6 tablespoons, melted (I use Kerrygold for the rich flavor)
- Pinch of salt (balances the sweetness and enhances the caramel later)
For the Cheesecake Layer
- Full-fat cream cheese, 16 ounces, softened to room temperature (Philadelphia is my go-to for consistent results)
- Granulated sugar, ½ cup
- Large eggs, 2, at room temperature (room temperature eggs prevent lumps)
- Vanilla extract, 1 teaspoon (pure, not imitation)
- Sour cream, ¼ cup (adds tang and a silky texture)
For the Pumpkin Layer
- Pumpkin puree, 1 cup (not pumpkin pie filling—make sure it’s 100% pure pumpkin)
- Light brown sugar, ½ cup, packed (adds moisture and a deeper flavor than white sugar)
- Large egg, 1
- Pumpkin pie spice, 1 ½ teaspoons (store-bought is fine, or make your own with cinnamon, nutmeg, ginger, and cloves)
- Cinnamon, ½ teaspoon (for extra warmth)
- Vanilla extract, ½ teaspoon
For the Salted Caramel
- Granulated sugar, 1 cup
- Unsalted butter, 6 tablespoons, cut into pieces, at room temperature
- Heavy cream, ½ cup, at room temperature (cold cream will cause the caramel to seize)
- Flaky sea salt, 1 teaspoon (Maldon is my favorite for its delicate crunch)
- Vanilla extract, 1 teaspoon
Ingredient Tip: For the best texture, pull your cream cheese, eggs, and sour cream out of the fridge about 30 minutes before you start. Cold cream cheese creates lumps that are nearly impossible to get rid of without overmixing, and overmixing introduces too much air into the batter, which can cause cracks. Also, if you can find it, I recommend using a good-quality pumpkin puree like Libby’s—it has a consistent thickness that works beautifully here.
Substitution Guidance: If you are gluten-free, use gluten-free graham crackers or a mix of almond flour and butter for the crust. For a dairy-free option, use a vegan cream cheese block (not the spreadable kind) and a plant-based butter. The caramel is trickier to make dairy-free, but a store-bought vegan caramel sauce can work in a pinch.
Equipment Needed
You don’t need a professional kitchen to make these bars, but a few specific tools will make your life easier.
- 9×9-inch square baking pan (an 8×8 works too, but your bars will be slightly thicker and may need a few extra minutes of baking time)
- Parchment paper (for easy lifting—leave an overhang on two sides)
- Food processor or a zip-top bag and a rolling pin (for crushing graham crackers)
- Stand mixer or hand mixer (a hand mixer is perfectly fine; just make sure you don’t overmix)
- Medium saucepan (for the caramel—a light-colored pan helps you see the color change)
- Candy thermometer (optional but helpful for the caramel; I’ve made it without one plenty of times)
- Rubber spatula (for scraping every last bit of batter)
- Sharp knife (for clean cuts—run it under hot water and wipe it dry between each slice)
I have made this recipe with both a fancy stand mixer and a $15 hand mixer from a discount store. The results were identical. Don’t let equipment hold you back.
Preparation Method
Step 1: Make the Crust
Preheat your oven to 325°F (160°C). Line your 9×9 pan with parchment paper, leaving an overhang on two opposite sides. In a medium bowl, combine the graham cracker crumbs, sugar, and salt. Pour the melted butter over the mixture and stir with a fork until every crumb is moistened. Dump the mixture into the prepared pan and press it down firmly using the bottom of a measuring cup or a flat glass. You want it compact and even. Bake for 10 minutes, then set it aside to cool while you make the filling.
Step 2: Make the Cheesecake Layer
In a large bowl, beat the softened cream cheese with an electric mixer on medium speed until smooth and creamy—about 2 minutes. Scrape down the sides and the bottom of the bowl. Add the sugar and beat for another minute until well combined. Add the eggs one at a time, beating on low speed after each addition until just incorporated. Mix in the vanilla and sour cream until smooth. Do not overmix. Set the bowl aside.
Step 3: Make the Pumpkin Layer
In a separate bowl, whisk together the pumpkin puree, brown sugar, egg, pumpkin pie spice, cinnamon, and vanilla until smooth. It should be thick and fragrant. If you want to taste it (I always do), go ahead—it’s safe to eat at this point.
Step 4: Layer the Bars
Pour the cheesecake batter over the cooled crust and spread it into an even layer using a spatula. Drop spoonfuls of the pumpkin mixture over the cheesecake layer. Use a butter knife or a skewer to gently swirl the two together. You don’t want to fully combine them—just create a marbled effect. Leave about ½ inch of plain cheesecake around the edges for a beautiful contrast.
Step 5: Bake
Bake at 325°F (160°C) for 35 to 40 minutes, or until the edges are set and the center jiggles just slightly when you gently shake the pan. It will continue to set as it cools. Do not overbake—a dry cheesecake is a sad cheesecake. Let it cool completely on a wire rack, then refrigerate for at least 4 hours, preferably overnight. This step is non-negotiable if you want clean slices.
Step 6: Make the Salted Caramel
While the bars chill, make the caramel. In a medium saucepan over medium heat, spread the sugar in an even layer. Watch it like a hawk. As the sugar begins to melt around the edges, gently swirl the pan (do not stir) to help it melt evenly. Cook until the sugar turns a deep amber color—this takes about 6 to 8 minutes. Remove from heat and immediately whisk in the butter pieces. The mixture will bubble up violently; keep whisking until the butter is fully incorporated. Slowly pour in the heavy cream while whisking constantly. The caramel will bubble up again, but keep going. Whisk in the salt and vanilla. Let the caramel cool in the pan for 15 minutes, then transfer to a jar or bowl.
Step 7: Assemble and Serve
Once the bars are fully chilled, use the parchment overhang to lift the entire block out of the pan. Place it on a cutting board. Using a sharp knife, cut into 16 squares. Drizzle the cooled salted caramel over the top. For extra flair, sprinkle a little more flaky sea salt on top right before serving.
Cooking Tips & Techniques
I have made this recipe enough times to know exactly where things can go wrong, and I want you to skip those mistakes entirely.
- Don’t overmix the cheesecake batter. I learned this the hard way. Overmixing incorporates too much air, which causes the cheesecake to puff up in the oven and then collapse, creating cracks. Mix just until everything is combined and smooth.
- Use room temperature ingredients. This is not a suggestion, it’s a rule. Cold cream cheese creates lumps, and cold eggs can break the emulsion. Set everything out on the counter 30 minutes before you start.
- The caramel is all about patience. The first time I made salted caramel, I stirred the sugar constantly, and it crystallized into a gritty mess. Do not stir. Just swirl the pan. Also, if your cream or butter is cold, the caramel will seize up and become lumpy. Room temperature is key.
- Let the bars chill fully. I know it’s tempting to cut into them after an hour, but they will be a gooey mess. Four hours minimum, overnight is best. The texture firms up and the flavors meld together beautifully.
- For clean cuts, use a hot knife. Run your knife under hot water, wipe it dry, and then slice. Wipe the blade clean between each cut. This gives you those gorgeous, Instagram-worthy squares.
Variations & Adaptations
This recipe is a fantastic base, and I have played around with it quite a bit. Here are some of my favorite twists.
- Gluten-Free Version: Swap the graham crackers for gluten-free graham crackers or use a mixture of almond flour, melted butter, and a little sugar. The texture is slightly nuttier but absolutely delicious.
- Vegan Version: Use a high-quality vegan cream cheese block (not the spreadable kind), a flax egg (1 tablespoon ground flaxseed mixed with 3 tablespoons water), and a vegan butter. For the caramel, use a store-bought vegan caramel sauce or make one with coconut cream and coconut sugar.
- Chocolate Twist: Add a thin layer of melted dark chocolate between the crust and the cheesecake layer. It creates a fudgy surprise that pairs beautifully with the pumpkin and caramel.
- Nutty Crust: Replace half of the graham cracker crumbs with finely chopped pecans or walnuts. Toast them first for extra flavor. This gives the crust a lovely crunch and a more sophisticated taste.
- Spice It Up: If you like a bolder pumpkin flavor, add an extra teaspoon of pumpkin pie spice and a pinch of ground ginger to the pumpkin layer. It makes the bars taste even more like fall.
I once made a batch with a gingersnap crust instead of graham crackers, and it was incredible. The spicy, molasses-y flavor of the gingersnaps paired perfectly with the pumpkin and caramel. If you have gingersnaps on hand, give it a try.
Serving & Storage Suggestions
These bars are best served cold or at room temperature. I personally love them straight out of the fridge—the cheesecake layer is firm and creamy, and the caramel gets a little bit chewy. If you prefer a softer texture, let them sit on the counter for 10 to 15 minutes before serving.
Presentation Idea: Arrange the bars on a wooden board or a white platter. Drizzle extra caramel over the top right before serving and sprinkle with a pinch of flaky sea salt. A few fresh rosemary sprigs or small cinnamon sticks around the edges make for a beautiful fall centerpiece.
Storage: Store the bars in an airtight container in the refrigerator for up to 5 days. They actually taste better on day two, after the flavors have had time to meld. To freeze, place the bars in a single layer on a baking sheet and freeze until solid (about 2 hours). Then transfer them to a freezer-safe container or zip-top bag, separating layers with parchment paper. They will keep for up to 3 months. Thaw in the refrigerator overnight before serving.
Reheating: These bars are typically served cold, but if you want a warm caramel experience, you can microwave an individual bar for about 10 to 15 seconds. The cheesecake will soften, and the caramel will become slightly runny. It’s a different experience, but a lovely one.
Nutritional Information & Benefits
Let’s be honest—these bars are a treat, not a health food. But that doesn’t mean they can’t have some redeeming qualities.
| Nutrient | Per Bar (1/16 of recipe) |
|---|---|
| Calories | 320 |
| Total Fat | 18g |
| Saturated Fat | 11g |
| Carbohydrates | 38g |
| Sugar | 28g |
| Protein | 5g |
| Vitamin A | 70% DV |
| Calcium | 6% DV |
Pumpkin is a fantastic source of vitamin A, which supports eye health and immune function. The cream cheese provides a small amount of calcium and protein. And while the caramel is undeniably indulgent, the flaky sea salt on top helps balance the sweetness and adds trace minerals. I believe in enjoying dessert without guilt. One of these bars with a cup of black coffee is a moment of pure joy, and that has its own nutritional value.
Dietary Considerations: This recipe contains dairy, gluten, and eggs. See the variations section for gluten-free and vegan adaptations.
Conclusion
These ultimate salted caramel pumpkin cheesecake bars are the dessert I turn to when I want to impress without the stress. They look like you spent hours in the kitchen, but the process is surprisingly straightforward. The crust is buttery, the cheesecake is creamy, the pumpkin layer is spiced and velvety, and the salted caramel ties everything together in the most beautiful way.
I love this recipe because it feels like fall in a single bite. It is the kind of dessert that makes people pause, close their eyes, and let out a little “mmm” before reaching for another one. And honestly, that is the highest compliment a dessert can get.
I would love to hear how these turn out for you. Did you try any of the variations? Did you add your own twist? Drop a comment below and let me know. And if you are looking for another show-stopping dessert, you have to try our mini lemon blueberry cheesecakes—they are the perfect bright and tangy counterpart to these rich pumpkin bars. Happy baking, friends!
Frequently Asked Questions
Can I use a different pan size?
Yes, you can use an 8×8-inch pan, but your bars will be thicker and will need about 5 to 8 extra minutes of baking time. A 9×13 pan will result in thinner bars that bake faster—check them at 25 minutes.
Can I use store-bought caramel sauce instead of making my own?
Absolutely. If you are short on time, a good-quality store-bought salted caramel sauce works perfectly. Just warm it slightly before drizzling so it spreads easily. I still recommend making it from scratch at least once, though—the flavor is unmatched.
Why did my cheesecake layer crack?
Cracks usually happen from overmixing the batter or overbaking. Make sure you mix on low speed once the eggs are added, and pull the bars out of the oven when the center still jiggles slightly. Also, letting the bars cool slowly (in the oven with the door cracked open) can help prevent cracks.
Can I make these bars ahead of time?
Yes, and I actually recommend it. These bars taste even better after a day in the fridge. You can make them up to 2 days in advance and store them covered in the refrigerator. Add the caramel drizzle just before serving for the best presentation.
How do I get clean slices without the caramel making a mess?
Chill the bars thoroughly (at least 4 hours). Use a sharp knife and run it under hot water, wiping it dry between each cut. If the caramel is too thick, let the bars sit at room temperature for 5 minutes before slicing—it softens the caramel just enough for a clean cut without it running everywhere.
For more delicious recipes and inspiration, don’t forget to browse our full recipe collection for your next kitchen adventure.
Pin This Recipe!
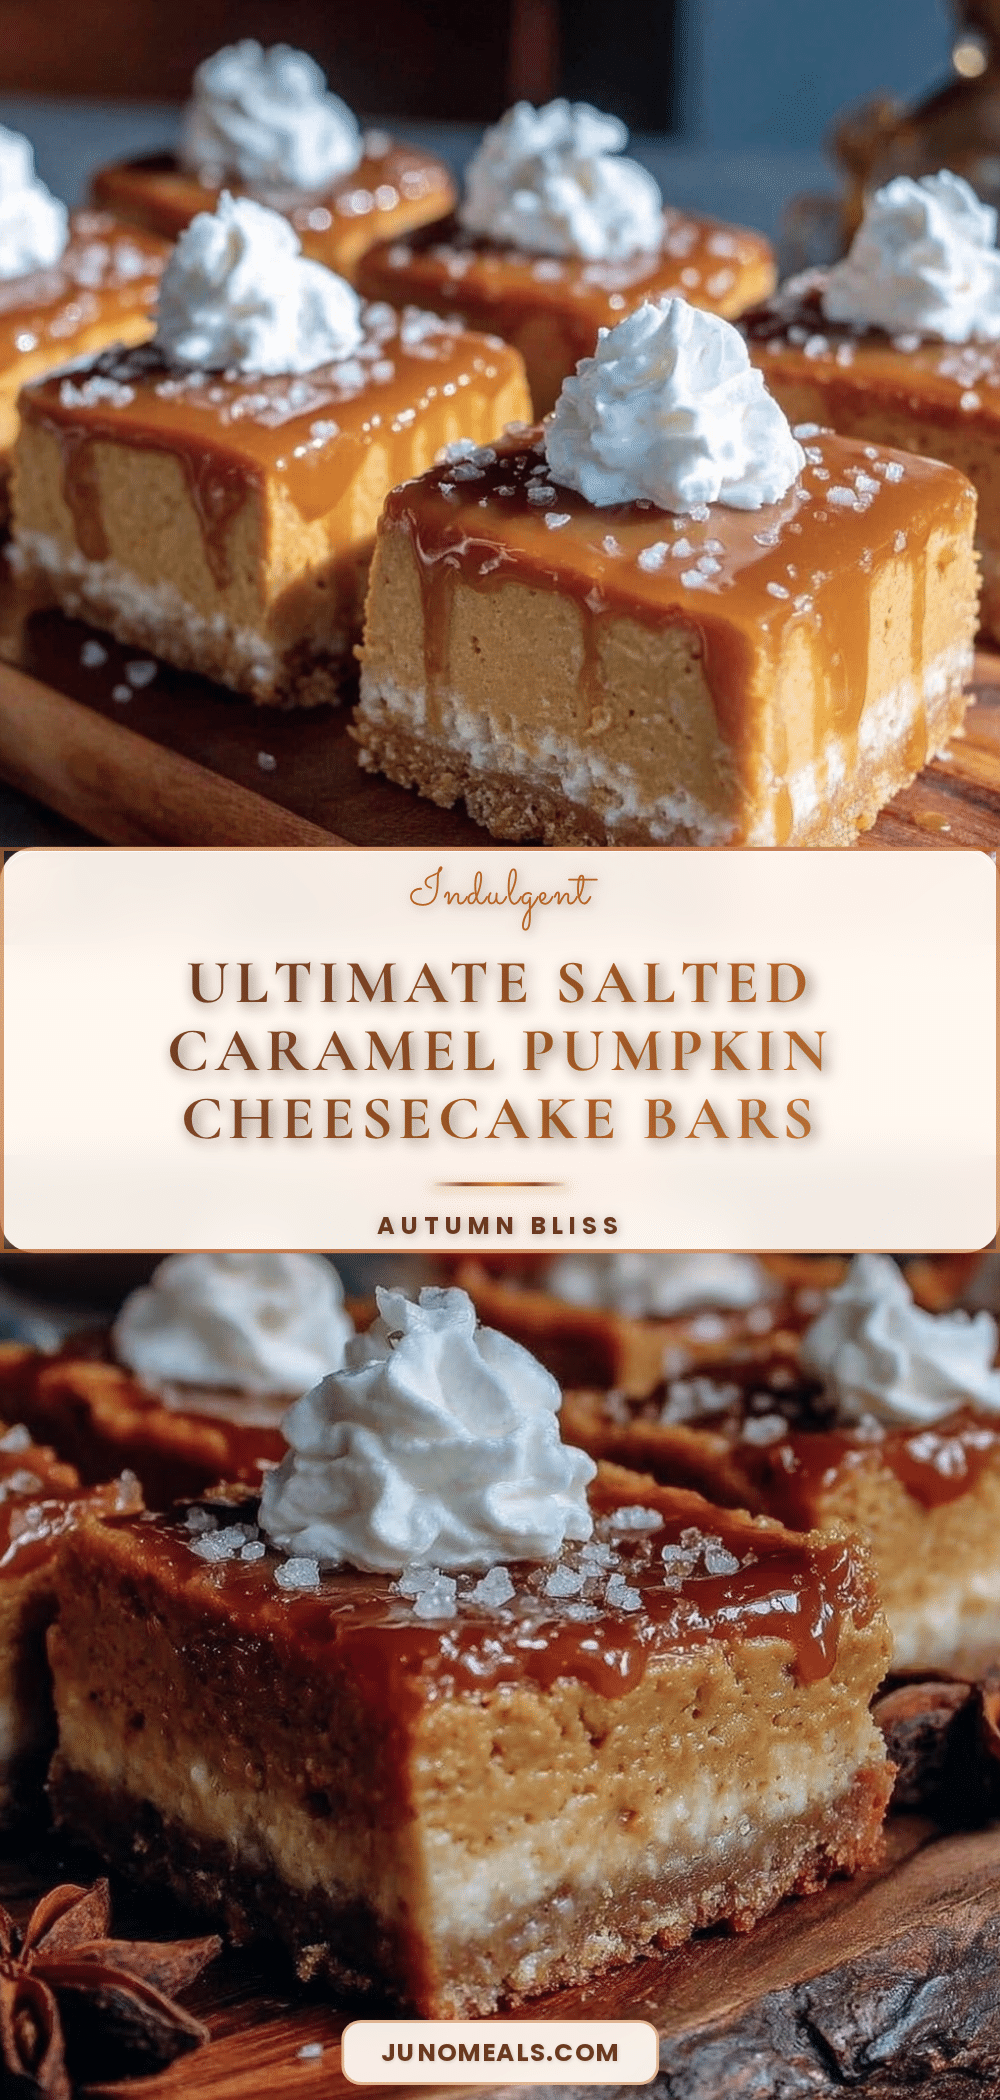
Best Salted Caramel Pumpkin Cheesecake Bars Recipe
These ultimate salted caramel pumpkin cheesecake bars are the dessert you turn to when you want to impress without the stress. They feature a buttery graham cracker crust, a creamy cheesecake layer, a velvety pumpkin spice layer, and a salted caramel finish that ties everything together beautifully.
- Prep Time: 30 minutes
- Cook Time: 40 minutes
- Total Time: 5 hours (including chilling time)
- Yield: 16 bars 1x
- Category: Dessert
- Cuisine: American
Ingredients
- 1 ½ cups graham cracker crumbs (about 12 full sheets, crushed finely)
- ¼ cup granulated sugar
- 6 tablespoons unsalted butter, melted
- Pinch of salt
- 16 ounces full-fat cream cheese, softened to room temperature
- ½ cup granulated sugar
- 2 large eggs, at room temperature
- 1 teaspoon vanilla extract (pure, not imitation)
- ¼ cup sour cream
- 1 cup pumpkin puree (100% pure pumpkin, not pumpkin pie filling)
- ½ cup light brown sugar, packed
- 1 large egg
- 1 ½ teaspoons pumpkin pie spice
- ½ teaspoon cinnamon
- ½ teaspoon vanilla extract
- 1 cup granulated sugar (for caramel)
- 6 tablespoons unsalted butter, cut into pieces, at room temperature (for caramel)
- ½ cup heavy cream, at room temperature (for caramel)
- 1 teaspoon flaky sea salt (for caramel)
- 1 teaspoon vanilla extract (for caramel)
Instructions
- Preheat your oven to 325°F (160°C). Line your 9×9 pan with parchment paper, leaving an overhang on two opposite sides.
- In a medium bowl, combine the graham cracker crumbs, sugar, and salt. Pour the melted butter over the mixture and stir with a fork until every crumb is moistened. Dump the mixture into the prepared pan and press it down firmly using the bottom of a measuring cup or a flat glass. Bake for 10 minutes, then set it aside to cool while you make the filling.
- In a large bowl, beat the softened cream cheese with an electric mixer on medium speed until smooth and creamy—about 2 minutes. Scrape down the sides and the bottom of the bowl. Add the sugar and beat for another minute until well combined. Add the eggs one at a time, beating on low speed after each addition until just incorporated. Mix in the vanilla and sour cream until smooth. Do not overmix. Set the bowl aside.
- In a separate bowl, whisk together the pumpkin puree, brown sugar, egg, pumpkin pie spice, cinnamon, and vanilla until smooth.
- Pour the cheesecake batter over the cooled crust and spread it into an even layer using a spatula. Drop spoonfuls of the pumpkin mixture over the cheesecake layer. Use a butter knife or a skewer to gently swirl the two together. You don’t want to fully combine them—just create a marbled effect. Leave about ½ inch of plain cheesecake around the edges.
- Bake at 325°F (160°C) for 35 to 40 minutes, or until the edges are set and the center jiggles just slightly when you gently shake the pan. Let it cool completely on a wire rack, then refrigerate for at least 4 hours, preferably overnight.
- While the bars chill, make the caramel. In a medium saucepan over medium heat, spread the sugar in an even layer. As the sugar begins to melt around the edges, gently swirl the pan (do not stir) to help it melt evenly. Cook until the sugar turns a deep amber color—this takes about 6 to 8 minutes. Remove from heat and immediately whisk in the butter pieces. The mixture will bubble up violently; keep whisking until the butter is fully incorporated. Slowly pour in the heavy cream while whisking con…
- Once the bars are fully chilled, use the parchment overhang to lift the entire block out of the pan. Place it on a cutting board. Using a sharp knife, cut into 16 squares. Drizzle the cooled salted caramel over the top. For extra flair, sprinkle a little more flaky sea salt on top right before serving.
Notes
For the best texture, pull your cream cheese, eggs, and sour cream out of the fridge about 30 minutes before you start. Cold cream cheese creates lumps. Do not overmix the cheesecake batter to avoid cracks. Let the bars chill fully for at least 4 hours, preferably overnight, for clean slices. For clean cuts, use a hot knife and wipe it clean between each slice.
Nutrition
- Serving Size: 1 bar
- Calories: 320
- Sugar: 28
- Sodium: 200
- Fat: 18
- Saturated Fat: 11
- Carbohydrates: 38
- Fiber: 1
- Protein: 5
Keywords: pumpkin cheesecake bars, salted caramel, fall dessert, pumpkin dessert, cheesecake bars, Thanksgiving dessert


