I figured a nacho bar was just putting chips on a tray and dumping stuff on top. It took about one game day party for that assumption to get completely, gloriously wrecked. You see, the first time I tried it, I ended up with a soggy, lukewarm mess that everyone politely picked at while secretly eyeing the store-bought salsa. The cheese had congealed into a rubbery skin, and the chips at the bottom were basically mush. It was a culinary tragedy, and honestly, a little embarrassing. I remember standing in my own kitchen, staring at the wreckage, thinking, “There has to be a better way.”
That disaster is what birthed my obsession with the perfect, the ultimate, the truly loadable nacho bar. I spent the next few weeks testing, tweaking, and—let’s be real—eating a lot of experimental nachos. I learned that the secret isn’t just the ingredients; it’s the strategy. It’s about engineering each chip to hold its weight, creating a symphony of textures from crunchy to creamy to spicy, and keeping everything hot and melty from the first touchdown to the final whistle. This isn’t just a pile of chips; it’s a build-your-own adventure that makes everyone feel like a champion. It’s the kind of spread that gets people talking, not just eating.
So, forget everything you think you know about game day snacks. This ultimate loaded nacho bar is the real deal. It’s the reason my friends now text me asking, “Are you doing the nacho thing for the big game?” before they even check their own plans. And honestly? I don’t blame them. Once you taste a chip that’s perfectly crisp, layered with seasoned beef, smothered in a velvety, homemade cheese sauce, and crowned with a fresh, zesty pico de gallo, you’ll never go back. This is the bar that sets the bar.
Why You’ll Love This Recipe
Let’s be honest, game day food can be a minefield. You want something impressive, but you also want to actually watch the game, not be chained to the stove. This nacho bar is the perfect solution.
- Totally Customizable: This is the star of the show. Everyone builds their own plate, so the picky eater and the spice fiend are both happy. It’s the ultimate crowd-pleaser.
- Make-Ahead Magic: Almost every component—the beef, the cheese sauce, the pico de gallo—can be prepped a day or two in advance. On game day, you just reheat and assemble. Talk about a stress-free win.
- Seriously Satisfying: This isn’t a sad little snack. With seasoned protein, a creamy, homemade cheese sauce, and all the fresh fixings, this is a full-on, hearty meal disguised as a finger food.
- Engineered for Crunch: I’ve cracked the code on preventing soggy chips. The layering strategy and specific ingredient prep mean every single bite stays gloriously crunchy until the very end. No more sad, mushy bottoms.
- Always a Hit: I’ve served this for Super Bowl parties, casual get-togethers, and even a mini lemon blueberry cheesecakes dessert spread. It’s the first thing to disappear, every single time. It’s not just food; it’s an event.
This recipe is the result of many, many trials. It’s the version that finally got every single person at the party to stop and say, “Wow, these are the best nachos I’ve ever had.” And that, my friend, is a feeling worth sharing.
What Ingredients You Will Need
This recipe uses a mix of pantry staples and fresh ingredients to build layers of flavor and texture. Don’t be intimidated by the list—most of it is just setting up your topping bar!
- For the Seasoned Beef:
- 1 lb (450g) ground beef (80/20 is best for flavor)
- 1 tbsp (15ml) olive oil
- 1 medium yellow onion, finely diced
- 3 cloves garlic, minced
- 1 packet (1 oz) taco seasoning (I prefer the low-sodium kind so I can control the salt)
- 1/2 cup (120ml) water
- For the Ultimate Cheese Sauce:
- 2 tbsp (30g) unsalted butter
- 2 tbsp (16g) all-purpose flour
- 1 cup (240ml) whole milk
- 1/2 cup (120ml) heavy cream (for extra richness)
- 2 cups (225g) freshly shredded sharp cheddar cheese (do NOT buy pre-shredded; it won’t melt smoothly)
- 1/2 cup (55g) freshly shredded Monterey Jack cheese
- 1/4 tsp (1.5g) smoked paprika
- 1/4 tsp (1.5g) ground cumin
- Salt and black pepper to taste
- Optional: 1 pickled jalapeño, minced, for a little kick
- For the Fresh Pico de Gallo:
- 4 Roma tomatoes, seeded and diced
- 1/2 cup (80g) finely diced red onion
- 1/4 cup (15g) fresh cilantro, chopped
- 1 jalapeño, seeded and minced (leave seeds for more heat)
- Juice of 1 lime
- Salt to taste
- For the Nacho Bar Toppings:
- 1 large bag (13-16 oz) restaurant-style tortilla chips (the sturdy, scoop-shaped ones are best)
- 1 (15 oz) can black beans, drained and rinsed
- 1 cup (150g) frozen corn kernels, thawed
- 1 large avocado, diced and tossed with a little lime juice
- 1/2 cup (120ml) sour cream
- 1/2 cup (80g) pickled jalapeños
- 1/2 cup (75g) sliced black olives
- Fresh cilantro, for garnish
- Lime wedges, for serving
A quick note on the cheese: I’ve tried every trick in the book, and freshly shredding your own block of cheese is non-negotiable for that smooth, velvety sauce. Pre-shredded cheese is coated in cellulose, which prevents it from melting properly. Trust me on this one.
Equipment Needed
You don’t need any fancy gadgets for this, which is part of the beauty. Here’s what you’ll need to pull it all together.
- Large skillet or frying pan (for the beef)
- Medium saucepan (for the cheese sauce)
- Whisk (essential for a lump-free cheese sauce)
- Cutting board and sharp knife
- Mixing bowls (various sizes)
- Large baking sheet or a few smaller oven-safe dishes (for the final bake)
- Aluminum foil
- Serving platters and small bowls for the topping bar
If you don’t have a large baking sheet, you can use a 9×13 inch casserole dish. For a party, I love using a few cast-iron skillets—they keep the nachos hot for longer. It’s a small investment that really pays off in the presentation department.
Preparation Method
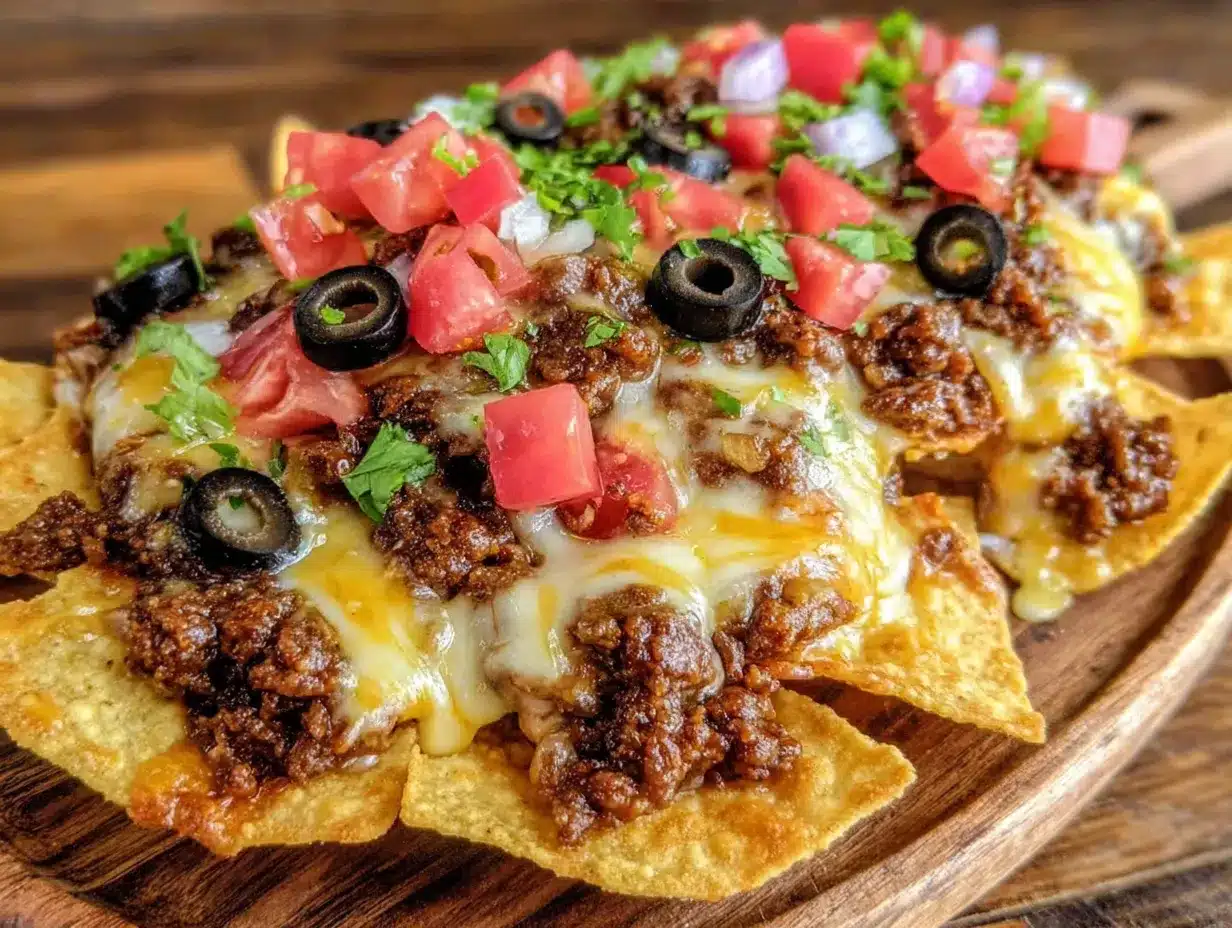
Alright, let’s get to the good part. This is where the magic happens. I’ll walk you through it step-by-step so you can nail it on your first try.
- Make the Pico de Gallo (Can be done 1-2 days ahead): In a medium bowl, combine the diced tomatoes, red onion, cilantro, jalapeño, and lime juice. Season with a pinch of salt. Stir gently to combine. Let it sit at room temperature for at least 15 minutes to let the flavors meld. This is your fresh, zesty counterpoint to all the rich, cheesy goodness.
- Cook the Seasoned Beef (Can be done 1-2 days ahead): Heat the olive oil in a large skillet over medium-high heat. Add the ground beef and cook, breaking it up with a spoon, until it’s nicely browned, about 6-8 minutes. Don’t skip the browning—that’s where the flavor is! Drain off any excess fat, leaving about 1 tablespoon in the pan. Add the diced onion and cook for 3-4 minutes until softened. Stir in the minced garlic and cook for another 30 seconds until fragrant. Sprinkle the taco seasoning over the beef, add the water, and stir to combine. Bring to a simmer and cook for 2-3 minutes until the sauce thickens slightly. Remove from heat and set aside.
- Prepare the Ultimate Cheese Sauce (Can be done 1 day ahead): In a medium saucepan, melt the butter over medium heat. Whisk in the flour and cook for 1 minute, stirring constantly. This is called a roux, and it’s the foundation for a smooth, non-grainy sauce. Slowly pour in the milk and heavy cream while whisking continuously to prevent lumps. Bring the mixture to a gentle simmer, whisking often, until it thickens enough to coat the back of a spoon, about 3-5 minutes. Reduce the heat to low. Add the shredded cheddar and Monterey Jack cheese one handful at a time, whisking until completely melted and smooth after each addition. Stir in the smoked paprika, cumin, and the minced pickled jalapeño (if using). Season with salt and pepper to taste. If you’re making this ahead, let it cool, then cover and refrigerate. Reheat gently on the stovetop or in the microwave, whisking in a splash of milk if it’s too thick.
- Assemble and Bake the Nachos: Preheat your oven to 400°F (200°C). Line a large baking sheet with aluminum foil for easy cleanup. Spread about half of the tortilla chips in a single, even layer on the prepared baking sheet. It’s okay if they overlap a little, but you want a good, solid base. Spoon half of the seasoned beef and half of the black beans evenly over the chips. Drizzle half of the cheese sauce over the top. Repeat with the remaining chips, beef, beans, and cheese sauce. Make sure you get that cheese sauce into all the nooks and crannies!
- Bake to Perfection: Place the baking sheet in the preheated oven and bake for 8-10 minutes, or until the cheese sauce is bubbly and the chips are just starting to toast at the edges. Keep a close eye on it—you want hot, melty nachos, not burnt chips! The goal is to warm everything through without making the chips soggy.
- Top and Serve Immediately: Remove the baking sheet from the oven. Immediately scatter the thawed corn, diced avocado, and sliced black olives over the hot nachos. Dollop generous spoonfuls of sour cream over the top. Finish with a generous spoonful of the fresh pico de gallo and a scattering of pickled jalapeños. Garnish with fresh cilantro and serve with lime wedges on the side.
A personal tip: I always set up my topping bar while the nachos are baking. That way, everything is ready to go the second they come out of the oven. The key to perfect nachos is serving them hot, hot, hot.
Cooking Tips & Techniques
Over the years, I’ve made every mistake in the book so you don’t have to. Here are my non-negotiable tips for nacho greatness.
The Chip Selection is Critical. Don’t use thin, delicate chips. They will break under the weight of the toppings. You need the sturdy, restaurant-style “scoop” chips. They are designed to hold up to a heavy load. I learned this the hard way after a particularly heartbreaking chip massacre.
Layering is a Strategy, Not an Accident. Don’t just dump everything on top. A single layer of chips, then toppings, then another layer of chips and toppings ensures every chip gets some love. It prevents the dreaded “all the good stuff is on top” situation.
Don’t Over-Bake. The goal is to melt the cheese and warm the ingredients, not to dry everything out. Over-baking will make the chips tough and the beef dry. 8-10 minutes at 400°F (200°C) is the sweet spot. Watch the edges of the chips—they should just start to turn a light golden brown.
Fresh Toppings Go On After Baking. This is my number one rule. Cold, fresh ingredients like pico de gallo, avocado, and sour cream should be added right before serving. If you bake them, the avocado gets mushy and the pico de gallo releases water, making everything soggy. The contrast of hot, melty nachos with cool, fresh toppings is what makes this dish so addictive.
Make the Cheese Sauce from Scratch. I know it’s tempting to use the jarred stuff, but it’s just not the same. A homemade cheese sauce is velvety, flavorful, and melts like a dream. It’s the foundation of the whole dish, and it’s so simple to make. You’ll never go back.
Variations & Adaptations
This recipe is a fantastic base, but the real fun is making it your own. Here are a few of my favorite twists.
- Make it a Vegetarian Fiesta: Swap the ground beef for a can of drained and rinsed black beans and a cup of sautéed mushrooms or cubed sweet potatoes. Season them with the same taco seasoning for that classic flavor. It’s just as hearty and satisfying.
- Go for a Chicken or Pork Version: Use shredded rotisserie chicken or slow-cooked, pulled pork instead of ground beef. Toss it in some of the taco seasoning or your favorite BBQ sauce for a different flavor profile. The preparation method stays exactly the same.
- Spice It Up (or Down): For a milder version, use regular cheddar and skip the jalapeños in the cheese sauce and the pickled jalapeños on top. For a fiery experience, add a diced habanero to the pico de gallo and drizzle with hot sauce before serving. You can also use pepper jack cheese in the cheese sauce.
- Try a Different Cheese Base: Not a fan of cheddar? Try a blend of pepper jack for heat, or a creamy queso blanco. You can even use a can of good-quality enchilada sauce as a base instead of the cheese sauce for a more “wet” nacho experience.
- Add a Crunchy Element: For an unexpected texture, sprinkle some crushed tortilla chips or a handful of toasted pumpkin seeds over the top right before serving. It adds a fantastic final crunch that contrasts beautifully with the creamy cheese and tender beef.
I once made a “breakfast nacho” version for a brunch party using scrambled eggs, bacon, and a cheddar-jack cheese sauce. It was a massive hit. The possibilities are truly endless!
Serving & Storage Suggestions
This dish is all about the experience. Here’s how to make it a showstopper from start to finish.
Serving: Serve the nachos immediately after baking and topping. The magic is in the contrast between the hot, melty base and the cool, fresh toppings. I like to put the baking sheet right on a trivet in the middle of the table. It’s a beautiful, communal dish that encourages everyone to dig in. For a party, you can set up a full nacho bar with the baked sheet in the center and small bowls of all the individual toppings around it. It’s interactive and fun!
Storage: Nachos are best enjoyed fresh. The chips will soften significantly as they sit. However, if you have leftovers, you can store the components separately. Store the baked nacho base (chips, beef, beans, cheese sauce) in an airtight container in the refrigerator for up to 2 days. Store the fresh toppings (pico de gallo, avocado, sour cream) separately.
Reheating: To reheat, spread the leftover nacho base on a baking sheet and reheat in a 350°F (175°C) oven for about 5-7 minutes, until hot and bubbly. Do not use the microwave, as it will make the chips extremely soggy. Once reheated, add the fresh toppings again. The flavor of the beef and cheese sauce will still be fantastic, even the next day.
Flavor Development: While the nachos themselves don’t get better with time, the pico de gallo and the seasoned beef actually do. They taste even better the next day as the flavors meld together. This is why making them ahead is such a great strategy!
Nutritional Information & Benefits
Let’s be real: this is indulgent game day food. But that doesn’t mean it can’t have some redeeming qualities! This recipe is packed with protein from the beef and beans, healthy fats from the avocado, and fiber from the beans and vegetables.
Estimated per serving (based on 8 servings):
- Calories: 550-650
- Protein: 25-30g
- Fat: 35-40g
- Carbohydrates: 40-45g
- Fiber: 8-10g
Health Benefits:
- Protein Power: The ground beef and black beans provide a solid protein boost, which helps keep you full and satisfied.
- Healthy Fats: The avocado is a fantastic source of heart-healthy monounsaturated fats and fiber.
- Vitamins & Minerals: The pico de gallo is loaded with vitamins A and C from the tomatoes and lime juice. The black beans are a great source of iron and folate.
Dietary Notes: This recipe is naturally gluten-free (use gluten-free tortilla chips and check your taco seasoning). For a lower-carb option, you can serve the toppings over a bed of lettuce or cauliflower rice instead of chips. This recipe contains dairy (cheese, butter, milk, sour cream).
I love that I can serve something this delicious and know that it’s also providing some real nutritional value. It’s comfort food you can feel good about.
Conclusion
This ultimate loaded nacho bar is more than just a recipe; it’s a game day tradition waiting to happen. It’s the kind of dish that brings people together, encourages conversation, and makes everyone feel like they’ve won, regardless of the final score. The combination of perfectly seasoned beef, a velvety, homemade cheese sauce, and a mountain of fresh, crunchy toppings is simply unbeatable.
I really hope you give this a try for your next big game, party, or even just a fun weeknight dinner. Don’t be afraid to make it your own—swap in your favorite proteins, play with different cheeses, or pile on your go-to toppings. The beauty of a nacho bar is that it’s a blank canvas for your culinary creativity. I’d love to hear how it turns out.
So, what are you waiting for? Grab your chips, fire up the oven, and get ready to build the best nacho bar you’ve ever tasted. Trust me, your friends and family will thank you. Leave a comment below and tell me about your favorite nacho topping combination—I’m always looking for new ideas!
Frequently Asked Questions
Can I use pre-shredded cheese for the cheese sauce?
I strongly advise against it. Pre-shredded cheese is coated with cellulose and starch to prevent clumping, which also prevents it from melting smoothly. For a velvety, lump-free sauce, always shred your own cheese from a block.
How do I keep the chips from getting soggy?
The key is layering and baking. Don’t overload the chips with wet toppings before baking. Bake the assembled nachos just until the cheese melts, then add all the fresh, cold toppings (pico de gallo, avocado, sour cream) right before serving. This ensures every bite stays crunchy.
Can I make this recipe in a slow cooker?
You can keep the components warm in a slow cooker for a party, but I don’t recommend baking the chips in it. Cook the beef and make the cheese sauce on the stovetop, then transfer them to a slow cooker on the “warm” setting. Let guests build their own plates with the chips and toppings.
What are the best chips for a nacho bar?
Restaurant-style “scoop” tortilla chips are the absolute best choice. They are thick, sturdy, and shaped like a little bowl, which makes them perfect for holding a generous amount of toppings without breaking. Avoid thin, delicate chips.
Can I add other proteins like chicken or shrimp?
Absolutely! This recipe is very adaptable. You can use shredded rotisserie chicken, grilled shrimp, or even leftover carnitas. Just season them with the same taco seasoning or a complementary spice blend. The preparation method for the nacho bar remains exactly the same.
Pin This Recipe!
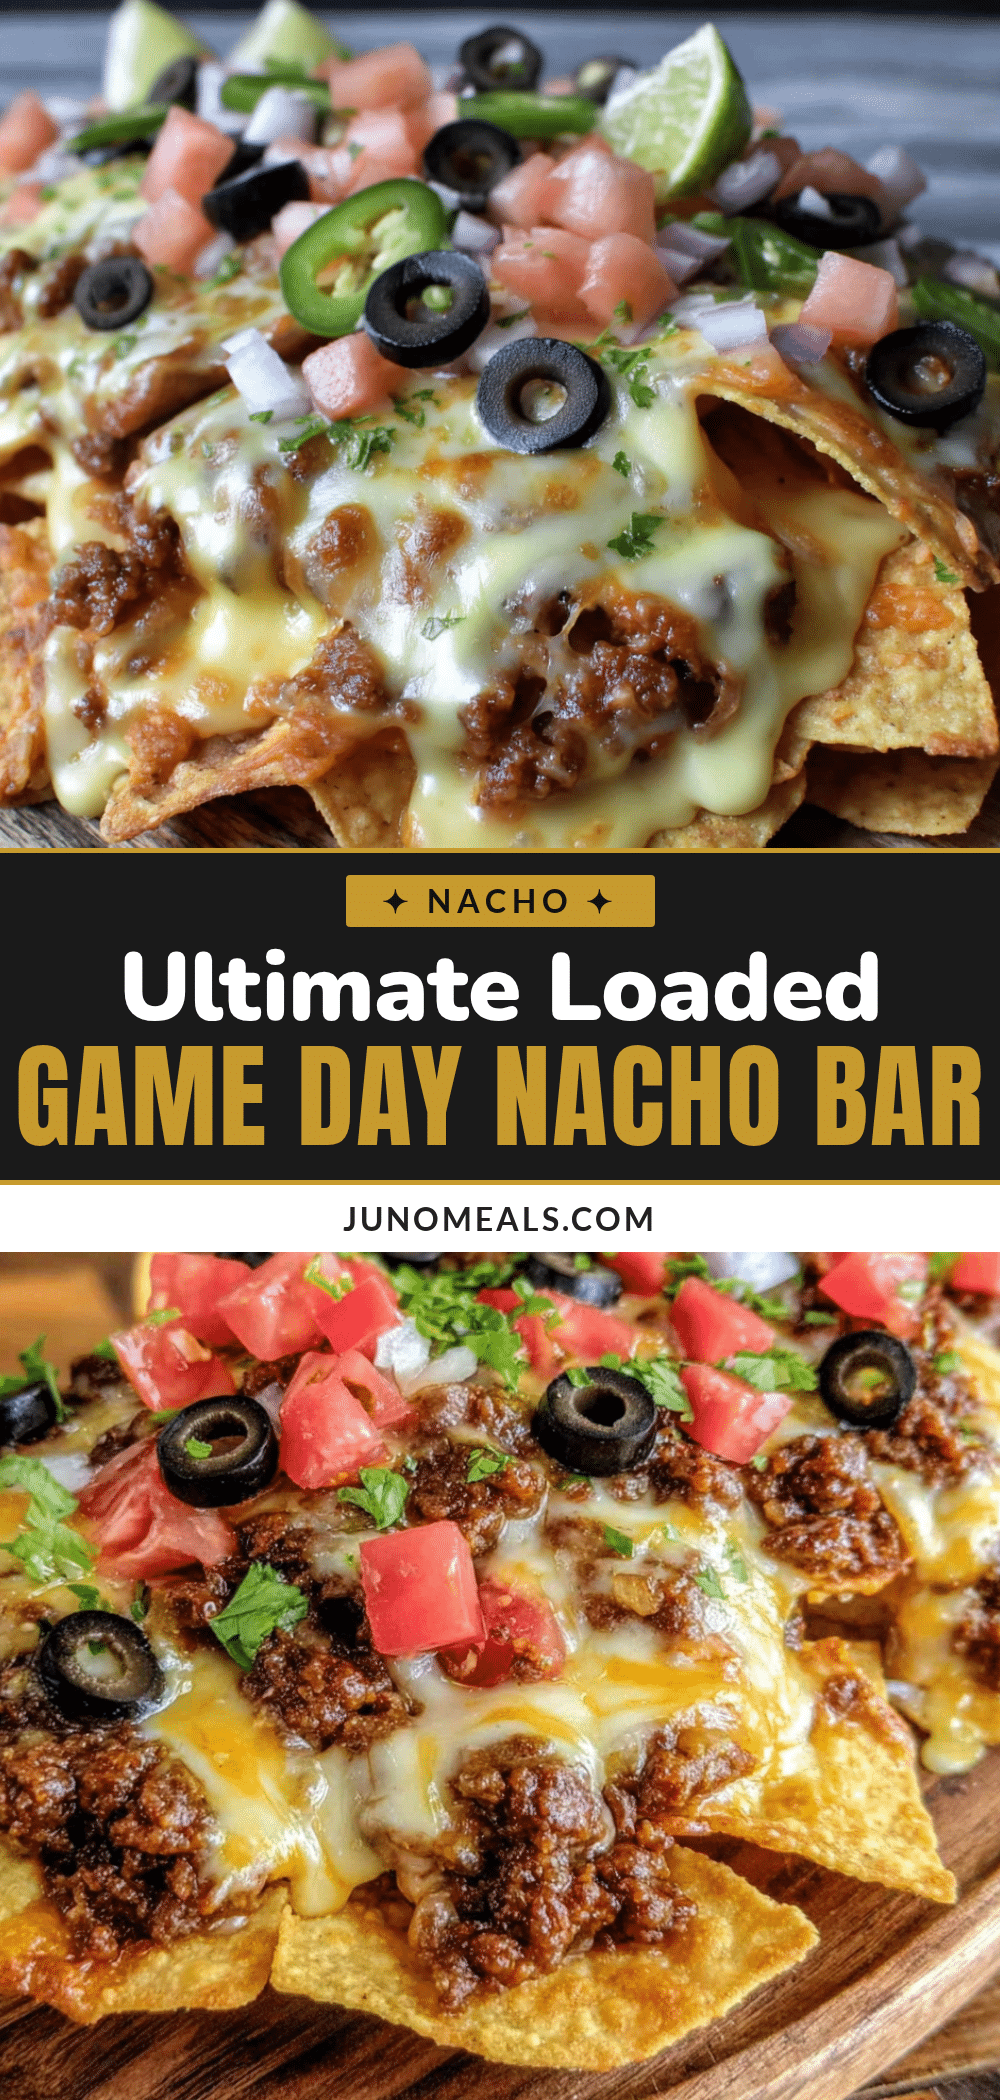
Ultimate Loaded Nacho Bar: Easy Game Day Appetizer
Forget everything you think you know about game day snacks. This ultimate loaded nacho bar features perfectly crisp chips layered with seasoned beef, smothered in a velvety homemade cheese sauce, and crowned with fresh pico de gallo. It’s a build-your-own adventure that keeps everyone happy from the first touchdown to the final whistle.
- Prep Time: 20 minutes
- Cook Time: 25 minutes
- Total Time: 45 minutes
- Yield: 8 servings 1x
- Category: Appetizer
- Cuisine: Mexican-American
Ingredients
- 1 lb (450g) ground beef (80/20 is best for flavor)
- 1 tbsp (15ml) olive oil
- 1 medium yellow onion, finely diced
- 3 cloves garlic, minced
- 1 packet (1 oz) taco seasoning (low-sodium preferred)
- 1/2 cup (120ml) water
- 2 tbsp (30g) unsalted butter
- 2 tbsp (16g) all-purpose flour
- 1 cup (240ml) whole milk
- 1/2 cup (120ml) heavy cream
- 2 cups (225g) freshly shredded sharp cheddar cheese
- 1/2 cup (55g) freshly shredded Monterey Jack cheese
- 1/4 tsp (1.5g) smoked paprika
- 1/4 tsp (1.5g) ground cumin
- Salt and black pepper to taste
- 1 pickled jalapeño, minced (optional)
- 4 Roma tomatoes, seeded and diced
- 1/2 cup (80g) finely diced red onion
- 1/4 cup (15g) fresh cilantro, chopped
- 1 jalapeño, seeded and minced
- Juice of 1 lime
- Salt to taste
- 1 large bag (13–16 oz) restaurant-style tortilla chips (sturdy, scoop-shaped)
- 1 (15 oz) can black beans, drained and rinsed
- 1 cup (150g) frozen corn kernels, thawed
- 1 large avocado, diced and tossed with lime juice
- 1/2 cup (120ml) sour cream
- 1/2 cup (80g) pickled jalapeños
- 1/2 cup (75g) sliced black olives
- Fresh cilantro, for garnish
- Lime wedges, for serving
Instructions
- Make the Pico de Gallo: In a medium bowl, combine diced tomatoes, red onion, cilantro, jalapeño, and lime juice. Season with a pinch of salt. Stir gently and let sit at room temperature for at least 15 minutes. Can be made 1-2 days ahead.
- Cook the Seasoned Beef: Heat olive oil in a large skillet over medium-high heat. Add ground beef and cook, breaking it up, until browned (6-8 minutes). Drain excess fat, leaving about 1 tbsp. Add diced onion and cook 3-4 minutes until softened. Stir in minced garlic and cook 30 seconds. Sprinkle taco seasoning over beef, add water, and stir. Simmer 2-3 minutes until sauce thickens. Set aside. Can be made 1-2 days ahead.
- Prepare the Ultimate Cheese Sauce: In a medium saucepan, melt butter over medium heat. Whisk in flour and cook 1 minute, stirring constantly. Slowly pour in milk and heavy cream while whisking continuously. Bring to a gentle simmer, whisking often, until thickened (3-5 minutes). Reduce heat to low. Add shredded cheddar and Monterey Jack cheese one handful at a time, whisking until melted and smooth. Stir in smoked paprika, cumin, and minced pickled jalapeño (if using). Season with salt and peppe…
- Assemble and Bake the Nachos: Preheat oven to 400°F (200°C). Line a large baking sheet with aluminum foil. Spread half the tortilla chips in a single layer on the sheet. Spoon half the seasoned beef and half the black beans over chips. Drizzle half the cheese sauce over top. Repeat with remaining chips, beef, beans, and cheese sauce.
- Bake to Perfection: Place baking sheet in preheated oven and bake 8-10 minutes, until cheese sauce is bubbly and chips are just starting to toast at the edges. Watch closely to avoid burning.
- Top and Serve Immediately: Remove from oven. Immediately scatter thawed corn, diced avocado, and sliced black olives over hot nachos. Dollop sour cream over top. Finish with fresh pico de gallo and pickled jalapeños. Garnish with fresh cilantro and serve with lime wedges.
Notes
Freshly shred your own cheese for the sauce; pre-shredded won’t melt smoothly. Use sturdy scoop-shaped chips to hold toppings. Don’t over-bake; 8-10 minutes at 400°F is perfect. Add fresh toppings like pico de gallo and avocado after baking to prevent sogginess. Components can be made ahead for easy assembly.
Nutrition
- Serving Size: 1 serving (about 1/8
- Calories: 600
- Sugar: 5
- Sodium: 850
- Fat: 38
- Saturated Fat: 16
- Carbohydrates: 43
- Fiber: 9
- Protein: 28
Keywords: nachos, loaded nachos, game day appetizer, nacho bar, party food, super bowl, ground beef nachos, cheese sauce, pico de gallo


