The red velvet flag cake was gone before I even had a slice. Third time this month, someone nudged me with a text asking for the recipe—like it was a secret worth hoarding. Honestly, I didn’t expect it to become such a quiet legend among my friends and family. It all began on a lazy Sunday afternoon when I wanted to bring something festive but not fussed over, something that caught the eye and felt like a celebration without shouting about it.
I’d always thought red velvet was one of those fancy cakes you only see at weddings or big parties, but this flag version? It’s got this playful charm—layered stripes of red and white, topped with that tangy cream cheese frosting that just melts in your mouth. The color contrast alone makes it stand out, but the real surprise is how perfectly moist and tender the cake turns out. I remember feeling quietly proud the first time I saw everyone’s plates cleaned in record time, and the requests for “Can you make that again?” started rolling in.
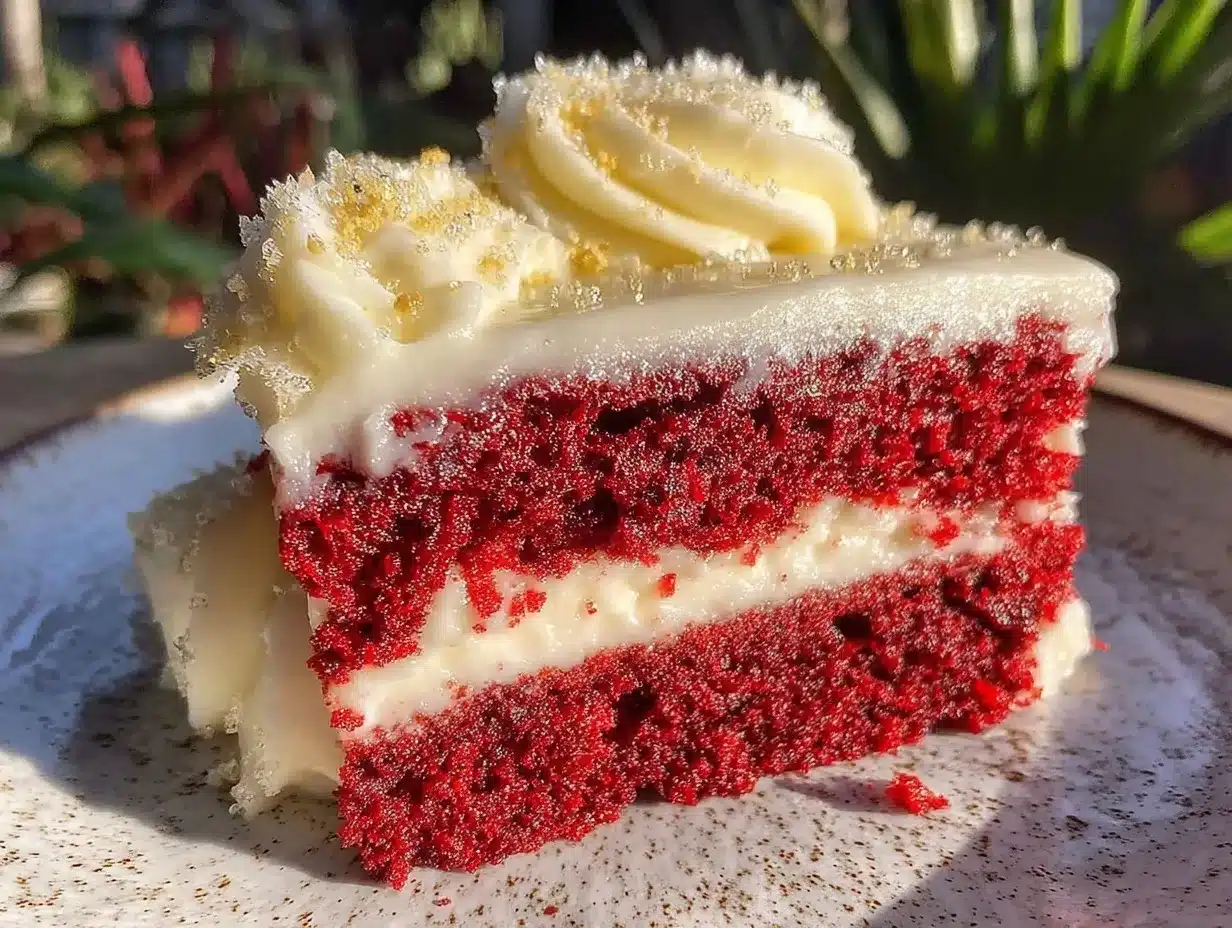
Making the perfect red velvet flag cake with cream cheese frosting isn’t about complicated techniques or rare ingredients. It’s about getting the balance just right—between the cocoa’s subtle hint, the buttermilk’s tang, and that frosting’s smooth richness. The layers come together like a little edible flag that everyone wants a piece of, and it stuck with me because it’s not just dessert; it’s the kind of cake that sparks conversation and makes a simple moment feel special.
Why You’ll Love This Recipe
This perfect red velvet flag cake recipe has been tested and tweaked until it feels like second nature in my kitchen. Whether you’re a seasoned baker or someone who occasionally braves the oven, this recipe delivers consistently. Why? Because it’s designed to be approachable and rewarding without skimping on flavor or presentation.
- Quick & Easy: The whole cake comes together in under two hours, including baking and frosting—ideal when you want an impressive dessert without all-day prep.
- Simple Ingredients: No need for specialty stores—common pantry staples like cocoa powder and buttermilk do the heavy lifting here.
- Perfect for Celebrations: The flag design makes it a showstopper for birthdays, holidays, or any time you need a festive touch.
- Crowd-Pleaser: Kids and adults alike rave about the moist crumb and that luscious cream cheese frosting.
- Unbelievably Delicious: The subtle cocoa flavor combined with the slightly tangy cream cheese frosting hits that sweet spot between indulgence and balance.
This isn’t just another red velvet cake recipe. The layering technique creates a visual treat that’s as fun to make as it is to eat. I’ve found that the key difference lies in the frosting—it’s whipped long enough to feel silky but still holds its shape beautifully. Honestly, it’s the kind of cake that makes you pause and savor the moment, whether you’re slicing for a party or a quiet night in.
What Ingredients You Will Need
This recipe uses simple, wholesome ingredients to deliver bold flavor and satisfying texture without the fuss. Most of these are pantry staples, so you probably have everything on hand already.
- For the Cake:
- All-purpose flour (2 ½ cups / 315g) – I prefer King Arthur for consistent results
- Granulated sugar (1 ½ cups / 300g)
- Cocoa powder, unsweetened (1 ½ tablespoons / 12g) – Dutch-processed for a smoother flavor
- Baking soda (1 teaspoon)
- Salt (½ teaspoon)
- Buttermilk (1 cup / 240ml) – room temperature; you can substitute with milk plus 1 tablespoon lemon juice if needed
- Vegetable oil (1 cup / 240ml) – neutral oil like canola or sunflower works best
- Large eggs (2, room temperature)
- Vanilla extract (1 teaspoon)
- Red food coloring (2 tablespoons) – gel-based for vibrant color without extra liquid
- White vinegar (1 teaspoon) – helps brighten the cake’s flavor and react with the baking soda
- For the Cream Cheese Frosting:
- Cream cheese (8 ounces / 225g), softened – I recommend Philadelphia brand for smooth texture
- Unsalted butter (½ cup / 115g), softened
- Powdered sugar (4 cups / 480g), sifted – to avoid lumps
- Vanilla extract (1 teaspoon)
- Pinch of salt – balances sweetness
Substitution tips: For a dairy-free version, swap cream cheese and butter with plant-based alternatives, and use coconut or almond milk-based buttermilk substitute. If you want a gluten-free flag cake, almond or oat flour blends can work, but expect a slightly different crumb.
Equipment Needed
Here’s what you’ll want to have ready before you begin, to keep the process smooth:
- Two 9-inch round cake pans: Makes layering easier. If you only have one, bake in batches but be mindful of cooling time.
- Mixing bowls: At least two—one for dry ingredients, one for wet.
- Electric mixer: Stand or hand mixer; it’s a must for whipping the cream cheese frosting to silky perfection.
- Measuring cups and spoons: Accurate measurements are key.
- Spatula and whisk: For folding and mixing.
- Offset spatula or butter knife: Helps spread frosting smoothly and evenly.
- Cake leveler or serrated knife: Useful if you want perfectly even cake layers for the flag design.
If you don’t have a cake leveler, no worries—a serrated knife works just fine with a steady hand. I’ve also used disposable piping bags to create neat stripes in the frosting, but it’s totally optional. For budget-friendly options, basic aluminum pans and a sturdy hand mixer will get the job done without breaking the bank.
Preparation Method
- Preheat and prep pans: Set your oven to 350°F (175°C). Grease two 9-inch cake pans and line the bottoms with parchment paper for easy removal. This step cuts down on cake breakage.
- Mix dry ingredients: In a large bowl, sift together 2 ½ cups (315g) all-purpose flour, 1 ½ tablespoons (12g) cocoa powder, 1 teaspoon baking soda, ½ teaspoon salt, and 1 ½ cups (300g) sugar. Whisk to combine evenly.
- Combine wet ingredients: In another bowl, whisk 1 cup (240ml) buttermilk, 1 cup (240ml) vegetable oil, 2 large eggs, 1 teaspoon vanilla extract, 2 tablespoons red food coloring, and 1 teaspoon white vinegar until smooth and uniform in color.
- Mix wet into dry: Slowly pour the wet mixture into the dry ingredients while stirring gently with a spatula or mixer on low speed. Mix just until combined—overmixing can lead to a dense cake. The batter should be smooth and vibrant red.
- Divide batter: Evenly pour the batter into the prepared pans. Tap the pans lightly on the counter to release air bubbles and smooth the tops.
- Bake: Place pans in the oven and bake for 25–30 minutes, or until a toothpick inserted comes out clean. Keep an eye toward the end; you want a moist crumb, not a dry cake.
- Cool: Let cakes cool in the pans for 10 minutes, then run a knife around the edges and invert them onto wire racks to cool completely. Cooling fully is key for neat frosting.
- Prepare frosting: Beat 8 ounces (225g) softened cream cheese and ½ cup (115g) softened unsalted butter together until smooth and creamy. Gradually add 4 cups (480g) sifted powdered sugar, 1 teaspoon vanilla extract, and a pinch of salt. Whip on medium-high speed for 3–5 minutes until fluffy.
- Level and layer: Use a serrated knife or cake leveler to slice each cake horizontally into two even layers. You’ll have four layers total — perfect for the flag pattern.
- Assemble the flag cake: On your serving plate, place one red velvet layer and spread a thin, even layer of cream cheese frosting. Repeat with the second layer. For the third layer, spread frosting but leave stripes or blocks of red cake visible to create the flag’s stripes. Finish with the top layer and cover the entire cake with a smooth coat of frosting.
- Chill and set: Refrigerate the cake for at least 30 minutes before slicing. This helps the frosting firm up, making clean cuts easier.
Watch out for overbaking — it dries the cake and kills that tender crumb. I’ve learned to set my timer a few minutes early and check with a toothpick just in case. Also, when mixing the batter, resist the urge to whip it too long; it really does make a difference.
Cooking Tips & Techniques
One trick I swear by for this red velvet flag cake is using gel food coloring instead of liquid. It gives a richer color without messing with the batter’s consistency. Also, always bring your eggs and buttermilk to room temperature; cold ingredients can cause a lumpy batter or uneven rise.
When it comes to frosting, patience is key. Whip that cream cheese and butter well before adding sugar. It helps keep the frosting light and not too dense. And sift your powdered sugar—it’s a small step that avoids grainy spots.
Layering is where many get shaky. My advice? Use a serrated knife to level each cake layer carefully. Uneven layers can throw off the flag stripes and make the cake unstable. If you want to get fancy, using a turntable while frosting helps keep those edges sharp and clean.
Multitasking helps—while the cakes cool, whip the frosting. Also, chilling the cake after assembly before slicing improves the presentation by preventing crumbs from sticking to the knife. Trust me, it’s worth the wait.
Variations & Adaptations
This recipe is flexible enough to suit different tastes and dietary needs:
- Lower sugar: Cut the sugar by ¼ cup (50g) in the cake and frosting for a less sweet version without losing moisture.
- Gluten-free: Use a 1-to-1 gluten-free flour blend. The texture might be slightly different but still delicious.
- Vegan adaptation: Substitute eggs with flax eggs (2 tablespoons flaxseed meal + 6 tablespoons water), use dairy-free cream cheese and butter, and plant-based milk with lemon juice for buttermilk.
- Flavor twist: Add a teaspoon of espresso powder to the batter to deepen the cocoa notes.
One of my favorite personal twists has been adding a layer of homemade raspberry jam between the cake layers. It adds a tart burst that contrasts beautifully with the creamy frosting and rich cake. If you’re interested in more creative desserts, you might enjoy the mini lemon blueberry cheesecakes I made last summer—light, fresh, and equally crowd-pleasing.
Serving & Storage Suggestions
The perfect red velvet flag cake is best served at room temperature to let the cream cheese frosting shine. Slice it with a sharp, warm knife (dip the blade in hot water and wipe dry between cuts) for clean pieces with intact layers.
This cake pairs beautifully with a cup of black coffee or a glass of cold milk—comfort food at its finest. It’s also a festive centerpiece on any dessert table, especially when you want something colorful but classic.
Store leftovers tightly wrapped in the refrigerator for up to 4 days. The flavors tend to meld and deepen overnight, which some folks actually prefer. You can freeze the cake (wrapped well in plastic and foil) for up to 2 months; thaw overnight in the fridge before serving.
Nutritional Information & Benefits
Each slice of this red velvet flag cake (assuming 12 servings) contains roughly:
| Calories | 350-400 kcal |
|---|---|
| Fat | 18-22g (mostly from butter and cream cheese) |
| Carbohydrates | 45-50g |
| Protein | 4-5g |
While red velvet cake isn’t exactly health food, it does contain some beneficial elements: cocoa powder offers antioxidants, and buttermilk contributes calcium and a slight tang that cuts the sweetness. The cream cheese frosting adds protein, and using real butter ensures flavor without artificial additives.
This recipe can be made gluten-free or vegan with substitutions, supporting various dietary needs. As with any dessert, moderation is best, but it’s nice to know you’re working with quality ingredients rather than processed mixes.
Conclusion
The perfect red velvet flag cake with cream cheese frosting is one of those dishes that quietly steals the show. It’s not just about the look or the rich flavors—it’s about the smiles that follow the first bite and the memories made while sharing it. You can tweak it to suit your style, whether that’s dialing back sugar, going dairy-free, or adding a personal twist like jam or espresso.
I keep coming back to this recipe because it’s reliable in taste, texture, and wow factor. Plus, I love that it brings a bit of color and joy to the table without a fuss. If you ever want to try a dessert with a similar balance of sweet and tangy, check out my collection of recipes for more ideas that are just as satisfying but different enough to keep things interesting.
Give this cake a try, and feel free to leave a note about how you made it your own. There’s something special about recipes that become part of your story, after all.
FAQs
Can I make the red velvet flag cake ahead of time?
Yes! You can bake the cake layers a day in advance and store them wrapped tightly in the fridge. Assemble and frost the next day for the best results.
What if I don’t have buttermilk?
Mix 1 tablespoon of lemon juice or white vinegar with 1 cup of milk and let it sit for 5 minutes before using. This homemade buttermilk substitute works perfectly.
How do I get the red color without food coloring?
Traditional red velvet uses food coloring, but you can experiment with beet juice or powder for a natural alternative. Keep in mind the color might be less vibrant.
Is it necessary to level the cakes?
Leveling helps create even layers for the flag design and a professional look, but if you’re short on time, you can stack as is. Just expect a more rustic appearance.
Can I freeze the assembled cake?
Yes, wrap the frosted cake tightly in plastic wrap and foil, then freeze for up to two months. Thaw overnight in the fridge before serving to keep the frosting stable.
Pin This Recipe!
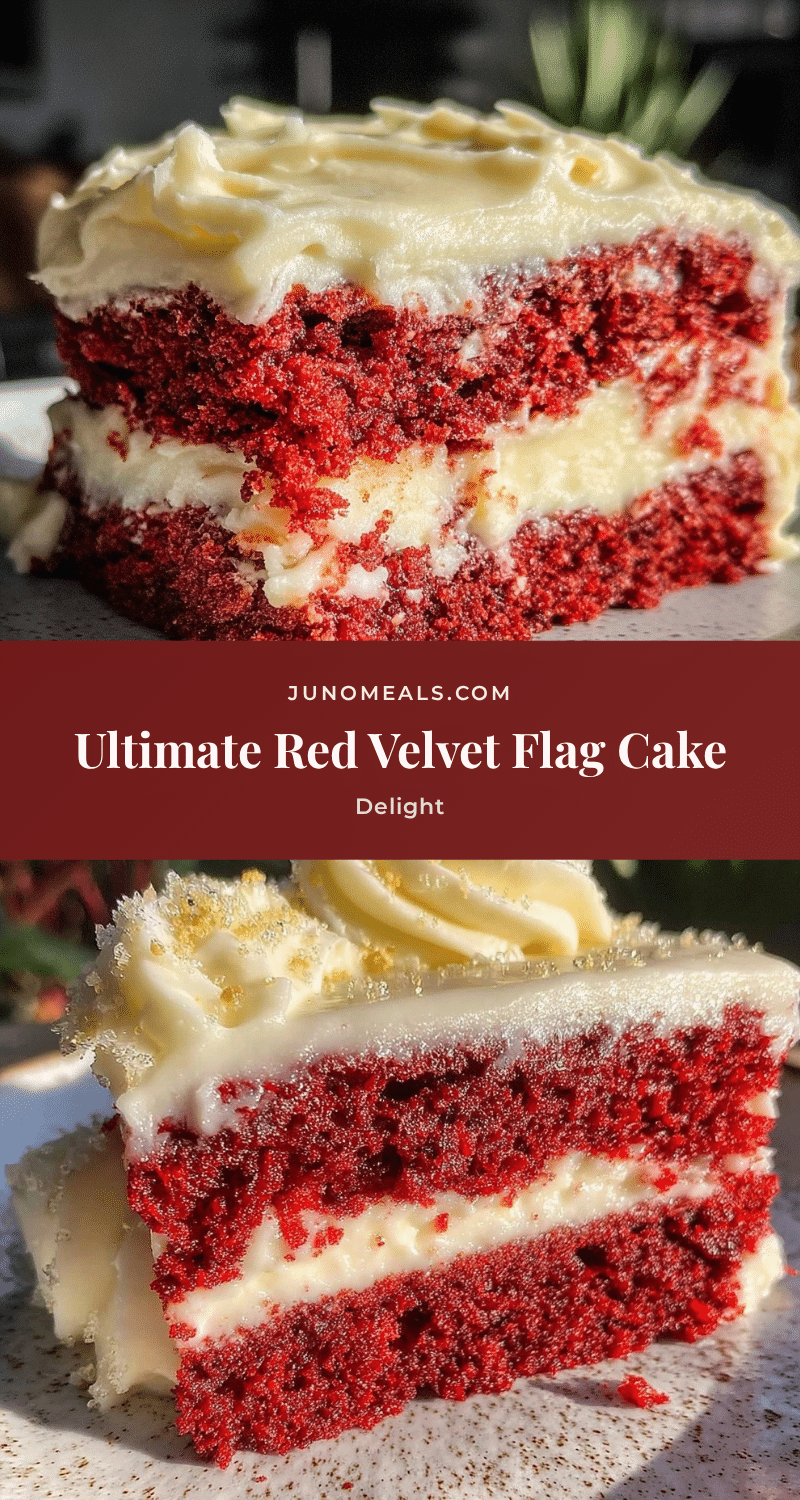
Perfect Red Velvet Flag Cake Recipe Easy Homemade Cream Cheese Frosting Tutorial
A festive and moist red velvet flag cake with layered stripes of red and white, topped with a smooth and tangy cream cheese frosting. This easy recipe is perfect for celebrations and crowd-pleasing desserts.
- Prep Time: 30 minutes
- Cook Time: 30 minutes
- Total Time: 1 hour
- Yield: 12 servings 1x
- Category: Dessert
- Cuisine: American
Ingredients
- 2 ½ cups (315g) all-purpose flour
- 1 ½ cups (300g) granulated sugar
- 1 ½ tablespoons (12g) unsweetened Dutch-processed cocoa powder
- 1 teaspoon baking soda
- ½ teaspoon salt
- 1 cup (240ml) buttermilk, room temperature (or milk plus 1 tablespoon lemon juice)
- 1 cup (240ml) vegetable oil (canola or sunflower)
- 2 large eggs, room temperature
- 1 teaspoon vanilla extract
- 2 tablespoons gel-based red food coloring
- 1 teaspoon white vinegar
- 8 ounces (225g) cream cheese, softened
- ½ cup (115g) unsalted butter, softened
- 4 cups (480g) powdered sugar, sifted
- 1 teaspoon vanilla extract
- Pinch of salt
Instructions
- Preheat oven to 350°F (175°C). Grease two 9-inch cake pans and line bottoms with parchment paper.
- In a large bowl, sift together flour, cocoa powder, baking soda, salt, and sugar. Whisk to combine.
- In another bowl, whisk buttermilk, vegetable oil, eggs, vanilla extract, red food coloring, and white vinegar until smooth.
- Slowly pour wet mixture into dry ingredients while stirring gently with a spatula or mixer on low speed. Mix just until combined.
- Divide batter evenly into prepared pans. Tap pans lightly to release air bubbles and smooth tops.
- Bake for 25–30 minutes or until a toothpick inserted comes out clean.
- Cool cakes in pans for 10 minutes, then invert onto wire racks to cool completely.
- Beat cream cheese and butter together until smooth and creamy. Gradually add powdered sugar, vanilla extract, and salt. Whip on medium-high speed for 3–5 minutes until fluffy.
- Use a serrated knife or cake leveler to slice each cake horizontally into two even layers, creating four layers total.
- On serving plate, place one cake layer and spread a thin layer of frosting. Repeat with second layer.
- For the third layer, spread frosting but leave stripes or blocks of red cake visible to create flag stripes.
- Finish with top layer and cover entire cake with a smooth coat of frosting.
- Refrigerate cake for at least 30 minutes before slicing to firm up frosting.
Notes
Use gel food coloring for vibrant color without affecting batter consistency. Bring eggs and buttermilk to room temperature for even mixing. Sift powdered sugar to avoid lumps in frosting. Chill cake before slicing for clean cuts. Can substitute dairy and gluten ingredients for vegan or gluten-free versions.
Nutrition
- Serving Size: 1 slice (1/12 of cak
- Calories: 375
- Sugar: 35
- Sodium: 250
- Fat: 20
- Saturated Fat: 10
- Carbohydrates: 48
- Fiber: 1
- Protein: 4.5
Keywords: red velvet cake, flag cake, cream cheese frosting, easy cake recipe, festive dessert, homemade cake, layered cake


