I was trying to make a red velvet cake. Classic, right? Something simple for a friend’s Halloween party, something I’d made a hundred times before. But somewhere between the cocoa powder and the food coloring, my brain short-circuited. I grabbed the black gel coloring instead of the red. I mean, they’re right next to each other in the baking aisle, and in my defense, I was already running late. The batter went from a promising deep crimson to a murky, swampy gray, and then — with one more squeeze of the tube — to the most absolute, inky, impossible black. I stared at it. This wasn’t red velvet. This was something else entirely. I almost threw it out. Honestly, I had my hand on the sink faucet.
But the oven was already preheated, and the clock was ticking. So I poured the batter into the tins, muttering about wasted ingredients and my own stupidity. Twenty minutes later, I pulled out a tray of the most perfectly domed, velvety black cupcakes I had ever seen. They looked like little midnight clouds. I let them cool, staring at them, still half-convinced they’d taste like regret. Then I made the orange frosting — a bright, tangy, sunshine-y buttercream that felt like the perfect counterpunch to all that darkness. That first bite. You know that feeling when something unexpected just works? The rich, tender crumb against the creamy, citrusy sweetness. It was better than the red velvet I’d planned. So much better. These Perfect Black Velvet Halloween Cupcakes with Orange Frosting weren’t a mistake. They were a revelation. And now, I can’t imagine Halloween without them.
Why You’ll Love This Recipe
These aren’t just another Halloween cupcake. They’re the kind that makes people stop and ask for the recipe before they’ve even finished the first one. I’ve tested this batch more times than I care to admit, tweaking the cocoa ratio and the frosting consistency until everything was just right. Here’s why they’ve become my go-to for spooky season:
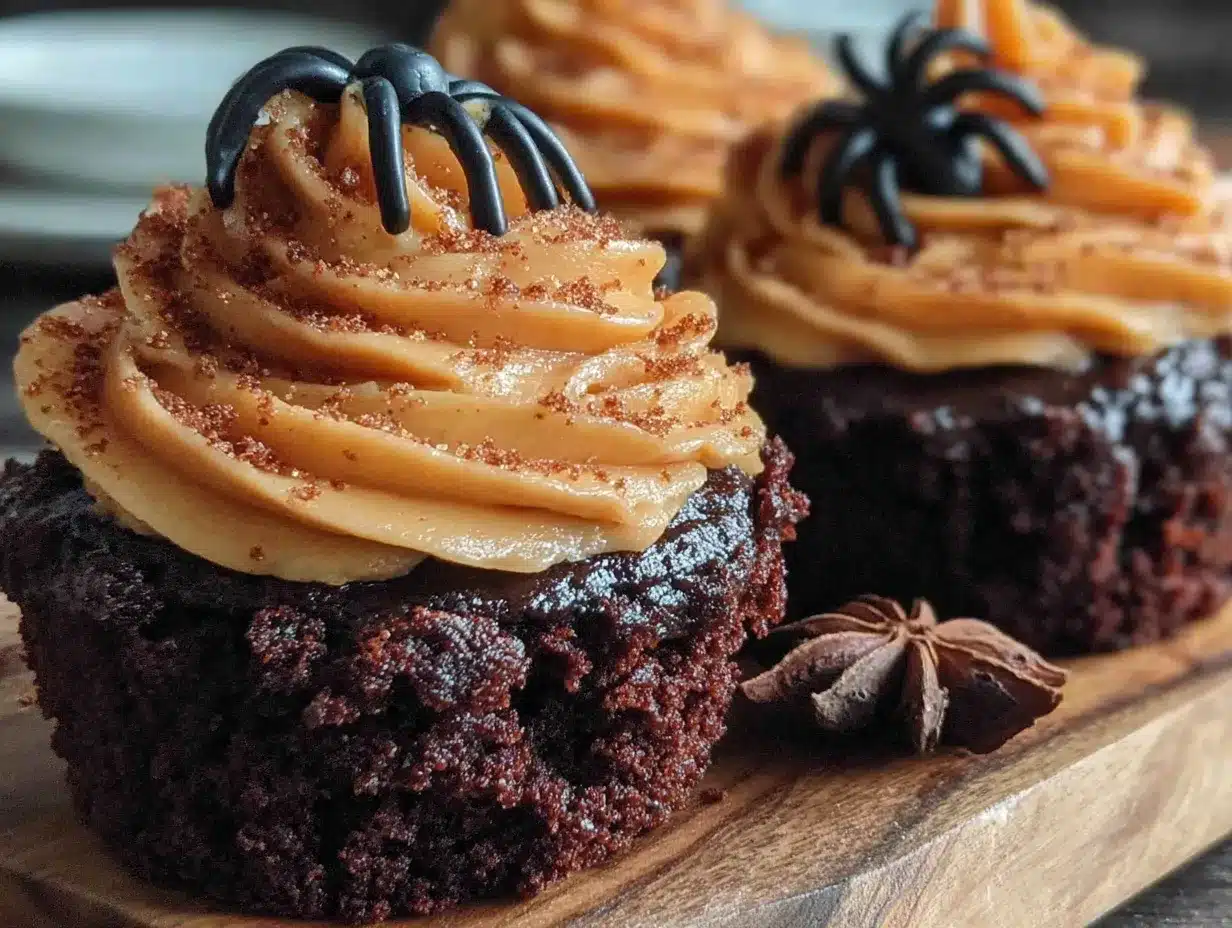
- Stunning Visuals: The deep black cake against the bright orange frosting is a showstopper. It’s Halloween on a plate, no plastic spiders required.
- Simple Ingredients: No weird stabilizers or hard-to-find extracts. You probably have most of this in your pantry already. The secret is just the black food coloring.
- Perfect Texture: This isn’t a dry, crumbly cake. It’s a true velvet — soft, moist, and tender with a fine crumb that melts in your mouth.
- Balanced Flavor: The orange frosting isn’t just for looks. The bright citrus cuts through the rich cocoa, creating a flavor combo that’s both surprising and deeply satisfying.
- Crowd-Pleaser: I’ve brought these to parties, school events, and family dinners. Kids love the colors, and adults love the taste. They disappear every single time.
- Make-Ahead Friendly: The cupcakes freeze beautifully, and the frosting can be made a day in advance. This takes the stress out of party prep.
What makes this recipe different from every other chocolate cupcake out there? It’s the texture, honestly. The combination of buttermilk and a touch of vinegar gives it that classic velvet tang and an impossibly soft crumb. And the frosting — it’s not just colored orange. It’s infused with real orange zest and a splash of fresh juice, so it tastes as bright as it looks. This isn’t just a gimmick. It’s a genuinely delicious cupcake that happens to look incredible.
What Ingredients You Will Need
This recipe uses simple, wholesome ingredients to deliver that signature velvet texture and bold flavor. Most are pantry staples, which makes this an easy last-minute bake when the Halloween craving hits.
For the Black Velvet Cupcakes
- All-purpose flour, 240 grams (2 cups) — spooned and leveled for accuracy
- Unsweetened cocoa powder, 20 grams (3 tablespoons) — I prefer Dutch-processed for a deeper, smoother chocolate flavor
- Baking soda, 1 teaspoon — helps the cake rise and creates that tender crumb
- Salt, ½ teaspoon — balances the sweetness
- Granulated sugar, 300 grams (1½ cups)
- Vegetable oil, 120 ml (½ cup) — keeps the cupcakes incredibly moist
- Buttermilk, 240 ml (1 cup) — at room temperature; this is key for the velvet texture
- Large eggs, 2 — at room temperature
- Vanilla extract, 2 teaspoons — pure, not imitation
- White vinegar, 1 teaspoon — reacts with the baking soda for lift
- Black gel food coloring, 2 to 3 tablespoons — I use Wilton’s “Black” gel; liquid coloring won’t be concentrated enough
For the Orange Buttercream Frosting
- Unsalted butter, 226 grams (1 cup) — softened to room temperature, not melted
- Powdered sugar, 480 grams (4 cups) — sifted for a silky smooth frosting
- Fresh orange zest, 2 tablespoons — from about 2 large oranges; don’t skip this
- Fresh orange juice, 3 to 4 tablespoons — adds brightness and thins the frosting
- Vanilla extract, 1 teaspoon
- Salt, a pinch — to cut the sweetness
- Orange gel food coloring, a few drops — optional, but it makes the color pop
A note on the black food coloring: don’t be shy with it. The batter will look a little strange at first — like a storm cloud — but trust the process. I’ve found that gel coloring works far better than liquid. It’s more concentrated, so you don’t have to add as much, which means the texture of your batter stays perfect. If you want an all-natural version, you can try using black cocoa powder (which is heavily alkalized cocoa), but the color won’t be as intense and the flavor will be much darker, almost like an Oreo. I’ve tried both, and for that true “black velvet” look, the gel is the way to go.
Equipment Needed
- Two 12-cup muffin tins — or one, if you’re baking in batches
- 24 paper cupcake liners — I like using black or orange liners for extra flair
- Large mixing bowls — one for dry ingredients, one for wet
- Whisk — for combining dry ingredients
- Hand mixer or stand mixer — for the batter and the frosting
- Rubber spatula — for scraping down the bowl
- Cooling rack — essential for even cooling
- Piping bag with a large star tip — I use a Wilton 1M tip for that classic swirl
- Ice cream scoop or cookie scoop — for evenly portioning the batter
If you don’t have a piping bag, you can absolutely just spread the frosting on with a knife or offset spatula. It won’t have the same dramatic swirl, but it’ll taste just as good. I’ve done it both ways, and honestly, sometimes the rustic look is even more charming for a Halloween party.
Preparation Method
- Preheat and Prep: Preheat your oven to 175°C (350°F). Line two 12-cup muffin tins with paper liners. This recipe makes exactly 24 cupcakes, so don’t skip this step. I’ve tried squeezing them into one tin, and they overflowed into a sad, burnt mess. Learn from my mistakes.
- Mix Dry Ingredients: In a large bowl, whisk together the flour, cocoa powder, baking soda, and salt. Make sure there are no lumps. The cocoa tends to clump, so be thorough here. Set the bowl aside.
- Combine Wet Ingredients: In a separate, larger bowl, whisk together the sugar and vegetable oil until well combined. Add the buttermilk, eggs, vanilla extract, and white vinegar. Whisk until smooth. The mixture will look a little thin — that’s normal.
- Add the Color: Now for the magic. Add the black gel food coloring to the wet ingredients. Start with 2 tablespoons and whisk it in. The mixture will turn a deep, dark gray. If you want it truly black (and I do), add another tablespoon and whisk again. Don’t be afraid of it. It will look like witch’s brew, and that’s exactly what we want.
- Combine Wet and Dry: Pour the dry ingredients into the wet ingredients. Gently fold them together with a rubber spatula until just combined. Do not overmix! A few streaks of flour are okay. Overmixing will make the cupcakes tough, and nobody wants a tough cupcake. The batter should be smooth, glossy, and very dark.
- Fill the Liners: Use your cookie scoop or a spoon to divide the batter evenly among the 24 liners. Fill each about two-thirds full. I’ve found that a scant ¼ cup of batter per liner is perfect. Don’t overfill, or you’ll get muffin tops instead of neat domes.
- Bake: Bake for 18 to 20 minutes, or until a toothpick inserted into the center of a cupcake comes out clean or with a few moist crumbs. The tops should spring back when lightly touched. Rotate the pans halfway through baking if your oven runs hot.
- Cool Completely: Let the cupcakes cool in the tins for 5 minutes. Then transfer them to a wire cooling rack to cool completely. This is crucial. If you try to frost them while they’re even a little warm, the frosting will melt into a sad, orange puddle. Trust me, I’ve done it. It’s not pretty.
- Make the Frosting: While the cupcakes cool, make the frosting. In a large bowl, beat the softened butter with a hand mixer or stand mixer fitted with the paddle attachment until creamy and smooth, about 2 minutes. Add the sifted powdered sugar, one cup at a time, beating on low speed until incorporated. Add the orange zest, orange juice, vanilla extract, and a pinch of salt. Beat on medium-high speed for 3 to 4 minutes, until the frosting is light, fluffy, and spreadable. If it’s too thick, add a little more orange juice (a teaspoon at a time). If it’s too thin, add a bit more powdered sugar. Add a drop or two of orange gel food coloring if you want that vibrant Halloween orange.
- Frost and Decorate: Once the cupcakes are completely cool, fit your piping bag with the star tip and fill it with the orange buttercream. Pipe a generous swirl onto each cupcake. You can also just spread it on with a knife — it’s less fussy and still looks great.
Cooking Tips & Techniques
Getting that perfect black velvet color can be a little tricky, but once you know the tricks, it’s a breeze. The biggest mistake people make is using liquid food coloring. It’s just not concentrated enough. You’d have to use half a bottle, and the extra liquid would mess up your batter. Stick with gel. I learned this the hard way when I tried to make black cupcakes for a friend’s birthday and ended up with gray, soggy disasters. Not my finest moment.
Another tip: make sure all your ingredients are at room temperature. Cold eggs or cold buttermilk can make the batter seize up, leading to dense cupcakes. Take them out of the fridge about 30 minutes before you start baking. I usually set everything on the counter while I’m gathering my equipment, so by the time I’m ready to mix, they’re perfect.
For the frosting, the key is patience. Let the butter soften naturally — don’t microwave it. Softened butter should give slightly when you press it with your finger, but it shouldn’t be greasy or melted. If you microwave it, even for a few seconds, it can break the emulsion, and you’ll end up with a soupy mess. I’ve definitely done this before a holiday party, and I had to start over from scratch. Not fun.
When piping the frosting, hold the bag straight up and apply steady, even pressure. Start from the outside edge of the cupcake and work your way inward in a spiral, then lift straight up at the end. It takes a little practice, but even a messy swirl looks beautiful with these colors. And if you really mess up? Just scrape it off and try again. The frosting is forgiving.
Variations & Adaptations
This recipe is surprisingly flexible. I’ve played around with it quite a bit, and here are some of my favorite variations:
- Gluten-Free: Swap the all-purpose flour for a good 1-to-1 gluten-free baking flour blend. I’ve used Bob’s Red Mill with great results. The texture is slightly more delicate, but the flavor is spot on.
- Dairy-Free: Use a plant-based buttermilk (mix 1 cup of unsweetened almond or oat milk with 1 tablespoon of lemon juice, let it sit for 5 minutes) and a dairy-free butter substitute for the frosting. Miyoko’s or Country Crock Plant Butter work well.
- Spiced Version: Add 1 teaspoon of cinnamon and ½ teaspoon of nutmeg to the dry ingredients. It gives the cupcakes a subtle warmth that’s perfect for fall. I made this version for a Thanksgiving potluck, and it was a hit.
- Chocolate Orange Frosting: Melt 60 grams (½ cup) of dark chocolate chips and let them cool slightly. Fold the melted chocolate into the orange buttercream for a chocolate-orange flavor that’s absolutely divine.
- Pumpkin Spice Twist: Replace 60 ml (¼ cup) of the buttermilk with pumpkin puree and add 1 teaspoon of pumpkin pie spice. It makes the cupcakes a little denser but incredibly flavorful. This is my go-to for November.
Serving & Storage Suggestions
These cupcakes are best served at room temperature. The crumb is soft and tender, and the frosting is creamy and luscious. If you’ve refrigerated them, let them sit out for about 20 minutes before serving to take the chill off. I like to arrange them on a black or white cake stand for maximum visual impact. A few scattered candy corn or orange sprinkles around the base of the stand never hurt anybody.
For storage, place the frosted cupcakes in an airtight container. They’ll keep at room temperature for up to 2 days. If you need to store them longer, pop them in the refrigerator for up to 5 days. Just be aware that the fridge can dry out the cake a little, so bring them back to room temperature before serving.
These cupcakes also freeze beautifully. Freeze them unfrosted in a single layer on a baking sheet, then transfer them to a freezer-safe bag or container. They’ll keep for up to 3 months. When you’re ready to enjoy them, thaw them in the refrigerator overnight or on the counter for a few hours, then frost as usual. The frosting can also be frozen in an airtight container for up to 3 months. Thaw it in the refrigerator and re-whip it before using.
I’ve noticed that the flavors actually deepen after a day. The orange zest seems to meld with the cocoa, and the cake becomes even more tender. So if you can stand to wait, make these a day ahead. They’re even better the next day.
Nutritional Information & Benefits
Let’s be real — these are cupcakes. They’re a treat, a celebration, a little bit of joy in a paper liner. But I do believe in knowing what you’re eating, so here’s the estimated breakdown per cupcake (based on 24 servings):
| Nutrient | Amount per Cupcake |
|---|---|
| Calories | 285 |
| Total Fat | 14g |
| Saturated Fat | 7g |
| Cholesterol | 45mg |
| Sodium | 180mg |
| Total Carbohydrates | 39g |
| Sugars | 30g |
| Protein | 3g |
That said, there are a few redeeming qualities. The cocoa powder is rich in antioxidants, and the orange zest provides a nice dose of vitamin C. The buttermilk adds a little calcium and protein. Is it a health food? Absolutely not. But it’s a real-food treat made from scratch, and that counts for something. I’d rather have one of these than two of those sad, packaged grocery store cupcakes any day.
Conclusion
These Perfect Black Velvet Halloween Cupcakes with Orange Frosting started as a mistake, but they’ve become one of my most-requested recipes. They’re proof that sometimes the best things come from unexpected places — and that a little kitchen chaos can lead to something truly delicious. The combination of the tender, dark cake and the bright, citrusy frosting is just magic. It’s Halloween on a plate, but it’s also just a really, really good cupcake.
I’d love to hear how these turn out for you. Did you try any of the variations? Did you pipe a perfect swirl or go for the rustic knife-spread look? Leave a comment below and let me know. And if you share a photo on social media, tag me — I want to see your spooky creations. Happy baking, and don’t be afraid to make a mess. You never know what you might discover.
Frequently Asked Questions
Can I use liquid food coloring instead of gel?
I really don’t recommend it. Liquid food coloring is too thin, and you’d need so much of it to achieve a true black that it would throw off the liquid balance of the batter. Gel coloring is much more concentrated, so you get a deep, dark color without affecting the texture. It’s worth the extra dollar or two.
Why did my cupcakes turn out gray instead of black?
You probably didn’t use enough food coloring. Don’t be shy with it. The batter should look like black ink before you bake it. Also, make sure you’re using a high-quality black gel. Some cheaper brands just don’t have enough pigment. I’ve had the best luck with Wilton or Americolor.
Can I make these cupcakes ahead of time?
Absolutely. You can bake the cupcakes a day in advance and store them in an airtight container at room temperature. The frosting can also be made a day ahead and refrigerated. Just let the frosting come to room temperature and give it a quick whip before piping. The flavors actually get better after a day.
How do I get that perfect orange color in the frosting?
Fresh orange zest gives the frosting a beautiful natural color, but it won’t be that bright, vibrant Halloween orange on its own. I recommend adding a drop or two of orange gel food coloring. Start with a tiny amount — you can always add more, but you can’t take it away. Mix it in thoroughly before deciding if you need more.
Can I make these as a cake instead of cupcakes?
Yes! This recipe works great as a two-layer 20 cm (8-inch) cake. Bake the batter in two greased and floured round cake pans for 25 to 30 minutes, or until a toothpick comes out clean. You might need to double the frosting recipe for a generous layer between the cakes and on top. Just adjust the baking time and keep an eye on it.
Pin This Recipe!
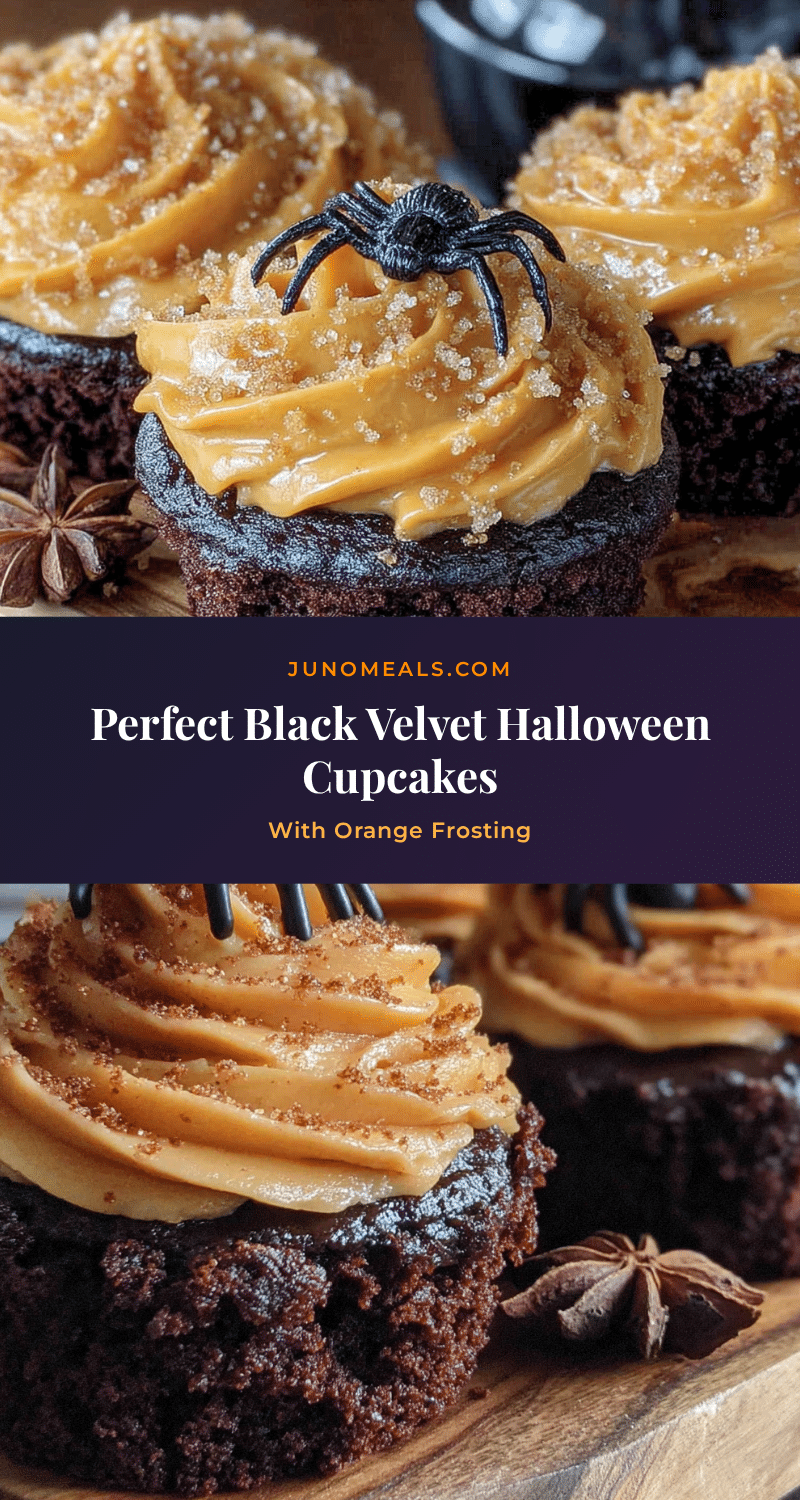
Perfect Black Velvet Halloween Cupcakes with Orange Frosting
These stunning black velvet cupcakes with bright orange buttercream frosting are a Halloween showstopper. The tender, moist crumb and tangy citrus frosting create an unexpectedly delicious flavor combination that started as a happy accident.
- Prep Time: 20 minutes
- Cook Time: 20 minutes
- Total Time: 40 minutes
- Yield: 24 cupcakes 1x
- Category: Dessert
- Cuisine: American
Ingredients
- 240 grams (2 cups) all-purpose flour, spooned and leveled
- 20 grams (3 tablespoons) unsweetened cocoa powder, preferably Dutch-processed
- 1 teaspoon baking soda
- ½ teaspoon salt
- 300 grams (1½ cups) granulated sugar
- 120 ml (½ cup) vegetable oil
- 240 ml (1 cup) buttermilk, at room temperature
- 2 large eggs, at room temperature
- 2 teaspoons vanilla extract
- 1 teaspoon white vinegar
- 2 to 3 tablespoons black gel food coloring (e.g., Wilton’s Black)
- 226 grams (1 cup) unsalted butter, softened to room temperature
- 480 grams (4 cups) powdered sugar, sifted
- 2 tablespoons fresh orange zest (from about 2 large oranges)
- 3 to 4 tablespoons fresh orange juice
- 1 teaspoon vanilla extract
- Pinch of salt
- Few drops orange gel food coloring (optional)
Instructions
- Preheat oven to 175°C (350°F). Line two 12-cup muffin tins with paper liners.
- In a large bowl, whisk together flour, cocoa powder, baking soda, and salt until no lumps remain. Set aside.
- In a separate larger bowl, whisk together sugar and vegetable oil until well combined. Add buttermilk, eggs, vanilla extract, and white vinegar. Whisk until smooth.
- Add black gel food coloring to the wet ingredients. Start with 2 tablespoons and whisk; add another tablespoon for a true black color. The mixture should look like dark ink.
- Pour dry ingredients into wet ingredients. Gently fold with a rubber spatula until just combined. Do not overmix; a few streaks of flour are okay.
- Divide batter evenly among 24 liners, filling each about two-thirds full (about a scant ¼ cup per liner).
- Bake for 18 to 20 minutes, or until a toothpick inserted into the center comes out clean or with a few moist crumbs. Rotate pans halfway through if needed.
- Let cupcakes cool in tins for 5 minutes, then transfer to a wire rack to cool completely.
- For the frosting: In a large bowl, beat softened butter with a hand mixer or stand mixer with paddle attachment until creamy, about 2 minutes.
- Add sifted powdered sugar, one cup at a time, beating on low speed until incorporated.
- Add orange zest, orange juice, vanilla extract, and a pinch of salt. Beat on medium-high speed for 3 to 4 minutes until light, fluffy, and spreadable. Adjust consistency with more orange juice or powdered sugar as needed. Add orange gel food coloring if desired.
- Once cupcakes are completely cool, pipe frosting with a star tip (e.g., Wilton 1M) or spread with a knife.
Notes
Use gel food coloring, not liquid, for the deepest black color. All ingredients should be at room temperature for best texture. Cupcakes can be made a day ahead; flavors deepen overnight. Unfrosted cupcakes freeze well for up to 3 months. For a cake version, bake in two 8-inch round pans for 25-30 minutes.
Nutrition
- Serving Size: 1 cupcake
- Calories: 285
- Sugar: 30
- Sodium: 180
- Fat: 14
- Saturated Fat: 7
- Carbohydrates: 39
- Fiber: 1
- Protein: 3
Keywords: Halloween cupcakes, black velvet cupcakes, orange frosting, Halloween dessert, black cupcakes, orange buttercream, spooky cupcakes, velvet cake


