I was staring at the back of a bottle in the grocery store aisle last December when it hit me—the waxy, artificial smell of that “peppermint mocha” creamer. And suddenly I was fifteen, sitting on the cracked linoleum floor of my aunt’s tiny kitchen, watching her pour a stream of homemade creamer into her chipped mug. She had this way of making things from scratch that seemed almost rebellious in our house of boxed everything. The smell of real peppermint and strong coffee would fill that whole apartment, and she’d wink at me like we were in on some secret. Honestly, I’d forgotten about those mornings until that moment in the store. I put the bottle back on the shelf and walked out. I mean, why buy something that tastes like chemicals when you can make the real thing in five minutes? Let me tell you—this Light Peppermint Mocha Creamer with 4 Ingredients is exactly what I was chasing that day. It’s the one I’ve been making ever since, and it’s the one that actually tastes like my aunt’s kitchen smelled. Maybe you’ve been there too, standing in an aisle somewhere, wishing for something that doesn’t come in a plastic bottle.
Why You’ll Love This Recipe
This isn’t just another creamer recipe you’ll try once and forget. I’ve tested this version about a dozen times—some batches too sweet, some not pepperminty enough—until I landed on this exact balance. It’s the kind of thing that makes you close your eyes after that first sip. Here’s why this one is different:
- 4 Simple Ingredients: No weird additives, no preservatives, nothing you can’t pronounce. You probably have most of them already.
- Lightened Up: We’re using unsweetened almond milk and a touch of pure maple syrup instead of heavy cream and refined sugar. It’s creamy without being heavy, sweet without being cloying.
- Ready in 5 Minutes: No simmering, no straining, no complicated steps. Just shake or whisk, and you’re done.
- Perfect for the Holidays: This creamer makes any morning feel a little special, whether it’s Christmas morning or just a random Tuesday in December.
- Way Better Than Store-Bought: Once you taste real peppermint extract and good cocoa powder together, you won’t go back. Trust me on this.
- Budget-Friendly: A batch costs pennies compared to those fancy bottles at the store.
This creamer is comfort in a mug—healthier, faster, and somehow more satisfying than anything you can buy. It’s perfect for impressing holiday guests without stress, or for turning your everyday coffee into something you actually look forward to.
What Ingredients You Will Need
This recipe uses simple, wholesome ingredients to deliver that rich, minty mocha flavor without any of the junk. Most of these are pantry staples, and the ones that aren’t are easy to find.
- Unsweetened Almond Milk (1 cup / 240 ml): This is our base. I prefer unsweetened because it lets us control the sweetness. Califia Farms or Silk work great. If you’re not dairy-free, you can use whole milk or half-and-half for a richer version.
- Pure Maple Syrup (2 tablespoons / 30 ml): This adds just the right amount of sweetness without being overpowering. It also brings a subtle warmth that pairs beautifully with the peppermint. You can substitute honey or agave if needed, but maple really is the star here.
- Unsweetened Cocoa Powder (1 tablespoon / 5 grams): Look for Dutch-processed cocoa if you can—it’s smoother and less bitter. I like Ghirardelli or Hershey’s Special Dark. This gives us that rich mocha flavor without any added sugar.
- Peppermint Extract (¼ teaspoon): A little goes a long way. I use pure peppermint extract (not peppermint oil, which is much stronger). McCormick or Simply Organic are both reliable. Start with ¼ teaspoon and add more if you want a stronger mint kick.
- Pinch of Sea Salt (optional but recommended): This isn’t one of the four ingredients, but it makes a difference. A tiny pinch balances the sweetness and brings out the chocolate flavor.
That’s it. Four ingredients, plus a pinch of salt if you’re fancy. No condensed milk, no heavy cream, no refined sugar. Just real food that tastes like a treat.
Equipment Needed
You don’t need much for this recipe, which is part of the beauty. Here’s what you’ll want:
- A Mason Jar or Bottle (16 oz / 500 ml): Something with a tight-fitting lid for shaking. I use a repurposed glass bottle from a store-bought dressing—works perfectly and feels thrifty.
- A Small Whisk (optional): If you don’t want to shake, you can whisk everything together in a bowl. I usually shake because it’s faster and fewer dishes.
- A Measuring Cup: For the almond milk. A liquid measuring cup is best for accuracy.
- Measuring Spoons: For the maple syrup, cocoa powder, and peppermint extract. Go ahead and eyeball the salt—you don’t need to be precise there.
- A Funnel (helpful but not required): Makes pouring into a narrow-neck bottle much less messy. I’ve done it without and regretted it every time.
That’s really all you need. No blender, no stove, no fancy equipment. This is about as low-effort as homemade gets.
Preparation Method
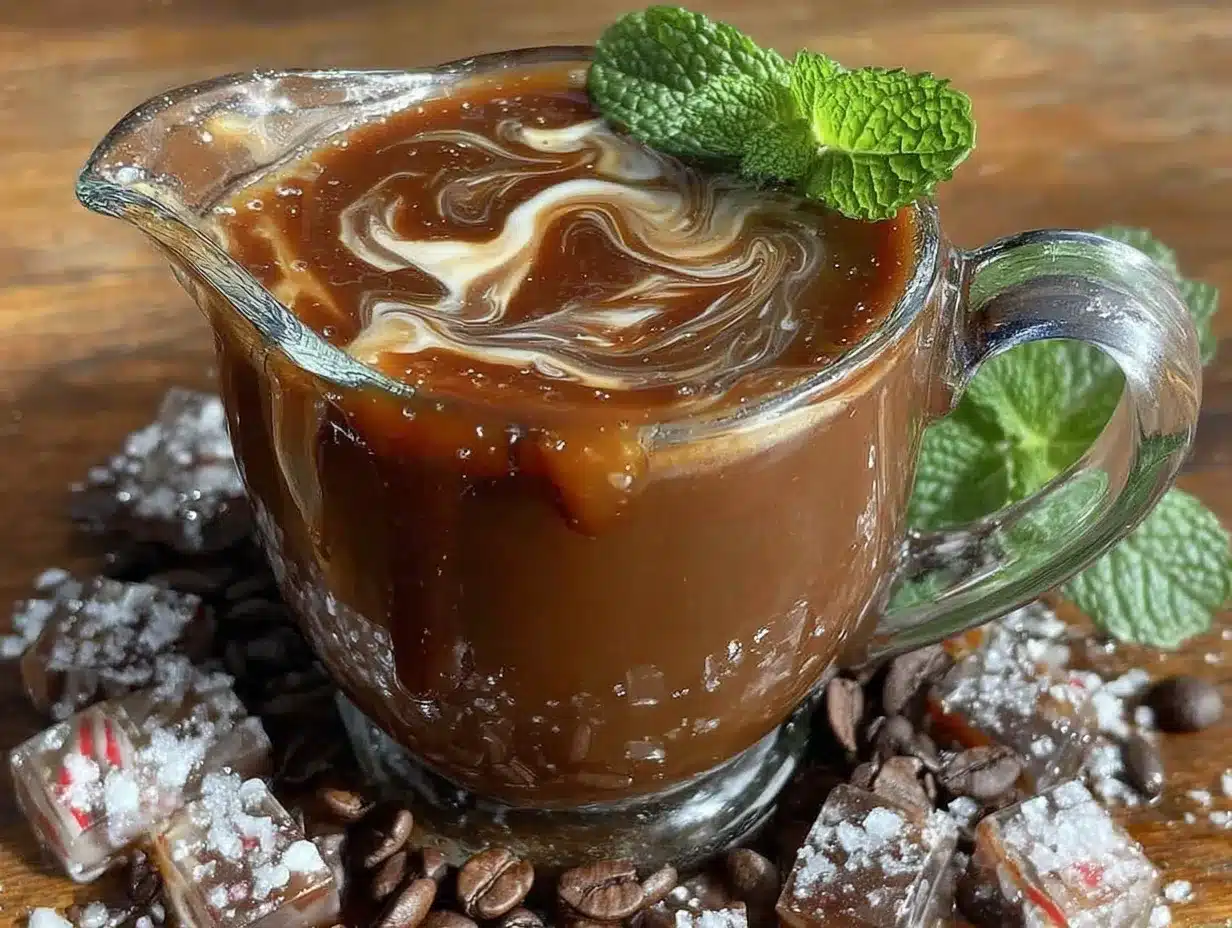
Alright, let’s make this creamer. It’s almost embarrassingly simple, but I’ll walk you through it step by step so you get it right the first time.
- Gather your ingredients and equipment. Make sure your almond milk is shaken or stirred—it can separate in the carton. Have your jar or bottle ready with the lid off.
- Add the cocoa powder to your jar first. This might seem like a small thing, but adding it first helps it dissolve more easily. If you add it last, it tends to clump and float on top. (Learned that the hard way.)
- Pour in the maple syrup. Let it run down the side of the jar if you can—it helps incorporate more smoothly. Two tablespoons is the sweet spot, but if you like things sweeter, you can add another half tablespoon.
- Add the peppermint extract. Just ¼ teaspoon to start. Remember, you can always add more, but you can’t take it out. Peppermint extract is potent stuff.
- Pour in the almond milk. All one cup of it. Leave a little room at the top of your jar—maybe an inch—so you have space to shake.
- Screw the lid on tight. Make sure it’s really secure. I’ve had a lid pop off mid-shake before, and cleaning peppermint mocha off the ceiling is not a fun way to start the day.
- Shake vigorously for about 30 seconds. Really go at it. You want the cocoa powder to fully dissolve and everything to emulsify. You should see a uniform, dark brown mixture with no dry spots or clumps.
- Take a taste test. Dip a spoon in and try it. Is it sweet enough? Minty enough? This is your chance to adjust. Add more maple syrup for sweetness, more peppermint for kick, or a tiny pinch of salt to balance everything out. Shake again if you add anything.
- Pour into your coffee. Start with about 2 tablespoons per 8-ounce cup of coffee, then adjust to your taste. I like mine with about 3 tablespoons—enough to taste the peppermint and chocolate without overwhelming the coffee.
- Store the rest in the fridge. This creamer will keep for up to a week. Give it a quick shake before each use, because the cocoa can settle at the bottom.
That’s it. Ten steps, but most of them take about five seconds each. You’ll have homemade creamer before your coffee even finishes brewing.
Cooking Tips & Techniques
I’ve made this creamer more times than I can count, and I’ve definitely made some mistakes along the way. Here’s what I’ve learned so you don’t have to repeat my errors.
Don’t overdo the peppermint. I know it’s tempting to go heavy on the extract, especially if you love that strong minty kick. But peppermint extract is surprisingly intense, and too much can make your coffee taste like toothpaste. Start with ¼ teaspoon, taste, and add more in tiny increments. I once added a full teaspoon thinking “more is better,” and that batch was undrinkable.
Use room temperature almond milk. Cold almond milk can make the cocoa powder clump up and refuse to dissolve. If your milk is straight from the fridge, let it sit on the counter for 10 minutes first, or warm it very gently in the microwave for about 10 seconds. Not hot—just not freezing cold.
Shake, don’t stir. If you try to whisk this in a bowl, you’ll end up with cocoa lumps floating around. The shaking action in a sealed jar creates enough force to break up those clumps and give you a smooth, silky creamer. It’s one of those small tricks that makes a huge difference.
Double the batch for the week. This recipe makes about 1 cup of creamer, which lasts me about 5-6 days. If you’re sharing with family or just really love your coffee, double everything and use a bigger jar. It keeps beautifully in the fridge.
A pinch of salt changes everything. I know I mentioned this already, but it’s worth repeating. That tiny pinch of sea salt doesn’t make the creamer salty—it just makes the chocolate and peppermint taste more like themselves. It’s the same reason good chocolate chip cookies have salt. Trust the process.
Variations & Adaptations
This creamer is a great base recipe, but it’s also easy to customize. Here are some variations I’ve tried and loved:
- Dairy-Free & Vegan: This version already is! Just make sure your cocoa powder is dairy-free (most are) and you’re good to go.
- Extra Chocolatey: Add an extra half tablespoon of cocoa powder for a richer mocha flavor. You might need an extra teaspoon of maple syrup to balance the bitterness.
- Mint Chocolate Chip Inspired: Add a drop of vanilla extract along with the peppermint. It gives the creamer a more rounded, dessert-like flavor that reminds me of mint chocolate chip ice cream.
- Spiced Peppermint Mocha: Add a pinch of cinnamon or a tiny dash of nutmeg. This is amazing during the holidays—it adds warmth without overpowering the peppermint.
- Less Sweet: Cut the maple syrup down to 1 tablespoon. The creamer will still have a hint of sweetness from the almond milk, but it’ll be much lighter.
- Coconut Version: Use unsweetened coconut milk instead of almond milk. It adds a subtle tropical note that somehow works with the peppermint and chocolate. I was skeptical, but my sister convinced me to try it, and now it’s my second-favorite version.
Don’t be afraid to experiment. This recipe is forgiving, and half the fun is finding your perfect ratio.
Serving & Storage Suggestions
This creamer is best served in a hot cup of strong coffee—I prefer a medium or dark roast to stand up to the chocolate and mint flavors. Pour about 2-3 tablespoons into your mug, then add your hot coffee and stir. The creamer will lighten the color and add that beautiful mocha swirl.
For iced coffee lovers, this creamer works great cold too. Just add it to cold brew or iced coffee and stir well. The flavors are just as bright and refreshing.
Storage: Keep your creamer in a sealed jar or bottle in the refrigerator. It will stay fresh for up to 7 days. I usually make a batch on Sunday night and use it all week. Just remember to shake it before each use—the cocoa and maple syrup can settle at the bottom over time.
Reheating: You don’t need to reheat the creamer itself—just add it to your hot coffee. If you’re making iced coffee, it’s ready to go straight from the fridge.
One thing I love about this creamer is that the flavors actually meld and deepen after a day or two in the fridge. The peppermint and chocolate sort of settle into each other, and it gets even better. So don’t worry if it tastes good on day one—it’ll taste amazing on day three.
Nutritional Information & Benefits
Here’s the approximate nutritional breakdown for one serving (2 tablespoons of creamer):
- Calories: 20
- Fat: 0.5g
- Carbohydrates: 4g
- Sugar: 3g (from maple syrup, no refined sugar)
- Protein: 0.5g
Compare that to store-bought peppermint mocha creamers, which can have 35-50 calories and 8-10 grams of sugar per serving. This homemade version cuts the sugar by more than half without sacrificing any flavor.
The almond milk provides a small amount of vitamin E and calcium, while the cocoa powder is rich in antioxidants known as flavonoids, which support heart health. Peppermint extract has been used for centuries to aid digestion and freshen breath—bonus!
This creamer is naturally gluten-free, dairy-free, and vegan. It’s also free of artificial flavors, colors, and preservatives. If you have a peppermint allergy, obviously skip this one, but otherwise it’s about as clean as a flavored creamer gets.
Conclusion
This Light Peppermint Mocha Creamer is proof that you don’t need a long ingredient list or complicated techniques to make something truly special. Four ingredients, five minutes, and you’ve got a creamer that tastes like the holidays in a bottle—without any of the artificial stuff.
I love that I can make this whenever the craving hits, and I can tweak it to be exactly as sweet or minty as I want. It’s become my little morning ritual, and honestly, it makes even a Monday feel a bit more festive.
I’d love to hear how yours turns out! Did you add a pinch of cinnamon? Double the peppermint? Try it with oat milk? Drop a comment below and let me know your favorite variation. And if you loved this recipe, share it with a friend who needs a little more homemade joy in their morning cup.
Here’s to real ingredients, real flavor, and the simple things that make life a little sweeter.
Frequently Asked Questions
Can I use a different milk?
Absolutely! Oat milk, cashew milk, or regular dairy milk all work great. Just keep in mind that different milks will change the calorie count and richness. Oat milk makes it a bit creamier, while skim milk keeps it very light.
How long does this creamer last?
Stored in a sealed container in the refrigerator, it stays fresh for up to 7 days. Always give it a good shake before using, as the ingredients can separate over time.
Can I make this sugar-free?
Yes! Swap the maple syrup for a sugar-free sweetener like monk fruit syrup or stevia. Start with a small amount and adjust to taste, as these sweeteners can be much more concentrated than maple syrup.
Why is my creamer clumpy?
Clumps usually happen when the cocoa powder doesn’t fully dissolve. Make sure your almond milk is at room temperature (not straight from the fridge), and shake the jar vigorously for a full 30 seconds. If it’s still clumpy, try whisking it in a bowl instead.
Can I double this recipe?
Definitely! Just double all the ingredients and use a larger jar or bottle. It’s perfect for meal prep or for sharing with family during the holidays.
Pin This Recipe!
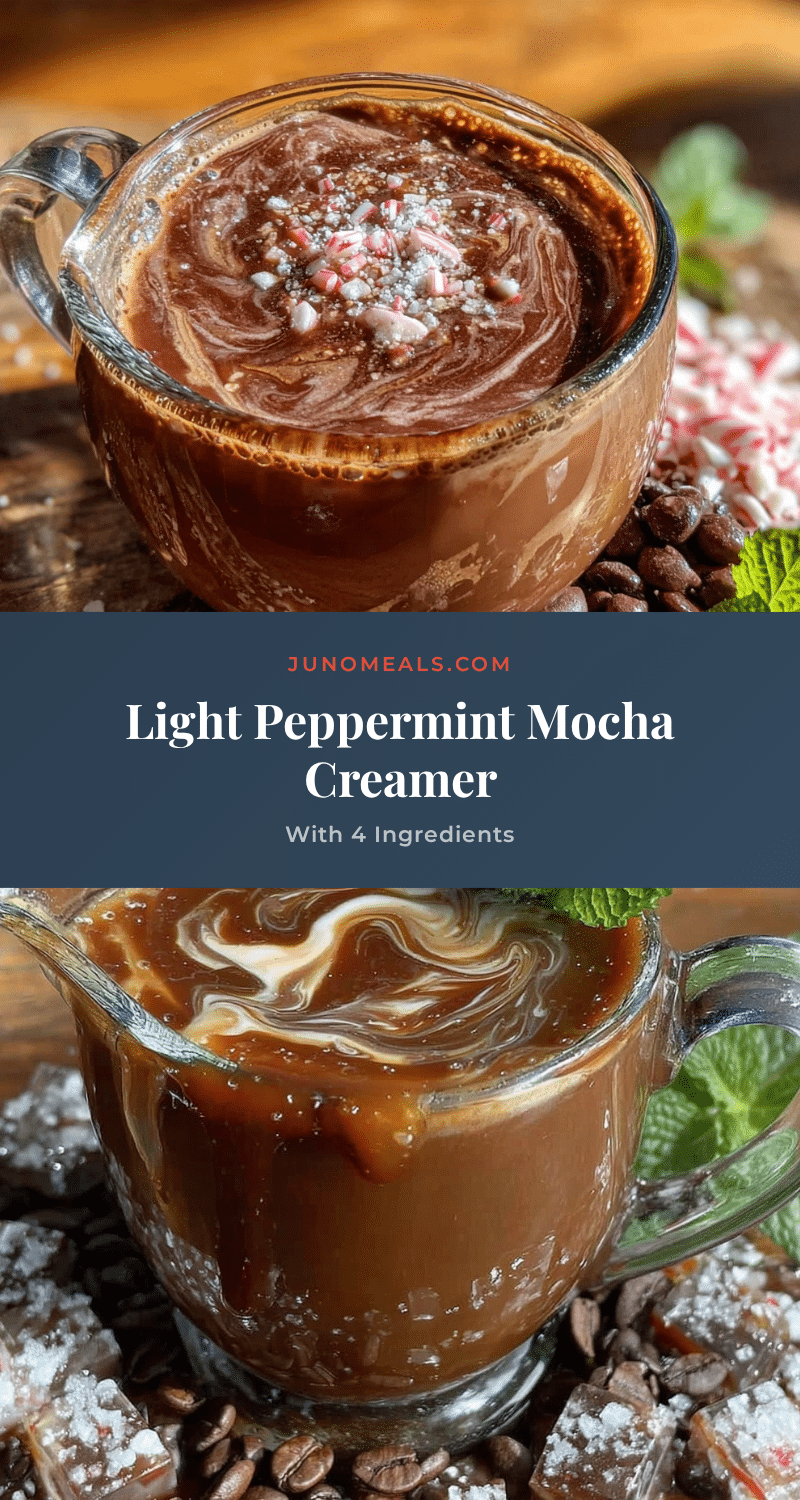
Light Peppermint Mocha Creamer: Easy 4-Ingredient Best Homemade
This Light Peppermint Mocha Creamer is a quick, 4-ingredient homemade alternative to store-bought versions, made with unsweetened almond milk, pure maple syrup, cocoa powder, and peppermint extract. It’s creamy, naturally sweetened, and ready in 5 minutes.
- Prep Time: 5 minutes
- Cook Time: 0 minutes
- Total Time: 5 minutes
- Yield: 8 servings (1 cup total, 2 tablespoons per serving) 1x
- Category: Condiment
- Cuisine: American
Ingredients
- 1 cup (240 ml) unsweetened almond milk
- 2 tablespoons (30 ml) pure maple syrup
- 1 tablespoon (5 grams) unsweetened cocoa powder (preferably Dutch-processed)
- 1/4 teaspoon peppermint extract
- Pinch of sea salt (optional)
Instructions
- Gather your ingredients and equipment. Make sure your almond milk is shaken or stirred.
- Add the cocoa powder to your jar first to help it dissolve more easily.
- Pour in the maple syrup, letting it run down the side of the jar if possible.
- Add the peppermint extract.
- Pour in the almond milk, leaving about an inch of space at the top of the jar.
- Screw the lid on tight.
- Shake vigorously for about 30 seconds until the cocoa powder is fully dissolved and the mixture is uniform.
- Taste test and adjust sweetness or mintiness as needed. Add a pinch of sea salt if desired. Shake again if you add anything.
- Pour into your coffee, starting with about 2 tablespoons per 8-ounce cup, adjusting to taste.
- Store the rest in the refrigerator for up to a week. Shake before each use.
Notes
Use room temperature almond milk to prevent cocoa clumps. Start with 1/4 teaspoon peppermint extract and adjust to taste. A pinch of sea salt enhances the chocolate and peppermint flavors. The creamer keeps for up to 7 days in the refrigerator; shake before each use.
Nutrition
- Serving Size: 2 tablespoons
- Calories: 20
- Sugar: 3
- Sodium: 30
- Fat: 0.5
- Carbohydrates: 4
- Protein: 0.5
Keywords: peppermint mocha creamer, homemade creamer, dairy-free creamer, vegan creamer, light creamer, 4-ingredient creamer, holiday coffee creamer


