There used to be a tiny bakery on the corner of 5th and Maple—The Little Whisk—that made the most incredible pumpkin oatmeal muffins. When they closed their doors two years ago, I honestly felt a little lost. My kids, Leo and Mia, had grown up on those warm, spiced cups after Saturday morning soccer games. The owner, a sweet woman named Gloria, had this way of making them taste like fall in a paper liner—not too sweet, perfectly tender, with just the right hit of cinnamon and nutmeg. After she retired, I tried every pumpkin oatmeal recipe I could find online, but nothing came close. After twelve tries—some were too dry, others were basically soup—I finally cracked it. These Kid-Approved Pumpkin Spice Baked Oatmeal Cups are my love letter to Gloria’s bakery, and let me tell you, my kids now say these are even better than the originals. Maybe they’re just being nice, but honestly, I don’t care—they disappear in minutes.
I remember the Wednesday I finally got it right. The kitchen was a disaster—pumpkin puree on the counter, oats scattered across the floor, and I’d accidentally used salted butter instead of unsalted. But when I pulled the tray out of the oven, the smell hit me. It was that exact warm, cozy scent from The Little Whisk. Leo ran in from the living room, still wearing his school backpack, and asked, “Mom, did you make Gloria’s muffins?” That moment made all the failed batches worth it. You know that feeling when a recipe just clicks? This was it. And now, I’m sharing it with you so you can have that same moment in your kitchen.
These aren’t just another breakfast idea—they’re a solution for busy mornings when you need something healthy that your kids will actually eat. No pleading, no bargaining, just happy faces and empty plates. Let’s get baking.
Why You’ll Love This Recipe
I’ve tested these oatmeal cups more times than I’d like to admit—some batches were hockey pucks, others fell apart in your hands. But this version? It’s the one I keep coming back to, and here’s why it’ll win you over too.
- Quick & Easy: These come together in about 30 minutes, including baking time. Perfect for Sunday meal prep or a rushed weekday morning when you’re already running late.
- Simple Ingredients: You probably have most of these in your pantry right now. Oats, pumpkin puree, eggs, milk, and a few spices. No fancy trips to specialty stores.
- Perfect for Busy Families: Great for breakfast on the go, lunchboxes, or even an after-school snack that feels like a treat but is actually good for them.
- Crowd-Pleaser: My picky eater, Mia, once told me these taste like “pumpkin pie but better.” That’s high praise from a kid who usually survives on plain pasta.
- Unbelievably Delicious: The texture is spot-on—soft, moist, and slightly chewy from the oats. The pumpkin spice blend gives it that cozy fall flavor without being overpowering.
What makes this recipe different from all the others? It’s the balance. I spent weeks tweaking the oat-to-liquid ratio so these cups hold their shape but stay tender. Plus, I swapped half the sugar for a mashed banana—a trick I learned from a chef friend that adds natural sweetness and keeps them moist without extra fat. These aren’t just healthy in theory; they’re healthy in practice, and your kids won’t even notice.
This recipe is the kind that makes you close your eyes after the first bite. It’s comfort food reimagined—healthier, faster, but with the same soul-soothing satisfaction. Perfect for impressing guests without stress, or turning a simple breakfast into something memorable.
What Ingredients You Will Need
This recipe uses simple, wholesome ingredients to deliver bold flavor and satisfying texture without the fuss. Most are pantry staples, so you can whip these up anytime the craving strikes.
For the Oatmeal Cups
- Rolled oats, 2 cups (200g) – Use old-fashioned rolled oats for the best texture. Quick oats will make them mushy, and steel-cut oats won’t soften enough. I prefer Bob’s Red Mill for consistent results.
- Pumpkin puree, 1 cup (240g) – Make sure it’s 100% pure pumpkin, not pumpkin pie filling. Libby’s is my go-to brand because it’s thick and not watery.
- Ripe banana, 1 medium (about 120g), mashed – Adds natural sweetness and binds everything together. The riper the banana, the sweeter your cups will be.
- Eggs, 2 large, room temperature – Helps the cups rise and hold their shape. If you’re in a rush, place them in warm water for 5 minutes.
- Milk, ½ cup (120ml) – Any milk works: dairy, almond, oat, or soy. I use whole milk for extra creaminess, but my sister uses unsweetened almond milk with great results.
- Maple syrup, ¼ cup (60ml) – Pure maple syrup adds a rich, warm sweetness. Avoid pancake syrup—it’s too artificial. Honey or agave work as substitutes.
- Coconut oil, 2 tablespoons (30ml), melted – Keeps the cups moist without a greasy feel. You can also use melted butter or vegetable oil.
- Vanilla extract, 1 teaspoon (5ml) – Enhances the pumpkin spice flavors. I always use pure vanilla extract, not imitation.
For the Pumpkin Spice Blend
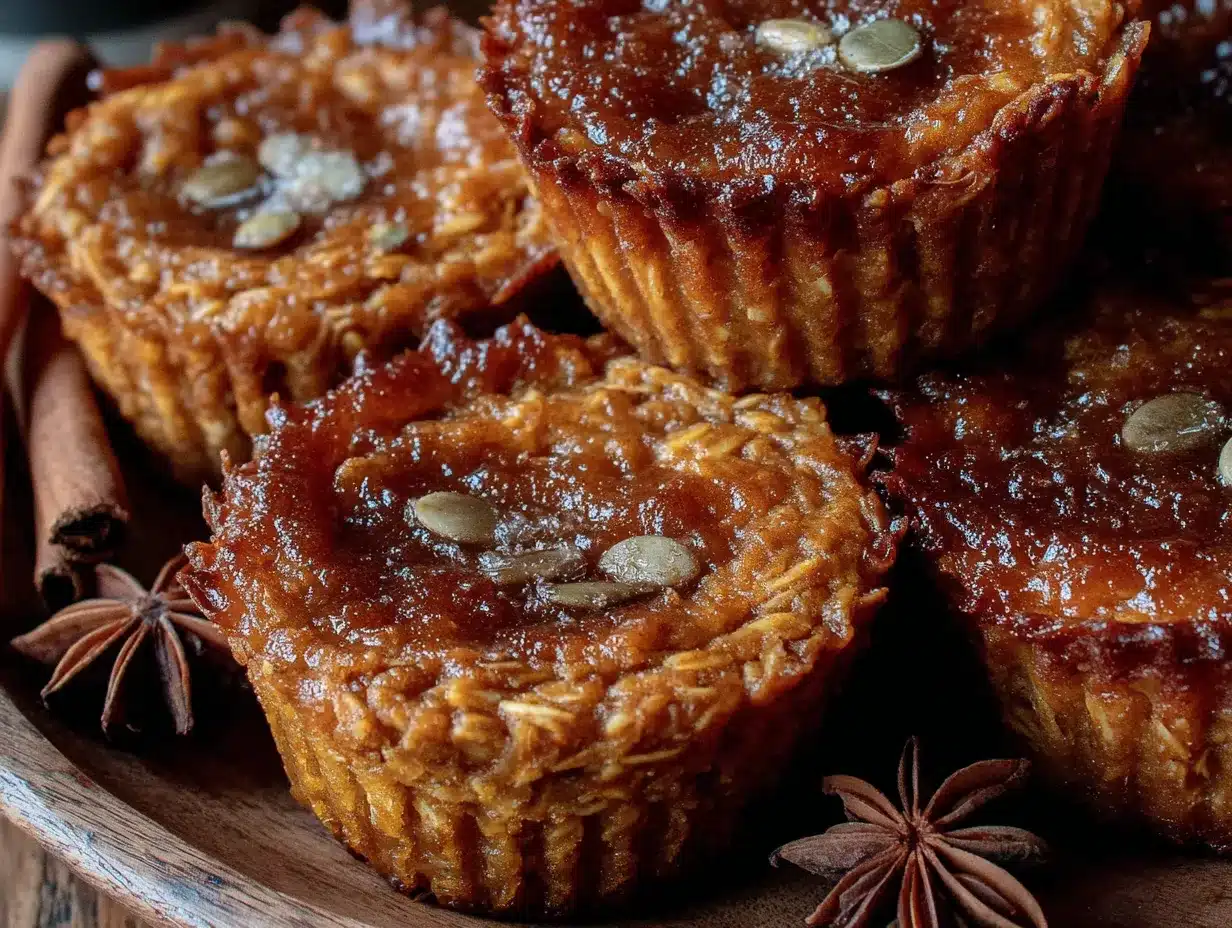
- Ground cinnamon, 1½ teaspoons – The star of the show. Fresh cinnamon from a spice shop makes a noticeable difference.
- Ground nutmeg, ½ teaspoon – Freshly grated nutmeg is even better if you have it.
- Ground ginger, ½ teaspoon – Adds a subtle warmth. Don’t skip it—it balances the sweetness.
- Ground cloves, ¼ teaspoon – A little goes a long way. Too much can make these taste like holiday potpourri.
- Salt, ¼ teaspoon – Enhances all the flavors. I use fine sea salt.
Optional Mix-Ins
- Dark chocolate chips, ½ cup (90g) – My kids love these. It makes the cups feel like dessert for breakfast.
- Chopped pecans or walnuts, ¼ cup (30g) – Adds crunch and healthy fats. Toast them first for extra flavor.
- Dried cranberries, ¼ cup (40g) – A tart contrast to the sweet pumpkin. My neighbor swears by this combination.
For substitution guidance: Use gluten-free certified oats if needed. Swap the banana with ¼ cup (60g) of unsweetened applesauce if you don’t have a ripe banana handy. For a dairy-free version, use coconut milk and dairy-free chocolate chips.
Equipment Needed
You don’t need a fancy kitchen to make these oatmeal cups. Here’s what you’ll need:
- Muffin tin – A standard 12-cup muffin tin works perfectly. I’ve used both non-stick and silicone, and both work fine. Silicone cups pop out easier, but non-stick greased with cooking spray works too.
- Mixing bowls – One large bowl for wet ingredients and one medium bowl for dry ingredients. Any bowls you have on hand will do.
- Whisk and spatula – A whisk for combining wet ingredients and a rubber spatula for folding in the oats and mix-ins.
- Measuring cups and spoons – Accurate measurements matter here, especially for the spices. Too much clove can ruin the batch.
- Ice cream scoop or large spoon – For evenly portioning the batter into the muffin cups. An ice cream scoop gives you uniform cups that bake evenly.
- Cooling rack – Letting the cups cool in the pan for 5 minutes, then transferring to a rack prevents soggy bottoms. I learned this the hard way after a few sad, wet batches.
If you don’t have a muffin tin, you can bake this mixture in an 8×8-inch baking dish for about 25-30 minutes. Cut into squares and serve like bars. A budget-friendly tip: check thrift stores for muffin tins—I found my favorite one for $2.
Preparation Method
Let’s walk through this step by step. Trust me, even if you’re not a morning person, these are easy enough to make while your coffee brews.
- Preheat your oven to 375°F (190°C). While it’s heating, grease your muffin tin with cooking spray or line with paper liners. I prefer greasing the pan directly because the cups stick to paper liners sometimes—especially if you’re adding chocolate chips.
- Mash the banana in a large bowl. Use a fork and get it as smooth as possible. A few small lumps are fine, but big chunks will create uneven texture. My daughter Mia loves helping with this part—she says it’s like squishing playdough.
- Add the wet ingredients. To the mashed banana, add the pumpkin puree, eggs, milk, maple syrup, melted coconut oil, and vanilla extract. Whisk until everything is well combined and smooth. The mixture should look like a thick, creamy orange batter. If it looks separated, keep whisking—it’ll come together.
- Mix the dry ingredients in a separate bowl. In a medium bowl, combine the rolled oats, cinnamon, nutmeg, ginger, cloves, and salt. Stir with a fork or whisk to distribute the spices evenly. This step is important—nobody wants a bite with a clump of nutmeg.
- Combine wet and dry mixtures. Pour the dry ingredients into the wet ingredients. Fold gently with a spatula until just combined. Don’t overmix, or the oats will break down and the cups will be gummy. The batter will be thick and scoopable, like a chunky muffin batter.
- Fold in any mix-ins. If you’re using chocolate chips, nuts, or dried cranberries, gently fold them in now. I usually save a few chocolate chips to press on top of each cup—makes them look prettier and gives a little surprise on top.
- Portion the batter into the muffin tin. Use an ice cream scoop or a large spoon to fill each cup almost to the top—about ¾ full. These don’t rise much, so filling them generously is fine. You should get exactly 12 cups.
- Bake for 18-22 minutes. The cups are done when the tops are set and golden brown, and a toothpick inserted into the center comes out clean or with a few moist crumbs. My oven runs hot, so I check at 18 minutes. If the tops are browning too fast, tent loosely with foil.
- Cool in the pan for 5 minutes. This lets them set so they don’t fall apart when you remove them. Then transfer to a cooling rack to cool completely. If you’re impatient like me, you can eat one warm—just be careful, the pumpkin holds heat like a little lava pocket.
- Serve and enjoy! Serve warm or at room temperature. These are delicious on their own, but a drizzle of maple syrup or a dollop of Greek yogurt takes them over the top.
Cooking Tips & Techniques
I’ve made these about twenty times now, and I’ve picked up a few tricks along the way. Here’s what I wish someone had told me when I started.
Don’t overmix the batter. This is the number one mistake I made in my early attempts. When you overmix, the oats release too much starch, and the cups turn out dense and gummy. Fold just until you don’t see dry oats anymore. A few streaks of flour are fine—they’ll disappear during baking.
Let the batter rest for 5 minutes. After mixing, let the batter sit on the counter for 5 minutes before scooping. This gives the oats time to absorb some of the liquid, which makes the cups more tender. I learned this from a granola bar recipe, and it works wonders here too.
Use room temperature eggs. Cold eggs can make the coconut oil solidify into little chunks when you mix them. If you forgot to take them out of the fridge, place them in a bowl of warm water for 5 minutes. It’s a small step that makes a big difference in texture.
Check for doneness early. Every oven is different. Start checking at 18 minutes. The tops should be golden and spring back when lightly touched. If your toothpick comes out wet, give them 2 more minutes and check again. Overbaking dries them out, so err on the side of underdone.
Let them cool completely before storing. I once packed warm oatmeal cups into a container, and they turned into a soggy mess by morning. Patience pays off here. Cool them completely on a rack, then store in an airtight container.
Variations & Adaptations
One of the best things about this recipe is how flexible it is. Here are some ways to make it your own.
Gluten-Free Version: Use certified gluten-free rolled oats. Everything else in the recipe is naturally gluten-free, so this is an easy swap. My friend Sarah makes these for her celiac son, and he can’t tell the difference.
Vegan Version: Replace the eggs with flax eggs (2 tablespoons ground flaxseed mixed with 6 tablespoons water, let sit for 5 minutes). Use plant-based milk and maple syrup instead of honey. The texture will be slightly denser, but still delicious. I tested this version for a vegan potluck, and they disappeared first.
Lower Sugar Version: Skip the maple syrup and use an extra ripe banana plus 2 tablespoons of unsweetened applesauce. The cups will be less sweet, but the pumpkin and spices add enough flavor that you won’t miss it. My husband, who avoids sugar, loves this version.
Apple Pumpkin Version: Finely dice one small apple (about ½ cup) and fold it in with the oats. It adds a fresh, juicy pop that contrasts beautifully with the warm spices. I tried this on a whim when I had an apple about to go bad, and it was a happy accident.
Protein-Packed Version: Add 2 scoops (about 60g) of unflavored or vanilla protein powder. Reduce the oats by ¼ cup to keep the texture balanced. You might need an extra tablespoon of milk if the batter seems too thick. Great for post-workout breakfasts.
Chocolate Pumpkin Version: Add 2 tablespoons of unsweetened cocoa powder to the dry ingredients. The chocolate-pumpkin combo is surprisingly good—like a healthier brownie. My kids call these “breakfast brownies,” and they’re not wrong.
Serving & Storage Suggestions
These oatmeal cups are versatile enough for any time of day. Here’s how to serve and store them.
Serving Temperature: Serve warm or at room temperature. Warm is best right out of the oven, but they’re still delicious cold from the fridge. My kids actually prefer them cold—they say they taste like pumpkin pie bites.
Presentation Ideas: Arrange on a plate with a drizzle of maple syrup or a sprinkle of cinnamon. For a fun breakfast board, pair them with fresh fruit, yogurt, and a side of scrambled eggs. They also make great lunchbox treats—just pack them in a container with an ice pack.
Complementary Dishes: Serve alongside a warm cup of coffee or a tall glass of cold milk. For a heartier breakfast, add a side of turkey sausage or a hard-boiled egg. These also pair beautifully with a simple green smoothie for a balanced meal.
Storage Instructions: Store in an airtight container in the refrigerator for up to 5 days. To freeze, wrap each cup individually in plastic wrap, then place in a freezer-safe bag. They’ll keep for up to 3 months. I always make a double batch and freeze half for crazy mornings.
Reheating Tips: Microwave a single cup for 15-20 seconds for a warm, fresh-from-the-oven taste. For a crispier exterior, reheat in a toaster oven at 350°F for 5 minutes. If frozen, thaw in the fridge overnight or microwave directly from frozen for 30-40 seconds.
Flavor Development: The flavors actually get better after a day in the fridge. The spices meld together, and the oats soften even more. I actually prefer these on day two—they’re somehow even more moist and flavorful.
Nutritional Information & Benefits
These oatmeal cups are as nutritious as they are delicious. Here’s what you’re getting in each serving (based on one cup, without mix-ins):
- Calories: Approximately 180
- Protein: 5g
- Carbohydrates: 30g
- Fiber: 4g
- Sugar: 10g (from banana and maple syrup)
- Fat: 5g
- Vitamin A: 150% of the Daily Value (from pumpkin)
- Iron: 8% of the Daily Value
Health Benefits of Key Ingredients: Pumpkin is packed with vitamin A, which supports eye health and immune function. Oats provide soluble fiber that helps lower cholesterol and keeps you full longer. Bananas add potassium for muscle function and natural energy. Cinnamon has anti-inflammatory properties and may help regulate blood sugar.
Dietary Considerations: This recipe is naturally nut-free (if you skip the pecans) and can easily be made gluten-free or vegan. It’s also low in added sugar compared to most breakfast baked goods. These are a great option for families looking to incorporate more whole foods into their morning routine.
Potential Allergens: Contains eggs and milk (if using dairy milk). Can be adapted to be egg-free and dairy-free as noted above. Always check labels on oats for gluten cross-contamination if needed.
Conclusion
These Kid-Approved Pumpkin Spice Baked Oatmeal Cups are more than just a recipe—they’re a solution for busy mornings, a way to sneak in wholesome ingredients, and a little taste of fall any time of year. Whether you’re recreating a memory from a favorite bakery or just trying to get your kids to eat breakfast without a fight, these cups deliver every time.
I love this recipe because it’s forgiving. You can swap ingredients, adjust the sweetness, or throw in whatever mix-ins you have on hand, and it still turns out great. It’s the kind of recipe that makes you feel like a good cook without any stress. Honestly, that’s my favorite kind of recipe.
Now it’s your turn. Give these a try and see how your family reacts—I bet you’ll get requests for them again and again. If you make them, let me know in the comments below. Did your kids love them? Did you add any fun mix-ins? I’d love to hear your stories. And if you’re looking for more easy breakfast ideas, check out my easy banana oatmeal muffins or my healthy breakfast cookies for more grab-and-go options.
Happy baking, and here’s to mornings that start with a smile—and a full belly.
Frequently Asked Questions
Can I use quick oats instead of rolled oats?
I don’t recommend it. Quick oats are more finely processed and will absorb liquid too quickly, resulting in a mushy, dense texture. Rolled oats give these cups the perfect chewy, hearty bite. If that’s all you have, reduce the milk by 2 tablespoons and expect a softer cup.
Can I make these ahead of time for meal prep?
Absolutely! These are perfect for meal prep. Bake them on Sunday, store them in the fridge, and grab one each morning. They reheat beautifully in the microwave for 15-20 seconds. I often make a double batch and freeze half—they last up to 3 months in the freezer.
Why did my oatmeal cups turn out dry?
Dry cups usually mean overbaking or using too much oat-to-liquid ratio. Check your oven temperature with an oven thermometer—many run hot. Also, make sure your pumpkin puree isn’t too watery; drain any excess liquid before measuring. Next time, try reducing the baking time by 2 minutes.
Can I add protein powder to this recipe?
Yes, but adjust the liquid. Add 2 scoops (about 60g) of unflavored or vanilla protein powder and reduce the oats by ¼ cup. You may need an extra tablespoon of milk if the batter seems too thick. Whey protein works best; plant-based protein may make them slightly denser.
How do I make these nut-free for school lunchboxes?
Simply skip any nut-based mix-ins like pecans or walnuts. The base recipe is naturally nut-free as written. Use oat milk or dairy milk instead of almond milk if needed. Always check labels on chocolate chips and other add-ins for cross-contamination warnings if allergies are a concern.
Pin This Recipe!
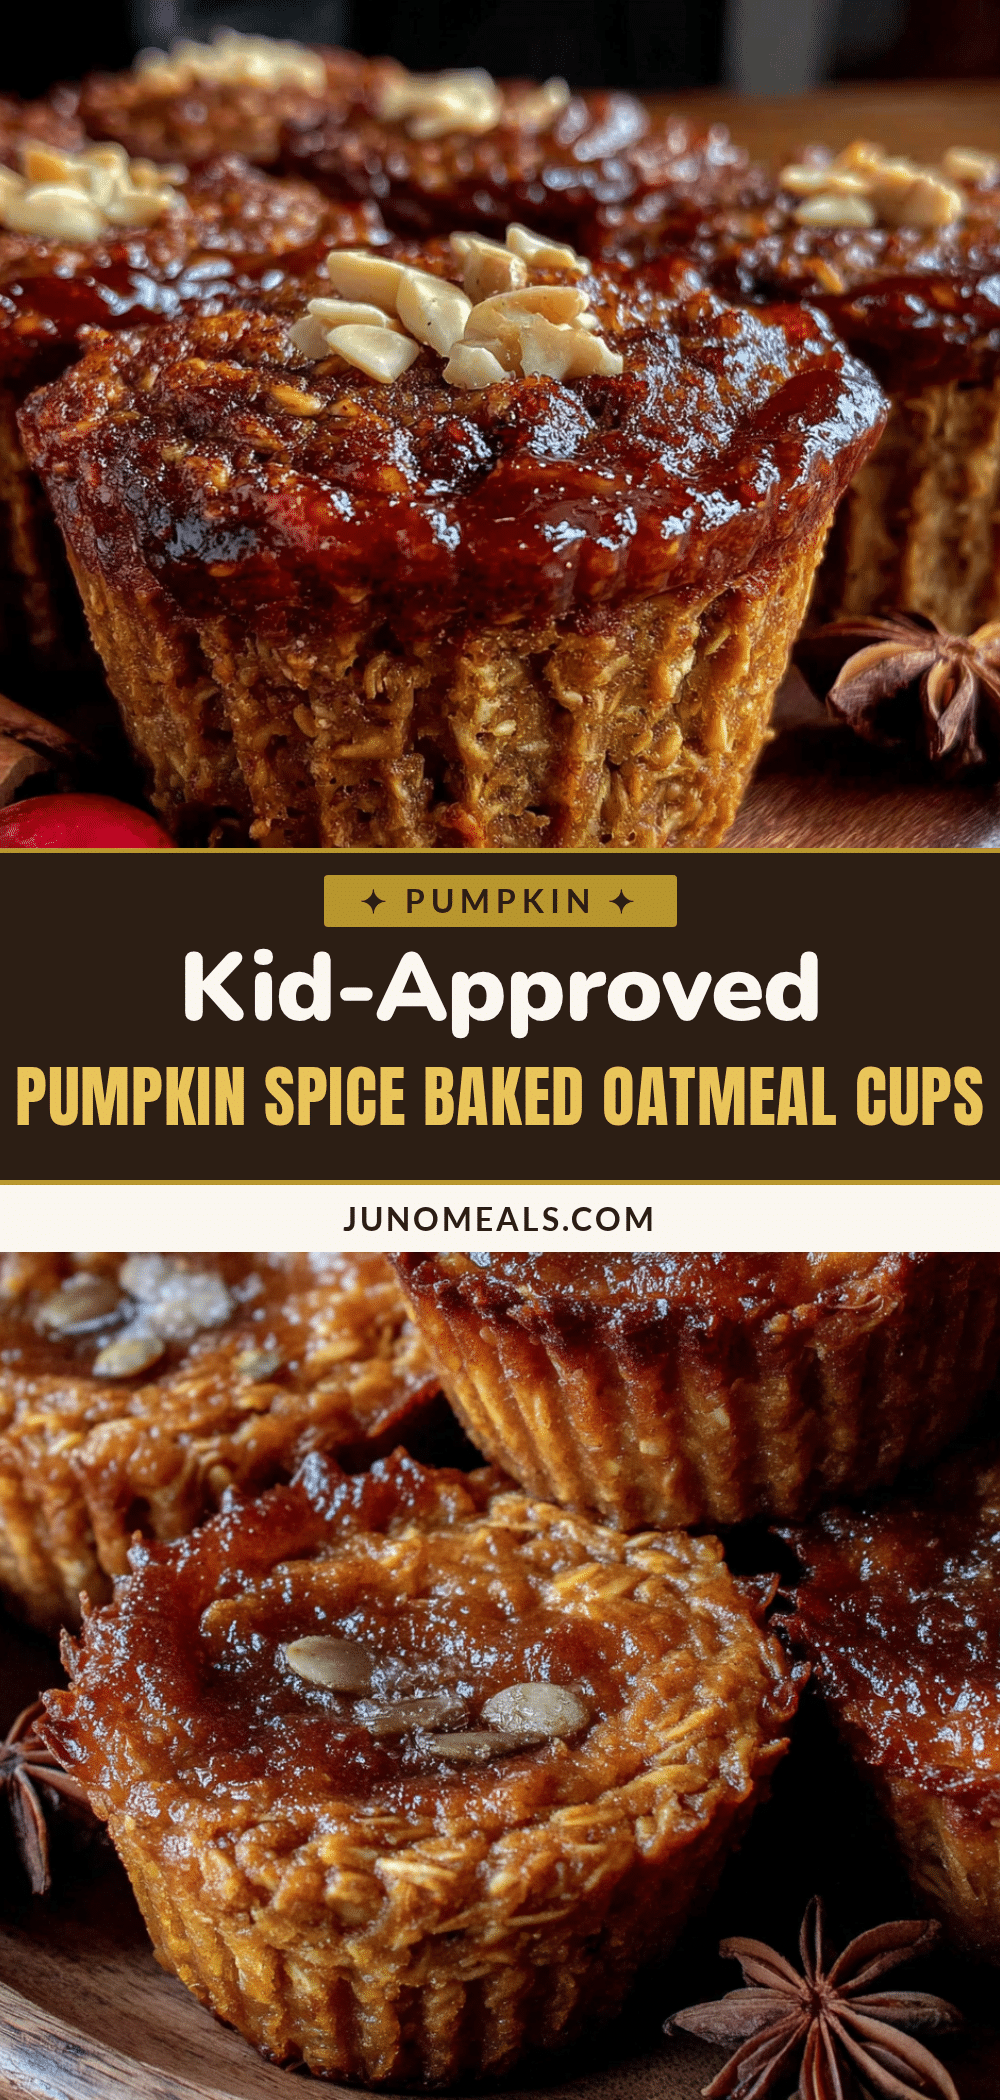
Kid-Approved Pumpkin Spice Baked Oatmeal Cups: Easy Healthy Breakfast
These Kid-Approved Pumpkin Spice Baked Oatmeal Cups are a healthy, easy breakfast that tastes like fall in a muffin tin. Made with simple ingredients like oats, pumpkin puree, and warm spices, they’re perfect for busy mornings, lunchboxes, or after-school snacks.
- Prep Time: 10 minutes
- Cook Time: 20 minutes
- Total Time: 30 minutes
- Yield: 12 servings 1x
- Category: Breakfast
- Cuisine: American
Ingredients
- 2 cups (200g) rolled oats
- 1 cup (240g) pumpkin puree (100% pure, not pie filling)
- 1 medium ripe banana (about 120g), mashed
- 2 large eggs, room temperature
- ½ cup (120ml) milk (dairy or plant-based)
- ¼ cup (60ml) pure maple syrup
- 2 tablespoons (30ml) coconut oil, melted
- 1 teaspoon (5ml) vanilla extract
- 1½ teaspoons ground cinnamon
- ½ teaspoon ground nutmeg
- ½ teaspoon ground ginger
- ¼ teaspoon ground cloves
- ¼ teaspoon fine sea salt
- Optional mix-ins: ½ cup (90g) dark chocolate chips, ¼ cup (30g) chopped pecans or walnuts, ¼ cup (40g) dried cranberries
Instructions
- Preheat your oven to 375°F (190°C). Grease a 12-cup muffin tin with cooking spray or line with paper liners.
- In a large bowl, mash the banana with a fork until smooth. Add the pumpkin puree, eggs, milk, maple syrup, melted coconut oil, and vanilla extract. Whisk until well combined and smooth.
- In a medium bowl, combine the rolled oats, cinnamon, nutmeg, ginger, cloves, and salt. Stir with a fork or whisk to distribute the spices evenly.
- Pour the dry ingredients into the wet ingredients. Fold gently with a spatula until just combined. Do not overmix. Let the batter rest for 5 minutes.
- If using mix-ins, gently fold them in now. Reserve a few chocolate chips or nuts to press on top of each cup if desired.
- Using an ice cream scoop or large spoon, portion the batter into the prepared muffin tin, filling each cup about ¾ full. You should get 12 cups.
- Bake for 18-22 minutes, until the tops are set and golden brown, and a toothpick inserted into the center comes out clean or with a few moist crumbs. If tops brown too quickly, tent loosely with foil.
- Cool in the pan for 5 minutes, then transfer to a cooling rack to cool completely. Serve warm or at room temperature.
Notes
For best texture, use old-fashioned rolled oats, not quick or steel-cut. Let the batter rest for 5 minutes before baking to allow oats to absorb liquid. Store in an airtight container in the refrigerator for up to 5 days, or freeze individually wrapped for up to 3 months. Reheat in the microwave for 15-20 seconds.
Nutrition
- Serving Size: 1 oatmeal cup
- Calories: 180
- Sugar: 10
- Sodium: 100
- Fat: 5
- Saturated Fat: 3
- Carbohydrates: 30
- Fiber: 4
- Protein: 5
Keywords: pumpkin spice, baked oatmeal cups, healthy breakfast, kid-friendly, easy breakfast, fall recipe, oatmeal muffins


