“My throat feels like sandpaper.” My husband croaked this from the couch, wrapped in a blanket in July—which, honestly, is when you know it’s bad. I was already boiling water for tea when I remembered the jar of homemade honey cinnamon elderberry syrup sitting in my fridge. I grabbed it, poured a spoonful, and watched him take it like a shot of whiskey. He blinked, coughed once, and said, “That’s actually good.” And that was it. I haven’t thought about store-bought immune syrups the same way since.
This recipe wasn’t born from a wellness kick or a fancy health food store haul. It started because I was tired of spending fifteen bucks on tiny bottles that tasted like cough medicine and had ingredients I couldn’t pronounce. I wanted something that worked, tasted good, and didn’t require a second mortgage. So I grabbed dried elderberries from the bulk bin, a cinnamon stick from my spice drawer, and honey from the farmer’s market. I simmered, strained, and tasted—and honestly, I was shocked at how good it was.
What I love about this homemade honey cinnamon elderberry syrup is that it feels like a warm hug for your immune system. It’s sweet, spicy, and deeply comforting. The honey balances the tartness of the elderberries, while the cinnamon adds warmth and a little kick. It’s not medicine—it’s something you actually want to take. And when cold season rolls around, having a jar of this in the fridge feels like a secret weapon. I make it every fall now, and I’ve never looked back.
Why You’ll Love This Recipe
Let me tell you why this syrup has become a staple in my kitchen. I’ve tested this recipe through three cold seasons, two picky kids, and one husband who swears he “doesn’t do home remedies.” Spoiler: he does now. This isn’t just another wellness fad—it’s a tested, trusted recipe that delivers real results.
- Quick & Easy: From start to finish, this syrup comes together in about 45 minutes. Most of that time is hands-off simmering, so you can fold laundry or binge a show while it works its magic.
- Simple Ingredients: You only need four ingredients—dried elderberries, cinnamon sticks, raw honey, and water. No weird extracts, no obscure powders. Your pantry probably already has most of it.
- Perfect for Cold Season: This syrup is my go-to when the weather turns chilly, kids come home sniffling, or you feel that telltale tickle in your throat. It’s also great for holiday mornings when everyone’s immune system needs a boost.
- Crowd-Pleaser: I’ve given jars of this to neighbors, coworkers, and my mom. Everyone loves it—even the people who swear they hate elderberry syrup. The honey-cinnamon combo is a game-changer.
- Unbelievably Delicious: Most immune syrups taste like punishment. This one? It’s sweet, warm, and slightly spicy. My kids ask for it by the spoonful. That’s how you know it’s good.
What makes this recipe different from the rest is the balance. I spent three batches getting the ratio right—too much honey and it’s cloying, too much cinnamon and it’s overpowering. This version hits that sweet spot. It’s the kind of recipe that makes you feel like you’re doing something good for your body without sacrificing flavor. Honestly, it’s comfort in a jar.
What Ingredients You Will Need
This recipe uses simple, wholesome ingredients that work together to create a syrup that’s both effective and delicious. You don’t need a specialty health food store—most of these are pantry staples or easy to find at your local grocery store or online.
- Dried Elderberries (1 cup): These are the star of the show. Elderberries are packed with antioxidants and are traditionally used to support immune health. I recommend buying organic dried elderberries from a trusted brand like Starwest Botanicals or Frontier Co-op. Look for deep purple, plump berries—avoid any that look shriveled or dusty. You can find them in bulk bins or online.
- Cinnamon Sticks (2-3 sticks): Cinnamon adds warmth and a natural sweetness that complements the tart elderberries. I prefer Ceylon cinnamon for its milder, more complex flavor, but Cassia works too. Break the sticks in half before simmering to release more flavor. Pro tip: don’t use ground cinnamon—it makes the syrup cloudy and gritty.
- Raw Honey (1 cup): Raw, unfiltered honey is ideal because it retains its natural enzymes and antibacterial properties. Local honey is even better—it can help with seasonal allergies. I get mine from a farmer’s market, but any raw honey works. If you’re vegan, you can substitute with maple syrup, but the flavor will be slightly different.
- Water (4 cups): Filtered water is best, especially if your tap water has a strong chlorine taste. You want the elderberries and cinnamon to shine, not your municipal water supply.
- Optional: Fresh Ginger (2-3 slices): I sometimes add a few thin slices of fresh ginger for an extra immune boost and a little zing. It’s not essential, but it adds a nice warmth. If you’re feeling adventurous, throw in a star anise or a clove for depth.
- Optional: Orange Peel (1 strip): A strip of orange peel adds a bright, citrusy note that pairs beautifully with the honey and cinnamon. Use a vegetable peeler to remove just the zest, avoiding the bitter white pith.
Ingredient selection matters here. I’ve tried this recipe with cheap, low-quality elderberries, and the syrup was thin and flavorless. Spend a little extra on good dried berries—it makes a real difference. And don’t skip the raw honey; it’s not just for sweetness, it’s part of the immune-boosting magic.
Equipment Needed
You don’t need a fancy kitchen to make this syrup. Here’s what you’ll need:
- Medium Saucepan: A 2-quart saucepan works perfectly. You want something with a heavy bottom to prevent scorching. I use my trusty stainless steel pot, but enameled cast iron works too.
- Fine-Mesh Strainer or Cheesecloth: You need to strain out the berries and cinnamon sticks. A fine-mesh strainer works, but cheesecloth gives you a clearer syrup. If you use cheesecloth, double-layer it for best results.
- Glass Jar or Bottle: A 16-ounce Mason jar or a swing-top bottle is ideal. Make sure it’s thoroughly cleaned and dried before filling. I like using dark glass bottles to protect the syrup from light.
- Wooden Spoon or Silicone Spatula: For stirring. Nothing fancy—just something that won’t scratch your pot.
- Measuring Cups and Spoons: Accurate measurements matter, especially with the honey. Use a liquid measuring cup for water and dry measuring cups for the elderberries.
If you don’t have cheesecloth, a clean nut milk bag or even a coffee filter works in a pinch. I’ve also used a clean, thin kitchen towel—just make sure it’s never been used with fabric softener. Trust me, you don’t want that flavor in your syrup.
Preparation Method
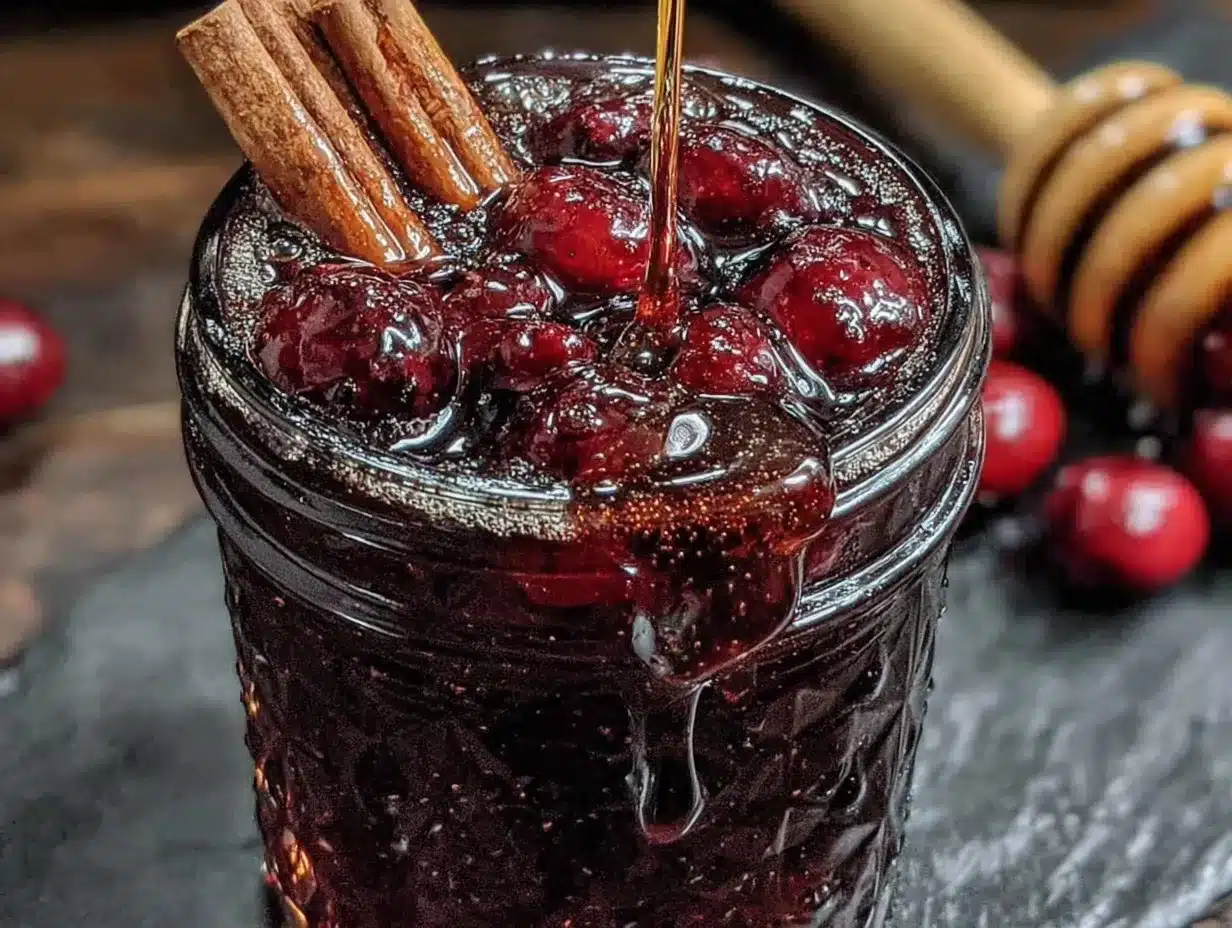
Making this syrup is incredibly straightforward. Follow these steps, and you’ll have a jar of golden, spicy goodness in under an hour.
- Combine elderberries, cinnamon, and water: In your medium saucepan, add 1 cup dried elderberries, 2-3 cinnamon sticks (broken in half), and 4 cups filtered water. If you’re using ginger or orange peel, add them now. Bring to a boil over medium-high heat.
- Simmer gently: Once boiling, reduce the heat to low and let it simmer uncovered for 30-40 minutes. The liquid should reduce by about half. You’ll know it’s done when the liquid is dark purple and smells deeply fruity and spicy. Don’t rush this step—low and slow extracts the most flavor and nutrients.
- Mash the berries (optional but recommended): After simmering, use the back of a spoon or a potato masher to gently press the berries against the side of the pot. This releases more of their goodness. Be careful not to crush the cinnamon sticks.
- Strain the liquid: Place your fine-mesh strainer or cheesecloth over a large bowl or measuring cup. Carefully pour the liquid through. Let it drain completely—gently press on the berries with a spoon to get every last drop. Discard the solids.
- Let it cool slightly: Allow the strained liquid to cool for about 10-15 minutes. It should be warm but not hot—if it’s too hot, it will destroy the beneficial enzymes in the raw honey. Aim for around 110-120°F.
- Stir in the honey: Add 1 cup raw honey to the warm liquid. Stir gently with a wooden spoon until the honey is fully dissolved. Taste it—if you want it sweeter, add more honey a tablespoon at a time. If you want more spice, you can add a pinch of ground cinnamon (but remember, it’ll make the syrup slightly cloudy).
- Bottle and store: Pour the syrup into your clean glass jar or bottle. Let it cool completely at room temperature before sealing with the lid. Then refrigerate. And that’s it—you’ve made your own homemade honey cinnamon elderberry syrup!
One thing I learned the hard way: don’t add the honey while the liquid is still boiling. I did that once, and the honey’s texture changed—it became grainy and less flavorful. Patience pays off here. Also, if you’re using a fine-mesh strainer, give it a few good shakes while straining to get all the liquid through.
Cooking Tips & Techniques
After making this syrup more times than I can count, I’ve picked up a few tricks that make a real difference. Here’s what I’ve learned:
Don’t boil the honey: This is the golden rule. Raw honey is packed with natural enzymes and beneficial bacteria. High heat destroys those. Always let your elderberry infusion cool before adding honey. I stick my thermometer in and wait until it reads 120°F or below.
Toast the cinnamon sticks: For a deeper, more aromatic flavor, try dry-toasting your cinnamon sticks in the saucepan for 30 seconds before adding the water. Just keep an eye on them—they burn fast. This little step adds a smoky warmth that takes the syrup to another level.
Use a potato masher: I used to just strain the berries and call it done. Then I started mashing them gently before straining, and the difference was night and day. You get a richer, more concentrated syrup with a deeper purple color. Just don’t go crazy—you don’t want berry bits in your final product.
Watch the simmer: A gentle simmer is key. If you boil it aggressively, the liquid reduces too quickly, and you end up with a thick, overly concentrated syrup that’s hard to measure. Keep it at a low bubble—you should see tiny bubbles rising, not a rolling boil.
Double strain for clarity: If you want a crystal-clear syrup (great for gifting), strain it twice. First through a fine-mesh strainer, then through a cheesecloth or coffee filter. It takes a little longer, but the result is stunning.
I’ve had my share of failures. One time I forgot I had it simmering and came back to a burnt, sticky mess. Another time I added the honey too early, and the syrup was gritty. But those mistakes taught me what works. Now, I set a timer every single time.
Variations & Adaptations
One of the best things about this recipe is how easy it is to tweak. Here are some variations I’ve tried and loved:
- Spicy Ginger Version: Add 3-4 thin slices of fresh ginger along with the elderberries. The ginger adds a warming kick that’s perfect for sore throats. I make this version in winter when colds are rampant.
- Citrus Boost: Add a strip of orange peel and a strip of lemon peel during the simmer. The citrus brightens the flavor and adds extra vitamin C. It’s my go-to for spring when allergies start acting up.
- Vegan Option: Substitute the raw honey with maple syrup or agave nectar. The flavor will be different—maple adds a woodsy sweetness—but it still works beautifully. Just note that maple syrup is thinner, so the syrup won’t be as thick.
- Extra Spice Blend: Add a star anise, 2 cloves, and a cardamom pod to the simmer. This creates a chai-like flavor profile that’s incredible in tea or drizzled over oatmeal.
- Low-Sugar Version: Use only 1/2 cup honey and add a few drops of stevia if you need extra sweetness. The elderberries have natural tartness, so it’s still flavorful.
- For Kids: Reduce the cinnamon to 1 stick and add a splash of apple juice after straining. Kids love the milder flavor, and it’s easier on their tummies.
I personally love the ginger version—it’s what I make when I feel a cold coming on. There’s something about that spicy warmth that just feels like healing.
Serving & Storage Suggestions
This syrup is versatile—you can take it straight, add it to drinks, or use it as a topping. Here’s how I serve and store mine:
- Straight from the spoon: For daily immune support, adults take 1 tablespoon daily. Kids ages 1-6 take 1 teaspoon, and kids 7-12 take 1 tablespoon. I keep a small spoon by the jar so it’s easy to grab.
- In warm tea: Stir a tablespoon into hot water with a squeeze of lemon for a soothing, immune-boosting tea. It’s my evening ritual during cold season.
- Drizzled on pancakes or oatmeal: This syrup is amazing on mini lemon blueberry cheesecakes or swirled into yogurt. The honey-cinnamon flavor pairs beautifully with breakfast foods.
- Storage: Store in a sealed glass jar in the refrigerator. It will keep for up to 3 months. The honey acts as a natural preservative, but I’ve never had a batch last that long—it disappears too fast!
- Freezing: You can freeze this syrup in ice cube trays for portioned doses. Pop out a cube and thaw it in the fridge overnight. It’s perfect for travel or busy mornings.
- Reheating: If the syrup crystallizes in the fridge (honey does that sometimes), place the jar in a bowl of warm water for a few minutes. Stir gently, and it’ll go back to liquid. Never microwave it—that destroys the honey’s benefits.
One thing I love: the flavors actually deepen after a few days in the fridge. The cinnamon becomes more pronounced, and the honey and elderberries meld together beautifully. It’s like it gets better with time.
Nutritional Information & Benefits
This syrup isn’t just delicious—it’s packed with immune-supporting goodness. Here’s a quick breakdown per 1-tablespoon serving:
- Calories: 45-50
- Carbohydrates: 12g
- Sugar: 11g (from honey and natural fruit sugars)
- Vitamin C: 4% DV (from elderberries)
- Antioxidants: High (elderberries are rich in flavonoids and anthocyanins)
Health Benefits: Elderberries are known for their immune-boosting properties, thanks to high levels of antioxidants that help fight inflammation and oxidative stress. Raw honey is a natural antibacterial and can soothe sore throats. Cinnamon has anti-inflammatory properties and may help regulate blood sugar. Together, they create a powerful, natural immune support system.
Dietary Considerations: This recipe is naturally gluten-free, dairy-free, and nut-free. It’s suitable for most diets, but note that it contains honey, so it’s not vegan-friendly unless you substitute with maple syrup. Always check with your doctor before giving herbal remedies to children under 1 year old due to the honey content.
I personally love that this syrup lets me feel proactive about my family’s health. It’s not a cure-all, but it’s a delicious, natural way to support our immune systems during cold season.
Conclusion
This homemade honey cinnamon elderberry syrup has become a non-negotiable in my kitchen. It’s simple, effective, and honestly, it tastes so good that my kids ask for it. That’s a win in my book. Whether you’re looking to boost your immune system, soothe a sore throat, or just have a tasty, healthy syrup on hand, this recipe delivers.
I encourage you to make it your own. Adjust the sweetness, add your favorite spices, or experiment with different citrus peels. That’s the beauty of homemade—you’re in control. And if you make a batch, I’d love to hear how it turns out. Drop a comment below or tag me in your photos. Happy simmering, friends!
Frequently Asked Questions
Can I use fresh elderberries instead of dried?
Yes, but dried elderberries are more concentrated and easier to find. If using fresh, use 2 cups and reduce the water by 1/2 cup. Also, make sure fresh elderberries are fully cooked—raw elderberries can cause stomach upset.
How long does this syrup last in the fridge?
Stored in a sealed glass jar in the refrigerator, it lasts up to 3 months. The honey acts as a natural preservative. If you see mold or an off smell, toss it and make a fresh batch.
Can I give this to my toddler?
Yes, but check with your pediatrician first, especially if your child is under 1 year old (honey is not safe for infants under 12 months). For toddlers, start with 1/2 teaspoon daily and monitor for any reactions.
Can I make this without honey?
Absolutely. Substitute with maple syrup, agave nectar, or even coconut sugar. The texture and flavor will change slightly, but it’ll still be delicious and immune-boosting.
Can I use ground cinnamon instead of cinnamon sticks?
I wouldn’t recommend it. Ground cinnamon makes the syrup cloudy and gritty, and it’s harder to strain out. Stick with cinnamon sticks for a clear, smooth syrup with better flavor. If you’re in a pinch, use a cinnamon stick and a pinch of ground cinnamon for extra spice.
Pin This Recipe!
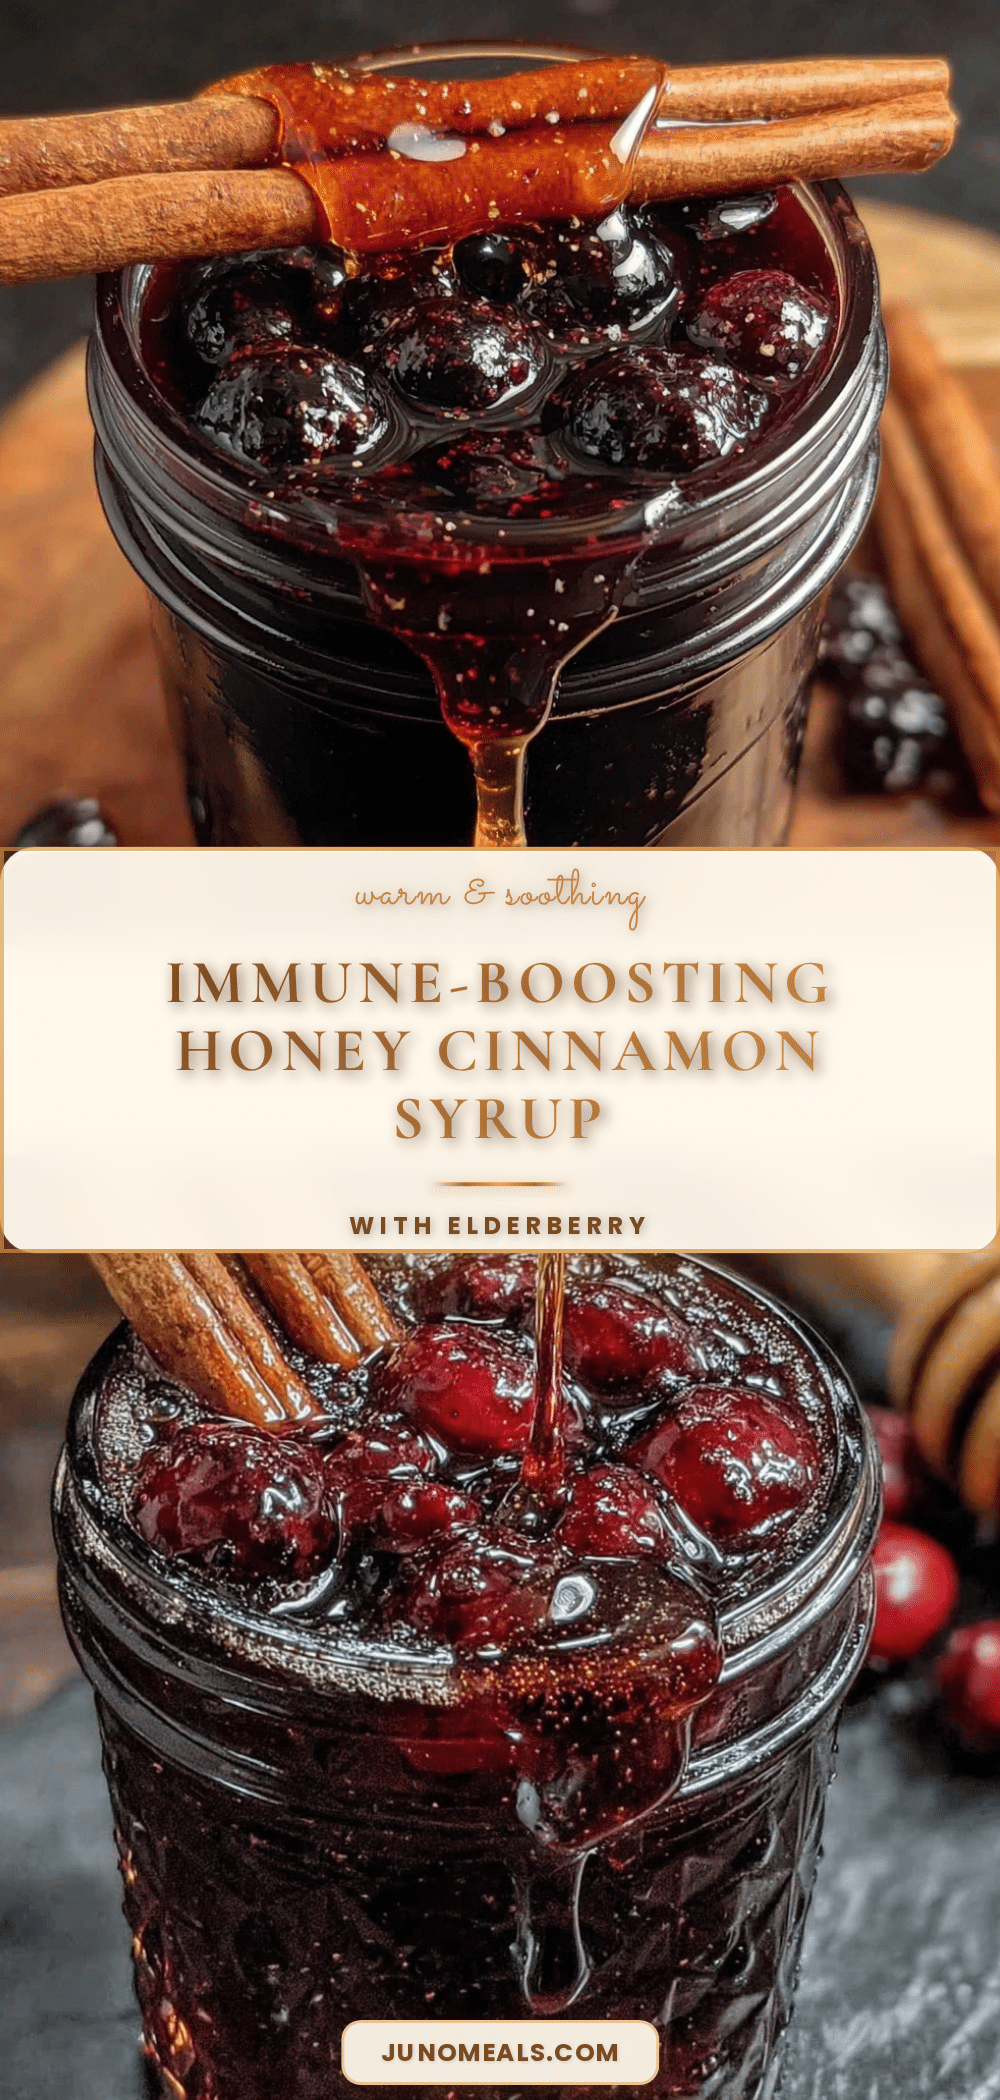
Homemade Honey Cinnamon Elderberry Syrup: Easy Immune Booster
This homemade honey cinnamon elderberry syrup is a delicious and effective immune booster made with simple ingredients. It’s sweet, spicy, and deeply comforting—a warm hug for your immune system that you’ll actually want to take.
- Prep Time: 10 minutes
- Cook Time: 35 minutes
- Total Time: 45 minutes
- Yield: 16 servings 1x
- Category: Condiment
- Cuisine: American
Ingredients
- 1 cup dried elderberries
- 2–3 cinnamon sticks
- 1 cup raw honey
- 4 cups filtered water
- Optional: 2-3 slices fresh ginger
- Optional: 1 strip orange peel
Instructions
- Combine elderberries, cinnamon sticks, and water in a medium saucepan. If using ginger or orange peel, add them now. Bring to a boil over medium-high heat.
- Reduce heat to low and simmer uncovered for 30-40 minutes, until the liquid is reduced by about half and is dark purple and fragrant.
- Optional: Gently mash the berries with the back of a spoon or potato masher to release more flavor.
- Strain the liquid through a fine-mesh strainer or cheesecloth into a large bowl or measuring cup. Press on the berries to extract all liquid. Discard solids.
- Let the strained liquid cool for 10-15 minutes until warm (110-120°F), not hot.
- Stir in the raw honey until fully dissolved. Taste and adjust sweetness if desired.
- Pour the syrup into a clean glass jar or bottle. Let cool completely at room temperature before sealing and refrigerating.
Notes
Do not add honey while the liquid is boiling, as high heat destroys raw honey’s beneficial enzymes. For a clearer syrup, strain twice. The syrup can be frozen in ice cube trays for portioned doses. Flavors deepen after a few days in the fridge.
Nutrition
- Serving Size: 1 tablespoon
- Calories: 4550
- Sugar: 11
- Carbohydrates: 12
Keywords: elderberry syrup, honey cinnamon syrup, immune booster, homemade syrup, natural remedy, elderberry recipe


