My daughter did not trust homemade gummies. After one too many store-bought bags that tasted like rubbery perfume, she had sworn off the whole category. So when I told her I was making elderberry syrup immune gummies, she gave me that look—the one teenagers reserve for parents attempting something cringe-worthy. “Mom, those are going to be gross.” I couldn’t blame her, honestly. The idea of turning my murky purple elderberry syrup into bouncy little cubes felt like a stretch even to me.
But here’s the thing about cold and flu season in our house—it hits hard and it hits often. Between school, sports, and the endless cycle of sniffles that follows every sleepover, I needed something my kids would actually want to take. Not something I had to chase them down with a spoon for. So I grabbed my bottle of homemade elderberry syrup, some gelatin, and my tiniest silicone molds, fully prepared for this experiment to flop.
The first batch came out a little too firm. The second batch was a sticky mess that refused to set. But by batch three, I had it down. When I placed a tray of these little purple gems in front of my daughter after school, she popped one in her mouth, chewed for a second, and then—without a word—grabbed three more. That was three years ago, and I haven’t bought a single bag of store-bought gummies since.
These homemade elderberry syrup immune gummies have become our family’s secret weapon against winter bugs. They taste like a treat, but they’re packed with the immune-supporting goodness of elderberries. And honestly? They’re so simple to make that once you start, you’ll never go back.
Why You’ll Love This Recipe
Let me tell you why these homemade elderberry syrup immune gummies have earned a permanent spot in my weekly rotation. I’ve tested this recipe more times than I can count, tweaking the gelatin ratio and the sweetness level until it was absolutely perfect.
- Quick & Easy : These come together in about 15 minutes of active prep time. You just heat, stir, pour, and wait. Perfect for a Sunday afternoon when you’re already meal prepping for the week.
- Simple Ingredients : You only need three main ingredients—elderberry syrup, gelatin, and a touch of honey or maple syrup. No weird additives, no high-fructose corn syrup, no artificial colors.
- Perfect for Immune Support : Elderberries are loaded with antioxidants and vitamins that support your immune system. These gummies make it easy to get your daily dose without forcing down spoonfuls of syrup.
- Crowd-Pleaser : Kids love them. Adults love them. I’ve brought these to playdates and watched parents sneak handfuls when they thought no one was looking.
- Unbelievably Delicious : The tartness of the elderberries balances perfectly with the sweetness of honey. The texture is soft and bouncy—exactly what a good gummy should be.
What sets this recipe apart is the technique. Instead of using straight elderberry juice, I start with my thickened elderberry syrup. This gives the gummies a deeper, more concentrated flavor and a better texture. It’s not just another version of immune gummies—it’s the version I’ve perfected through trial and error so you don’t have to go through the same messy batches I did.
These gummies are the kind of thing that makes you feel like you’re treating yourself while actually doing something good for your body. They’re comfort food with a purpose, and that’s a combination worth getting excited about.
What Ingredients You Will Need
This recipe uses simple, wholesome ingredients that work together to create a chewy, flavorful gummy that actually supports your immune system. Most of these are pantry staples once you start making elderberry syrup at home.
- Homemade Elderberry Syrup – 1 cup (240 ml). This is the star of the show. I prefer making my own syrup using dried elderberries, ginger, cinnamon sticks, and cloves. It gives you control over the sweetness and potency. If you’re using store-bought syrup, look for one with minimal added sugar.
- Gelatin Powder – 3 tablespoons (about 28 grams). This is what gives the gummies their signature bounce. I highly recommend using grass-fed beef gelatin from brands like Vital Proteins or Great Lakes. It sets more reliably and has a cleaner taste than some generic brands. Do not substitute with agar-agar—the texture will be completely different.
- Raw Honey or Maple Syrup – 2 to 3 tablespoons (30-45 ml), depending on how sweet you like your gummies. Honey adds floral notes that complement the elderberries beautifully. If you’re making these for kids under one year old, use maple syrup instead.
- Lemon Juice – 1 tablespoon (15 ml), freshly squeezed. This brightens the flavor and helps balance the earthiness of the elderberries. It also adds a little vitamin C boost.
- Water – ¼ cup (60 ml), cold. You’ll use this to bloom the gelatin before heating it. Cold water is crucial here—hot water will cause the gelatin to clump.
Optional Add-Ins:
- Vitamin C Powder – ½ teaspoon. Stir this in after removing the mixture from heat to preserve its potency. It gives the gummies an extra immune boost.
- Zinc Picolinate – A few drops. Add this at the same time as the vitamin C for additional immune support. Just be careful not to overdo it—zinc has a strong metallic taste.
- Tart Cherry Juice Concentrate – 2 tablespoons. Replace some of the elderberry syrup with this for a different flavor profile and added melatonin for sleep support.
Ingredient Sourcing Tips: When buying dried elderberries, look for organic ones from trusted sources like Mountain Rose Herbs or Starwest Botanicals. They should be deep purple-black and smell slightly fruity and earthy. Avoid any that look dusty or have an off smell. For the gelatin, avoid the flavored Jell-O packets—they contain too much sugar and artificial flavors. Stick with unflavored gelatin powder for the best results.
Equipment Needed
You don’t need fancy equipment to make these homemade elderberry syrup immune gummies. Most of these items are probably already in your kitchen.
- Silicone Gummy Molds – These are worth the investment. I use bear-shaped molds because my kids find them irresistible, but you can use any shape you like. Silicone makes it easy to pop the gummies out without sticking. Look for food-grade silicone molds on Amazon or at craft stores.
- Small Saucepan – A 1-quart saucepan works perfectly. You want something with a heavy bottom to distribute heat evenly and prevent scorching.
- Whisk – A small wire whisk helps incorporate the gelatin smoothly without leaving lumps. A fork works in a pinch, but a whisk is better.
- Liquid Dropper or Small Spouted Measuring Cup – This makes filling the molds so much easier and less messy. I use a glass measuring cup with a spout, but a turkey baster also works beautifully.
- Baking Sheet or Plate – To hold the filled molds while they set in the refrigerator. A flat surface ensures the gummies set evenly.
- Small Bowl – For blooming the gelatin. Any small bowl will do.
Budget-Friendly Alternatives: If you don’t have silicone molds, you can pour the mixture into a shallow 8×8 glass dish lined with parchment paper. Once set, simply cut the gummy sheet into squares with a sharp knife or pizza cutter. The shapes won’t be as cute, but they’ll taste exactly the same.
Preparation Method
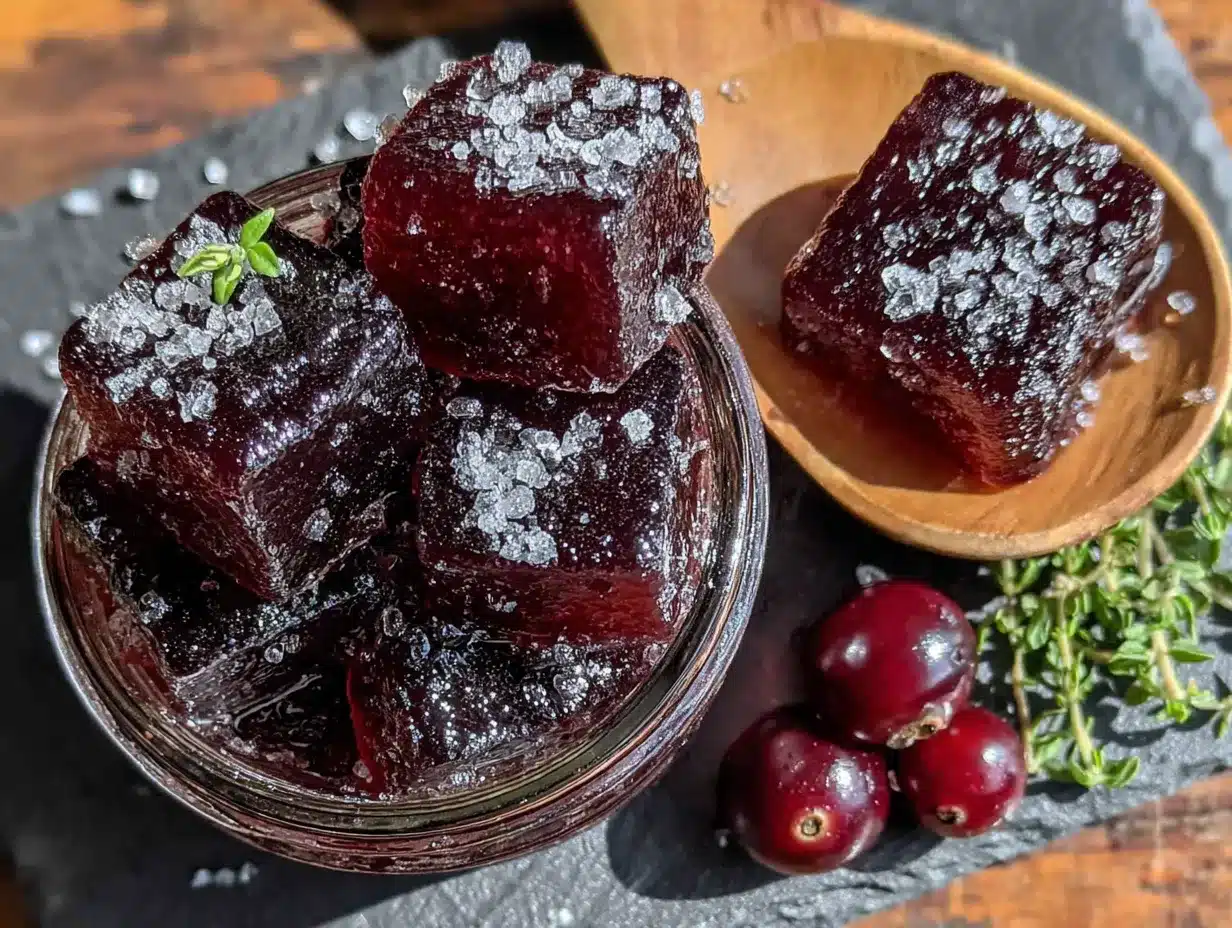
Making these homemade elderberry syrup immune gummies is straightforward, but a few key steps make all the difference. Follow these carefully, and you’ll get perfect gummies every time.
- Bloom the Gelatin – Pour the ¼ cup of cold water into a small bowl. Sprinkle the gelatin powder evenly over the surface. Do not dump it all in one spot—sprinkling prevents clumps. Let it sit for 5-10 minutes until the gelatin absorbs the water and becomes a thick, jiggly mass. This step is non-negotiable. Skipping it leads to lumpy gummies.
- Heat the Elderberry Syrup – In your small saucepan, combine the elderberry syrup and honey (or maple syrup). Warm over low heat, stirring gently. You want it warm to the touch but not bubbling—around 100-110°F (38-43°C). If it gets too hot, it can damage the immune-boosting properties of the elderberries. I usually heat mine for about 2-3 minutes, stirring constantly.
- Combine the Mixtures – Remove the saucepan from the heat. Add the bloomed gelatin to the warm syrup mixture. Whisk vigorously until the gelatin is completely dissolved. This usually takes about 1-2 minutes. You should see a smooth, uniform liquid with no streaks or lumps. If you see gelatin bits floating, keep whisking—or gently reheat for 30 seconds and whisk again.
- Add the Lemon Juice and Optional Boosters – Stir in the fresh lemon juice. If you’re adding vitamin C powder or zinc drops, add them now. Whisk gently to combine. The mixture should be a deep, rich purple color and smell fruity and slightly floral.
- Fill the Molds – Carefully pour the mixture into your spouted measuring cup or dropper. Working quickly before the gelatin starts to set, fill each cavity in your silicone molds. I fill them slightly above the rim—the gummies shrink just a tiny bit as they set. If you get bubbles on the surface, tap the mold gently on the counter to release them.
- Set in the Refrigerator – Place the filled molds on a baking sheet or plate. Transfer to the refrigerator and let them set for at least 2-3 hours. For best results, leave them overnight. The gummies should feel firm and bounce back when pressed gently.
- Remove from Molds – Once set, pop the gummies out of the molds. If they’re stubborn, place the mold on the counter for 5 minutes at room temperature, then gently push from the bottom. Store them in an airtight container.
Sensory Cues: When you whisk the gelatin into the warm syrup, the mixture should become glossy and smooth, almost like a thin sauce. As it cools slightly, you’ll notice it thickening just a bit. The final gummies should have a slight give when squeezed but hold their shape firmly. They should smell fruity and slightly tart, not like medicine.
My Personal Tip: I always make a double batch because these disappear fast. Also, if you’re using a dropper, keep the tip submerged in warm water between fills to prevent the gelatin from setting and clogging the opening.
Cooking Tips & Techniques
After making countless batches of these homemade elderberry syrup immune gummies, I’ve learned a few tricks that make the process smoother and the results more consistent.
Temperature is Everything: The biggest mistake I made early on was overheating the syrup. Gelatin starts to lose its setting power above 140°F (60°C). If your mixture gets too hot, your gummies will be soft and never fully set. Use a kitchen thermometer if you have one, or simply warm the syrup until it’s hot to the touch but not steaming.
Work Quickly, But Don’t Panic: Once you add the gelatin, you have about 10-15 minutes before the mixture starts to thicken noticeably. If it gets too thick to pour easily, gently reheat it for 10-15 seconds in the microwave or on the stove. But don’t do this more than once—repeated heating can break down the gelatin.
Dealing with Foam: Sometimes the mixture gets foamy when you whisk. A quick spritz of cooking spray on the surface will break the bubbles, or you can skim the foam off with a spoon before pouring. Foam doesn’t affect the taste, but it can make the gummies look less pretty.
Batch Consistency: I keep a small notebook in my kitchen where I jot down notes for each batch. Humidity, altitude, and even the brand of gelatin can affect how your gummies set. If your first batch is too soft, add an extra teaspoon of gelatin next time. Too firm? Reduce the gelatin by half a teaspoon.
My Biggest Failure: I once tried to make these gummies using only elderberry juice instead of syrup. The result was a watery mess that never set properly. The syrup’s thickness and sugar content are essential for the right texture. Don’t skip that step.
Variations & Adaptations
One of the best things about this recipe is how easy it is to adapt. Here are some variations I’ve tried and loved.
Vegan Version: Traditional gelatin is not vegan, but you can use agar-agar powder instead. Use 2 tablespoons of agar-agar powder bloomed in ½ cup of water. The texture will be firmer and less bouncy—more like a firm jelly than a gummy. The setting time is shorter too, about 30-60 minutes at room temperature.
Berry Blast Gummies: Replace half of the elderberry syrup with a mixture of blueberry and pomegranate juice. This creates a more complex berry flavor while still keeping the immune benefits. The color turns a beautiful deep magenta.
Spiced Immune Gummies: Add ¼ teaspoon of ground ginger and ¼ teaspoon of ground turmeric to the syrup while heating. Both are anti-inflammatory and complement the elderberries beautifully. The turmeric gives the gummies a slightly earthier flavor and a gorgeous golden undertone.
Low-Sugar Option: Use a sugar-free elderberry syrup and replace the honey with monk fruit sweetener or stevia drops. Start with half the recommended amount and adjust to taste. The texture will be slightly less firm, so you might need to add an extra teaspoon of gelatin.
Sleepytime Gummies: Replace 2 tablespoons of elderberry syrup with tart cherry juice concentrate and add a drop of magnesium glycinate. These are perfect for evening use and have helped my daughter wind down after busy days.
Serving & Storage Suggestions
These homemade elderberry syrup immune gummies are best enjoyed cold, straight from the refrigerator. The cool temperature gives them that satisfying firmness and bounce.
How to Serve: I keep a small jar in the fridge and grab a handful whenever I feel a tickle in my throat or hear the first sniffle from one of my kids. For daily immune maintenance, I give my family 2-3 gummies per day. During cold season or after exposure to someone who’s sick, we double that to 4-6 gummies per day.
Pairing Suggestions: These gummies pair beautifully with a warm cup of ginger tea or a mug of bone broth. The combination of warm liquid and cold gummies is oddly satisfying. I also love packing them in lunchboxes as a healthier alternative to fruit snacks.
Storage Instructions: Store the gummies in an airtight container in the refrigerator. They will stay fresh for up to 2 weeks. I do not recommend storing them at room temperature—they will become soft and sticky. If you need to transport them, pack them in a small cooler with an ice pack.
Freezer Instructions: These gummies freeze beautifully. Place them in a single layer on a parchment-lined baking sheet and freeze for 2 hours. Transfer to a freezer-safe bag or container. They will keep for up to 3 months. Thaw in the refrigerator overnight before eating. The texture remains almost identical to fresh gummies.
Flavor Development: Interestingly, these gummies taste even better on day two or three. The flavors meld together, and the texture becomes more uniform. I always try to make a batch at least a day before I plan to serve them.
Nutritional Information & Benefits
These homemade elderberry syrup immune gummies are more than just a tasty treat—they’re packed with nutrients that support your body’s natural defenses.
Estimated Nutritional Values (per 4 gummies):
- Calories: 45-55
- Carbohydrates: 10-12g
- Sugar: 8-10g (from natural sources)
- Protein: 4-5g (from gelatin)
- Vitamin C: 10-15% DV (varies based on syrup)
- Zinc: 2-3mg (if using zinc drops)
Key Health Benefits: Elderberries are rich in flavonoids, particularly anthocyanins, which have been shown to support immune function and reduce the duration of cold symptoms. The gelatin provides collagen and glycine, which support gut health and joint function. Honey adds antimicrobial properties and soothes sore throats.
Dietary Considerations: This recipe is naturally gluten-free, dairy-free, and nut-free. It can be made vegan with agar-agar. The sugar content comes entirely from natural sources—elderberries and honey—making it a better choice than commercial gummy vitamins that often contain high-fructose corn syrup.
Allergen Note: If you have a sensitivity to nightshades, note that elderberries are not nightshades, so they are generally safe. However, if you have a known allergy to berries, consult your healthcare provider before consuming.
I personally love that these gummies let me support my family’s health without a battle. It’s a small, daily ritual that makes me feel like I’m doing something proactive for our wellness.
Frequently Asked Questions
Can I use store-bought elderberry syrup instead of homemade?
Absolutely. Just make sure it’s a thick syrup, not a thin juice. Store-bought syrups vary in consistency, so you may need to adjust the gelatin slightly. If your syrup is very thin, add an extra teaspoon of gelatin.
Why are my gummies too soft?
This usually happens when the mixture wasn’t heated enough to fully dissolve the gelatin, or when too much liquid was used. Next time, make sure your syrup is warm (not hot) when you add the gelatin, and whisk thoroughly. You can also try adding an extra tablespoon of gelatin.
Can I give these to my toddler?
Yes, but with supervision. For children under 2, cut the gummies into smaller pieces to reduce choking risk. Also, remember that honey is not recommended for children under 1 year old due to the risk of botulism—use maple syrup instead.
How long do these gummies last at room temperature?
They will start to soften and become sticky after about 2-3 hours at room temperature. If you’re bringing them to a picnic or event, keep them in a cooler. For daily use, always store them in the refrigerator.
Can I double this recipe?
Yes, and I recommend it! These disappear fast. Simply double all ingredients and use a larger saucepan. The setting time may increase slightly, so give them an extra hour in the fridge.
Conclusion
These homemade elderberry syrup immune gummies have genuinely changed how my family approaches cold and flu season. What started as a skeptical experiment has become a beloved staple in our kitchen. They’re proof that taking care of your health doesn’t have to feel like a chore—it can be delicious, fun, and something your kids actually look forward to.
I encourage you to make these your own. Adjust the sweetness, try different mold shapes, or experiment with the add-ins. The beauty of homemade gummies is that you’re in control. You know exactly what goes into them, and you can tailor them to your family’s tastes and needs.
If you give these a try, I’d love to hear how they turn out. Drop a comment below and let me know your favorite variation. And if you’re looking for more immune-supporting recipes, don’t miss our mini lemon blueberry cheesecakes—they’re another family favorite that sneaks in some surprising health benefits. Happy cooking, and here’s to a healthier, happier season ahead!
Pin This Recipe!
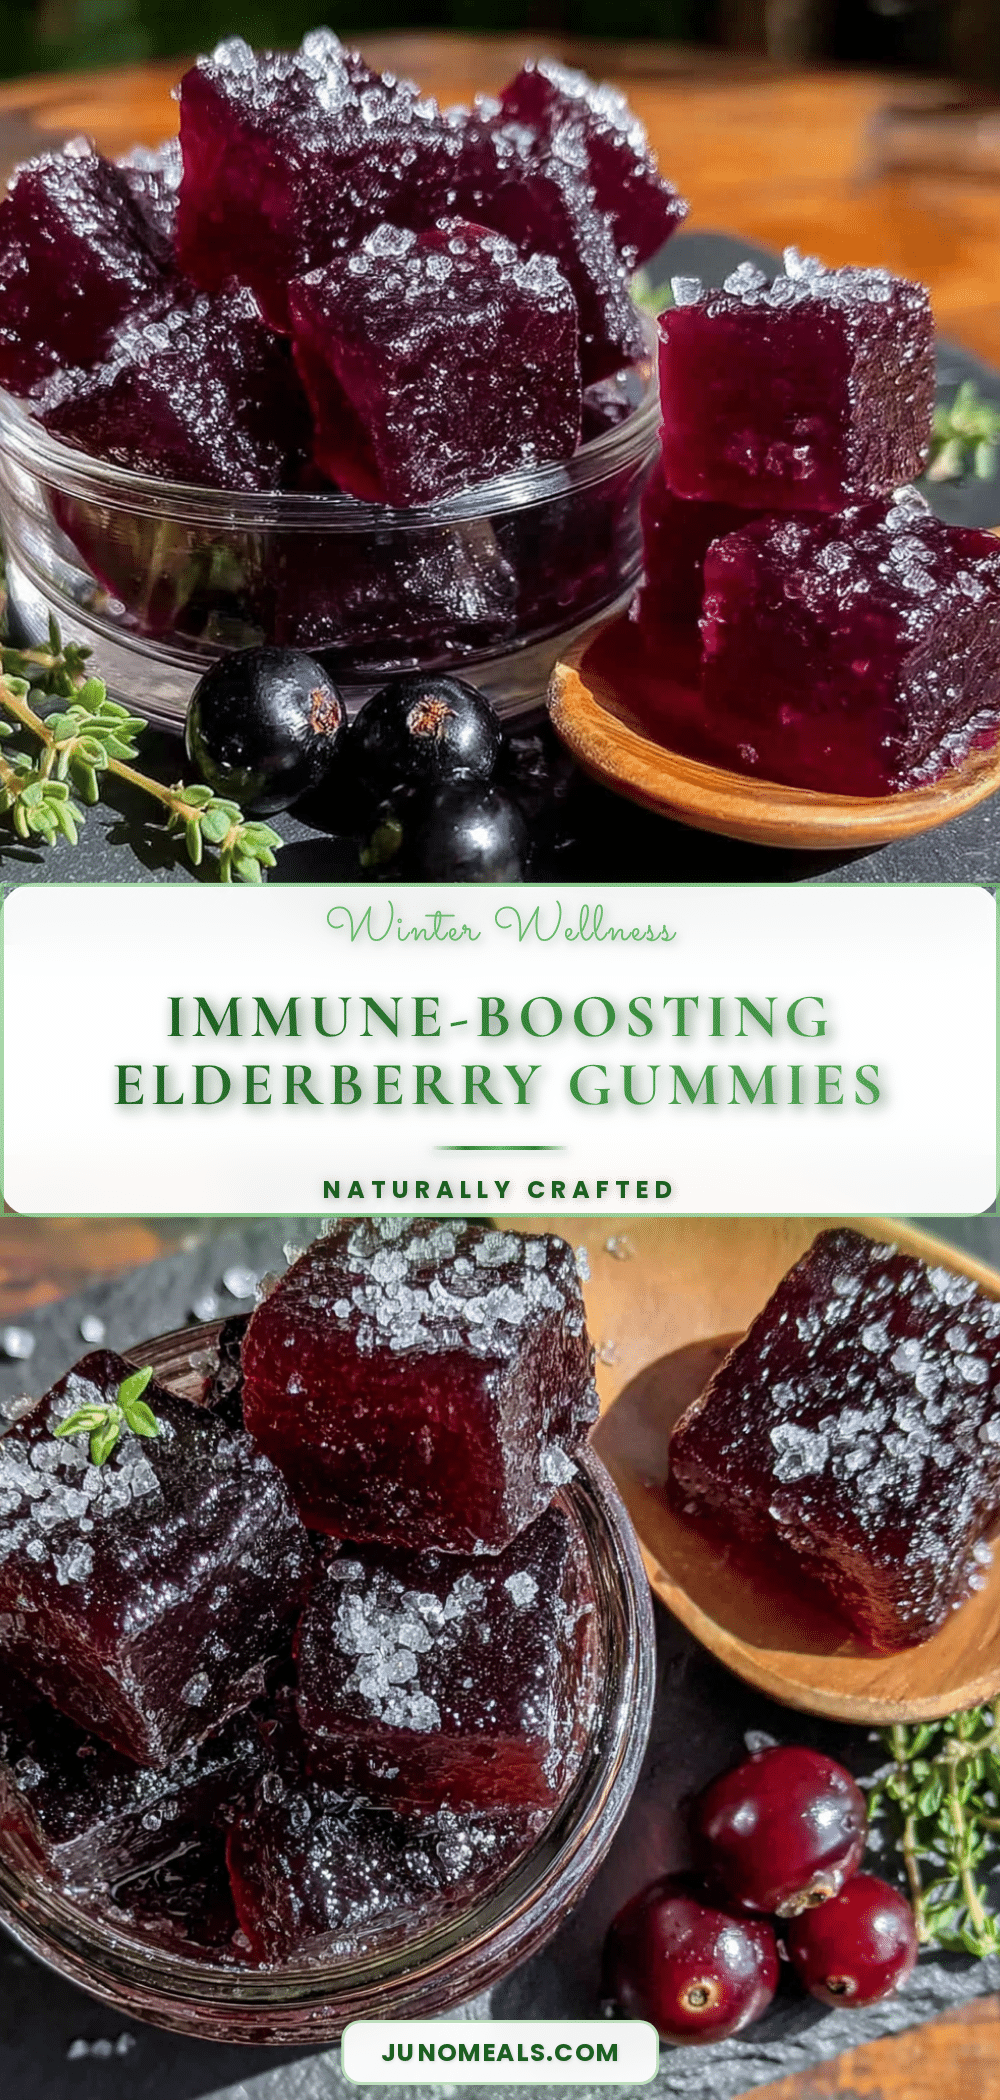
Homemade Elderberry Gummies: Easy Immune Boosting Snack
These homemade elderberry syrup immune gummies are a delicious and healthy treat packed with immune-supporting goodness. They’re quick to make with simple ingredients and are a family favorite for cold and flu season.
- Prep Time: 15 minutes
- Cook Time: 5 minutes
- Total Time: 2 hours 20 minutes (including setting time)
- Yield: 4 servings 1x
- Category: Snack
- Cuisine: American
Ingredients
- 1 cup (240 ml) Homemade Elderberry Syrup
- 3 tablespoons (about 28 grams) Gelatin Powder (grass-fed beef gelatin recommended)
- 2 to 3 tablespoons (30–45 ml) Raw Honey or Maple Syrup
- 1 tablespoon (15 ml) Lemon Juice, freshly squeezed
- ¼ cup (60 ml) Cold Water
- ½ teaspoon Vitamin C Powder (optional)
- A few drops Zinc Picolinate (optional)
- 2 tablespoons Tart Cherry Juice Concentrate (optional)
Instructions
- Bloom the Gelatin: Pour the ¼ cup of cold water into a small bowl. Sprinkle the gelatin powder evenly over the surface. Let it sit for 5-10 minutes until the gelatin absorbs the water and becomes a thick, jiggly mass.
- Heat the Elderberry Syrup: In a small saucepan, combine the elderberry syrup and honey (or maple syrup). Warm over low heat, stirring gently, until warm to the touch (around 100-110°F or 38-43°C), about 2-3 minutes.
- Combine the Mixtures: Remove the saucepan from the heat. Add the bloomed gelatin to the warm syrup mixture. Whisk vigorously until the gelatin is completely dissolved, about 1-2 minutes.
- Add the Lemon Juice and Optional Boosters: Stir in the fresh lemon juice. If adding vitamin C powder or zinc drops, add them now and whisk gently to combine.
- Fill the Molds: Carefully pour the mixture into a spouted measuring cup or dropper. Working quickly, fill each cavity in your silicone molds slightly above the rim. Tap the mold gently on the counter to release any bubbles.
- Set in the Refrigerator: Place the filled molds on a baking sheet or plate. Refrigerate for at least 2-3 hours, or overnight for best results, until the gummies feel firm and bounce back when pressed.
- Remove from Molds: Once set, pop the gummies out of the molds. If stubborn, let the mold sit at room temperature for 5 minutes, then gently push from the bottom. Store in an airtight container.
Notes
Temperature is crucial: do not overheat the syrup above 140°F (60°C) or gelatin will lose setting power. Work quickly after adding gelatin. For vegan version, use 2 tablespoons agar-agar powder bloomed in ½ cup water. Store gummies in refrigerator for up to 2 weeks or freeze for up to 3 months. Gummies taste better on day two or three as flavors meld.
Nutrition
- Serving Size: 4 gummies
- Calories: 4555
- Sugar: 810
- Sodium: 5
- Carbohydrates: 1012
- Protein: 45
Keywords: elderberry gummies, immune boosting gummies, homemade gummies, elderberry recipe, healthy snack, immune support, gelatin gummies


