Dumping a can of pumpkin puree into a baking dish and hoping for the best—that was my entire game plan the first time I made this. It was a Tuesday night, I had zero dessert planned for a last-minute dinner with friends, and my pantry was looking sad. A box of yellow cake mix, a can of pumpkin, some butter, and a vague memory of a recipe my aunt used to throw together. I figured, what’s the worst that could happen?
Honestly? The best thing. That accidental, thrown-together dessert turned into the most requested thing I bring to every fall gathering. It’s not fancy, it doesn’t require any skill, and it tastes like you spent hours in the kitchen. The top gets this incredible, buttery, crunchy layer while the bottom stays soft and almost pudding-like. It’s the kind of dessert that makes people close their eyes after the first bite and then ask for the recipe before they’ve even swallowed.
This easy pumpkin dump cake is my secret weapon for fall entertaining. It’s the dessert that proves you don’t need to be a pastry chef to make something genuinely memorable. And honestly? It tastes even better the next day, if you can manage to have any left over.
Why You’ll Love This Recipe
This isn’t just another pumpkin dessert. It’s the one that will get you out of a bind, impress your family, and make your kitchen smell like autumn heaven. Here’s why it works so well:
- Only 4 Ingredients: You probably already have everything you need. No special trips to the store required.
- No Mixing Bowls: Seriously. You dump everything straight into the baking dish. Less cleanup means more time to relax.
- Foolproof Every Time: I’ve made this at high altitude, with different cake mixes, and even with melted margarine once (don’t ask). It always turns out perfectly.
- Perfect for Any Fall Occasion: Thanksgiving potluck, Sunday dinner, or just because it’s October—this cake fits right in.
- Buttery, Crunchy Topping: That golden crust is the best part. It shatters when you bite into it and gives way to that soft, spiced pumpkin layer underneath.
What makes this different from other pumpkin dump cakes is the technique. Most recipes just pour melted butter on top, but I’ve found that using cold, thinly sliced butter creates a more even, crispier topping. It’s a small tweak that makes a huge difference. Trust me, I learned this after making a soggy version or two.
What Ingredients You Will Need
This recipe uses simple, everyday ingredients to create something surprisingly special. The magic is in how they layer together in the oven.
- 1 can (15 oz) pumpkin puree – Not pumpkin pie filling. Make sure you grab 100% pure pumpkin. I prefer Libby’s for its consistent texture and deep color.
- 1 can (12 oz) evaporated milk – This adds richness without making the cake too heavy. You could use regular milk in a pinch, but the texture won’t be quite as luscious.
- 1 cup granulated sugar – Just enough sweetness to balance the earthy pumpkin. If you like things less sweet, you can cut it back to ¾ cup.
- 2 teaspoons pumpkin pie spice – The shortcut that works. If you don’t have it, use 1 teaspoon cinnamon, ½ teaspoon nutmeg, ¼ teaspoon ginger, and ¼ teaspoon cloves.
- 1 box (15.25 oz) yellow cake mix – Any brand works. I’ve used Betty Crocker, Duncan Hines, and store brands. They all work fine. Do not use a “butter recipe” or “extra moist” mix—they change the texture.
- 1 cup unsalted butter, cold – This is the star of the show. Cold butter sliced thin creates those perfect crispy bits on top. Salted butter works too, just skip adding any extra salt.
- Optional: ½ cup chopped pecans or walnuts – Adds a lovely crunch. I add them about half the time, depending on my mood.
- Optional: ½ teaspoon salt – Only if you’re using unsalted butter and want to balance the sweetness.
For the pumpkin layer, I’ve also made this with a can of pumpkin that I had leftover from making mini lemon blueberry cheesecakes earlier that week. It worked perfectly. The key is making sure your pumpkin is just puree, not the pre-sweetened pie filling.
Equipment Needed
You don’t need much for this recipe, which is part of its charm. Here’s what you’ll need:
- 9×13-inch baking dish – Glass or metal both work. I prefer glass because I can see how the bottom layer is setting up. If you use metal, you might need to reduce the baking time by 5 minutes.
- Cheese grater or sharp knife – For slicing that cold butter into thin pats. A cheese grater actually works brilliantly for this—it creates tiny butter shards that melt perfectly.
- Measuring cups and spoons – Pretty standard stuff. A liquid measuring cup for the evaporated milk makes pouring easier.
- Whisk or fork – For mixing the pumpkin layer. A fork works just fine if you don’t want to dirty another dish.
- Spatula – For spreading the cake mix evenly. You can also just tilt the dish around.
That’s it. No mixer, no special pans, no complicated gadgets. If you have a working oven and a basic baking dish, you’re good to go. I’ve even made this in a disposable aluminum pan for potlucks, and it turned out just as good.
Preparation Method
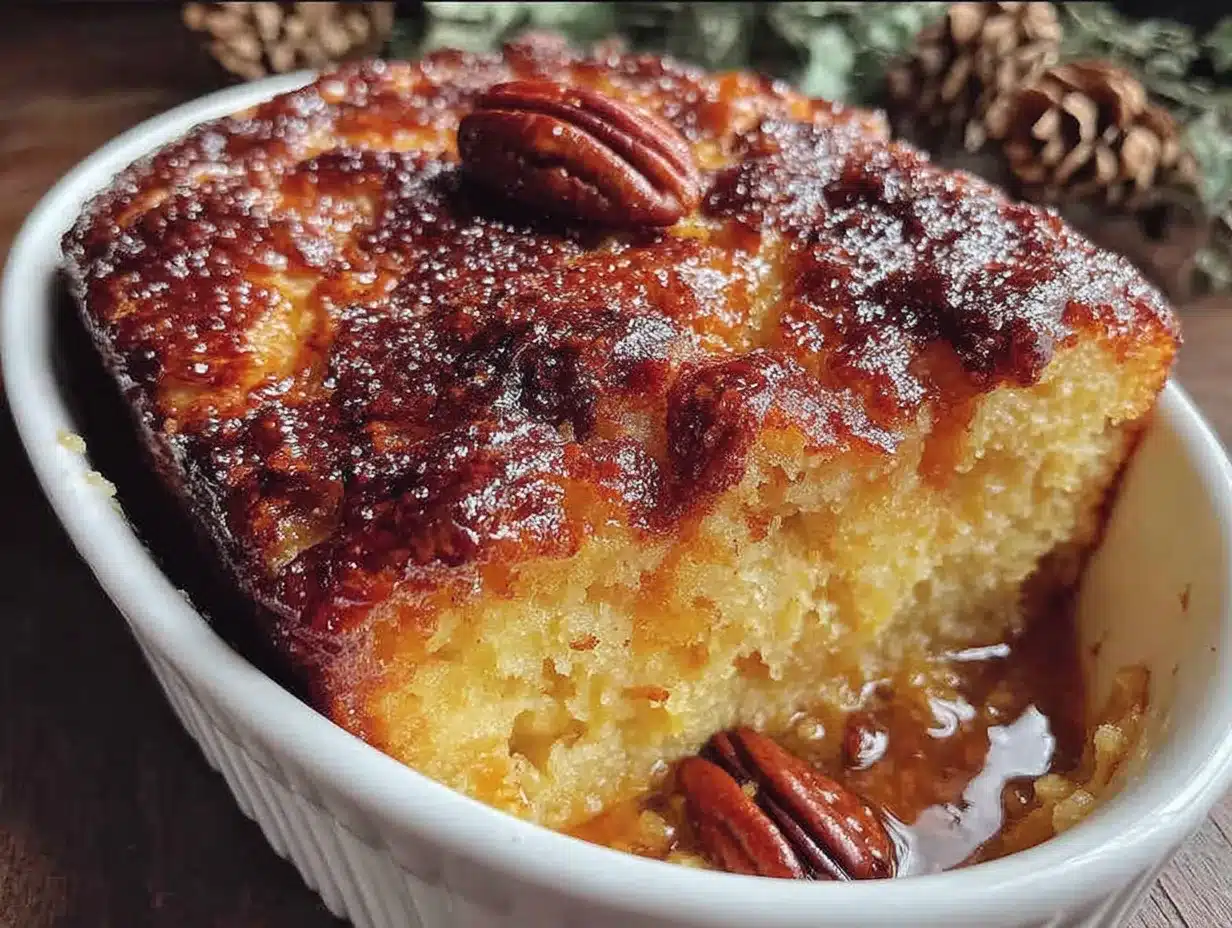
This is where the magic happens. Follow these steps, and you’ll have a dessert that tastes like you worked way harder than you actually did.
- Preheat your oven to 350°F (175°C). While it’s heating up, lightly grease your 9×13 baking dish with butter or non-stick spray. Don’t skip this step—the pumpkin layer can stick if you do.
- Make the pumpkin layer. In the baking dish itself (yes, really), whisk together the pumpkin puree, evaporated milk, sugar, and pumpkin pie spice. Whisk until it’s completely smooth and well combined. You shouldn’t see any streaks of pumpkin or sugar. This takes about a minute of whisking.
- Spread the cake mix. Sprinkle the entire box of dry cake mix evenly over the pumpkin mixture. Don’t stir it in. Just dump it and use a spatula or your fingers to spread it into an even layer. It should cover the entire surface of the pumpkin mixture.
- Add the butter. Here’s the important part. Take your cold butter and slice it into very thin pats, about ⅛-inch thick. Arrange these butter slices over the entire surface of the cake mix. Try to cover as much of the dry mix as possible. The butter will melt and create that amazing crispy topping. If you’re using nuts, sprinkle them over the butter now.
- Bake. Place the dish in the preheated oven and bake for 45-55 minutes. The top should be golden brown and the edges should be bubbly. The center might still look a little jiggly—that’s fine. It will set as it cools.
- Cool. Let the cake cool in the dish on a wire rack for at least 20 minutes before serving. This is the hardest part, I know. But if you dig in too early, it will be too runny. The cooling time allows the pumpkin layer to set up into that perfect pudding-like consistency.
- Serve warm or at room temperature. Spoon it into bowls and top with whipped cream or vanilla ice cream. The contrast between the warm, soft pumpkin and the cold ice cream is absolutely incredible.
A quick note: if you notice the top is getting too dark before the center is set, tent the dish loosely with aluminum foil for the last 10-15 minutes of baking. Every oven is different, and this is one of those “learned the hard way” tips I picked up after my first attempt came out with a burnt top and a runny middle.
Cooking Tips & Techniques
After making this cake more times than I can count, I’ve picked up a few tricks that make a real difference. Here’s what I wish someone had told me the first time:
- Cold butter is non-negotiable. I tried using melted butter once because I was in a hurry. The topping didn’t crisp up the same way. The cold butter melts slowly as the cake bakes, creating steam pockets that make the topping light and crunchy. Melted butter just soaks into the cake mix and makes it dense.
- Don’t overthink the cake mix layer. You don’t need to press it down or mix it in. Just sprinkle it evenly. Some parts will be thicker than others, and that’s actually a good thing—it creates texture variation in the finished cake.
- Let it rest. I know it’s tempting to serve it right out of the oven, but those 20 minutes of cooling are crucial. The pumpkin layer needs time to thicken. If you serve it too soon, it will be soupy. Patience pays off here.
- Watch your oven. Ovens run hot or cold. I’ve made this cake in three different ovens, and the baking time varied by almost 15 minutes. Start checking at 40 minutes. The top should be deep golden brown, and you should see bubbles around the edges.
- Use a glass dish if you have one. Glass heats more evenly and allows you to see when the bottom layer is set. Metal pans can cause the edges to overcook before the center is done.
I once forgot to add the sugar to the pumpkin layer. It was a disaster—bland and sad. I tried to fix it by dusting powdered sugar on top, but it just wasn’t the same. Learn from my mistake: double-check your ingredients before you start.
Variations & Adaptations
This recipe is incredibly forgiving and adaptable. Here are some ways to make it your own:
- Spice it up. Swap the pumpkin pie spice for chai spice blend or apple pie spice. You can also add a teaspoon of vanilla extract to the pumpkin layer for extra warmth.
- Make it gluten-free. Use a gluten-free yellow cake mix. I’ve tested this with Bob’s Red Mill and King Arthur brands, and both worked beautifully. Just make sure your pumpkin puree is also certified gluten-free.
- Go nutty. Add ½ cup of chopped pecans, walnuts, or even sliced almonds to the topping. Toast them first for extra flavor. I love using candied pecans when I want something extra special.
- Try a different cake mix. Spice cake mix is amazing with pumpkin. Carrot cake mix works too. Even white cake mix will work in a pinch, though the flavor won’t be as rich. Avoid chocolate—it competes with the pumpkin.
- Add a cream cheese layer. For an extra decadent version, drop spoonfuls of softened cream cheese mixed with a little sugar over the pumpkin layer before adding the cake mix. It creates these amazing pockets of tangy richness.
- Dairy-free option. Use canned coconut milk instead of evaporated milk, and vegan butter instead of regular butter. The texture will be slightly different, but it still works. I’ve made this for a friend with dairy allergies, and she said it was the best pumpkin dessert she’d had in years.
One of my favorite variations is to add a handful of dried cranberries to the pumpkin layer before baking. The tartness cuts through the sweetness perfectly. It’s a small change, but it makes the cake feel more sophisticated.
Serving & Storage Suggestions
This cake is best served warm, but it’s also delicious at room temperature. Here’s how to make the most of it:
- Serving temperature: Let it cool for at least 20 minutes, then serve while still warm. The contrast between the warm pumpkin and cold toppings is perfection.
- Toppings: A generous dollop of whipped cream or a scoop of vanilla ice cream is classic. Caramel sauce or a drizzle of honey is also amazing. For a fancy touch, add a sprinkle of cinnamon or nutmeg on top.
- Pairings: This cake is rich enough to stand on its own, but it pairs beautifully with a cup of hot coffee, spiced chai, or a glass of cold milk. For a holiday spread, serve it alongside other seasonal desserts for a beautiful variety.
- Storage: Cover the dish tightly with plastic wrap or aluminum foil and store in the refrigerator for up to 5 days. The topping will soften slightly, but the flavor actually gets better as it sits. I actually prefer this cake on day two—the flavors meld together beautifully.
- Reheating: To bring back that crispy topping, reheat individual portions in the microwave for 30-45 seconds. For a larger portion, warm it in a 300°F oven for 10-15 minutes. The microwave is faster, but the oven does a better job of reviving that crunchy texture.
- Freezing: This cake freezes really well. Cool it completely, then wrap the entire dish tightly in plastic wrap and foil. Freeze for up to 3 months. Thaw overnight in the refrigerator and reheat as directed. I’ve done this for Thanksgiving prep, and it’s a lifesaver.
One thing I’ve noticed: the topping will never be as crispy after refrigeration as it is fresh out of the oven. That’s just the nature of this cake. But it’s still delicious, and the trade-off is that the pumpkin layer becomes even creamier and more pudding-like. It’s a different experience, but just as good.
Nutritional Information & Benefits
Let’s be real—this is a dessert, not a health food. But it does have some redeeming qualities. Here’s a rough breakdown per serving (assuming 12 servings):
- Calories: Approximately 380-420 per serving
- Fat: 18-22 grams (mostly from butter)
- Carbohydrates: 52-58 grams
- Protein: 4-6 grams
- Fiber: 2-3 grams (thanks to the pumpkin)
- Vitamin A: Excellent source (pumpkin is packed with beta-carotene)
Pumpkin is actually a nutritional powerhouse. It’s rich in vitamin A, which supports eye health and immune function. It also contains fiber, which helps with digestion and keeps you feeling full. The evaporated milk adds calcium and protein. So while this isn’t a salad, it’s not the worst thing you could eat for dessert.
If you’re watching your sugar intake, you can reduce the sugar in the pumpkin layer to ¾ cup. The cake mix already has sugar, so the dessert will still be sweet enough. You can also use a sugar-free cake mix, though I find the texture is slightly different—a bit denser and less tender.
This recipe contains gluten, dairy, and nuts (if you add them). For allergen-friendly versions, check the variations section above.
Conclusion
This easy pumpkin dump cake is the dessert that keeps on giving. It’s simple enough for a beginner, impressive enough for company, and comforting enough for a quiet night in. The combination of that buttery, crunchy topping and the soft, spiced pumpkin underneath is just unbeatable.
I love this recipe because it reminds me that cooking doesn’t have to be complicated to be good. Sometimes the best things come from the simplest ingredients and the least effort. It’s a reminder that we don’t need to stress over every meal or dessert—sometimes dumping things in a pan and letting the oven do the work is exactly the right approach.
I’d love to hear how yours turns out! Did you add any fun variations? Did you serve it with something special? Drop a comment below and let me know. And if you loved this recipe, share it with a friend who needs a little fall comfort in their life. Happy baking!
Frequently Asked Questions
Can I use pumpkin pie filling instead of pumpkin puree?
No, I wouldn’t recommend it. Pumpkin pie filling already has sugar and spices added, so it will throw off the sweetness and texture of your cake. Stick with 100% pure pumpkin puree for the best results.
Why is my dump cake runny in the middle?
This usually happens when the cake hasn’t baked long enough or hasn’t cooled properly. Make sure you’re baking until the edges are bubbly and the center is set. Also, let it cool for at least 20 minutes before serving—this allows the pumpkin layer to thicken.
Can I make this in a different size pan?
Yes, but you’ll need to adjust the baking time. A 9×13 pan is standard, but you can use an 8×8 or 9×9 pan for a thicker cake. Just increase the baking time by 10-15 minutes. For a larger crowd, double the recipe and use a 11×15 pan.
Can I add eggs to this recipe?
Traditional pumpkin dump cake doesn’t use eggs, and I prefer it that way. The evaporated milk and pumpkin provide enough structure. Adding eggs would make the pumpkin layer more like a custard or cheesecake, which is a different dessert entirely.
How do I know when the cake is done?
The top should be deep golden brown and feel firm to the touch. You’ll see bubbles around the edges of the dish. The center might still jiggle slightly, but it will set as it cools. If you insert a toothpick into the topping, it should come out clean or with a few moist crumbs.
Pin This Recipe!
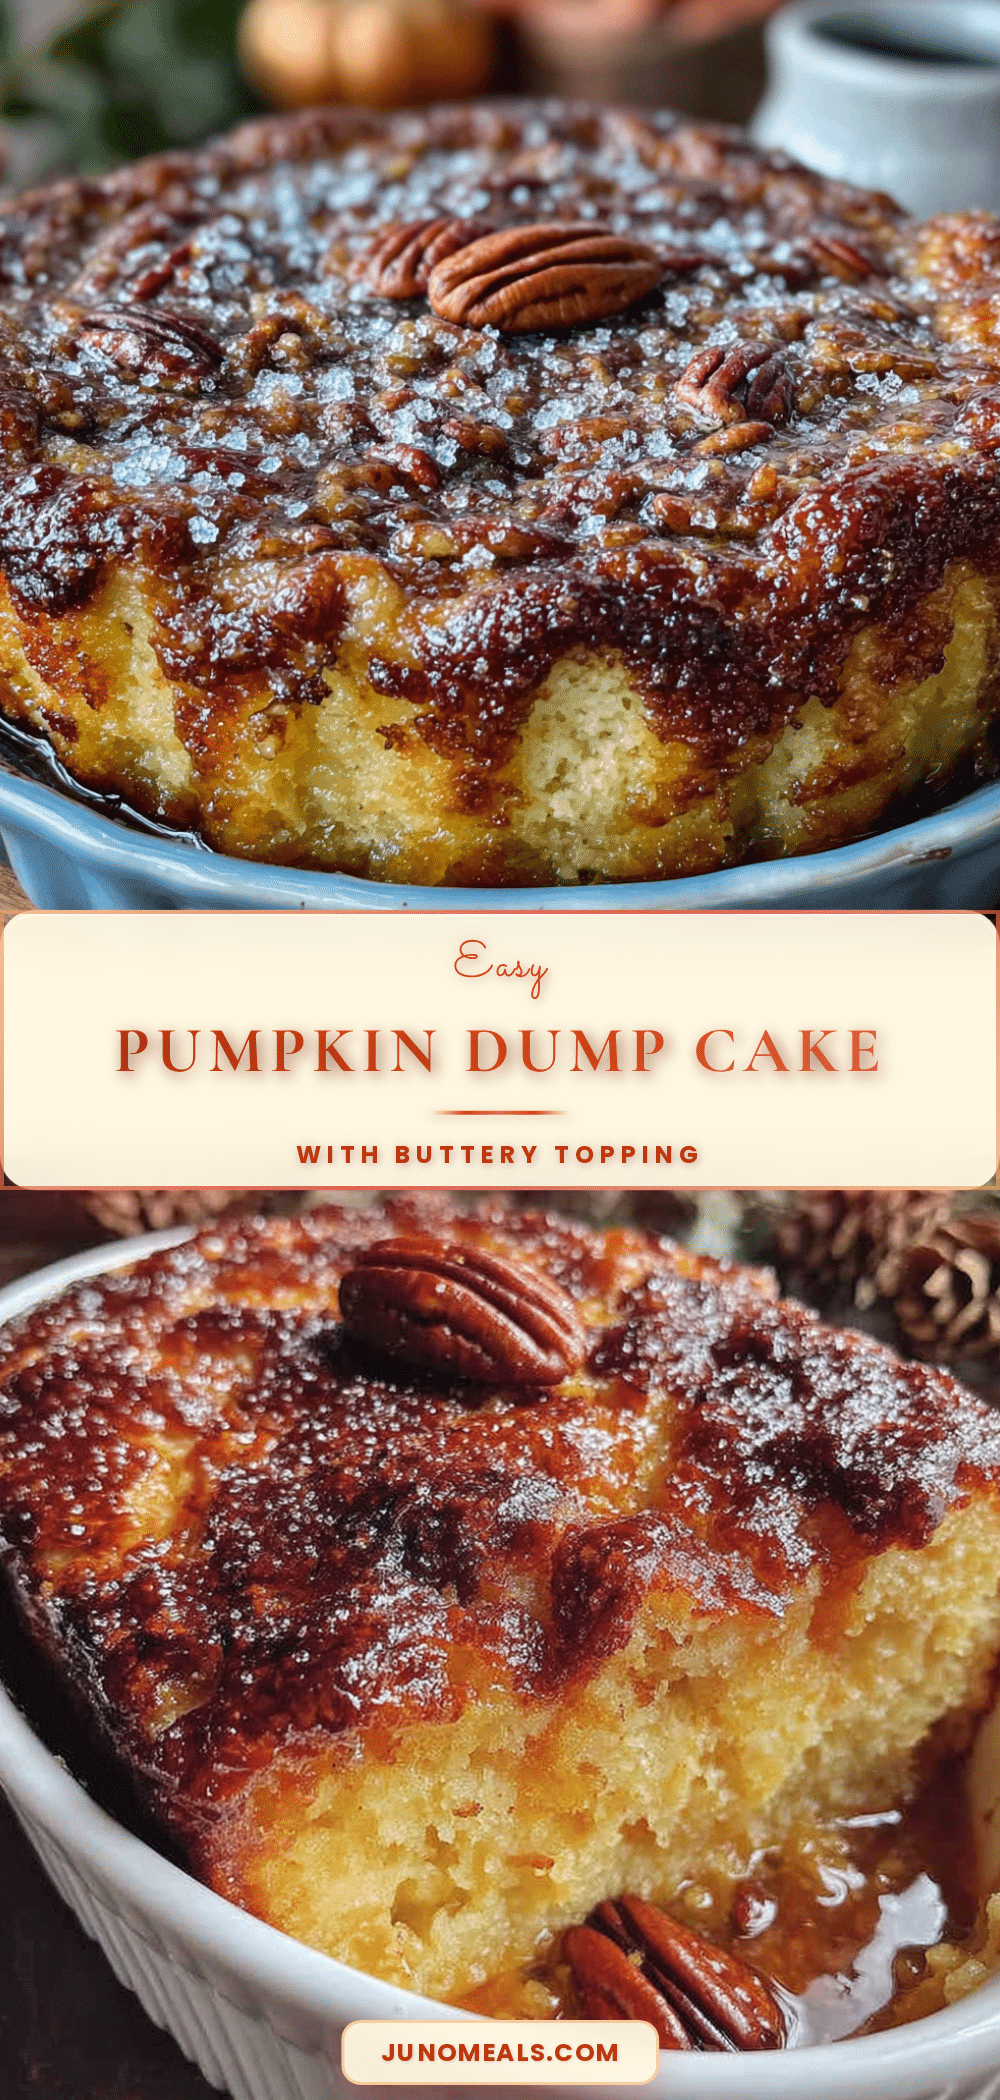
Easy Pumpkin Dump Cake: Best 4-Ingredient Dessert
This easy pumpkin dump cake is a foolproof, 4-ingredient dessert with a buttery, crunchy topping and a soft, pudding-like pumpkin layer. Perfect for fall gatherings, it requires no mixing bowls and minimal effort.
- Prep Time: 10 minutes
- Cook Time: 50 minutes
- Total Time: 1 hour
- Yield: 12 servings 1x
- Category: Dessert
- Cuisine: American
Ingredients
- 1 can (15 oz) pumpkin puree
- 1 can (12 oz) evaporated milk
- 1 cup granulated sugar
- 2 teaspoons pumpkin pie spice
- 1 box (15.25 oz) yellow cake mix
- 1 cup unsalted butter, cold
- ½ cup chopped pecans or walnuts (optional)
- ½ teaspoon salt (optional)
Instructions
- Preheat your oven to 350°F (175°C). Lightly grease a 9×13-inch baking dish with butter or non-stick spray.
- In the baking dish, whisk together the pumpkin puree, evaporated milk, sugar, and pumpkin pie spice until completely smooth.
- Sprinkle the entire box of dry cake mix evenly over the pumpkin mixture. Do not stir.
- Slice the cold butter into very thin pats (about ⅛-inch thick) and arrange them over the entire surface of the cake mix. If using nuts, sprinkle them over the butter.
- Bake for 45-55 minutes, until the top is golden brown and the edges are bubbly. The center may still jiggle slightly.
- Let the cake cool in the dish on a wire rack for at least 20 minutes before serving.
- Serve warm or at room temperature, topped with whipped cream or vanilla ice cream.
Notes
Use cold butter for a crispier topping. Let the cake cool for at least 20 minutes to allow the pumpkin layer to set. If the top browns too quickly, tent with foil for the last 10-15 minutes.
Nutrition
- Serving Size: 1 serving
- Calories: 400
- Sugar: 35
- Sodium: 350
- Fat: 20
- Saturated Fat: 12
- Carbohydrates: 55
- Fiber: 2.5
- Protein: 5
Keywords: pumpkin dump cake, easy pumpkin dessert, 4-ingredient dessert, fall dessert, pumpkin cake


