I figured making chewy homemade chocolate chip granola bars would be a no-brainer — just mix some oats, chocolate, and honey, then press it all together. It took about two attempts and a sticky kitchen counter for that plan to fall apart completely. Honestly, I thought these bars would come out crumbly or way too sweet, but what actually happened was a surprise: they turned out perfectly chewy with just the right balance of chocolate and wholesome oats. The smell alone, warm and buttery with hints of vanilla, made me forget all about the mess.
It wasn’t some fancy recipe or complicated technique. Instead, it was about trusting simple ingredients and figuring out the right proportions by trial and error. There’s something oddly satisfying about pulling a pan of homemade granola bars from the oven — the edges golden, the chocolate chips glossy, and the texture somewhere between a cookie and a granola crunch. This recipe stuck with me because it’s forgiving, quick, and honestly, a little addictive.
These easy chewy homemade chocolate chip granola bars aren’t just snacks; they’re little bites of comfort that I’ve come to rely on for busy mornings and afternoon pick-me-ups. No fuss, no weird ingredients, just good old-fashioned chewy goodness you can trust. And if you’re anything like me — a practical cook who learns by doing — you’ll appreciate how this recipe fits right into your rhythm without demanding perfection.
Why You’ll Love This Recipe
After testing this recipe multiple times (and yes, eating way too many bars in the process), I can say it’s a keeper for several reasons:
- Quick & Easy: Ready in under 30 minutes, perfect for busy mornings or last-minute snack needs.
- Simple Ingredients: Uses pantry staples like oats, honey, and chocolate chips — no surprise grocery runs required.
- Perfect for On-the-Go: Ideal for packing in lunches, hiking trips, or even a quick breakfast.
- Crowd-Pleaser: Kids and adults alike keep coming back for more — the chewy texture wins every time.
- Unbelievably Delicious: The combination of nutty oats and melty chocolate chips is just a little piece of happiness.
What sets this recipe apart is how it strikes the perfect chewy texture without feeling dense or dry. Many granola bars tend to be either crumbly or rock-hard, but this one walks that chewy line like a pro. The secret? A touch of natural syrup and a hint of vanilla, which together keep the bars moist and packed with flavor.
This recipe isn’t just about satisfying hunger; it’s about creating a snack that feels homemade but is effortless enough for anyone to whip up. It’s the kind of treat that makes you close your eyes after the first bite and smile — no fancy techniques, just good food that sticks with you.
What Ingredients You Will Need
This recipe uses simple, wholesome ingredients to deliver bold flavor and satisfying texture without fuss. Almost everything is likely already in your pantry, which makes it a no-brainer to throw together at any time.
- Old-fashioned rolled oats (2 cups / 180g) – The base for chewiness; I prefer Bob’s Red Mill for texture consistency.
- All-purpose flour (1/2 cup / 65g) – Helps bind the bars; you can swap for almond flour for a gluten-free option.
- Brown sugar (1/3 cup / 70g) – Adds sweetness and a slight caramel flavor.
- Honey (1/3 cup / 113g) – Natural sweetener and moisture booster (you can use maple syrup instead).
- Unsalted butter (1/4 cup / 57g), melted – Adds richness and helps hold everything together.
- Vanilla extract (1 teaspoon) – For a warm, inviting aroma.
- Baking powder (1/2 teaspoon) – A subtle lift to keep bars from getting too dense.
- Salt (1/4 teaspoon) – Balances the sweetness.
- Mini semi-sweet chocolate chips (3/4 cup / 130g) – The star ingredient, melting beautifully inside every bite.
Optional add-ins:
- Chopped nuts for crunch (walnuts or pecans)
- Dried cranberries or raisins for a fruity twist
I recommend using mini chocolate chips because they distribute evenly throughout the bars, so you get chocolate in every bite. Also, if you prefer less sweet, swap half the brown sugar with coconut sugar for a more subtle sweetness. Seasonal tip: In summer, toss in chopped dried apricots or fresh blueberries for a fruity flair.
Equipment Needed
- Mixing bowls – I use a large glass bowl for easy mixing and visibility.
- Measuring cups and spoons – Accurate measurements keep the texture just right.
- Wooden spoon or silicone spatula – For folding ingredients without overmixing.
- 8×8-inch (20×20 cm) baking pan – Ideal size to get chewy bars with crisp edges.
- Parchment paper – Makes cleanup easier and helps release bars without crumbling.
- Oven mitts – Safety first, always.
For a budget-friendly option, you can line the baking pan with foil instead of parchment paper, just lightly greased. If you don’t have an 8×8-inch pan, a 9×9-inch pan works too but bars will be a bit thinner. I’ve tried silicone pans before, but metal pans give the best caramelized edges.
Preparation Method
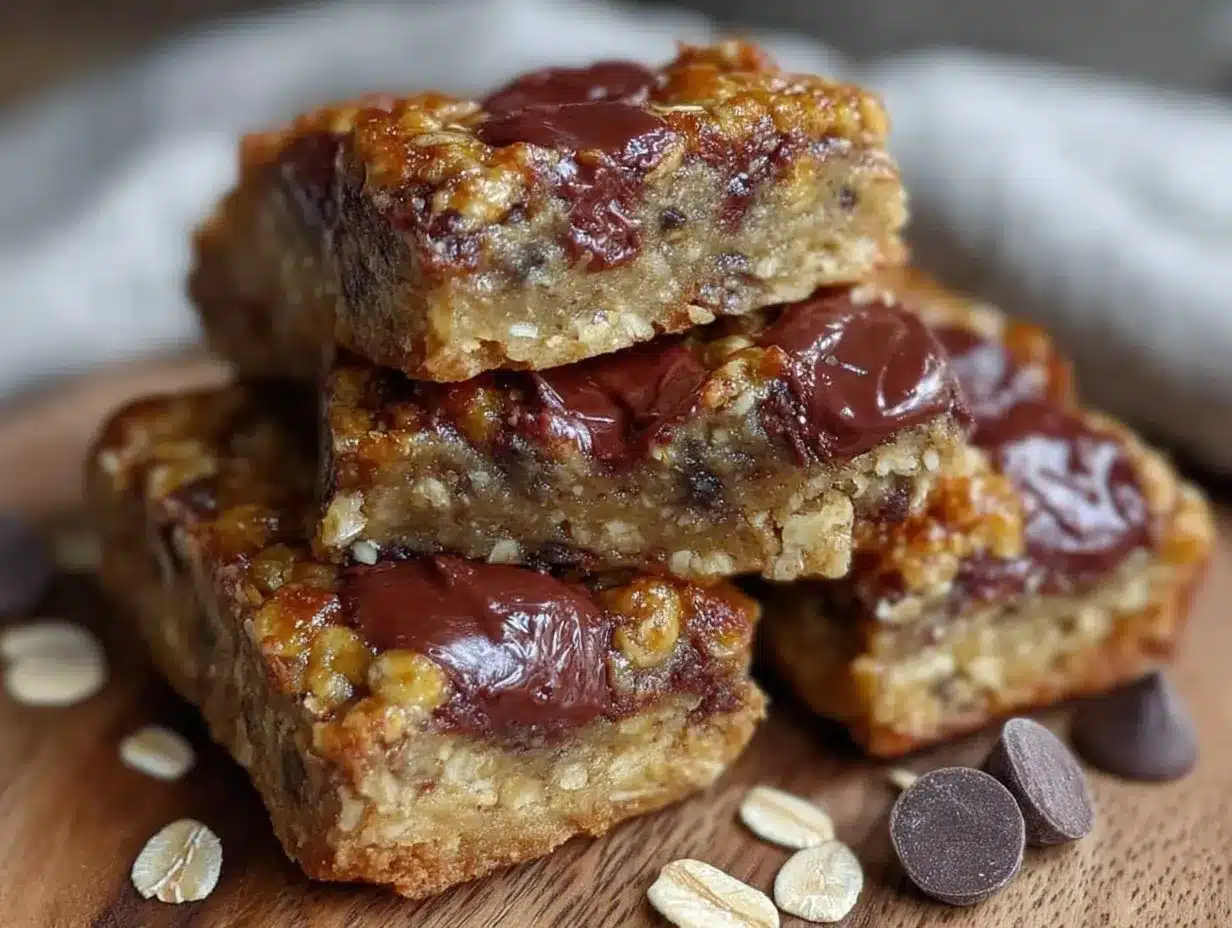
- Preheat your oven to 350°F (175°C). Line your 8×8-inch baking pan with parchment paper, letting some overhang on the sides for easy removal later. This step saves a lot of frustration when cutting bars.
- Mix the dry ingredients: In a large bowl, combine 2 cups (180g) rolled oats, 1/2 cup (65g) all-purpose flour, 1/3 cup (70g) brown sugar, 1/2 teaspoon baking powder, and 1/4 teaspoon salt. Stir to distribute everything evenly. These ingredients form the chewy structure of your bars.
- Combine the wet ingredients: In a separate small bowl, whisk together 1/3 cup (113g) honey, 1/4 cup (57g) melted unsalted butter, and 1 teaspoon vanilla extract. The melted butter should be warm, not hot, to keep the honey fluid but not cook the vanilla out.
- Pour the wet into the dry: Slowly add the wet mixture to the dry ingredients, stirring gently with a wooden spoon or spatula until everything is just combined. The mixture will be sticky but cohesive. At this point, fold in 3/4 cup (130g) mini chocolate chips, saving a few to sprinkle on top if you like.
- Press the mixture firmly into the prepared pan: Use a spatula or your hands (lightly greased) to press the granola mixture evenly and compactly into the pan. This step is crucial — pressing firmly helps the bars hold together after baking.
- Optional chocolate chip topping: Sprinkle a few extra chocolate chips on top for a pretty finish. Press them in lightly.
- Bake for 18-22 minutes: The bars should be golden around the edges but still soft in the middle. They will firm up as they cool, so don’t overbake. Keep an eye starting at 18 minutes.
- Cool completely in the pan: Let the bars cool at room temperature for at least 30 minutes before lifting them out using the parchment overhang. This resting time is key for that chewy texture and clean cutting.
- Cut into bars: Use a sharp knife to slice into 12 even bars. For cleaner cuts, wipe the knife between slices.
- Store or serve: Enjoy immediately or store in an airtight container at room temperature for up to 5 days.
Pro tip: If your bars crumble, it usually means they weren’t pressed firmly enough before baking or they were cut too soon. Patience makes perfect chewy granola bars!
Cooking Tips & Techniques
Getting the perfect chewy texture is all about balance. Here are some tips I learned the hard way:
- Don’t skip pressing: Pressing the mixture firmly into the pan before baking makes all the difference. I’ve had batches fall apart simply because I was too lazy to press hard enough.
- Measure ingredients carefully: Too much flour or oats can make bars dry. I always spoon oats into the cup instead of scooping to avoid packing too much.
- Don’t overbake: The bars will look a bit soft when you pull them out. They firm up as they cool, so trust that process.
- Use mini chocolate chips: They melt evenly without turning into big globs, spreading chocolate love throughout every bite.
- Multitasking tip: While the bars bake, clean your mixing bowls and utensils — saves time later!
One rookie mistake I made was using honey that was too thick and cold, which made mixing a nightmare. Warming it slightly in the microwave for 15 seconds helps it blend smoothly. Also, if you want to experiment, adding a pinch of cinnamon or nutmeg can bring in a cozy twist.
Variations & Adaptations
This recipe is a great base for customization. Here are a few variations I’ve tried:
- Gluten-Free: Swap all-purpose flour with almond flour or gluten-free oat flour. The texture changes slightly but stays deliciously chewy.
- Nut-Free: Omit nuts and use sunflower seed butter instead of butter for a safe option. You might want to add a little extra honey for binding.
- Seasonal Twist: In fall, add pumpkin pie spice and swap chocolate chips for white chocolate chunks. It’s unexpected but fantastic.
- Extra Protein: Mix in a scoop of vanilla protein powder with the dry ingredients to make these bars more filling.
- Vegan Adaptation: Replace butter with coconut oil and honey with maple syrup. The texture remains chewy and the flavor is subtly different but just as good.
Once, I tried adding shredded coconut and chopped dried mango, which gave the bars a tropical flair. Not traditional, but tasty for a change. If you’re into experimenting, these bars are forgiving enough to handle your tweaks.
Serving & Storage Suggestions
These chewy homemade chocolate chip granola bars are best served at room temperature. They hold their shape well, making them perfect for packing in lunchboxes or taking on hikes. For a little extra fun, try warming one briefly in the microwave (about 10 seconds) — it’s like a soft cookie with melty chocolate.
They pair nicely with a glass of milk, a cup of coffee, or even a refreshing iced tea. For breakfast, serve alongside fresh fruit or a dollop of yogurt for a well-rounded start to your day.
Store the bars in an airtight container at room temperature for up to 5 days. For longer storage, wrap individually in plastic wrap and freeze for up to 3 months. To thaw, leave at room temperature or warm gently in the microwave.
Flavors actually deepen with a day or two of resting, so if you can wait, the bars get even better. It’s like they get to know each other a little more while hanging out in the container.
Nutritional Information & Benefits
Per bar (based on 12 bars): Approximately 150 calories, 5g fat, 22g carbohydrates, 2g protein.
These bars bring a good dose of whole grain from oats, which are great for sustained energy and heart health. The natural sweetness from honey and brown sugar keeps added refined sugars moderate. Plus, the mini chocolate chips add a mood-boosting touch without overwhelming the nutritional profile.
They’re not just tasty; they’re a practical snack that works with many dietary needs. You can adapt them gluten-free or vegan as mentioned above. Just watch for nut allergies if you decide to add nuts.
From my wellness perspective, these bars are a solid middle ground — homemade, wholesome, and satisfying without feeling like a guilty indulgence.
Conclusion
Easy chewy homemade chocolate chip granola bars make a snack that’s as reliable as your favorite sweater — comfortable, familiar, and exactly what you want when hunger strikes. They come together quickly, with no drama, using ingredients you already trust and love.
Feel free to make this recipe your own, whether that means swapping ingredients or adding your favorite mix-ins. I love these bars because they’re just right — chewy, sweet, and a little bit nostalgic without trying too hard.
If you try them, I’d love to hear how you mix it up or what snack moments they fuel for you. Sharing your stories always makes cooking feel more like a conversation than a checklist.
Here’s to homemade snacks that stick with you.
FAQs
Can I use quick oats instead of rolled oats?
Quick oats can work, but the texture will be less chewy and more crumbly. Rolled oats give the best chew and structure.
How do I keep the bars from falling apart?
Make sure to press the mixture firmly into the pan before baking and allow the bars to cool completely before cutting.
Can I replace chocolate chips with something else?
Absolutely! Try dried fruit, nuts, or white chocolate chips for a different flavor profile.
How should I store these granola bars?
Store at room temperature in an airtight container for up to 5 days or freeze for longer storage.
Are these granola bars suitable for kids?
Yes, these bars are a kid-friendly snack with manageable sweetness and chewy texture that most children enjoy.
By the way, if you’re interested in other easy treats, you might enjoy the mini lemon blueberry cheesecakes recipe perfect for parties. They’re just as straightforward and crowd-pleasing as these granola bars.
For more homemade snack ideas, check out the full recipe collection on the site.
Pin This Recipe!
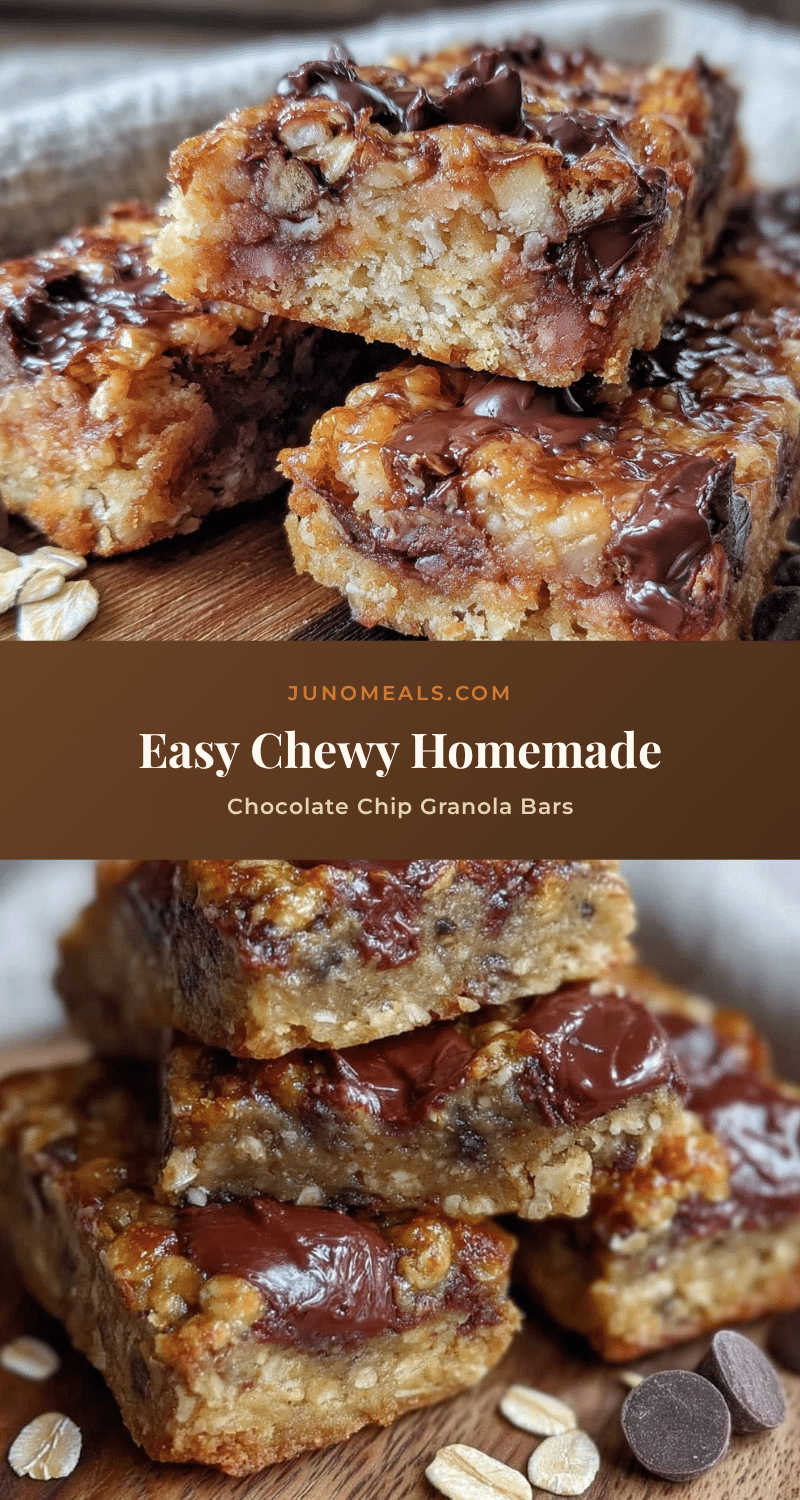
Easy Chewy Homemade Chocolate Chip Granola Bars
These chewy homemade chocolate chip granola bars are quick, easy, and made with simple pantry staples. Perfect for a healthy snack with a perfect balance of chocolate and wholesome oats.
- Prep Time: 10 minutes
- Cook Time: 20 minutes
- Total Time: 30 minutes
- Yield: 12 bars 1x
- Category: Snack
- Cuisine: American
Ingredients
- 2 cups (180g) old-fashioned rolled oats
- 1/2 cup (65g) all-purpose flour (can substitute almond flour for gluten-free)
- 1/3 cup (70g) brown sugar
- 1/3 cup (113g) honey (can substitute maple syrup)
- 1/4 cup (57g) unsalted butter, melted
- 1 teaspoon vanilla extract
- 1/2 teaspoon baking powder
- 1/4 teaspoon salt
- 3/4 cup (130g) mini semi-sweet chocolate chips
- Optional: chopped nuts (walnuts or pecans)
- Optional: dried cranberries or raisins
Instructions
- Preheat your oven to 350°F (175°C). Line an 8×8-inch baking pan with parchment paper, leaving some overhang for easy removal.
- In a large bowl, combine rolled oats, all-purpose flour, brown sugar, baking powder, and salt. Stir to mix evenly.
- In a separate small bowl, whisk together honey, melted unsalted butter (warm, not hot), and vanilla extract.
- Slowly add the wet mixture to the dry ingredients, stirring gently until just combined. Fold in the mini chocolate chips, reserving a few to sprinkle on top if desired.
- Press the mixture firmly and evenly into the prepared baking pan using a spatula or lightly greased hands.
- Optionally, sprinkle extra chocolate chips on top and press lightly.
- Bake for 18-22 minutes until edges are golden but the center is still soft. Do not overbake.
- Cool completely in the pan at room temperature for at least 30 minutes before lifting out using the parchment overhang.
- Cut into 12 even bars using a sharp knife, wiping the knife between slices for cleaner cuts.
- Store in an airtight container at room temperature for up to 5 days or freeze for up to 3 months.
Notes
Press the mixture firmly into the pan before baking to prevent crumbling. Allow bars to cool completely before cutting for best chewy texture. Use mini chocolate chips for even distribution. Warm honey slightly if too thick for easier mixing. Optional add-ins include nuts, dried fruit, or protein powder. For gluten-free, substitute almond or gluten-free oat flour. For vegan, replace butter with coconut oil and honey with maple syrup.
Nutrition
- Serving Size: 1 bar
- Calories: 150
- Sugar: 10
- Sodium: 70
- Fat: 5
- Saturated Fat: 3
- Carbohydrates: 22
- Fiber: 2
- Protein: 2
Keywords: granola bars, chocolate chip, chewy granola bars, homemade snacks, healthy snacks, easy granola bars


