That first bite of dry, sad chicken on a Tuesday afternoon — the kind that sticks to the roof of your mouth and makes you question every life choice that led to this moment — still haunts me. I was standing over my desk, fork hovering over a Tupperware container that had promised so much on Sunday night. The rice was clumpy. The broccoli was a distant memory of green. And the chicken? Let’s just say it had seen better days around the same time I’d last done laundry. I almost ordered takeout right then and there. But something stopped me — the memory of my grandmother’s kitchen, where everything smelled like garlic and possibility, where leftovers were never an afterthought but a second chance at something delicious.
That week, I swore I’d figure out how to make easy meal prep chicken and rice bowls for 5 days that actually tasted good on day five. Not just edible. Good. The kind of good that makes you look forward to lunch instead of dreading it. I tested batches, tweaked marinades, and learned the hard way that some vegetables turn into sad little sponges after three days in the fridge. But I also discovered that with a few smart tricks — a little acid in the rice, a marinade that doubles as a flavor shield, and vegetables that hold their own — you can build bowls that stay vibrant from Monday through Friday.
These easy 5-day meal prep chicken and rice bowls aren’t just about saving time. They’re about giving yourself the gift of a good lunch, even when life gets chaotic. No more sad desk lunches. No more impulse takeout. Just honest, flavorful food waiting for you when you need it most.
Why You’ll Love These Easy 5-Day Meal Prep Chicken and Rice Bowls
After years of trial and error — and more than a few mediocre meal prep experiments — I can honestly say these bowls are different. They’re the result of testing every combination of ingredients, temperatures, and storage methods until I found what actually works for a full work week.
- Stays Fresh All Week : The secret is in the layering and the marinade. The chicken stays juicy, the rice stays fluffy, and the vegetables keep their texture even on day five. No more throwing out half-eaten containers on Thursday.
- No Fancy Ingredients : Everything comes from a regular grocery store. No trips to specialty markets or ordering obscure spices online. You probably have most of this stuff in your kitchen right now.
- Perfect for Busy Weeks : Sunday afternoon prep means you’re set for the entire work week. Grab and go. No thinking required when you’re running late or exhausted after a long day.
- Customizable for Everyone : My husband loves his with extra hot sauce. My sister swaps the broccoli for bell peppers. My neighbor makes it with quinoa instead of rice. It’s a template, not a rigid recipe.
- Actually Delicious : This isn’t bland diet food. The marinade infuses the chicken with so much flavor that you’ll actually look forward to lunch. The rice gets a brightness from lemon juice that makes it taste freshly made.
What makes these bowls different from every other meal prep recipe out there? It’s the combination of a yogurt-based marinade that tenderizes the chicken without making it mushy, a rice cooking method that prevents clumping even after refrigeration, and vegetable choices that don’t turn into sad, watery versions of themselves. I’ve tested this with dozens of friends and family members, and the feedback is always the same — “I can’t believe this is meal prep.”
Honestly, this recipe became a staple in my kitchen because it solved a real problem. I was tired of wasting food, tired of spending money on mediocre takeout, and tired of feeling like I had to choose between convenience and quality. These bowls give you both. And that’s something worth sharing.
What Ingredients You Will Need
This recipe relies on simple, wholesome ingredients that work together to create bowls that taste fresh all week long. The magic isn’t in exotic ingredients — it’s in how they’re prepared and combined.
For the Chicken Marinade
- 2 pounds boneless, skinless chicken breasts or thighs (about 900g) — I prefer thighs for meal prep because they stay juicier after reheating, but breasts work beautifully too if you don’t overcook them
- 1/2 cup plain Greek yogurt (120ml) — the yogurt tenderizes the chicken without making it soggy; I use full-fat for best results, but 2% works fine
- 2 tablespoons olive oil (30ml) — helps the marinade coat evenly and adds richness
- 3 cloves garlic, minced — fresh is non-negotiable here; the flavor difference is massive
- 1 tablespoon smoked paprika — adds that deep, almost bacon-like flavor that makes the bowls so satisfying
- 1 teaspoon ground cumin — warm and earthy, it pairs beautifully with the paprika
- 1 teaspoon onion powder — adds savory depth without being overpowering
- 1/2 teaspoon salt — don’t skimp; it’s essential for flavor
- 1/4 teaspoon black pepper — freshly ground if you have it
- Juice of 1 lemon — brightens everything and helps tenderize the chicken
For the Rice
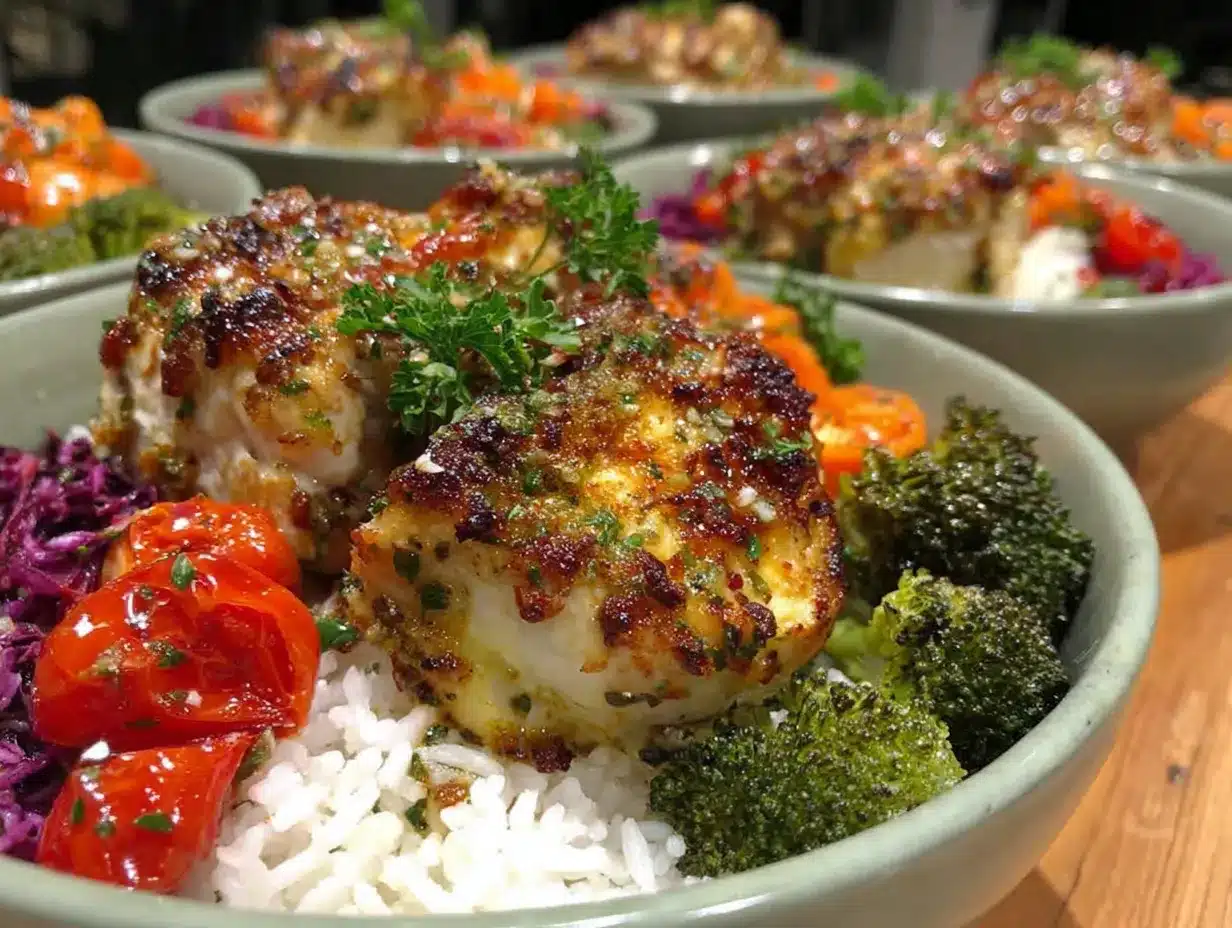
- 2 cups long-grain white rice (400g) — basmati or jasmine work best; they stay fluffy and separate even after refrigeration
- 3 cups water (720ml) — the ratio matters; too much water makes mushy rice that clumps
- 1 tablespoon olive oil (15ml) — helps keep grains separate
- 1 teaspoon salt — seasons the rice from the inside out
- Juice of 1/2 lemon — this is my secret trick; it keeps the rice tasting fresh for days
For the Vegetables
- 2 cups broccoli florets (about 200g) — they hold up better than you’d think; just don’t overcook them
- 1 large red bell pepper, sliced — adds sweetness and crunch
- 1 large carrot, julienned or thinly sliced — stays crisp and adds color
- 1 cup cherry tomatoes, halved (about 150g) — add these fresh on day-of for best texture; store separately
For Serving (Optional but Recommended)
- Fresh cilantro or parsley — brightens every bowl
- Lime wedges — a squeeze right before eating makes everything pop
- Hot sauce or sriracha — for those who like heat
- Avocado slices — add fresh on day-of; they don’t store well pre-sliced
I’ve tested this with different brands and can tell you that the type of yogurt matters more than you’d think. I prefer Fage or Stonyfield for their thickness — the runny Greek yogurts don’t coat the chicken as well. For the rice, I’ve had great results with both Lundberg and generic store brands, so don’t feel pressured to buy expensive rice.
If you’re looking to mix things up, you can easily swap the broccoli for green beans or asparagus, or use quinoa instead of rice for a higher-protein option. Just note that quinoa needs a different water ratio — 2 cups quinoa to 4 cups water.
Equipment Needed
You don’t need a professional kitchen to make these bowls. Here’s what you’ll actually use:
- Large baking sheet or sheet pan — for roasting the chicken and vegetables; I use a half-sheet pan (18×13 inches) and it fits everything perfectly
- Medium saucepan with lid — for cooking the rice; a heavy-bottomed pot works best to prevent burning
- Mixing bowls — one large for the marinade, one medium for the rice
- Sharp knife and cutting board — a good chef’s knife makes prep so much faster
- Measuring cups and spoons — for accuracy, especially with the marinade
- 5 meal prep containers — glass containers with tight-fitting lids are ideal; they don’t absorb odors and microwave safely
- Tongs — for flipping the chicken halfway through cooking
- Instant-read thermometer — honestly, this is the best investment you can make for perfect chicken every time
If you don’t have a sheet pan, a 9×13 baking dish works fine — just make sure the chicken pieces aren’t touching. No instant-read thermometer? You can check doneness by cutting into the thickest piece; the juices should run clear and there should be no pink inside. But trust me, the thermometer is worth the $12.
Preparation Method
Let me walk you through this step by step. I’ve organized it so you can do everything efficiently without feeling overwhelmed.
Step 1: Marinate the Chicken (15 minutes active, 30 minutes to 4 hours inactive)
In a large mixing bowl, combine the Greek yogurt, olive oil, minced garlic, smoked paprika, cumin, onion powder, salt, pepper, and lemon juice. Whisk until smooth and well combined — it should look like a thick, creamy sauce. Cut your chicken into even pieces — I aim for 5-6 ounce portions, roughly the size of your palm. Add the chicken to the marinade and toss until every piece is fully coated. Cover the bowl with plastic wrap and refrigerate for at least 30 minutes. Overnight is even better — the flavors really penetrate the meat. If you’re in a hurry, 15 minutes will still give you decent flavor, but don’t skip the marinade entirely.
Step 2: Cook the Rice (20 minutes)
While the chicken marinates, rinse your rice in a fine-mesh strainer under cold running water until the water runs clear — this removes excess starch and prevents clumping. In a medium saucepan, combine the rinsed rice, water, olive oil, and salt. Bring to a boil over high heat, then reduce the heat to low, cover with a tight-fitting lid, and simmer for 15 minutes. After 15 minutes, remove the pan from heat and let it sit, covered, for another 5 minutes. Fluff the rice with a fork and stir in the lemon juice. Spread the rice on a baking sheet to cool slightly — this stops the cooking process and prevents it from becoming mushy. You want the rice to be at room temperature before assembling the bowls.
Step 3: Roast the Chicken (20-25 minutes)
Preheat your oven to 400°F (200°C). Line a baking sheet with parchment paper or aluminum foil for easy cleanup. Remove the chicken from the marinade, letting any excess drip off, and place the pieces on the prepared baking sheet in a single layer — don’t overcrowd. Roast for 20-25 minutes, flipping halfway through, until the internal temperature reaches 165°F (74°C) on an instant-read thermometer. The chicken should be golden brown on the outside and juicy on the inside. Let it rest on the baking sheet for 5 minutes before slicing. This resting period is crucial — it lets the juices redistribute so the meat stays moist.
Step 4: Prepare the Vegetables (10 minutes)
While the chicken rests, toss the broccoli florets and sliced bell pepper with a tablespoon of olive oil and a pinch of salt. Spread them on a separate baking sheet and roast at 400°F (200°C) for 8-10 minutes, just until the broccoli is bright green and tender-crisp. You want some char on the edges but not mushy vegetables. The carrot slices can be added raw — they add a nice crunch that contrasts with the softer elements. If you’re using cherry tomatoes, don’t roast them; add them fresh when you’re ready to eat.
Step 5: Slice the Chicken (5 minutes)
Once the chicken has rested, slice it against the grain into strips or cubes. Against the grain is important — it breaks up the muscle fibers and makes the meat more tender. If you’re using chicken thighs, you’ll notice they’re naturally more forgiving and stay juicy even after reheating.
Step 6: Assemble the Bowls (10 minutes)
Divide the cooled rice evenly among your 5 containers — about 3/4 cup per bowl. Top each with sliced chicken, roasted broccoli and bell pepper, raw carrot slices, and any other vegetables you’re using. If you’re adding fresh tomatoes, store them separately and add them on the day you eat each bowl. This keeps them from making everything soggy.
Step 7: Cool and Store (30 minutes)
Let the assembled bowls cool completely at room temperature — about 30 minutes. Don’t skip this step. Putting warm containers in the fridge creates condensation, which leads to soggy food and potential spoilage. Once cooled, cover with lids and refrigerate. Your bowls are ready for the week.
Cooking Tips & Techniques
After making these bowls dozens of times, I’ve learned a few things the hard way. Here are my best tips for guaranteed success:
Don’t skip the yogurt marinade. I know it seems like an extra step, but it’s the difference between dry, stringy chicken and juicy, flavorful chicken. The enzymes in the yogurt gently break down the proteins, making the meat more tender. I once tried skipping it when I was short on time, and the chicken was noticeably drier by Wednesday.
Cook the chicken to 160°F, not 165°F. Here’s a secret most food bloggers won’t tell you — carryover cooking will bring the temperature up another 5 degrees while the chicken rests. If you pull it at 165°F, it’ll end up at 170°F, which is overcooked. Aim for 160°F and let it rest. This changed my chicken game completely.
Cool everything before assembling. This is the most common mistake I see in meal prep. Warm ingredients create steam inside the containers, which turns into moisture that makes everything soggy. I learned this after a week of sad, wet rice and limp vegetables. Let each component cool to room temperature before layering.
Layer strategically. Put the rice on the bottom, then the chicken, then the heartier vegetables like broccoli and peppers. Delicate items like fresh herbs or avocado should be stored separately and added right before eating. This prevents sogginess and keeps textures distinct.
Use a microwave-safe container. Glass containers with plastic lids are my go-to. They heat evenly in the microwave and don’t absorb odors like plastic can. If you’re reheating in a microwave, add a splash of water or chicken broth before reheating — it creates steam that revives the rice and chicken.
Variations & Adaptations
One of the best things about this recipe is how adaptable it is. Here are some variations I’ve tried and loved:
Low-Carb Version: Swap the rice for cauliflower rice or extra roasted vegetables. I’ve made this with riced cauliflower and it works surprisingly well — just sauté it briefly before adding to the bowls to remove excess moisture. The chicken and vegetables are already low-carb friendly.
Spicy Southwest Style: Add a teaspoon of chipotle powder to the marinade, swap the broccoli for black beans and corn, and top with fresh salsa and avocado. This version is so good that my husband requests it every other week. The beans add fiber and protein, making it even more filling.
Asian-Inspired Twist: Replace the smoked paprika and cumin with ginger, soy sauce, and sesame oil in the marinade. Use jasmine rice and add edamame and shredded carrots. A drizzle of sriracha and a sprinkle of sesame seeds finishes it perfectly. This variation keeps well because the ginger and soy act as natural preservatives.
Mediterranean Bowl: Marinate the chicken with oregano, lemon, and garlic instead of the spice blend. Swap the broccoli for roasted zucchini and bell peppers, and add crumbled feta cheese and Kalamata olives before serving. This version is bright and fresh, perfect for warmer months.
Vegetarian Option: Replace the chicken with chickpeas or firm tofu. Marinate them the same way and roast until golden. The chickpeas get wonderfully crispy on the outside while staying creamy inside. This version is surprisingly filling and has become a favorite among my vegetarian friends.
Serving & Storage Suggestions
These bowls are designed to be eaten cold or reheated, depending on your preference. Here’s how to get the best experience from each bowl:
Serving Temperature: I prefer these bowls reheated — about 2 minutes in the microwave, stirring halfway through. If you’re eating them cold, let them sit at room temperature for 10 minutes first. The flavors actually meld together beautifully over time, so day three is often my favorite.
Storage: Keep the bowls in the refrigerator for up to 5 days. Don’t freeze them — the rice gets grainy and the vegetables turn mushy when thawed. If you want to prep for longer, freeze the chicken separately and make fresh rice and vegetables when you’re ready.
Reheating: For best results, remove the lid and microwave for 1 minute, stir, then microwave for another 30-60 seconds. Add a splash of water or broth if the rice seems dry. If you have access to an oven or toaster oven, reheating at 350°F for 10 minutes gives you slightly crisper edges on the chicken.
How Flavors Develop: Here’s something interesting — the flavors actually get better after a day or two. The marinade continues to penetrate the chicken, and the spices meld together. By Wednesday, the bowls taste more cohesive and balanced. I’ve actually started making these on purpose for Monday because I know Tuesday and Wednesday will be even better.
What to Serve With Them: These bowls are complete meals on their own, but if you want to round things out, add a simple side salad with lemon vinaigrette or a piece of crusty bread. A handful of fresh spinach on the side adds extra greens without much effort.
Nutritional Information & Benefits
Each bowl (using chicken breast, white rice, and the listed vegetables) contains approximately:
- Calories: 450-500
- Protein: 35-40g
- Carbohydrates: 45-50g
- Fat: 12-15g
- Fiber: 5-7g
These numbers make these bowls an excellent option for balanced eating. The high protein content keeps you full for hours, while the complex carbohydrates from the rice provide steady energy. The vegetables add fiber, vitamins, and antioxidants — broccoli is packed with vitamin C and fiber, bell peppers are rich in vitamin A, and carrots provide beta-carotene.
If you’re watching your sodium, reduce the salt in the marinade and rice, and use low-sodium chicken broth instead of water for the rice. The recipe is naturally gluten-free as written, but always check your spice blends for hidden gluten if that’s a concern.
I personally appreciate that this recipe supports a balanced lifestyle without being restrictive. It’s not about deprivation — it’s about having nourishing food ready when you need it. And honestly, knowing I have a healthy lunch waiting for me makes it easier to resist the vending machine on stressful days.
Conclusion
These easy 5-day meal prep chicken and rice bowls are more than just a recipe — they’re a solution to the “what’s for lunch” problem that plagues so many of us. They’re proof that meal prep doesn’t have to be boring, dry, or disappointing. With a little planning and a few smart techniques, you can have delicious, satisfying lunches ready for an entire work week.
I’ve shared this recipe with friends, family, and even coworkers, and the response is always the same — “I can’t believe I didn’t try this sooner.” The best part is that once you master the basic formula, you can customize it endlessly based on what you have in your fridge or what you’re craving. It’s a template, not a rigid rulebook.
I’d love to hear how these bowls work for you. Do you have a favorite variation? Did you discover a vegetable that holds up better than expected? Drop a comment below and share your experience. And if you found this helpful, share it with a friend who’s tired of sad desk lunches too. Here’s to a week of good eating!
Frequently Asked Questions
Can I use frozen chicken for this recipe?
Yes, but thaw it completely in the refrigerator first — usually 24 hours. Pat it dry with paper towels before marinating to remove excess moisture. Frozen chicken holds more water, which can dilute the marinade and lead to steaming instead of roasting.
How do I keep the rice from getting hard in the fridge?
The lemon juice and olive oil in the rice help keep it soft. Also, make sure the rice is completely cool before sealing the containers. If your rice does get hard, add a splash of water before reheating and cover with a damp paper towel — the steam will soften it right up.
Can I use brown rice instead of white rice?
Absolutely. Brown rice has more fiber and nutrients, but it takes longer to cook — about 40-45 minutes. Use 2 cups brown rice to 3 1/2 cups water. Brown rice holds up even better to refrigeration than white rice, making it an excellent choice for meal prep.
What other vegetables work well for 5-day meal prep?
Green beans, snap peas, zucchini (cut into thick slices), and asparagus all hold up well. Avoid watery vegetables like cucumbers, mushrooms, or zucchini slices that are too thin — they release moisture and make everything soggy. Add delicate greens like spinach or arugula fresh each day.
Can I freeze these bowls for longer storage?
I don’t recommend freezing assembled bowls because the rice and vegetables lose their texture. If you want to prep for longer, freeze the cooked chicken separately in a freezer bag for up to 3 months. Thaw overnight in the refrigerator, then make fresh rice and vegetables when you’re ready to assemble.
Pin This Recipe!
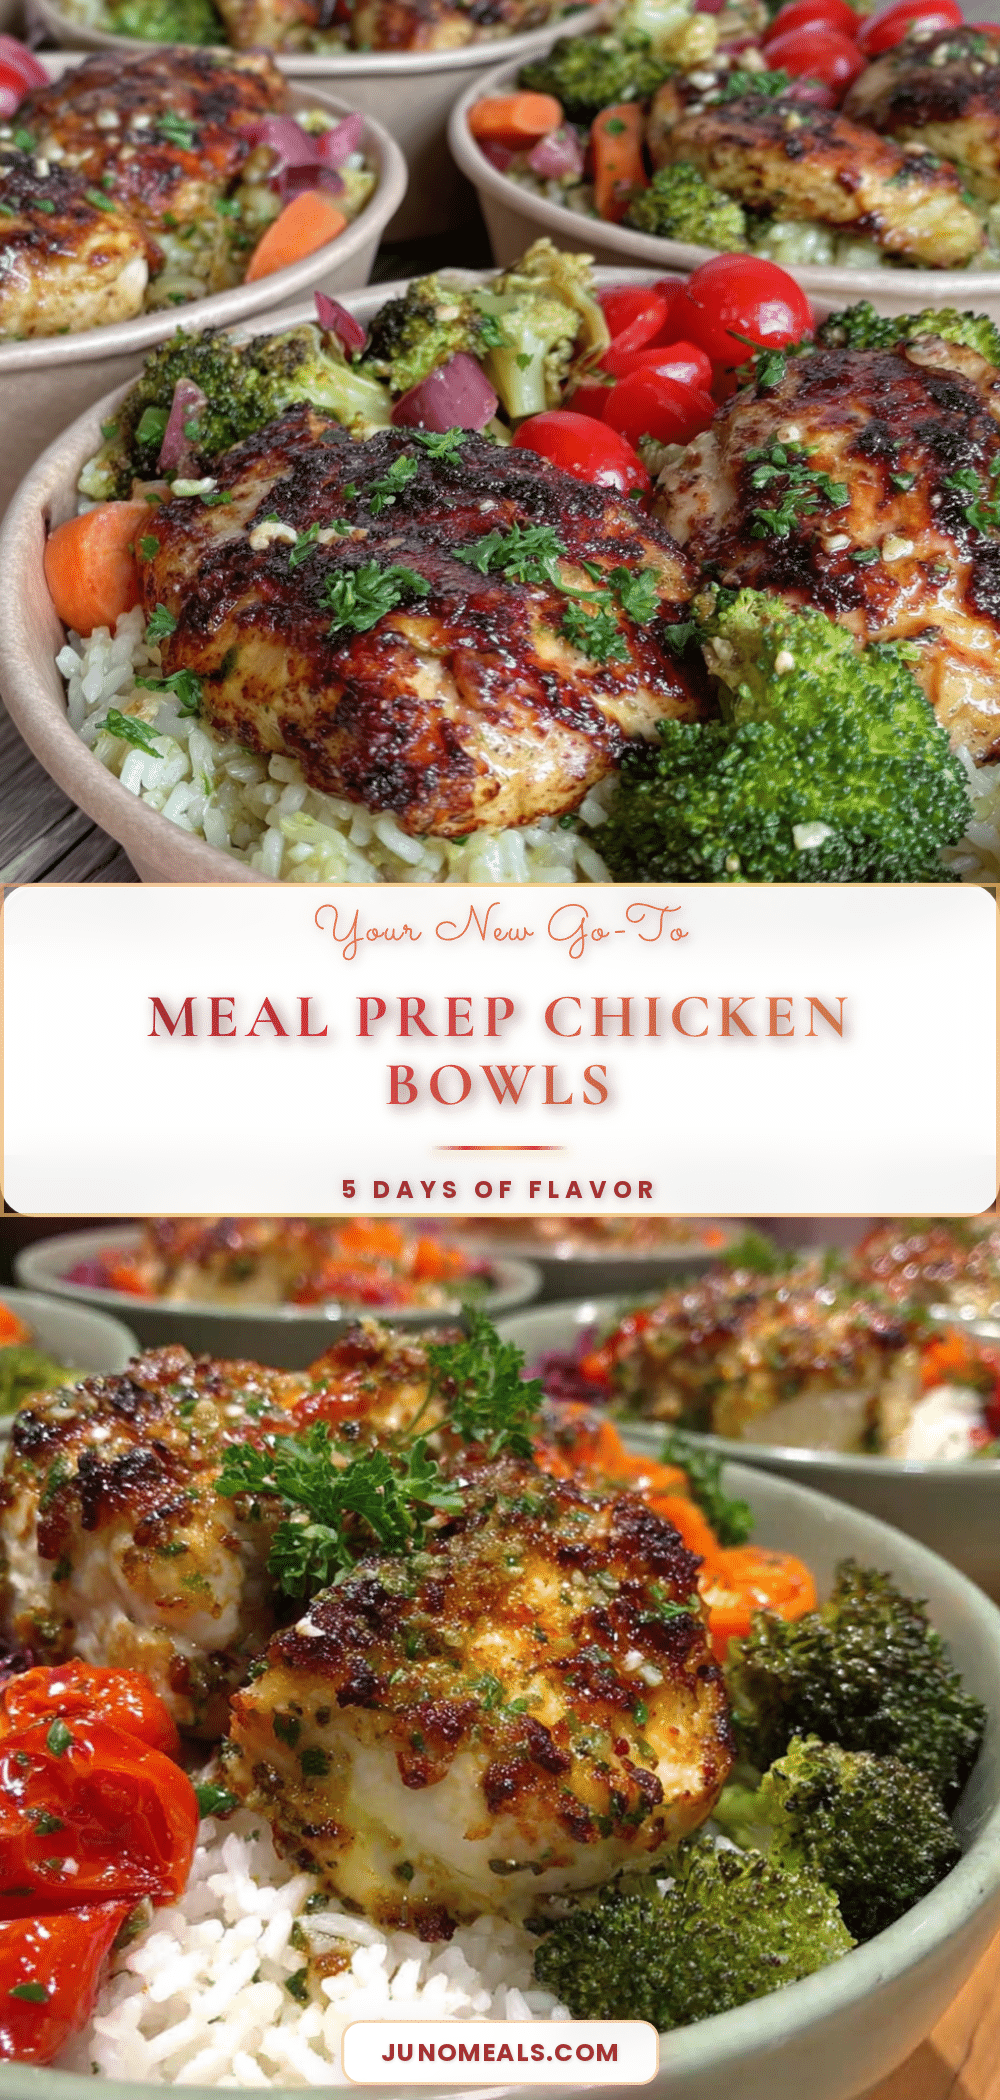
Easy 5-Day Meal Prep Chicken and Rice Bowls

These easy 5-day meal prep chicken and rice bowls are designed to stay fresh and delicious all week long. With a yogurt-based marinade, perfectly cooked rice, and hearty vegetables, they solve the problem of sad desk lunches.
- Prep Time: 15 minutes
- Cook Time: 30 minutes
- Total Time: 45 minutes
- Yield: 5 servings 1x
- Category: Main Course
- Cuisine: American
Ingredients
- 2 pounds boneless, skinless chicken breasts or thighs (about 900g)
- 1/2 cup plain Greek yogurt (120ml)
- 2 tablespoons olive oil (30ml)
- 3 cloves garlic, minced
- 1 tablespoon smoked paprika
- 1 teaspoon ground cumin
- 1 teaspoon onion powder
- 1/2 teaspoon salt
- 1/4 teaspoon black pepper
- Juice of 1 lemon
- 2 cups long-grain white rice (400g)
- 3 cups water (720ml)
- 1 tablespoon olive oil (15ml)
- 1 teaspoon salt
- Juice of 1/2 lemon
- 2 cups broccoli florets (about 200g)
- 1 large red bell pepper, sliced
- 1 large carrot, julienned or thinly sliced
- 1 cup cherry tomatoes, halved (about 150g)
- Fresh cilantro or parsley (optional)
- Lime wedges (optional)
- Hot sauce or sriracha (optional)
- Avocado slices (optional)
Instructions
- In a large mixing bowl, combine Greek yogurt, olive oil, minced garlic, smoked paprika, cumin, onion powder, salt, pepper, and lemon juice. Whisk until smooth.
- Cut chicken into even pieces (5-6 ounce portions). Add to marinade and toss to coat. Cover and refrigerate for at least 30 minutes (up to overnight).
- Rinse rice in a fine-mesh strainer under cold water until water runs clear. In a medium saucepan, combine rinsed rice, water, olive oil, and salt. Bring to a boil, then reduce heat to low, cover, and simmer for 15 minutes. Remove from heat and let sit covered for 5 minutes. Fluff with a fork and stir in lemon juice. Spread on a baking sheet to cool.
- Preheat oven to 400°F (200°C). Line a baking sheet with parchment paper. Remove chicken from marinade, letting excess drip off, and place in a single layer on the baking sheet. Roast for 20-25 minutes, flipping halfway, until internal temperature reaches 165°F (74°C). Let rest for 5 minutes before slicing.
- While chicken rests, toss broccoli florets and sliced bell pepper with 1 tablespoon olive oil and a pinch of salt. Spread on a separate baking sheet and roast at 400°F (200°C) for 8-10 minutes until tender-crisp.
- Slice rested chicken against the grain into strips or cubes.
- Divide cooled rice evenly among 5 containers (about 3/4 cup per bowl). Top with sliced chicken, roasted broccoli and bell pepper, raw carrot slices, and any other vegetables. Store cherry tomatoes separately and add fresh on the day of eating.
- Let assembled bowls cool completely at room temperature (about 30 minutes) before covering with lids and refrigerating.
Notes
Don’t skip the yogurt marinade; it tenderizes the chicken. Cook chicken to 160°F (carryover cooking will bring it to 165°F). Cool all components before assembling to prevent sogginess. Layer rice on bottom, then chicken, then hearty vegetables. Store delicate items like tomatoes and avocado separately and add fresh. For reheating, add a splash of water or broth and microwave for 2 minutes, stirring halfway.
Nutrition
- Serving Size: 1 bowl
- Calories: 475
- Sugar: 5
- Sodium: 600
- Fat: 14
- Saturated Fat: 3
- Carbohydrates: 48
- Fiber: 6
- Protein: 38
Keywords: meal prep, chicken and rice bowls, healthy lunch, easy meal prep, 5-day meal prep


