My friend asked why I couldn’t just use marshmallow creme instead of making fudge from scratch. I started to explain why that wouldn’t work—then stopped. I actually had no good reason. I’d just always done it the traditional way, with marshmallows and sugar and a candy thermometer that I secretly hated using. So I shrugged, grabbed the jar from her hand, and said, “Let’s find out.”
Honestly, I was fully prepared to scrape a sticky, grainy mess into the trash. But what came out of that saucepan was the creamiest, most melt-in-your-mouth fudge I’d ever made. No grainy texture. No sugar crystals ruining the party. Just pure, velvety chocolate fudge that set perfectly without any fuss. I stood there staring at the pan like I’d accidentally discovered fire.
That was three years ago, and I haven’t touched a candy thermometer since. This creamy old-fashioned marshmallow creme fudge is now my go-to for holiday gift boxes, last-minute dessert emergencies, and those quiet evenings when you just need a square of something indulgent. Maybe you’ve been there—staring at a complicated recipe, wondering if there’s a simpler way. There is. And it starts with that humble jar of marshmallow creme sitting in your pantry right now.
Why You’ll Love This Recipe
This isn’t just another fudge recipe. After testing this method more times than I care to admit—including one memorable batch where I forgot the vanilla and another where I used the wrong chocolate chips—I can confidently say this version wins every time. Here’s why this creamy old-fashioned marshmallow creme fudge deserves a permanent spot in your recipe collection:
- Only 3 Ingredients: Chocolate chips, sweetened condensed milk, and marshmallow creme. That’s it. No heavy cream, no corn syrup, no specialty baking chocolate.
- No Candy Thermometer Required: You don’t need to watch temperatures or worry about the soft-ball stage. This method is practically foolproof.
- Perfectly Creamy Texture: The marshmallow creme prevents sugar crystallization, giving you that silky, smooth fudge that melts on your tongue.
- Ready in Under 15 Minutes: From saucepan to pan in less time than it takes to preheat your oven. Seriously.
- Holiday Gift Hero: This fudge looks impressive, travels well, and everyone thinks you spent hours making it. Let them wonder.
What makes this recipe different is the texture. Traditional fudge can be finicky—one degree too hot and you get gritty fudge. One degree too cool and it never sets. The marshmallow creme acts as a stabilizer, giving you that perfect fudge texture without the stress. It’s comfort food reimagined: faster, easier, but with the same soul-soothing satisfaction that makes you close your eyes after the first bite.
What Ingredients You Will Need
This recipe uses simple, pantry-friendly ingredients to deliver bold chocolate flavor and that signature creamy texture. Each ingredient plays a specific role, so here’s what to look for and why it matters.
- Semi-Sweet Chocolate Chips (3 cups): I recommend Ghirardelli or Guittard for the best melt and flavor. Semi-sweet strikes the perfect balance—not too bitter, not too sweet. If you prefer a darker fudge, use bittersweet chips instead. Avoid chocolate bars here; chips are formulated to melt smoothly and hold their structure.
- Sweetened Condensed Milk (14 ounces, one can): This is not the same as evaporated milk. Sweetened condensed milk is thick, sweet, and provides the base for your fudge. It adds richness and helps the fudge set properly. Look for brands like Eagle Brand or Borden. For a dairy-free version, use a coconut-based sweetened condensed milk—it works beautifully.
- Marshmallow Creme (7 ounces, one jar): This is your secret weapon. Marshmallow creme (also called marshmallow fluff) prevents sugar crystals from forming, which is what gives fudge that grainy texture. I use Jet-Puffed, but any brand works. Do not substitute with whole marshmallows—the texture will be different and less reliable.
- Vanilla Extract (1 teaspoon, optional but recommended): A good-quality vanilla rounds out the chocolate flavor. I use Nielsen-Massey, but any pure vanilla extract works. Avoid imitation vanilla if possible—it has a harsh aftertaste that stands out in such a simple recipe.
- Pinch of Salt (optional): A tiny pinch of flaky sea salt (like Maldon) sprinkled on top before the fudge sets enhances the chocolate flavor. This is entirely optional but highly recommended if you enjoy that sweet-salty combo.
For the chocolate chips, I’ve tested this with milk chocolate and it comes out much sweeter—almost candy-like. Dark chocolate chips (60-70% cacao) create a more sophisticated fudge that pairs beautifully with the marshmallow creme’s sweetness. Choose based on your preference, but semi-sweet is the Goldilocks option that pleases most crowds.
Equipment Needed
You don’t need a fancy kitchen to make this creamy old-fashioned marshmallow creme fudge. Here’s what you’ll actually use:
- Medium Saucepan (2-3 quart): Heavy-bottomed is best for even heat distribution. I use my trusty Calphalon, but any sturdy saucepan works. Avoid thin pans that create hot spots.
- Wooden Spoon or Silicone Spatula: You need something that can handle stirring thick, sticky fudge without scratching your pan. A silicone spatula is my preference because it scrapes the sides clean.
- 8×8 Inch Baking Pan: Glass or metal both work. Line it with parchment paper or foil, leaving overhang on two sides for easy lifting. If you only have a 9×9 pan, your fudge will be slightly thinner but still delicious.
- Sharp Knife: A chef’s knife works best for cutting clean squares. Run it under hot water and dry it between cuts for the neatest edges.
- Measuring Cups and Spoons: For the vanilla and chocolate chips. The marshmallow creme and condensed milk come pre-measured in their containers.
Budget-friendly tip: If you don’t have parchment paper, grease your pan thoroughly with butter and dust it with cocoa powder. The fudge will release more easily than you’d expect.
Preparation Method
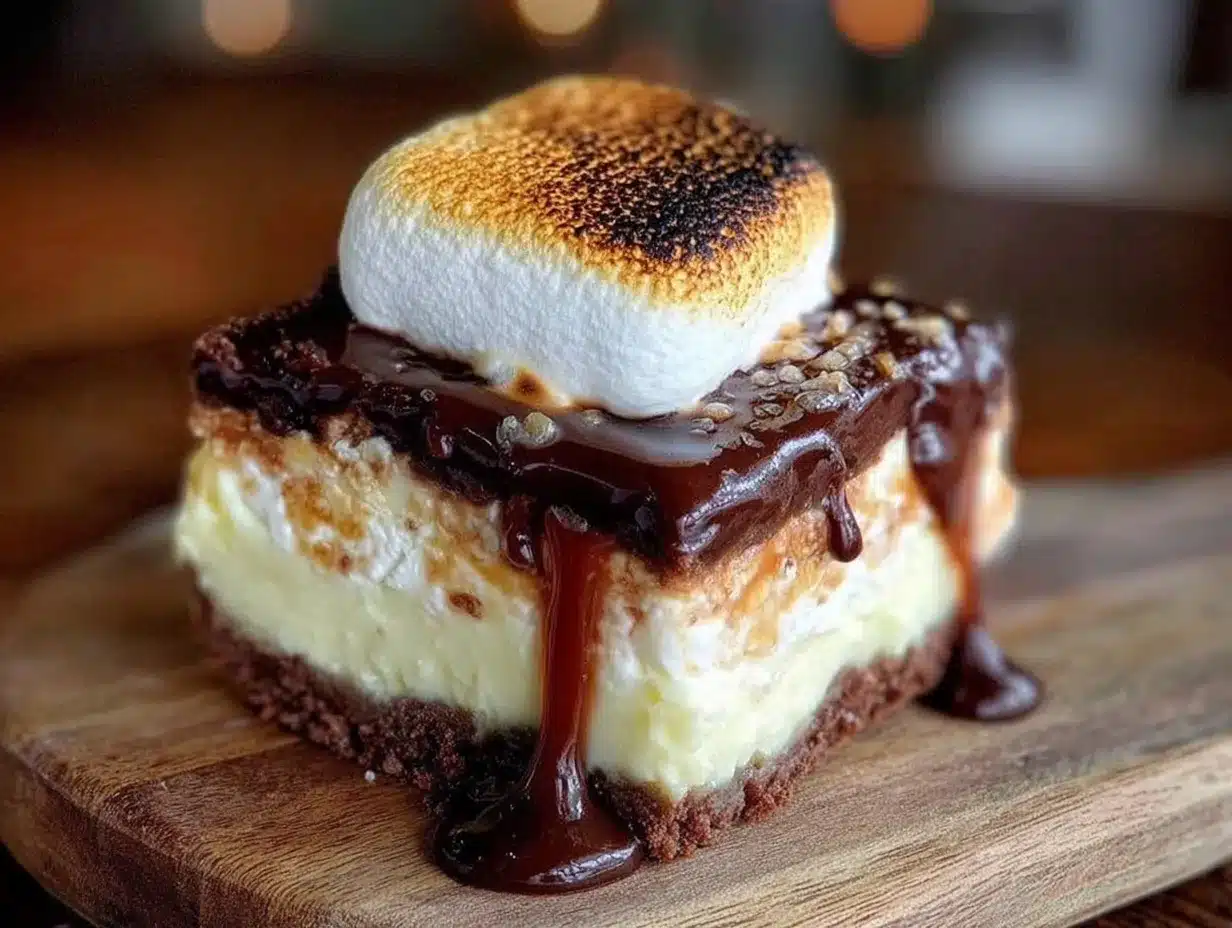
This is the easiest fudge you’ll ever make. Follow these steps carefully, and you’ll have perfect fudge every single time.
- Prepare your pan. Line an 8×8 inch baking pan with parchment paper or aluminum foil, leaving about 2 inches of overhang on two opposite sides. This creates “handles” for lifting the fudge out later. Set the pan aside.
- Combine the base ingredients. In a medium saucepan over low heat, combine the 3 cups of semi-sweet chocolate chips and the full can (14 ounces) of sweetened condensed milk. Stir constantly with your wooden spoon or silicone spatula. This is important—don’t walk away. Low heat prevents the chocolate from scorching.
- Melt until smooth. Keep stirring as the chocolate chips soften and blend with the condensed milk. This takes about 4-5 minutes. The mixture will look thick and slightly grainy at first, then suddenly become smooth and glossy. When you see that glossy sheen, you’re ready for the next step. The mixture should be warm but not bubbling.
- Add the marshmallow creme. Remove the saucepan from the heat. Add the entire 7-ounce jar of marshmallow creme. Stir vigorously until the marshmallow creme is completely incorporated and the mixture is smooth. This takes about 1-2 minutes of steady stirring. Don’t rush this step—streaks of marshmallow creme mean uneven texture.
- Finish with vanilla. Stir in 1 teaspoon of vanilla extract and a pinch of salt if using. The vanilla will smell amazing as it hits the warm fudge. Stir just until combined.
- Transfer to the pan. Pour the fudge mixture into your prepared pan. Use your spatula to spread it evenly into all corners. The fudge will be thick and slightly sticky—that’s normal. Tap the pan gently on the counter a few times to release any air bubbles.
- Let it set. Allow the fudge to cool at room temperature for about 1 hour, then refrigerate for at least 2 hours until firm. For the cleanest slices, refrigerate for 4 hours or overnight. The fudge should be firm to the touch but still creamy when you cut into it.
- Cut and serve. Lift the fudge out of the pan using the parchment overhang. Place it on a cutting board. Use a sharp knife to cut into 1-inch squares. Wipe the knife clean between cuts for neat edges.
One thing I learned the hard way: if your fudge seems too soft after refrigeration, don’t panic. Let it sit at room temperature for 5-10 minutes before cutting. Sometimes the cold makes it seem harder than it actually is.
Cooking Tips & Techniques
After making this fudge more times than I can count—including that disastrous batch where I used milk chocolate and ended up with something closer to caramel—I’ve gathered some tips that make a real difference.
Low heat is your friend. I cannot stress this enough. High heat will scorch the chocolate and condensed milk, leaving you with a bitter, grainy mess. If you’re impatient like me, remind yourself that low heat takes 5 minutes instead of 2, but the result is infinitely better. I once cranked the heat to “medium” because I was in a hurry, and the fudge had a weird, burnt edge that I had to trim off.
Stir constantly, but gently. You’re not trying to whip air into the fudge—you’re just keeping it moving so nothing sticks to the bottom. A gentle, steady stir is all you need. Over-stirring can actually cause the fudge to become grainy as sugar crystals form.
Don’t skip the marshmallow creme. I know it seems like an extra step, but it’s the key to that creamy texture. The marshmallow creme contains corn syrup and stabilizers that prevent sugar crystals from forming. Without it, you’d need to use a candy thermometer and watch the temperature like a hawk. With it, you get perfect fudge every time.
Use room temperature ingredients. If your condensed milk or marshmallow creme is cold from the pantry, let them sit on the counter for 30 minutes before starting. Cold ingredients can cause the chocolate to seize, creating a lumpy texture that’s hard to fix.
Test for doneness visually. When the mixture turns glossy and starts pulling away from the sides of the pan slightly, it’s ready. You should see a smooth, shiny surface with no streaks of chocolate or marshmallow creme.
Variations & Adaptations
This creamy old-fashioned marshmallow creme fudge is wonderfully adaptable. Here are some variations I’ve tried and loved:
- Peppermint Fudge: Add 1/2 teaspoon peppermint extract along with the vanilla, and stir in 1/2 cup crushed candy canes just before pouring into the pan. Sprinkle more crushed candy canes on top. This is my go-to for Christmas gift boxes.
- Nutty Fudge: Fold in 1 cup of toasted pecans, walnuts, or almonds after the marshmallow creme is fully incorporated. Toast the nuts first at 350°F for 5-7 minutes to deepen their flavor. The crunch contrasts beautifully with the creamy fudge.
- Sea Salt Fudge: Sprinkle flaky sea salt (like Maldon) over the fudge immediately after pouring it into the pan. The salt crystals create little bursts of savory that make the chocolate taste even richer. This is my personal favorite—I add it to every batch now.
- White Chocolate Version: Substitute white chocolate chips for the semi-sweet. The fudge will be sweeter and paler, with a vanilla-forward flavor. Add 1/2 cup dried cranberries or chopped pistachios for color and texture.
- Vegan Adaptation: Use dairy-free chocolate chips, a coconut-based sweetened condensed milk, and vegan marshmallow creme (Dandies makes a good one). The texture is slightly softer but still delicious.
One variation I tried on a whim: swirling in 2 tablespoons of creamy peanut butter just before pouring the fudge into the pan. It created these beautiful ribbons of peanut butter throughout the chocolate. My kids still ask for “that peanut butter fudge” every time I make it.
Serving & Storage Suggestions
This fudge is best served cold or at room temperature. I prefer it straight from the refrigerator—the firm texture gives way to a creamy melt that’s incredibly satisfying. If you’re serving it at a party, arrange the squares on a platter and let them sit out for 10-15 minutes before serving. They’ll be slightly softer and even more decadent.
For presentation, I like to dust the fudge with a light sprinkle of cocoa powder or flaky sea salt. A few fresh berries on the side add a pop of color and a tart contrast to the sweetness. This fudge pairs beautifully with coffee, hot cocoa, or a glass of cold milk. For a dessert board, arrange the fudge alongside fresh strawberries, shortbread cookies, and dark chocolate-covered almonds.
Storage: Keep the fudge in an airtight container in the refrigerator for up to 2 weeks. Layer the squares between sheets of parchment paper to prevent them from sticking together. If your kitchen is warm, definitely refrigerate—the fudge can soften at room temperature.
Freezing: This fudge freezes beautifully. Wrap individual squares in plastic wrap, then place them in a freezer-safe bag or container. They’ll keep for up to 3 months. To thaw, transfer the fudge to the refrigerator overnight. I often make a double batch and freeze half for unexpected guests or holiday emergencies.
One thing I’ve noticed: the fudge actually gets creamier after a day or two in the refrigerator. The flavors meld together, and the texture becomes even more velvety. So if you can resist eating it all immediately, it’s worth waiting a day.
Nutritional Information & Benefits
Let’s be honest—this is a treat, not a health food. But knowing what’s in it helps you enjoy it mindfully. Here are the approximate nutritional values per 1-inch square (based on 36 squares per batch):
| Nutrient | Amount Per Square |
|---|---|
| Calories | 145 |
| Total Fat | 7g |
| Saturated Fat | 4g |
| Carbohydrates | 21g |
| Sugar | 18g |
| Protein | 2g |
| Sodium | 25mg |
The dark chocolate in this fudge contains antioxidants called flavonoids, which can support heart health. Sweetened condensed milk provides calcium and protein, though it’s also high in sugar. The marshmallow creme adds minimal nutritional value but is what gives this fudge its signature creamy texture.
If you’re watching your sugar intake, one small square is usually enough to satisfy a sweet craving. I find that the richness of this fudge means I’m satisfied with one or two pieces, unlike less decadent desserts where I might eat half the pan. It’s about quality over quantity, honestly.
This recipe is gluten-free as written, but always check your chocolate chip labels if you have celiac disease or a severe gluten sensitivity. Some brands process chocolate on shared equipment.
Conclusion
This creamy old-fashioned marshmallow creme fudge has become my secret weapon for holidays, hostess gifts, and those moments when I need a homemade dessert that looks like I spent hours on it. The truth is, it takes about 15 minutes of active time, and the results are genuinely impressive. No candy thermometer, no complicated techniques, no stress.
What I love most about this recipe is how it brings people together. I’ve made it for cookie exchanges, teacher gifts, and random Tuesday nights when my family needed a little sweetness. Every time, someone asks for the recipe, and they’re always surprised at how simple it is. That moment of surprise—when they realize they can make something this good with just three ingredients—never gets old.
I’d love to hear how this fudge turns out for you. Did you add any mix-ins? Did you try a different chocolate? Drop a comment below and let me know your favorite variation. And if you loved this recipe, share it with a friend who deserves a little homemade sweetness in their life. Happy cooking, friend—you’ve got this.
Frequently Asked Questions
Can I use marshmallows instead of marshmallow creme?
I don’t recommend it. Marshmallow creme has a different consistency and stabilizers that prevent sugar crystallization. Whole marshmallows will melt differently and may not give you the same creamy texture. Stick with the creme for the best results.
Why did my fudge turn out grainy?
Grainy fudge usually means the sugar crystallized. This can happen if you cooked the mixture over too high heat, stirred too vigorously, or didn’t incorporate the marshmallow creme thoroughly. Next time, keep the heat low and stir gently but constantly.
Can I double this recipe?
Absolutely! Double all the ingredients and use a 9×13 inch pan. The cooking time may increase by a minute or two since you have more volume. Just keep stirring and watch for that glossy sheen.
How long does this fudge last?
Stored in an airtight container in the refrigerator, this fudge stays fresh for up to 2 weeks. It also freezes beautifully for up to 3 months. Just wrap individual squares tightly in plastic wrap and place them in a freezer bag.
Can I use milk chocolate instead of semi-sweet?
You can, but the fudge will be much sweeter. Milk chocolate has more sugar and less cocoa butter, which can also affect the texture. If you prefer milk chocolate, I recommend using a high-quality brand and reducing the sweetened condensed milk by 2 tablespoons to balance the sweetness.
Pin This Recipe!
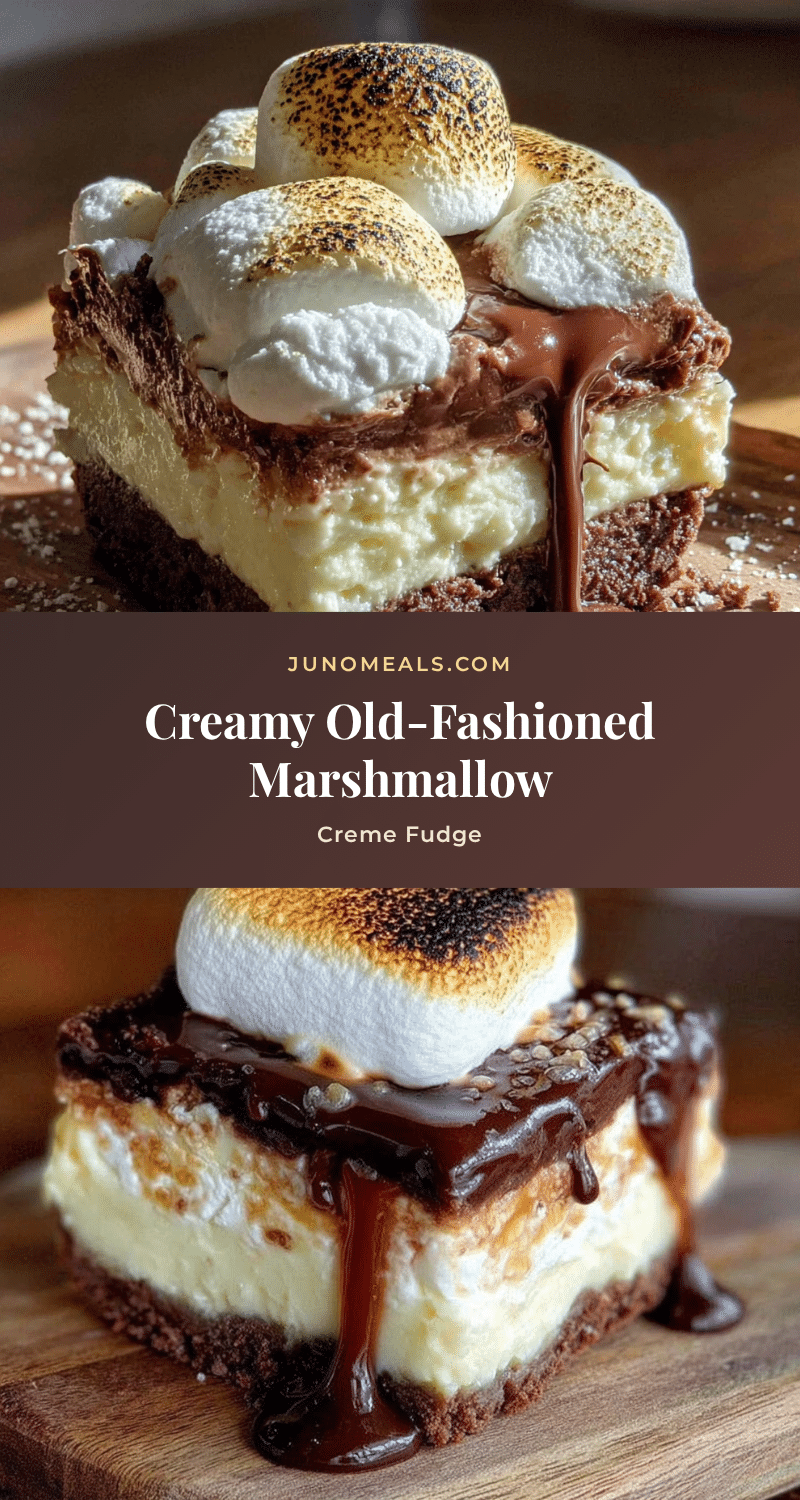
Creamy Old-Fashioned Marshmallow Creme Fudge: Easy 3-Ingredient Recipe

This creamy old-fashioned marshmallow creme fudge is made with just three ingredients and no candy thermometer. It’s perfectly smooth, melt-in-your-mouth chocolate fudge that sets perfectly every time.
- Prep Time: 10 minutes
- Cook Time: 5 minutes
- Total Time: 15 minutes (plus 3 hours chilling)
- Yield: 36 servings 1x
- Category: Dessert
- Cuisine: American
Ingredients
- 3 cups semi-sweet chocolate chips (recommended: Ghirardelli or Guittard)
- 14 ounces sweetened condensed milk (one can)
- 7 ounces marshmallow creme (one jar, e.g., Jet-Puffed)
- 1 teaspoon vanilla extract (optional but recommended)
- Pinch of flaky sea salt (optional, for topping)
Instructions
- Line an 8×8 inch baking pan with parchment paper or aluminum foil, leaving about 2 inches of overhang on two opposite sides. Set aside.
- In a medium saucepan over low heat, combine the chocolate chips and sweetened condensed milk. Stir constantly with a wooden spoon or silicone spatula until the chocolate is melted and the mixture is smooth and glossy, about 4-5 minutes.
- Remove the saucepan from the heat. Add the marshmallow creme and stir vigorously until fully incorporated and smooth, about 1-2 minutes.
- Stir in the vanilla extract and a pinch of salt (if using) until just combined.
- Pour the fudge mixture into the prepared pan and spread evenly. Tap the pan gently on the counter to release air bubbles.
- Let the fudge cool at room temperature for 1 hour, then refrigerate for at least 2 hours until firm (4 hours or overnight for cleanest slices).
- Lift the fudge out of the pan using the parchment overhang. Cut into 1-inch squares with a sharp knife, wiping the knife clean between cuts.
Notes
For the cleanest slices, refrigerate for 4 hours or overnight. If fudge seems too soft after refrigeration, let it sit at room temperature for 5-10 minutes before cutting. The fudge gets creamier after a day or two in the refrigerator.
Nutrition
- Serving Size: 1 square
- Calories: 145
- Sugar: 18
- Sodium: 25
- Fat: 7
- Saturated Fat: 4
- Carbohydrates: 21
- Protein: 2
Keywords: fudge, marshmallow creme, easy fudge, 3-ingredient fudge, chocolate fudge, old-fashioned fudge, no thermometer fudge


