My brother claimed to hate pumpkin spice anything for about twenty-seven years. The whole thing was a performance, honestly—a bit of culinary theater he maintained through every PSL season, every pumpkin bread I left on his doorstep, every single Thanksgiving pie. “It’s just not my thing,” he’d say, with the kind of finality that made you feel silly for even offering. Then last October, I caught him. I’d baked a test batch of these small batch pumpkin snickerdoodles, just for myself, you know? A little Tuesday afternoon experiment. I turned around from the sink and there he was, halfway through his third cookie, powdered sugar on his chin, looking like a kid caught with his hand in the cookie jar. “These are different,” he mumbled, reaching for another. And honestly? He wasn’t wrong. They are different.
I mean, let me tell you, I’ve tried a lot of pumpkin cookies over the years. Some are too cakey, some are too dense, and most of them just taste like cinnamon with a vague pumpkin apology in the background. But these? These snickerdoodles actually taste like fall in a way that doesn’t feel forced. The pumpkin is there, sure, but it’s more of a cozy background hum than a main event. The real star is that classic snickerdoodle tang—cream of tartar doing its thing—combined with a soft, pillowy texture that almost melts in your mouth. I didn’t set out to convert anyone that day. I just wanted a cookie that felt like sitting on the porch with a hoodie on, watching the leaves turn. But maybe you’ve been there too, trying to convince someone that a seasonal treat can actually be worth the hype. These cookies do the convincing for you.
Why You’ll Love This Recipe
These aren’t your average pumpkin cookies. After about six test batches—some too flat, some too puffy, one that I swear tasted like a candle—I finally landed on a version that hits every single note. This recipe has been through the wringer, and it came out the other side better for it.
- Small Batch Perfection: Makes exactly 10-12 cookies. No more, no less. Perfect for when you want a taste of fall without committing to three dozen cookies you’ll be eating until Thanksgiving.
- Simple Ingredients: You probably already have most of these in your pantry right now. No weird extracts or specialty flours needed.
- That Classic Snickerdoodle Tang: The cream of tartar is non-negotiable here. It gives these cookies that signature snickerdoodle flavor that pairs so perfectly with the pumpkin.
- Soft-Baked Texture: These cookies stay soft for days. I’m talking melt-in-your-mouth, cloud-like softness that actually improves after a day or two.
- Perfect for Fall Baking: When the weather turns crisp and you just need something warm and spiced, these cookies deliver every single time.
What makes this recipe different from all the other pumpkin snickerdoodles out there? It’s the ratio, honestly. Most recipes use too much pumpkin puree, which makes the cookies gummy and flat. I’ve dialed it back to just the right amount—enough for flavor and moisture, but not so much that you lose that classic snickerdoodle chew. Plus, I use a trick of blotting the pumpkin puree with paper towels to remove excess water. It sounds fussy, but it makes a world of difference.
These cookies are the kind that make you close your eyes after the first bite. They’re comfort food reimagined—familiar enough to feel nostalgic, but different enough to feel special. Perfect for a quiet afternoon with a cup of coffee, or for surprising someone who claims they don’t like pumpkin spice.
What Ingredients You Will Need
This recipe uses simple, everyday ingredients to create something that feels anything but ordinary. Most of these are pantry staples, which makes these cookies dangerously easy to whip up on a whim.
- All-Purpose Flour (1 ¼ cups / 156g): The foundation of the cookie. Scoop and level your flour for accuracy—don’t just dip the measuring cup into the bag.
- Unsalted Butter (½ cup / 113g, softened to room temperature): I always use unsalted so I can control the salt level. Let it sit out for about an hour before starting.
- Granulated Sugar (½ cup / 100g): For sweetness and that slightly crispy edge.
- Light Brown Sugar (¼ cup / 50g, packed): Adds moisture and a hint of molasses depth. Dark brown sugar works too, but the flavor will be a bit stronger.
- Pumpkin Puree (¼ cup / 60g): Not pumpkin pie filling—just pure pumpkin. And here’s the trick: spread it on a paper towel-lined plate, then blot with another paper towel to remove excess moisture. This is the secret to non-gummy cookies.
- Large Egg Yolk (1): Just the yolk. The white would make the cookies too cakey. Save the white for an omelet or something.
- Vanilla Extract (1 teaspoon): Pure vanilla extract makes a difference here. The imitation stuff has a weird chemical aftertaste.
- Cream of Tartar (1 teaspoon): This is what gives snickerdoodles their signature tang. Don’t skip it, don’t substitute it. Trust me on this.
- Baking Soda (½ teaspoon): For lift and spread.
- Ground Cinnamon (1 ½ teaspoons, divided): One teaspoon goes in the dough, half a teaspoon goes in the coating.
- Pumpkin Pie Spice (½ teaspoon): You can make your own with a mix of cinnamon, nutmeg, ginger, and cloves, but store-bought works fine.
- Salt (¼ teaspoon): Balances the sweetness and brings out the spices.
For the coating:
- Granulated Sugar (3 tablespoons / 36g)
- Ground Cinnamon (½ teaspoon)
- Pinch of Nutmeg (optional, but lovely)
I personally recommend using Libby’s pumpkin puree for the best texture and flavor. It’s consistently thick and not too watery. If you’re using a different brand, you might need to blot a bit more aggressively. For the butter, I use Kerrygold because I like the higher fat content—it makes the cookies richer. But honestly, any unsalted butter will do the job.
Equipment Needed
You don’t need anything fancy to make these cookies, which is part of their charm. Here’s what you’ll need:
- Mixing Bowls: One large bowl for the wet ingredients, one medium bowl for the dry ingredients. I use glass bowls because they don’t hold onto grease.
- Electric Hand Mixer or Stand Mixer: A hand mixer works perfectly here. You can cream the butter and sugar by hand if you’re feeling strong, but it takes a while.
- Baking Sheet: A standard half-sheet pan works great. Line it with parchment paper or a silicone baking mat.
- Measuring Cups and Spoons: For accuracy. I cannot stress this enough—baking is a science, people.
- Kitchen Scale: Optional but recommended. Weighing your flour ensures consistent results every time.
- Cookie Scoop or Tablespoon: For evenly sized cookies. I use a 1.5-tablespoon scoop.
- Cooling Rack: Lets air circulate around the cookies so they cool evenly without getting soggy on the bottom.
- Paper Towels: For blotting the pumpkin puree. This step is worth the extra dish.
If you don’t have a cookie scoop, just use two spoons to portion the dough. It won’t be as perfectly round, but they’ll taste the same. And if you don’t have a cooling rack, let the cookies cool on the baking sheet for a few extra minutes before transferring them to a plate.
Preparation Method
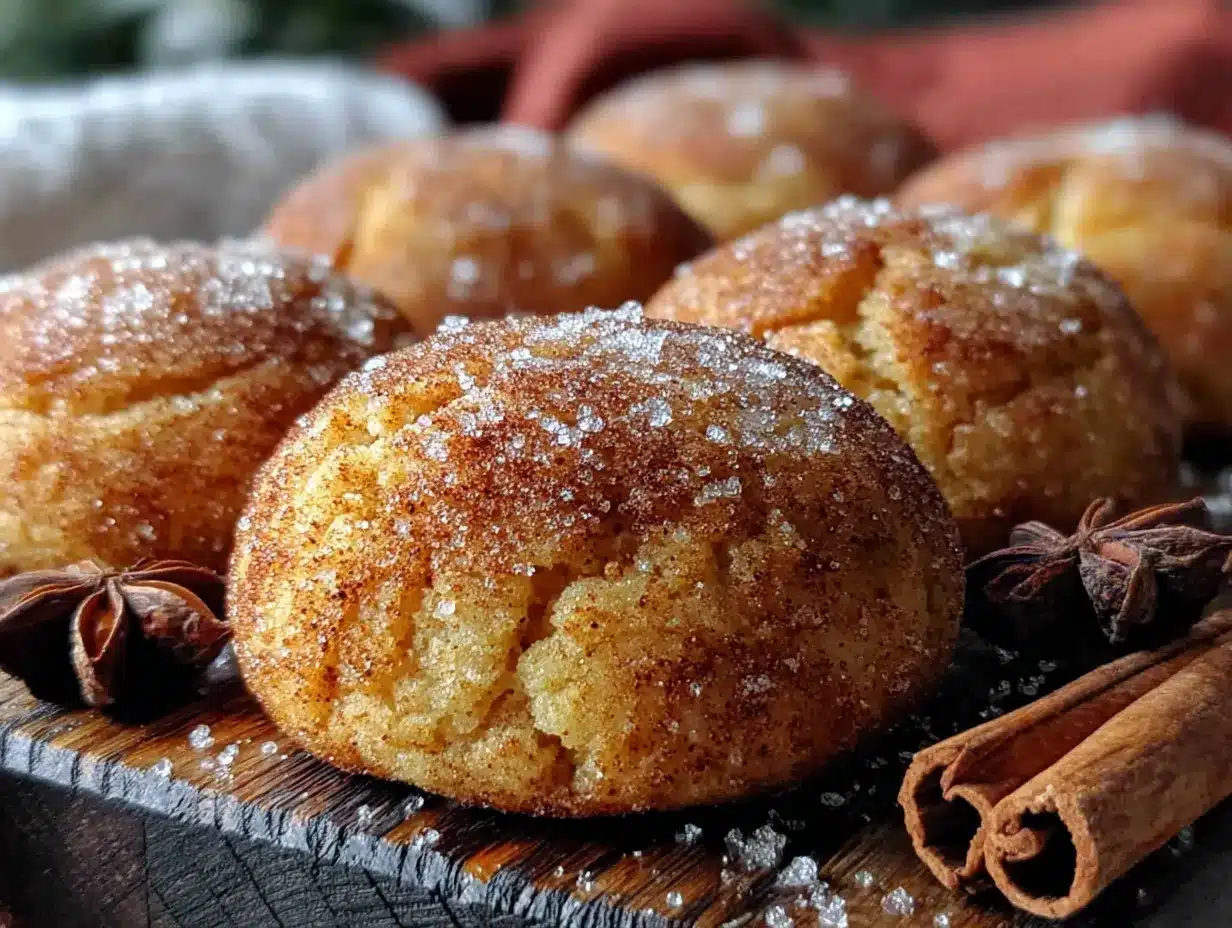
Alright, let’s get to the good part. Here’s how to make these cozy little cookies, step by step.
- Preheat your oven to 350°F (175°C). Line a baking sheet with parchment paper or a silicone baking mat. This prevents sticking and helps the cookies spread evenly.
- Blot the pumpkin puree. Spread the ¼ cup of pumpkin puree on a plate lined with a paper towel. Place another paper towel on top and gently press to absorb excess moisture. Let it sit while you prepare the rest of the ingredients. This step is annoying, I know, but it’s the difference between a cookie that holds its shape and a flat, gummy mess.
- Whisk the dry ingredients together. In a medium bowl, whisk together the flour, cream of tartar, baking soda, 1 teaspoon of cinnamon, pumpkin pie spice, and salt. Set aside.
- Cream the butter and sugars. In a large bowl, beat the softened butter, granulated sugar, and brown sugar together with an electric mixer on medium speed until light and fluffy—about 2 to 3 minutes. Scrape down the sides of the bowl halfway through. You want it to look pale and airy, like a cloud made of butter.
- Add the wet ingredients. Beat in the egg yolk and vanilla extract until combined. Then add the blotted pumpkin puree and mix on low speed until just incorporated. The mixture might look a little curdled at this point—don’t panic, that’s normal. It will come together when you add the flour.
- Add the dry ingredients. Gradually add the flour mixture to the wet ingredients, mixing on low speed until just combined. Do not overmix! Stop as soon as you don’t see any more streaks of flour. Overmixing develops gluten and makes the cookies tough.
- Chill the dough. Cover the bowl with plastic wrap and refrigerate for at least 30 minutes. This is crucial. Chilled dough spreads less and produces thicker, softer cookies. I’ve made the mistake of skipping this step, and let me tell you, the cookies came out looking like pumpkin-flavored tortillas. Don’t be like me.
- Make the cinnamon-sugar coating. In a small bowl, whisk together the 3 tablespoons of granulated sugar, ½ teaspoon of cinnamon, and a pinch of nutmeg if you’re using it.
- Shape and coat the cookies. Using a cookie scoop or tablespoon, portion the dough into 1.5-tablespoon balls (about 25g each). Roll each ball between your palms until smooth, then roll in the cinnamon-sugar mixture until fully coated. Place on the prepared baking sheet, spacing them about 2 inches apart. You should get 10 to 12 cookies.
- Bake. Bake for 10 to 12 minutes, or until the edges are set and the tops look slightly cracked. The centers will look soft and puffy—that’s exactly what you want. They will continue to set as they cool. For softer cookies, bake for 10 minutes. For slightly crispier edges, go for 12.
- Cool. Let the cookies cool on the baking sheet for 5 minutes. This allows them to firm up without sticking. Then transfer them to a wire rack to cool completely. If you try to move them too soon, they will fall apart. I learned this the hard way, and let me tell you, crying over crumbled cookies is not a good look.
Your kitchen should smell like a fall candle commercial at this point. Congratulations—you’ve made pumpkin snickerdoodles.
Cooking Tips & Techniques
I’ve made this recipe more times than I care to admit, and I’ve made every mistake in the book so you don’t have to. Here are the things I wish someone had told me:
Don’t skip the blotting step. I know it seems like an unnecessary extra step, but pumpkin puree is surprisingly watery. If you don’t remove that excess moisture, your cookies will spread into flat, sad discs. I once thought I could get away with just stirring the puree really well. I could not. The resulting cookies looked like pumpkin-colored pancakes, and they tasted about as exciting.
Chill the dough. I cannot emphasize this enough. The dough needs at least 30 minutes in the fridge. An hour is even better. Chilled butter melts slower in the oven, which gives the cookies time to set before they spread too much. If you bake the dough straight from the mixing bowl, you’ll get flat cookies. Trust the process on this one.
Measure your flour correctly. The number one mistake home bakers make is using too much flour. Spoon the flour into your measuring cup and level it off with a knife. Don’t scoop directly from the bag—that packs the flour down and you end up with way more than you need. A kitchen scale takes the guesswork out of it entirely.
Room temperature ingredients matter. Cold butter doesn’t cream properly. Cold egg yolk won’t emulsify. Take the time to let your ingredients come to room temperature. It makes a real difference in the texture of the final cookie.
Watch the oven temperature. Every oven runs a little differently. If your cookies are browning too fast on the bottom, your oven might be running hot. Consider getting an oven thermometer to check. I burned an entire batch once because my oven decided to run 25 degrees hot that day. The smoke alarm went off, the cookies were ruined, and I ate my feelings with a spoonful of cookie dough. Learn from my pain.
Variations & Adaptations
One of the best things about this recipe is how flexible it is. Here are some variations I’ve tried and loved:
Gluten-Free Version: Substitute the all-purpose flour with a 1:1 gluten-free baking flour blend. I’ve had good results with Bob’s Red Mill. Add an extra tablespoon of flour to compensate for the lack of gluten structure. The cookies will be slightly more delicate, but they still taste amazing.
Dairy-Free Version: Use vegan butter sticks instead of regular butter. I like Earth Balance or Miyoko’s. Make sure it’s softened to room temperature. The cookies might spread a tiny bit more, so chill the dough for a full hour.
Pumpkin Spice Explosion: If you’re one of those people who wants pumpkin spice in every bite, add an extra ½ teaspoon of pumpkin pie spice to the dough and swap the nutmeg in the coating for more pumpkin pie spice. It’s intense, but in a good way.
Maple Glaze Drizzle: Mix ½ cup of powdered sugar with 1 tablespoon of maple syrup and a splash of milk. Drizzle over the cooled cookies for an extra layer of fall flavor. I did this for a Friendsgiving potluck and they disappeared in about ten minutes.
Add Mix-Ins: Fold in ½ cup of white chocolate chips or chopped pecans after the flour is incorporated. White chocolate and pumpkin is a classic combo for a reason. Toasted pecans add a nice crunch that contrasts with the soft cookie texture.
Make Them Vegan: Use vegan butter and replace the egg yolk with a flax egg (1 tablespoon ground flaxseed mixed with 3 tablespoons water, let sit for 5 minutes). The texture will be slightly different—a bit more cakey—but they’re still delicious.
Serving & Storage Suggestions
These cookies are best enjoyed warm, obviously. There’s something about that first bite when the cinnamon-sugar coating is still slightly melty and the cookie is soft and pillowy. But they’re also fantastic at room temperature, especially with a cold glass of milk or a hot cup of coffee.
How to serve: Arrange them on a pretty plate and dust with a little extra cinnamon sugar if you’re feeling fancy. They’re perfect for fall gatherings, Halloween parties, or just a quiet Tuesday afternoon. I like to serve them with a warm chai latte or a spiced apple cider. The flavors complement each other beautifully.
How to store: Store the cookies in an airtight container at room temperature for up to 5 days. Place a slice of bread in the container to keep them soft—the bread absorbs excess air and releases moisture. Change the bread slice every other day. This trick works like magic, honestly.
Can you freeze them? Yes! You can freeze either the baked cookies or the raw dough. For baked cookies, let them cool completely, then place them in a freezer-safe bag or container. They’ll keep for up to 3 months. Thaw at room temperature for about 30 minutes. For the dough, portion it into balls, roll in the cinnamon sugar, and freeze on a baking sheet. Once frozen solid, transfer to a freezer bag. Bake from frozen, adding 2 to 3 minutes to the baking time. This is my favorite method for spontaneous cookie cravings.
How flavors develop: Honestly, these cookies taste even better on day two. The spices have time to meld together, and the texture becomes even softer and more tender. If you can resist eating them all on day one, you’re stronger than I am.
Nutritional Information & Benefits
Let’s be real—these are cookies, not health food. But they’re made with real ingredients, and there are a few small nutritional wins worth mentioning.
Per cookie (based on 12 cookies): approximately 175 calories, 8g fat, 24g carbohydrates, 1g fiber, 14g sugar, 2g protein. These values are estimates and will vary based on the specific ingredients you use.
The pumpkin puree adds a small amount of vitamin A and fiber, which is more than most cookies can claim. The cinnamon has anti-inflammatory properties, and honestly, that’s my favorite way to justify having a second cookie. “It’s for the antioxidants,” I tell myself, while reaching for another one.
For dietary considerations: This recipe contains gluten, dairy, and eggs. For gluten-free and dairy-free options, see the variations section above. The cookies are nut-free as written, which makes them great for school events or parties where allergies might be a concern.
From a wellness perspective, I believe in balance. These cookies are a treat, and treats are meant to be enjoyed without guilt. One cookie with your afternoon tea is a beautiful thing. Half the batch while watching Netflix? That’s between you and your conscience.
Conclusion
These small batch pumpkin snickerdoodles are everything I want in a fall cookie—soft, spiced, slightly tangy, and just sweet enough. They come together in under an hour (including chill time), use ingredients you probably already have, and they have this uncanny ability to make any day feel cozier. My brother, the former pumpkin spice hater, now asks me when I’m making them again. That’s the power of a really good cookie.
I genuinely hope you give these a try. Make them for yourself on a quiet afternoon. Make them to share with someone who needs a little fall comfort. Make them because the weather is turning and you deserve something warm and delicious. And if you make them your own—add some chocolate chips, double the cinnamon, drizzle them with maple glaze—please tell me about it. That’s my favorite part of this whole thing, hearing how people take a recipe and make it theirs.
Drop a comment below and let me know how your cookies turned out. Did you try any variations? Did you manage to share them or did you eat the whole batch yourself? No judgment here, honestly. Just happy baking, friends.
Frequently Asked Questions
Can I use pumpkin pie filling instead of pumpkin puree?
No, please don’t. Pumpkin pie filling is already sweetened and spiced, which will throw off the entire recipe. Stick with pure pumpkin puree. Your cookies will thank you.
Why did my cookies turn out flat?
Most likely one of three things: you didn’t blot the pumpkin puree, you didn’t chill the dough long enough, or your butter was too soft. Make sure to follow those steps closely and you’ll get perfectly puffy cookies.
Can I make these cookies without cream of tartar?
You can, but they won’t have that classic snickerdoodle tang. If you’re in a pinch, substitute with 2 teaspoons of lemon juice or white vinegar mixed into the wet ingredients. It’s not quite the same, but it works in a pinch.
How do I know when the cookies are done baking?
Look for set edges and slightly cracked tops. The centers should look soft and puffy—not wet, but definitely not firm. They will continue to bake on the hot baking sheet after you take them out of the oven. When in doubt, underbake slightly. A slightly underbaked snickerdoodle is a joy. An overbaked one is just a sad, dry disk.
Can I double this recipe?
Absolutely. Just double all the ingredients and bake in batches. You might need to chill the dough a bit longer since there’s more of it. And you’ll have more cookies, which is never a bad thing.
Pin This Recipe!
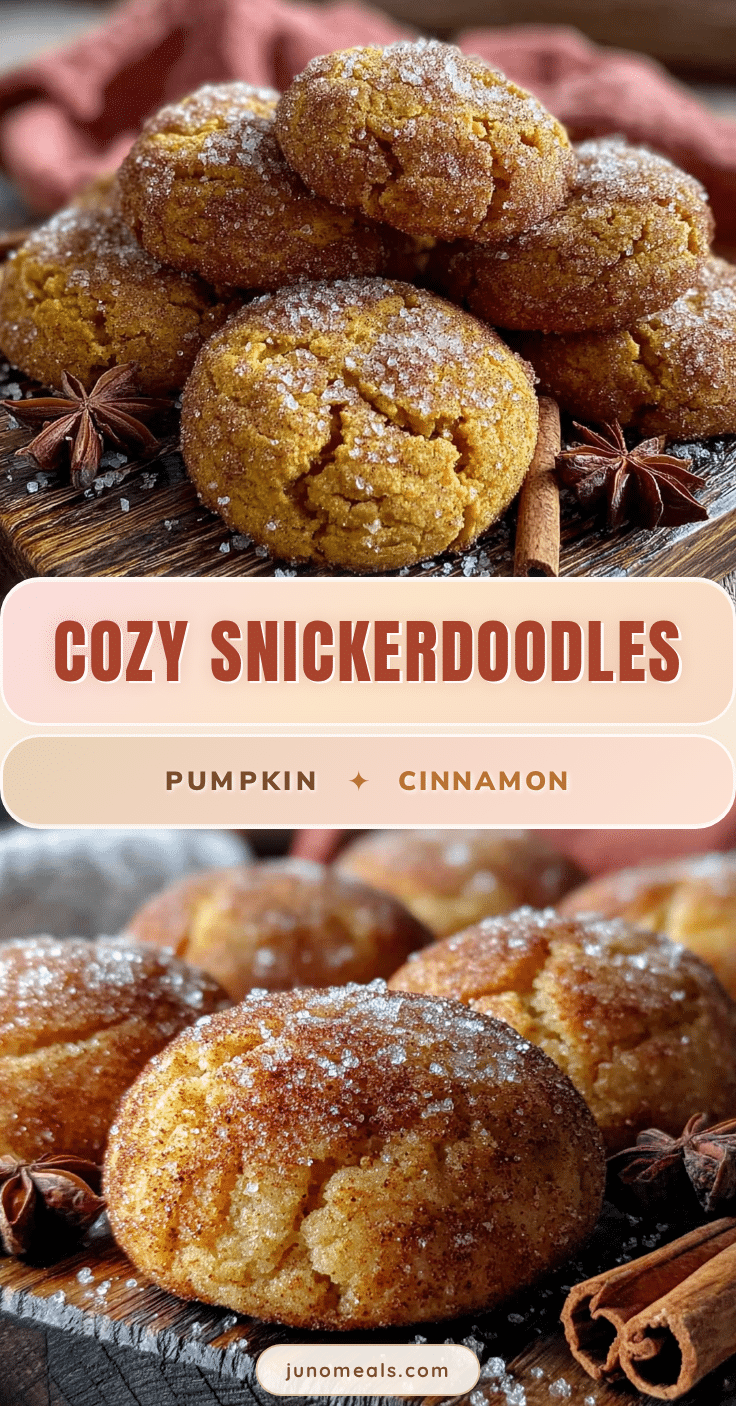
Cozy Small Batch Pumpkin Snickerdoodles: Easy Fall Cookies
These small batch pumpkin snickerdoodles are soft, spiced, and perfectly tangy, made with just the right amount of pumpkin puree for a cozy fall treat. They come together in under an hour and are ideal for a quiet afternoon or sharing with someone who needs a little seasonal comfort.
- Prep Time: 15 minutes
- Cook Time: 12 minutes
- Total Time: 57 minutes
- Yield: 10-12 cookies 1x
- Category: Dessert
- Cuisine: American
Ingredients
- 1 ¼ cups (156g) all-purpose flour
- ½ cup (113g) unsalted butter, softened to room temperature
- ½ cup (100g) granulated sugar
- ¼ cup (50g) light brown sugar, packed
- ¼ cup (60g) pumpkin puree, blotted dry
- 1 large egg yolk
- 1 teaspoon vanilla extract
- 1 teaspoon cream of tartar
- ½ teaspoon baking soda
- 1 ½ teaspoons ground cinnamon, divided
- ½ teaspoon pumpkin pie spice
- ¼ teaspoon salt
- For the coating:
- 3 tablespoons (36g) granulated sugar
- ½ teaspoon ground cinnamon
- Pinch of nutmeg (optional)
Instructions
- Preheat your oven to 350°F (175°C). Line a baking sheet with parchment paper or a silicone baking mat.
- Blot the pumpkin puree: Spread the ¼ cup of pumpkin puree on a plate lined with a paper towel. Place another paper towel on top and gently press to absorb excess moisture. Let it sit while you prepare the rest of the ingredients.
- Whisk the dry ingredients together: In a medium bowl, whisk together the flour, cream of tartar, baking soda, 1 teaspoon of cinnamon, pumpkin pie spice, and salt. Set aside.
- Cream the butter and sugars: In a large bowl, beat the softened butter, granulated sugar, and brown sugar together with an electric mixer on medium speed until light and fluffy—about 2 to 3 minutes. Scrape down the sides of the bowl halfway through.
- Add the wet ingredients: Beat in the egg yolk and vanilla extract until combined. Then add the blotted pumpkin puree and mix on low speed until just incorporated.
- Add the dry ingredients: Gradually add the flour mixture to the wet ingredients, mixing on low speed until just combined. Do not overmix.
- Chill the dough: Cover the bowl with plastic wrap and refrigerate for at least 30 minutes.
- Make the cinnamon-sugar coating: In a small bowl, whisk together the 3 tablespoons of granulated sugar, ½ teaspoon of cinnamon, and a pinch of nutmeg if using.
- Shape and coat the cookies: Using a cookie scoop or tablespoon, portion the dough into 1.5-tablespoon balls (about 25g each). Roll each ball between your palms until smooth, then roll in the cinnamon-sugar mixture until fully coated. Place on the prepared baking sheet, spacing them about 2 inches apart. You should get 10 to 12 cookies.
- Bake: Bake for 10 to 12 minutes, or until the edges are set and the tops look slightly cracked. The centers will look soft and puffy.
- Cool: Let the cookies cool on the baking sheet for 5 minutes. Then transfer them to a wire rack to cool completely.
Notes
Don’t skip blotting the pumpkin puree or chilling the dough—both are crucial for preventing flat cookies. For softer cookies, bake for 10 minutes; for slightly crispier edges, bake for 12. These cookies taste even better on day two. Store in an airtight container at room temperature for up to 5 days; place a slice of bread in the container to keep them soft. Freeze baked cookies for up to 3 months or freeze raw dough balls for spontaneous baking.
Nutrition
- Serving Size: 1 cookie
- Calories: 175
- Sugar: 14
- Sodium: 95
- Fat: 8
- Saturated Fat: 4.5
- Carbohydrates: 24
- Fiber: 1
- Protein: 2
Keywords: pumpkin snickerdoodles, small batch cookies, fall cookies, pumpkin cookies, snickerdoodle recipe, easy pumpkin cookies


