Maya wasn’t trying to impress anyone. I’d stopped by her place on a random Tuesday to pick up a book I’d lent her months ago, and the smell hit me before I even got past the front door. It was nutty, warm, and almost buttery—like someone had turned autumn into a scent. She was standing at the stove in sweatpants, casually shaking a pan like it was nothing. “Oh, just some squash,” she said when I asked what smelled so incredible. Just some squash. I mean, I’ve made roasted squash a hundred times, but what she was doing looked—and smelled—like something else entirely. She shrugged and told me it was brown butter and sage, like that explained the magic happening in her kitchen. It didn’t. Not really. But I stood there watching her finish it, and honestly, I think I annoyed her with how many questions I asked. You know that feeling when someone makes something so simple feel completely extraordinary? That was this recipe. I went home that night and tried it myself, and let me tell you—it’s the kind of side dish that makes you wonder why you ever bothered with plain roasted vegetables. This brown butter honeynut squash with sage has become my go-to for cozy dinners, holiday tables, and random Tuesdays when I just need something warm and good.
Why You’ll Love This Recipe
I’ve tested this brown butter honeynut squash with sage more times than I can count, tweaking the heat, the timing, the amount of sage—because it had to be just right. And honestly? This version is it. Here’s why it works so well:
- Quick & Easy: From start to finish, you’re looking at about 35 minutes. Perfect for weeknights when you want something special without spending all evening in the kitchen.
- Simple Ingredients: Honeynut squash, butter, fresh sage, salt, and pepper. That’s it. No fancy grocery store trips needed—you probably have most of this already.
- Perfect for Cozy Dinners & Holidays: It’s elegant enough for Thanksgiving but casual enough for a Tuesday night roast chicken. Honestly, it fits everywhere.
- Crowd-Pleaser: I’ve served this to kids, adults, picky eaters, and vegetable skeptics. Every single person went back for seconds. Every time.
- Unbelievably Delicious: The brown butter brings this nutty, almost caramel-like depth, and the sage gets crispy and fragrant. The honeynut squash itself is sweeter and creamier than butternut—it’s like nature designed it for this recipe.
What makes this different from every other roasted squash recipe out there? It’s the technique. Browning the butter first—letting it foam and turn golden and smell like toasted hazelnuts—then tossing the squash in it before roasting. That one step changes everything. The squash caramelizes beautifully, the sage crisps up in the oven, and you get this incredible layered flavor that tastes way more complex than the ingredient list suggests. This isn’t just another side dish. It’s the one that’ll have people asking for the recipe before they finish eating.
What Ingredients You Will Need
This recipe uses simple, honest ingredients to create something truly special. Every component plays a role, and none of it is fussy or hard to find.
- Honeynut squash (2–3 medium, about 2 pounds total): These little guys are smaller and sweeter than butternut squash, with a thinner skin that doesn’t even need peeling. I love how creamy they get when roasted. Look for ones that feel heavy for their size and have a deep orange color. If you can’t find honeynut, you can use butternut squash—just peel it and cut into smaller cubes.
- Unsalted butter (4 tablespoons, ½ stick): Butter is the star here. Using unsalted lets you control the salt level. I prefer Kerrygold or any European-style butter for its higher fat content, which browns more evenly and tastes richer.
- Fresh sage leaves (10–12 leaves): Don’t even think about using dried sage here. Fresh sage is essential—it crisps up beautifully in the oven and gives that earthy, slightly peppery flavor that pairs perfectly with sweet squash. I pick the largest, most vibrant leaves I can find.
- Kosher salt (½ teaspoon, plus more to taste): I use Diamond Crystal kosher salt. It’s less salty by volume than table salt, so if you’re using another brand, start with less and adjust.
- Freshly ground black pepper (¼ teaspoon, plus more to taste): Always fresh ground. It makes a difference in flavor and aroma.
- Maple syrup (1 tablespoon, optional but recommended): A tiny drizzle before serving adds a touch of sweetness that complements the brown butter beautifully. This is optional, but honestly, I always include it.
- Flaky sea salt (for finishing, optional): A sprinkle of Maldon or similar flaky salt right before serving adds a lovely crunch and pop of saltiness. It’s a small touch that feels fancy but takes two seconds.
That’s really it. Six ingredients, maybe seven if you count the maple syrup. No cream, no cheese, no complicated spice blends. The magic is in the technique and the quality of what you’re using.
Equipment Needed
You don’t need much for this recipe, which is part of why I love it so much.
- Sharp chef’s knife: Honeynut squash are small but dense. A good sharp knife makes cutting them in half much safer and easier. I use my Wüsthof 8-inch chef’s knife.
- Cutting board: Any sturdy board works. I prefer wood or bamboo because they’re gentler on knives.
- Small skillet or saucepan: For browning the butter. I use a small stainless steel pan so I can see the color change clearly.
- Large baking sheet: A rimmed baking sheet is best—it catches any butter that might pool and prevents spills. I use a half-sheet pan (18×13 inches).
- Parchment paper (optional): Lining the baking sheet makes cleanup a breeze. Not strictly necessary, but I rarely skip it.
- Mixing bowl: For tossing the squash with the brown butter and sage.
- Spatula or wooden spoon: For stirring the butter as it browns.
If you don’t have a small skillet for the butter, any pan will do—just keep a close eye on it. And if you don’t have parchment paper, you can grease the baking sheet lightly with a little butter or oil. No fancy equipment required here, which is exactly how weeknight cooking should be.
Preparation Method
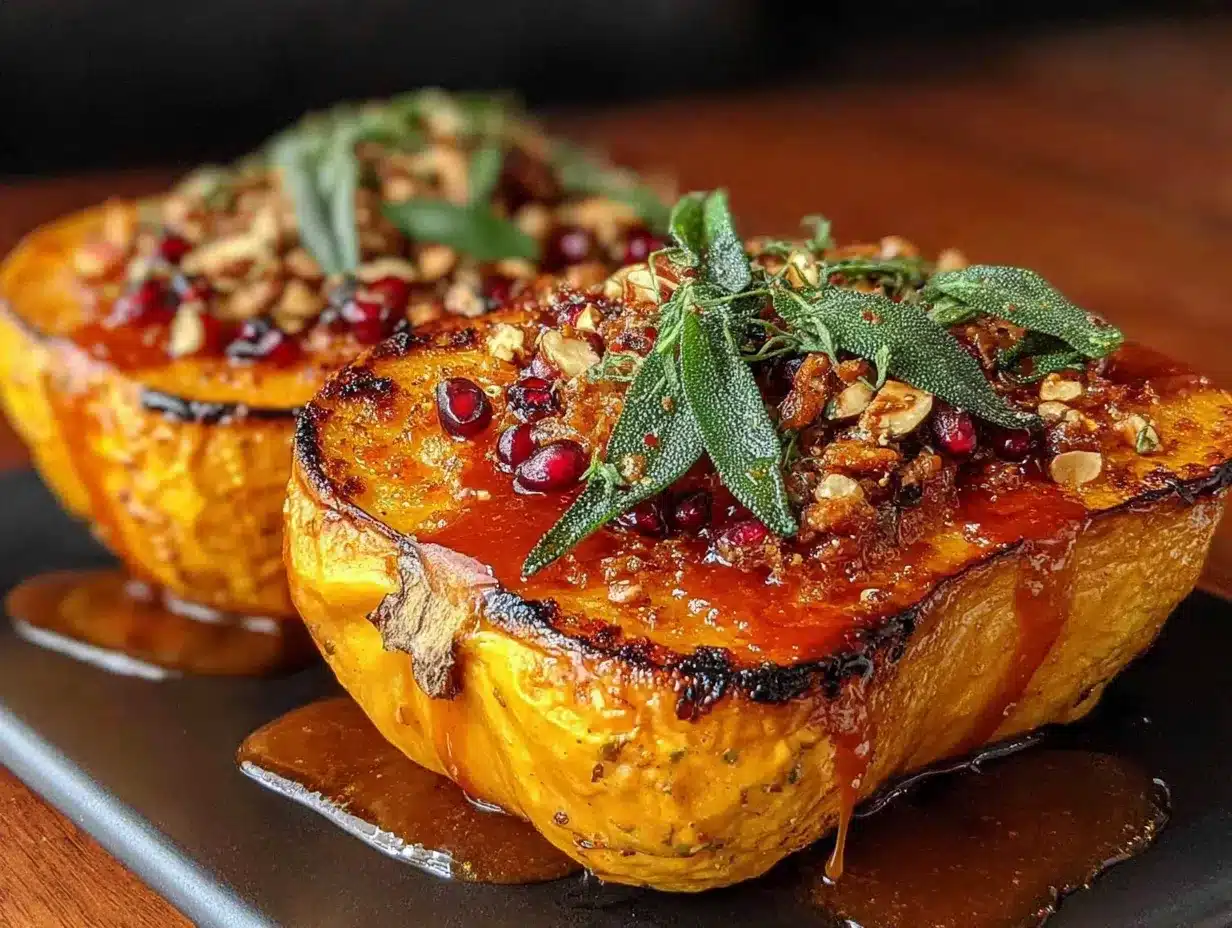
Let me walk you through this step by step. I’ve made this so many times that I’ve got the rhythm down, and I’ll share every little trick I’ve picked up along the way.
- Preheat your oven to 400°F (200°C). Get that oven going first—it needs to be nice and hot when the squash goes in. Position a rack in the middle of the oven.
- Prep the squash. Wash the honeynut squash well—remember, you’re not peeling them, so give them a good scrub. Using a sharp chef’s knife, carefully cut each squash in half lengthwise. Be slow and steady here; squash can be stubborn. Scoop out the seeds and stringy bits with a spoon. I use a metal tablespoon for this—it works perfectly. Don’t throw the seeds away! You can roast them like pumpkin seeds if you want.
- Slice the squash into half-moons. Place each squash half cut-side down on your cutting board and slice crosswise into ½-inch thick half-moons. Try to keep them uniform in thickness so they cook evenly. You’ll get about 5-6 pieces per half, depending on the size of the squash. Set them aside.
- Start the brown butter. Place your small skillet or saucepan over medium heat and add the 4 tablespoons of unsalted butter. Let it melt completely, then continue cooking, swirling the pan occasionally. The butter will start to foam and bubble—that’s normal. Keep watching. After about 3-4 minutes, you’ll notice the foam subsiding and the butter turning a golden amber color. Tiny brown specks will appear at the bottom of the pan. That’s the milk solids toasting, and it’s exactly what you want. The moment it smells nutty and looks like liquid gold, remove it from the heat. Don’t walk away from browning butter—it can go from perfect to burnt in seconds.
- Add the sage to the brown butter. Drop your fresh sage leaves into the hot brown butter. They’ll sizzle and crisp up almost immediately. Let them cook for about 15-20 seconds, then use a fork to transfer them to a paper towel-lined plate. They’ll continue crisping as they cool. Set them aside for now.
- Toss the squash with the brown butter. Place your sliced squash in a large mixing bowl. Pour the warm brown butter over the top (reserve the crispy sage leaves for later). Sprinkle with ½ teaspoon kosher salt and ¼ teaspoon black pepper. Toss everything gently with your hands or a spatula until every piece of squash is coated in that glorious brown butter. Take your time here—you want even coverage.
- Arrange on the baking sheet. Spread the squash pieces in a single layer on your parchment-lined baking sheet. Make sure they’re not overlapping—crowding the pan will steam them instead of roasting them, and you won’t get that beautiful caramelization. If they’re snug, use two baking sheets.
- Roast for 20-25 minutes. Slide the baking sheet into the preheated oven and roast until the squash is tender and golden brown on the edges. At the 15-minute mark, flip each piece with a spatula to ensure even browning. The squash is done when a fork slides in easily and the edges are caramelized and slightly crispy. Every oven runs a little differently, so start checking at 20 minutes.
- Finish and serve. Transfer the roasted squash to a serving platter. Crumble the crispy sage leaves over the top. If you’re using the maple syrup, drizzle it over now—just a tablespoon is plenty. Add a final sprinkle of flaky sea salt and a few grinds of black pepper if you like. Serve immediately while it’s warm and the sage is still crispy.
One thing I learned the hard way: don’t skip flipping the squash halfway through. I got lazy once and ended up with one side beautifully caramelized and the other pale and sad. Worth the extra minute of effort, I promise.
Cooking Tips & Techniques
I’ve made every mistake you can imagine with this recipe so you don’t have to. Here’s what I’ve learned:
Watch the butter like a hawk. Brown butter is incredible, but it’s also impatient. The moment you see it turn amber and smell nutty, pull it off the heat. I’ve burned more batches than I’d like to admit because I got distracted by my phone or started chopping something. Set a timer if you need to—around 3-4 minutes on medium heat is usually perfect.
Dry the sage leaves thoroughly. Wet sage leaves will sputter and steam instead of crisping up properly. After washing, pat them completely dry with a paper towel before dropping them into the hot butter. This little step makes a big difference in texture.
Don’t overcrowd the pan. This is the number one mistake people make with roasted vegetables. If the squash pieces are touching or overlapping, they’ll steam rather than roast. Give them space. Use two baking sheets if you need to—it’s worth the extra pan to wash.
Cut uniform pieces. I cannot stress this enough. If some pieces are thick and others are thin, you’ll end up with some perfectly roasted and others either undercooked or burnt. Take an extra minute to make your slices even. Your future self will thank you.
Save the crispy sage for last. I know it’s tempting to toss the sage in with the squash before roasting, but trust me—adding it at the end keeps it crispy and vibrant. If you roast it with the squash, it’ll turn dark and bitter. The contrast of tender, caramelized squash with crackly sage is what makes this dish sing.
Use a metal spatula for flipping. The caramelized edges are delicate, and a thin metal spatula slides under them more easily than a thick plastic one. I learned this after mangling several perfectly roasted pieces with a clumsy turner.
Variations & Adaptations
This recipe is flexible, and I’ve played around with it quite a bit. Here are some variations I’ve tried and loved:
Maple-Cinnamon Twist: Add 1 tablespoon of maple syrup and ½ teaspoon of cinnamon to the brown butter before tossing with the squash. The cinnamon adds warmth that’s perfect for fall and winter. I made this version for a Friendsgiving potluck, and it disappeared in minutes.
Spicy Brown Butter: Drop a small dried chili (like a chile de árbol) into the butter as it browns, then remove it before tossing with the squash. The subtle heat balances the sweetness beautifully. My spice-loving friends request this version every time they come over.
Garlic and Thyme: Add 2 smashed garlic cloves to the butter while it browns, and swap the sage for fresh thyme sprigs. The garlic infuses the butter with savory depth, and thyme adds an earthy, almost floral note. This is my go-to when I’m serving the squash alongside roast chicken.
Vegan Option: Replace the butter with a high-quality vegan butter or coconut oil. The flavor won’t be quite the same (brown butter is irreplaceable in my opinion), but it’s still delicious. Use the same browning technique, and add a splash of nutritional yeast if you want a slightly nutty, cheesy note.
Air Fryer Method: Toss the squash with brown butter and sage, then cook in an air fryer at 375°F (190°C) for 12-15 minutes, shaking the basket halfway through. The results are incredibly crispy and caramelized. I tried this on a whim and was shocked at how well it worked.
Different Squash: No honeynut? No problem. Butternut squash works beautifully—just peel it first and cut into 1-inch cubes. Acorn squash is also great; slice it into wedges and roast a little longer. Each squash brings its own sweetness and texture, so feel free to experiment.
Serving & Storage Suggestions
This brown butter honeynut squash with sage is best served warm, right after it comes out of the oven. The contrast between the tender, caramelized squash and the crispy sage is at its peak within the first 15 minutes. I usually transfer it to a warm serving platter and top with the crispy sage, flaky salt, and maybe that optional maple drizzle right before bringing it to the table.
It pairs beautifully with so many things. I love it alongside a simple roast chicken, pan-seared pork chops, or even a holiday turkey. For a vegetarian meal, it’s wonderful with a hearty grain bowl or alongside a lentil loaf. A glass of dry white wine or a light red like Pinot Noir complements the nutty, sweet flavors perfectly.
If you have leftovers (which honestly doesn’t happen often in my house), store them in an airtight container in the refrigerator for up to 4 days. The texture will soften, but the flavor is still incredible. To reheat, spread the squash on a baking sheet and warm it in a 350°F (175°C) oven for about 5-7 minutes. You can also reheat in a skillet over medium heat—add a tiny pat of butter to refresh the flavor. The microwave works in a pinch, but the squash will be much softer and lose that caramelized edge.
I don’t recommend freezing this dish. The texture of the squash changes too much after thawing—it becomes watery and mushy. If you really want to prep ahead, you can cut the squash and brown the butter up to two days in advance, then toss and roast right before serving.
One thing I’ve noticed: the flavors actually meld and deepen overnight. Cold leftovers straight from the fridge are surprisingly delicious. I’ve been known to eat them over a bowl of greens for lunch the next day, crumbled feta on top, and call it a salad.
Nutritional Information & Benefits
This recipe is as wholesome as it is delicious. Here’s a rough estimate per serving (based on 4 servings):
- Calories: Approximately 180-200
- Fat: 12g (mostly from the butter)
- Carbohydrates: 20g
- Fiber: 4g
- Protein: 2g
- Sugar: 8g (natural, from the squash)
Honeynut squash is a nutritional powerhouse. It’s packed with vitamin A (in the form of beta-carotene), which supports eye health and immune function. It’s also a good source of vitamin C, potassium, and fiber. The brown butter adds healthy fats that help your body absorb those fat-soluble vitamins. Sage isn’t just for flavor—it contains antioxidants and has anti-inflammatory properties. This is comfort food that actually does your body some good.
If you’re watching your dairy intake, you can use a plant-based butter alternative, though the flavor will be different. The recipe is naturally gluten-free, nut-free, and vegetarian. For a lower-fat version, you can reduce the butter to 2 tablespoons, but honestly, the brown butter is what makes this dish so special—I say go for it.
Conclusion
This brown butter honeynut squash with sage is the kind of recipe that makes you feel like you’ve discovered a secret. It’s simple enough for a Tuesday night, elegant enough for a holiday table, and so good that people will assume you spent hours on it. The nutty brown butter, the crispy sage, the naturally sweet, creamy squash—it all comes together in a way that feels both familiar and completely new.
I hope you make this soon. I hope you stand at the stove and watch that butter turn golden and smell it fill your kitchen. I hope you serve it to people you love and watch their faces light up. And I hope you make it your own—add a pinch of cinnamon, a drizzle of honey, a sprinkle of red pepper flakes. This recipe is a starting point, not a rulebook.
If you try this brown butter honeynut squash with sage, I’d love to hear about it. Leave a comment below, tag me in your photos, tell me what you served it with. And if you have a variation that blew your mind, share it—I’m always looking for new ideas. Now go make something cozy. You deserve it.
Frequently Asked Questions
Can I use butternut squash instead of honeynut?
Absolutely. Butternut squash is the closest substitute. Just peel it first and cut into 1-inch cubes. The roasting time may be slightly longer (25-30 minutes) because butternut pieces are typically larger and denser than honeynut half-moons.
Can I make this recipe ahead of time?
You can prep the components ahead, but I recommend roasting right before serving for the best texture. Cut the squash, brown the butter, and crisp the sage up to two days in advance. Store everything separately in the fridge, then toss and roast when you’re ready.
How do I know when the brown butter is ready?
Watch for three signs: the butter turns a warm amber color, you see tiny brown specks forming at the bottom of the pan, and it smells nutty and toasty. The whole process takes about 3-4 minutes over medium heat. Remove it from the heat immediately once you notice these changes—it can burn very quickly.
Can I use dried sage instead of fresh?
I really don’t recommend it. Fresh sage is essential for this recipe because it crisps up beautifully and has a much more vibrant, aromatic flavor. Dried sage will just turn dusty and bitter in the oven. If fresh sage isn’t available, try fresh thyme or rosemary instead—they both work wonderfully.
Is this recipe gluten-free?
Yes, this brown butter honeynut squash with sage is naturally gluten-free. Just double-check that your butter and any optional add-ins (like maple syrup) are certified gluten-free if that’s a concern for you. The recipe is also vegetarian and can be made vegan with a butter substitute.
Pin This Recipe!
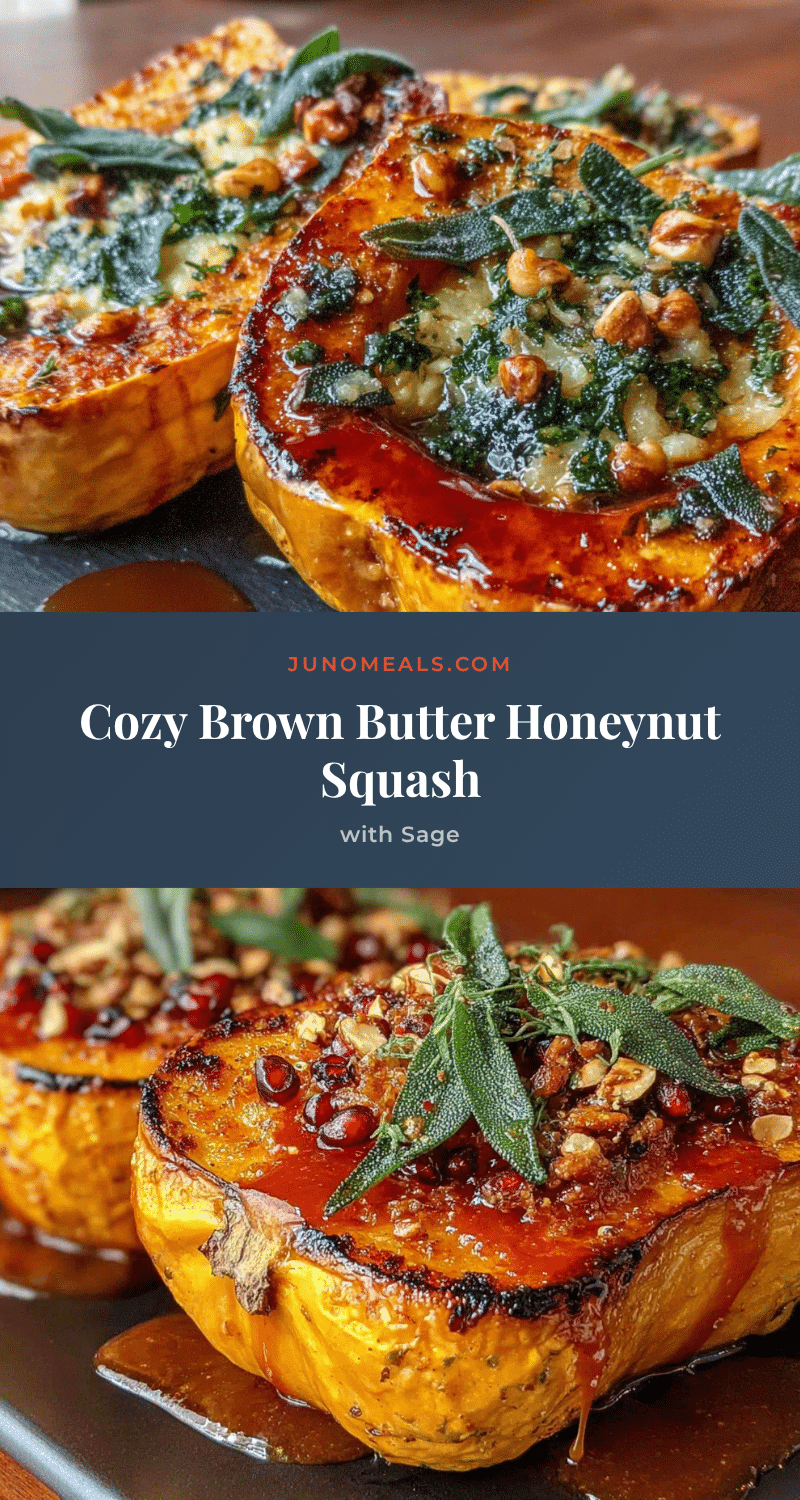
Cozy Brown Butter Honeynut Squash with Sage – Best Easy Side

This brown butter honeynut squash with sage is a simple yet elegant side dish featuring nutty brown butter, crispy sage, and naturally sweet, creamy squash. Perfect for cozy dinners and holiday tables alike.
- Prep Time: 10 minutes
- Cook Time: 25 minutes
- Total Time: 35 minutes
- Yield: 4 servings 1x
- Category: Side Dish
- Cuisine: American
Ingredients
- 2–3 medium honeynut squash (about 2 pounds total)
- 4 tablespoons unsalted butter (½ stick)
- 10–12 fresh sage leaves
- ½ teaspoon kosher salt (plus more to taste)
- ¼ teaspoon freshly ground black pepper (plus more to taste)
- 1 tablespoon maple syrup (optional but recommended)
- Flaky sea salt for finishing (optional)
Instructions
- Preheat your oven to 400°F (200°C). Position a rack in the middle of the oven.
- Wash the honeynut squash well. Using a sharp chef’s knife, carefully cut each squash in half lengthwise. Scoop out the seeds and stringy bits with a spoon.
- Place each squash half cut-side down on your cutting board and slice crosswise into ½-inch thick half-moons. Try to keep them uniform in thickness.
- Place a small skillet or saucepan over medium heat and add the 4 tablespoons of unsalted butter. Let it melt completely, then continue cooking, swirling the pan occasionally. After about 3-4 minutes, the butter will turn a golden amber color with tiny brown specks and smell nutty. Remove from heat immediately.
- Drop the fresh sage leaves into the hot brown butter. They’ll sizzle and crisp up almost immediately. Let them cook for about 15-20 seconds, then use a fork to transfer them to a paper towel-lined plate. Set aside.
- Place the sliced squash in a large mixing bowl. Pour the warm brown butter over the top (reserve the crispy sage leaves for later). Sprinkle with ½ teaspoon kosher salt and ¼ teaspoon black pepper. Toss gently until every piece is coated.
- Spread the squash pieces in a single layer on a parchment-lined baking sheet. Make sure they’re not overlapping.
- Roast for 20-25 minutes. At the 15-minute mark, flip each piece with a spatula to ensure even browning. The squash is done when a fork slides in easily and the edges are caramelized and slightly crispy.
- Transfer the roasted squash to a serving platter. Crumble the crispy sage leaves over the top. If using, drizzle with maple syrup. Add a final sprinkle of flaky sea salt and a few grinds of black pepper if desired. Serve immediately.
Notes
Watch the butter carefully when browning—it can go from perfect to burnt in seconds. Dry the sage leaves thoroughly before adding to the butter. Don’t overcrowd the baking sheet; use two if needed. Save the crispy sage for garnish at the end to keep it crispy. For best texture, serve immediately after roasting.
Nutrition
- Serving Size: 1 serving
- Calories: 190
- Sugar: 8
- Sodium: 300
- Fat: 12
- Saturated Fat: 7
- Carbohydrates: 20
- Fiber: 4
- Protein: 2
Keywords: brown butter, honeynut squash, sage, roasted squash, easy side dish, fall recipe, Thanksgiving side, vegetarian, gluten-free


