There used to be this tiny bakery tucked on a side street in Portland called Butter & Salt that made a brown butter chocolate chip cookie that ruined me for all other cookies. When they closed their doors in 2021—the owner moved back to Japan to care for her mother—I actually stood outside that empty storefront for a good five minutes feeling genuinely lost. After twelve tries—twelve, let me tell you, and I ate every single failed batch like a champ—I finally got it. This is that cookie.
It’s funny how a single bite can hold an entire memory. The first time I cracked the code on these, it was a rainy Tuesday afternoon in late September. I had just pulled the last tray from the oven when my neighbor Linda knocked on the door, drawn by the smell. We stood in my tiny kitchen, these warm cookies in hand, watching the rain streak down the window. “This is it,” she said, and I knew she was right. The crispy edges, the soft centers, that deep nutty flavor from the browned butter—it was all there. Honestly, I almost cried. (I won’t tell you if I actually did.)
What gets me every time is that you don’t need any fancy equipment to make these. No stand mixer, no hand mixer, just a whisk and a bowl and a little bit of patience. The magic is all in the butter—taking those extra few minutes to brown it transforms these cookies from something good to something you’ll dream about. Maybe you’ve been there too, chasing a taste from a place that no longer exists. If so, I think you’re going to love this recipe. It’s my way of keeping a little piece of that bakery alive, one batch at a time.
Why You’ll Love This Recipe
These brown butter chocolate chip cookies are the kind of recipe that makes you look like a baking genius with minimal effort. Here’s why they’ve become my most-requested cookie:
- No Mixer Required : You read that right. No pulling out heavy equipment, no attachments to wash. Just a bowl and a whisk (or a wooden spoon, honestly). This is the cookie for those spontaneous baking moments.
- Deep, Complex Flavor : The brown butter adds a nutty, toasty richness that regular butter just can’t match. It’s like the difference between a regular cup of coffee and a perfectly pulled espresso shot.
- Perfect Texture Every Time : Crispy edges with soft, chewy centers. The secret is in the chill time and the ratio of melted butter to flour. I’ve tested this more times than I care to admit.
- Simple Pantry Ingredients : Butter, sugar, eggs, flour, chocolate chips—you probably have everything already. The only “special” step is browning the butter, and I promise it’s easier than it sounds.
- Cozy Comfort Food : There’s something about the smell of brown butter and chocolate that just says “home.” These cookies are perfect for rainy afternoons, holiday cookie swaps, or when you just need a little comfort.
What makes this recipe different from the dozens of cookie recipes out there is the technique. I spent months figuring out the exact temperature for the brown butter (not too hot, not too cool), the precise chilling time (30 minutes is the sweet spot), and the perfect balance of white to brown sugar. This isn’t just another chocolate chip cookie—it’s the one I’ve made for every potluck, every family gathering, every “I need a cookie” moment for the past two years. It’s the one that gets the “can I get the recipe?” text before people even finish eating.
What Ingredients You Will Need
This recipe uses simple, wholesome ingredients to deliver that unforgettable flavor. Most of these are pantry staples, but a few notes will help you get the best results possible.
- Unsalted butter (1 cup / 2 sticks / 226 grams) : The star of the show. Use unsalted so you control the salt level. I prefer Kerrygold or Plugrà for their higher butterfat content, which means richer flavor and better browning.
- All-purpose flour (2 ¼ cups / 280 grams) : Spoon and level your flour—don’t scoop directly from the bag. Too much flour makes dense cookies. I use King Arthur Flour for consistent results.
- Granulated sugar (½ cup / 100 grams) : Adds sweetness and helps create those crispy edges. The crystals also help with spread.
- Light brown sugar (1 cup / 200 grams, packed) : This is where the chewiness comes from. The molasses in brown sugar keeps the centers soft. Dark brown sugar works too, for an even deeper flavor.
- Large eggs (2, room temperature) : Room temperature eggs mix more evenly into the brown butter. If you forget to take them out early, place them in a bowl of warm water for 5 minutes.
- Vanilla extract (2 teaspoons) : Use pure vanilla extract, not imitation. It makes a real difference here. I love Nielsen-Massey Madagascar vanilla.
- Baking soda (1 teaspoon) : Helps the cookies spread and rise just enough. Make sure it’s fresh—test it by dropping a bit in vinegar; it should fizz.
- Salt (1 teaspoon) : I use fine sea salt. Don’t skip this—salt balances the sweetness and enhances the brown butter flavor. For a fancy touch, sprinkle flaky sea salt on top before baking.
- Semi-sweet chocolate chips (2 cups / 340 grams) : I use Guittard or Ghirardelli. Chop a few of them roughly for those melty pools of chocolate. You can also use a mix of dark and milk chocolate chips if you like.
- Optional: Flaky sea salt (for topping) : Maldon or Jacobsen. Just a pinch on each cookie before baking takes them to another level.
Substitution Tips: For a gluten-free version, use a 1:1 gluten-free baking flour blend (I like Cup4Cup). For dairy-free, use vegan butter sticks—just note that browning may take a bit longer and the flavor will be slightly different. If you’re out of brown sugar, mix 1 cup white sugar with 2 tablespoons molasses.
Equipment Needed
One of the best things about this recipe is how simple the equipment list is. You probably have everything already.
- Large mixing bowl : Any bowl works, but a wide one makes whisking easier.
- Whisk : For combining the sugars and eggs. A wooden spoon works too, but a whisk gets things smoother faster.
- Saucepan (light-colored preferred) : A light-colored pan helps you see the butter change color as it browns. Dark pans make it hard to tell when it’s done.
- Rubber spatula : For folding in the chocolate chips and scraping every last bit of dough.
- Baking sheets (2) : Light-colored, rimmed baking sheets work best. Dark sheets can cause the bottoms to burn.
- Parchment paper or silicone baking mat : Parchment is my go-to—it’s cheap, disposable, and gives perfectly even browning.
- Cookie scoop (about 2 tablespoons) : Not essential, but it makes uniformly sized cookies. I use a #40 scoop.
- Cooling rack : Lets air circulate so the bottoms don’t get soggy.
Budget Tip: If you don’t have a cookie scoop, use two spoons to portion the dough. And if you don’t have a cooling rack, just transfer cookies to a plate—they’ll still be delicious.
Preparation Method
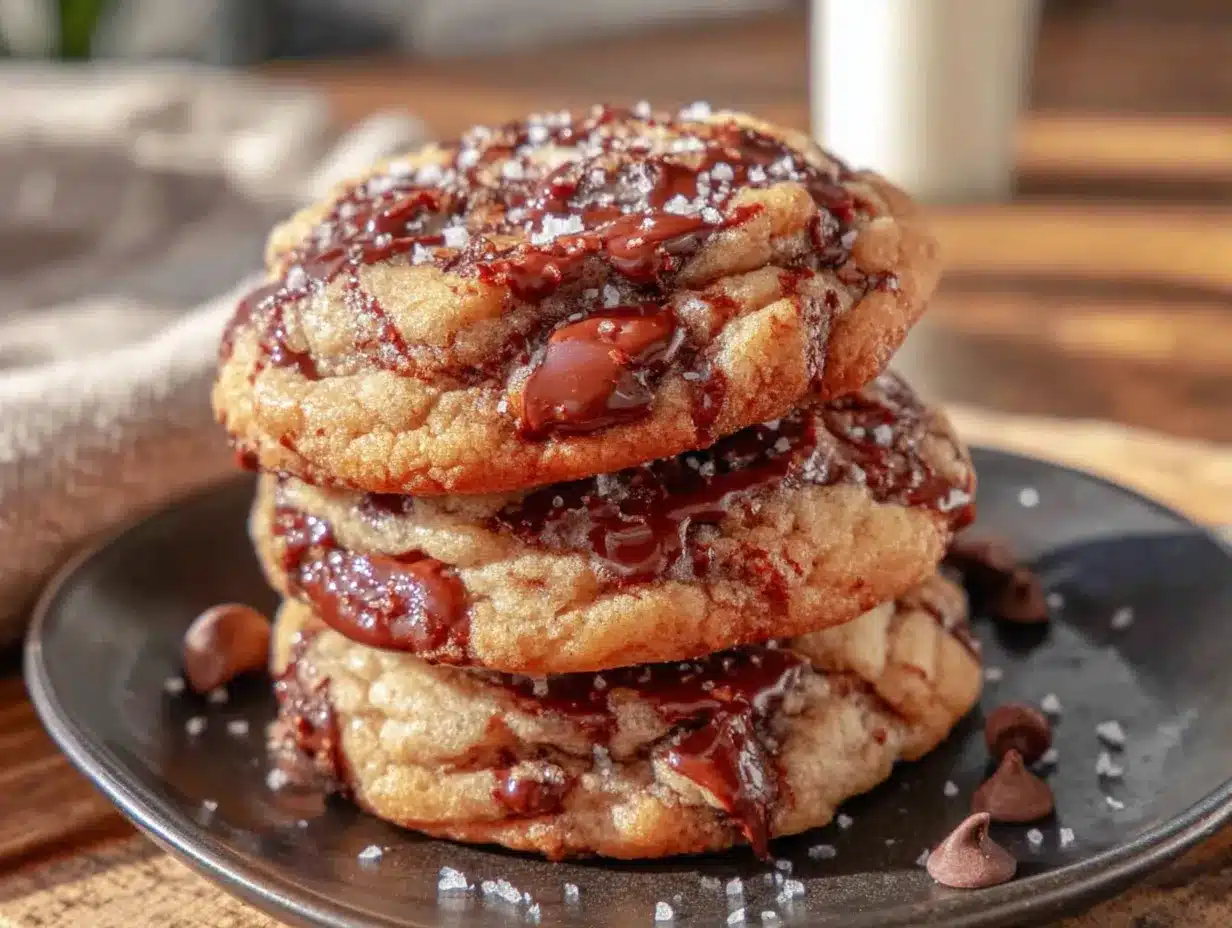
Let’s make some cookies. Set aside about 2 hours total—30 minutes of active work, 30 minutes of chilling, and about 45 minutes of baking time. Trust me, it’s worth every minute.
- Brown the butter. Cut the 1 cup (2 sticks) of butter into pieces and place them in a light-colored saucepan over medium heat. Stir frequently with a rubber spatula or wooden spoon. The butter will melt, then foam, then start to turn golden. Watch carefully—once you see brown specks forming at the bottom and it smells nutty (like toasted hazelnuts), remove it from the heat immediately. This takes about 5-7 minutes. Pour the browned butter into a large mixing bowl, making sure to scrape all those brown bits into the bowl. Let it cool for 10 minutes. Don’t skip the cooling—hot butter will cook the eggs.
- Combine sugars and butter. Add the ½ cup granulated sugar and 1 cup packed light brown sugar to the cooled brown butter. Whisk until smooth and well combined. It will look like wet sand. This takes about 30 seconds.
- Add eggs and vanilla. Crack the 2 room-temperature eggs into the bowl. Add the 2 teaspoons vanilla extract. Whisk vigorously for about 1 minute until the mixture is thick, glossy, and lightens in color. You’ll see ribbons form when you lift the whisk. This step is important—it creates the crackly tops.
- Combine dry ingredients. In a separate small bowl, whisk together the 2 ¼ cups all-purpose flour, 1 teaspoon baking soda, and 1 teaspoon salt. Make sure there are no lumps.
- Mix dry into wet. Add the flour mixture to the butter mixture. Use a rubber spatula to fold gently until just combined. A few streaks of flour are okay—overmixing makes tough cookies. Scrape the bottom of the bowl to make sure everything is incorporated.
- Fold in chocolate chips. Add the 2 cups semi-sweet chocolate chips. Fold with the spatula until evenly distributed. The dough will be thick and slightly sticky. Taste a tiny bit (raw flour warning, but I won’t tell anyone).
- Chill the dough. Cover the bowl with plastic wrap and refrigerate for at least 30 minutes. This is non-negotiable. Chilling solidifies the butter, which prevents the cookies from spreading too thin and gives them that perfect chewy texture. You can chill for up to 48 hours—longer chilling actually deepens the flavor.
- Preheat the oven. About 10 minutes before you’re ready to bake, preheat your oven to 350°F (175°C). Line two baking sheets with parchment paper.
- Portion the dough. Use a 2-tablespoon cookie scoop to portion the dough into balls. Place them 2 inches apart on the prepared baking sheets. For those bakery-style cookies, you can press a few extra chocolate chips onto the tops of each dough ball.
- Bake. Bake one sheet at a time for 10-12 minutes. The cookies should look golden brown around the edges but still soft and slightly underdone in the center. They will continue to set as they cool. If you like softer cookies, pull them at 10 minutes. For crisper cookies, go to 12 minutes.
- Cool. Let the cookies cool on the baking sheet for 5 minutes. This allows them to set up properly. Then transfer to a wire rack to cool completely. If you’re adding flaky sea salt, sprinkle it on right when they come out of the oven.
- Repeat. Let the baking sheets cool completely between batches. Scooping dough onto a hot sheet will cause the cookies to spread too much.
Cooking Tips & Techniques
I’ve made these cookies probably fifty times by now, and I’ve learned a few things the hard way. Here’s what I wish someone had told me.
The brown butter is the whole point. Don’t rush it. I ruined my first three batches by taking the butter off too early. You need to see those brown specks and smell that nutty aroma. But also—don’t walk away. It goes from perfect to burnt in about 15 seconds. Swirl the pan constantly and trust your nose. If it smells like toasted almonds, you’re golden. If it smells like burnt popcorn, start over.
Chill the dough. Really. I know it’s tempting to skip this step. I’ve done it. The cookies spread into flat, greasy discs that look sad and taste mediocre. The 30-minute chill firms up the butter so the cookies bake up thick and chewy. If you’re in a hurry, pop the dough in the freezer for 15 minutes instead.
Measure your flour correctly. This is the most common mistake I see. Scooping flour with the measuring cup packs it down and gives you way too much. Instead, fluff the flour with a spoon, then spoon it into the measuring cup and level it off with a knife. If you have a kitchen scale, use 280 grams—it’s foolproof.
Room temperature eggs matter. Cold eggs will seize the brown butter and give you a lumpy dough. I learned this the hard way when I had to pick chunks of solidified butter out of my batter. If you forgot to set them out, place the eggs in a bowl of warm water for 5 minutes.
Bake one sheet at a time. I know it takes longer, but baking two sheets at once leads to uneven cooking. The top sheet browns faster while the bottom sheet stays pale. Your patience will be rewarded with perfectly baked cookies.
Variations & Adaptations
One of the best things about this recipe is how versatile it is. Here are some of my favorite twists.
- Chocolate Lover’s Dream : Swap ½ cup of the semi-sweet chips for dark chocolate chunks and add 2 tablespoons of cocoa powder to the flour mixture. The brown butter and dark chocolate combo is absolutely ridiculous.
- Nutty Crunch : Add ¾ cup of toasted pecans or walnuts, roughly chopped. Toast them in the oven at 350°F for 5-7 minutes before adding to the dough. The crunch is a beautiful contrast to the soft centers.
- Sea Salt Caramel : Press a soft caramel candy into the center of each dough ball before baking. Top with flaky sea salt right out of the oven. The caramel gets all gooey and amazing.
- Gluten-Free Version : Substitute the all-purpose flour with a 1:1 gluten-free baking blend. I’ve had great results with Cup4Cup. Add an extra tablespoon of milk if the dough seems too dry.
- Vegan Adaptation : Use vegan butter sticks (like Miyoko’s) and a flax egg (1 tablespoon ground flaxseed mixed with 3 tablespoons water, let sit for 5 minutes). The browning takes a bit longer, but the flavor is still fantastic.
I once made a batch with white chocolate chips and dried cranberries for a holiday party. They disappeared in 10 minutes. Don’t be afraid to experiment—this dough is forgiving.
Serving & Storage Suggestions
These cookies are best served warm, when the chocolate is still melty and the edges are crisp. Let them cool for just 5 minutes on the baking sheet, then transfer to a plate and dig in. A glass of cold milk or a hot cup of coffee is the perfect companion.
For a really special presentation, arrange the cookies on a wooden board with some fresh fruit and a bowl of whipped cream. They’re also fantastic crumbled over vanilla ice cream for a quick dessert.
Storing: Keep leftover cookies in an airtight container at room temperature for up to 5 days. Place a slice of bread in the container—it absorbs excess air and keeps the cookies soft. Change the bread every other day.
Freezing: These cookies freeze beautifully. You can freeze the baked cookies for up to 3 months. Wrap them individually in plastic wrap, then place in a freezer bag. Thaw at room temperature for 30 minutes, or pop one in the microwave for 10 seconds for that fresh-baked feel.
Freezing the dough: Even better—freeze the dough balls. Scoop them onto a baking sheet and freeze until solid (about 1 hour). Transfer to a freezer bag. Bake from frozen, adding 2-3 minutes to the baking time. This means you’re always 12 minutes away from fresh cookies.
The flavor actually deepens after a day or two. I’ve been known to sneak one for breakfast with my coffee. No regrets.
Nutritional Information & Benefits
Let’s be real—these are cookies, not health food. But they’re made with real ingredients, and that counts for something. Here’s the approximate nutritional breakdown per cookie (based on 24 cookies):
| Nutrient | Amount |
|---|---|
| Calories | 245 |
| Total Fat | 14g |
| Saturated Fat | 9g |
| Cholesterol | 35mg |
| Sodium | 180mg |
| Total Carbohydrates | 30g |
| Dietary Fiber | 2g |
| Sugars | 20g |
| Protein | 3g |
On the bright side, dark chocolate is rich in antioxidants, and the brown butter provides a small amount of vitamin A. These cookies are also free from artificial preservatives and high-fructose corn syrup. Plus, there’s something to be said for the mental health benefits of a homemade cookie—comfort food is real, and it matters.
Dietary Note: This recipe contains dairy, eggs, and gluten. For allergen-friendly alternatives, see the variations section above.
Conclusion
These cozy brown butter chocolate chip cookies are more than just a recipe—they’re a little piece of my kitchen history. Every time I make them, I think about that tiny bakery in Portland and the rainy afternoon when I finally got it right. They’ve become my go-to for everything from holiday cookie swaps to spontaneous Tuesday night baking sessions.
What I love most about this recipe is how accessible it is. No mixer, no complicated techniques, just good ingredients and a little patience. The brown butter adds a depth of flavor that makes these cookies taste like they came from a fancy bakery, but they’re made right in your own kitchen. That’s a pretty special thing.
I’d love to hear how yours turn out. Did you add any fun mix-ins? Did you manage to not eat the whole batch in one sitting? (I certainly haven’t mastered that skill.) Drop a comment below and share your experience. And if you’re feeling generous, share this recipe with someone who needs a little coziness in their life. Happy baking, friend!
Frequently Asked Questions
Can I use salted butter instead of unsalted?
Yes, but reduce the added salt in the recipe to ½ teaspoon. The salted butter will add enough salt on its own. Just be aware that different brands have different salt levels, so it’s harder to control the final flavor.
Why did my cookies spread too much?
This usually happens for one of three reasons: the dough wasn’t chilled long enough, the butter was too warm when you added the eggs, or you used too little flour. Make sure to chill the dough for at least 30 minutes and measure your flour correctly by spooning and leveling.
Can I make the dough ahead of time?
Absolutely! The dough can be refrigerated for up to 48 hours. In fact, the flavor gets even better as the brown butter and vanilla meld with the other ingredients. Just let the dough sit at room temperature for 10 minutes before scooping if it’s too firm.
How do I know when the butter is properly browned?
Look for three signs: the butter will turn a golden-amber color, you’ll see tiny brown specks at the bottom of the pan, and it will smell nutty and toasty. The whole process takes about 5-7 minutes over medium heat. Don’t walk away—it can burn quickly.
Can I use this recipe for cookie bars instead?
Yes! Press the dough into a greased 9×13-inch baking pan and bake at 350°F for 20-25 minutes. The edges will be crispy and the center will be soft and chewy. Let cool completely before cutting into squares. You might need to add a few minutes to the baking time.
Pin This Recipe!
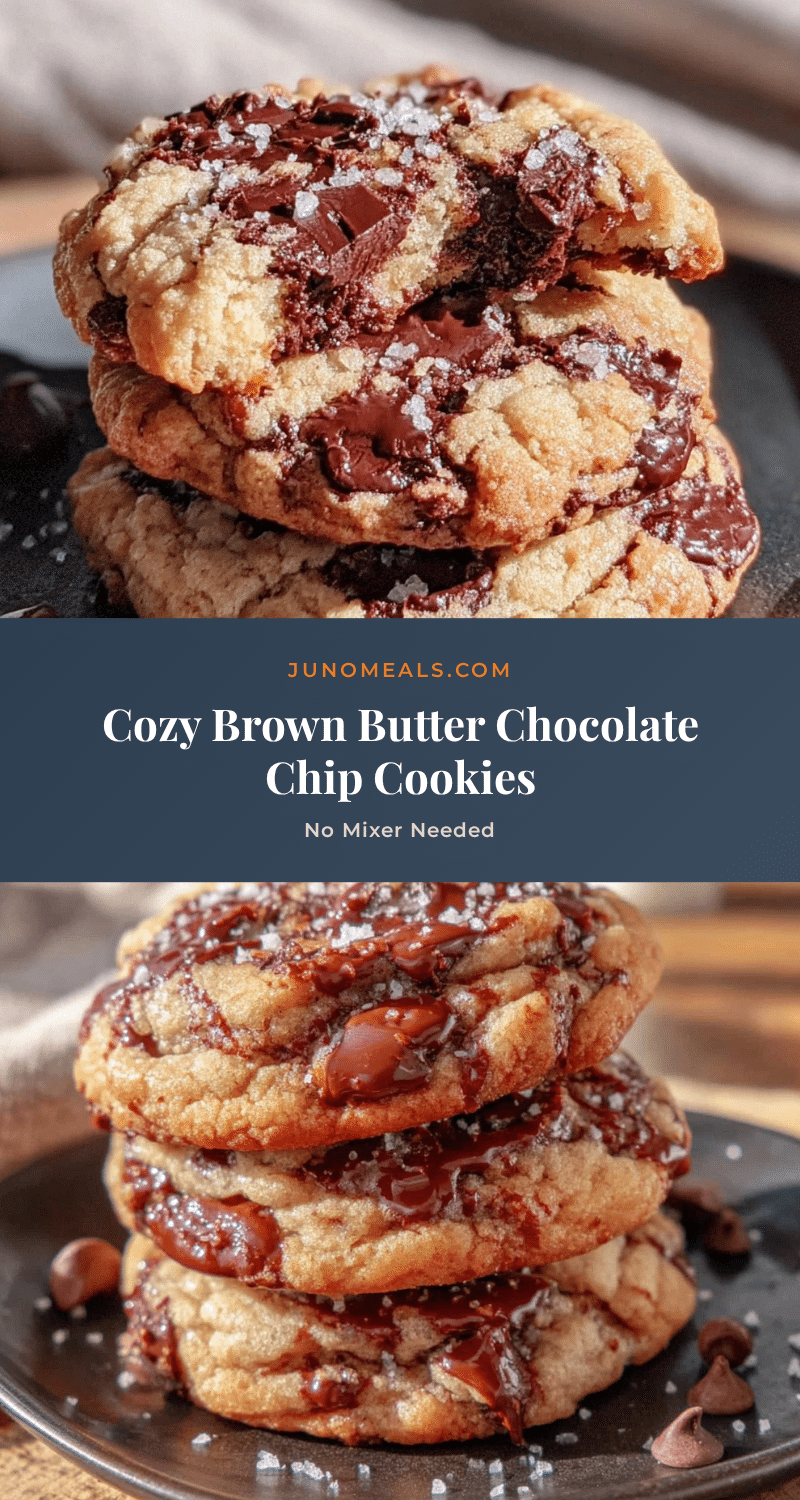
Cozy Brown Butter Chocolate Chip Cookies – Easy No Mixer Recipe
These brown butter chocolate chip cookies have crispy edges, soft centers, and a deep nutty flavor from browned butter. No mixer required, just a whisk and a bowl.
- Prep Time: 30 minutes
- Cook Time: 12 minutes per batch
- Total Time: 2 hours (includes chilling and baking)
- Yield: 24 cookies 1x
- Category: Dessert
- Cuisine: American
Ingredients
- 1 cup (2 sticks / 226 grams) unsalted butter
- 2 ¼ cups (280 grams) all-purpose flour
- ½ cup (100 grams) granulated sugar
- 1 cup (200 grams, packed) light brown sugar
- 2 large eggs, room temperature
- 2 teaspoons vanilla extract
- 1 teaspoon baking soda
- 1 teaspoon fine sea salt
- 2 cups (340 grams) semi-sweet chocolate chips
- Optional: flaky sea salt for topping
Instructions
- Brown the butter: Cut 1 cup (2 sticks) of butter into pieces and place in a light-colored saucepan over medium heat. Stir frequently until melted, then foamy, then golden with brown specks and a nutty aroma (about 5-7 minutes). Remove from heat immediately and pour into a large mixing bowl, scraping all brown bits. Let cool for 10 minutes.
- Combine sugars and butter: Add ½ cup granulated sugar and 1 cup packed light brown sugar to the cooled brown butter. Whisk until smooth and well combined (about 30 seconds).
- Add eggs and vanilla: Crack 2 room-temperature eggs into the bowl and add 2 teaspoons vanilla extract. Whisk vigorously for about 1 minute until thick, glossy, and lighter in color.
- Combine dry ingredients: In a separate small bowl, whisk together 2 ¼ cups all-purpose flour, 1 teaspoon baking soda, and 1 teaspoon salt.
- Mix dry into wet: Add the flour mixture to the butter mixture. Fold gently with a rubber spatula until just combined (a few streaks of flour are okay).
- Fold in chocolate chips: Add 2 cups semi-sweet chocolate chips and fold until evenly distributed.
- Chill the dough: Cover the bowl with plastic wrap and refrigerate for at least 30 minutes (up to 48 hours).
- Preheat the oven: About 10 minutes before baking, preheat oven to 350°F (175°C). Line two baking sheets with parchment paper.
- Portion the dough: Use a 2-tablespoon cookie scoop to portion dough into balls. Place 2 inches apart on prepared baking sheets. Optionally press extra chocolate chips onto tops.
- Bake: Bake one sheet at a time for 10-12 minutes, until edges are golden brown but centers are still soft.
- Cool: Let cookies cool on the baking sheet for 5 minutes, then transfer to a wire rack to cool completely. If using flaky sea salt, sprinkle on right out of the oven.
- Repeat: Let baking sheets cool completely between batches.
Notes
Chill the dough for at least 30 minutes to prevent spreading. Brown butter carefully—it can burn quickly. Measure flour by spooning and leveling for best results. For softer cookies, bake 10 minutes; for crisper, bake 12 minutes. Store in an airtight container at room temperature for up to 5 days. Freeze baked cookies for up to 3 months or dough balls for up to 3 months.
Nutrition
- Serving Size: 1 cookie
- Calories: 245
- Sugar: 20
- Sodium: 180
- Fat: 14
- Saturated Fat: 9
- Carbohydrates: 30
- Fiber: 2
- Protein: 3
Keywords: brown butter chocolate chip cookies, no mixer cookies, easy cookie recipe, chewy cookies, homemade cookies


