I was elbow-deep in a pile of overripe persimmons last November, the kind of situation where you’ve bought too many at the farmer’s market because they looked so perfect and now they’re staring at you from the fruit bowl with what I can only describe as gentle judgment. My kitchen counter was sticky, my hands were stained orange, and I had a half-written grocery list for a completely different recipe crumpled somewhere under the chaos. That’s when the idea hit me — not like a lightning bolt, more like a quiet tap on the shoulder. What if I stopped fighting the sweetness of these things and just leaned all the way in?
Let me tell you, I’ve made a lot of upside-down cakes in my time. Pineapple, apple, even a questionable pear version that came out looking like a science experiment. But there’s something about persimmons — that almost honey-like flesh, the way they turn jammy and translucent when they hit heat — that made me wonder why nobody talks about them in this context. I mean, you see persimmon bread and persimmon cookies everywhere come fall, but a sticky caramel upside-down cake? That felt like uncharted territory, and honestly, I love a good kitchen challenge.
So I grabbed my favorite cast iron skillet, raided the pantry for brown sugar and butter, and started experimenting. The first attempt was a disaster — too much caramel, not enough structure, and the persimmons slid right off when I flipped it. My dog enjoyed that one, at least. The second try was better. The third? That was the one where I actually stopped mid-bite and just sat there for a minute, processing. It tasted like something between a memory and a promise. Maybe you’ve been there — that moment when a recipe clicks so perfectly you almost don’t trust it.
This cake has become my fall signature, the thing I bring to gatherings where I want to impress without being showy about it. It’s the dessert that gets those quiet “can I have the recipe?” comments, the one people text me about weeks later. And every time I make it, I think about that sticky counter and those judgmental persimmons and how sometimes the best recipes come from a mess.
Why You’ll Love This Recipe
This isn’t just another upside-down cake — it’s the kind of dessert that makes you close your eyes after the first bite. I’ve tested this recipe six times across three different ovens (my finicky home oven, my neighbor’s gas range, and a friend’s convection model), and it delivered consistent, gorgeous results every single time. Here’s what makes it special:
- Quick & Easy: Comes together in about an hour, with only 20 minutes of active prep. Perfect for those evenings when you need dessert but don’t want to spend all night in the kitchen.
- Simple Ingredients: No fancy extracts or hard-to-find specialty items. You probably have most of this in your pantry right now — butter, sugar, flour, eggs. The persimmons are the star, and they’re easy to find at most grocery stores during fall and winter.
- Perfect for Fall Gatherings: This cake screams autumn without being predictable. It’s great for Thanksgiving, Friendsgiving, or just a cozy Sunday when you want the house to smell amazing.
- Crowd-Pleaser: I’ve served this to kids, picky eaters, and dessert snobs. Everyone loves it. The caramel topping gets this almost candied texture that people can’t stop picking at.
- Unbelievably Delicious: The texture is what gets me every time — tender, moist cake with these pockets of jammy persimmon and that sticky caramel layer that soaks into everything. It’s comfort food that feels a little fancy.
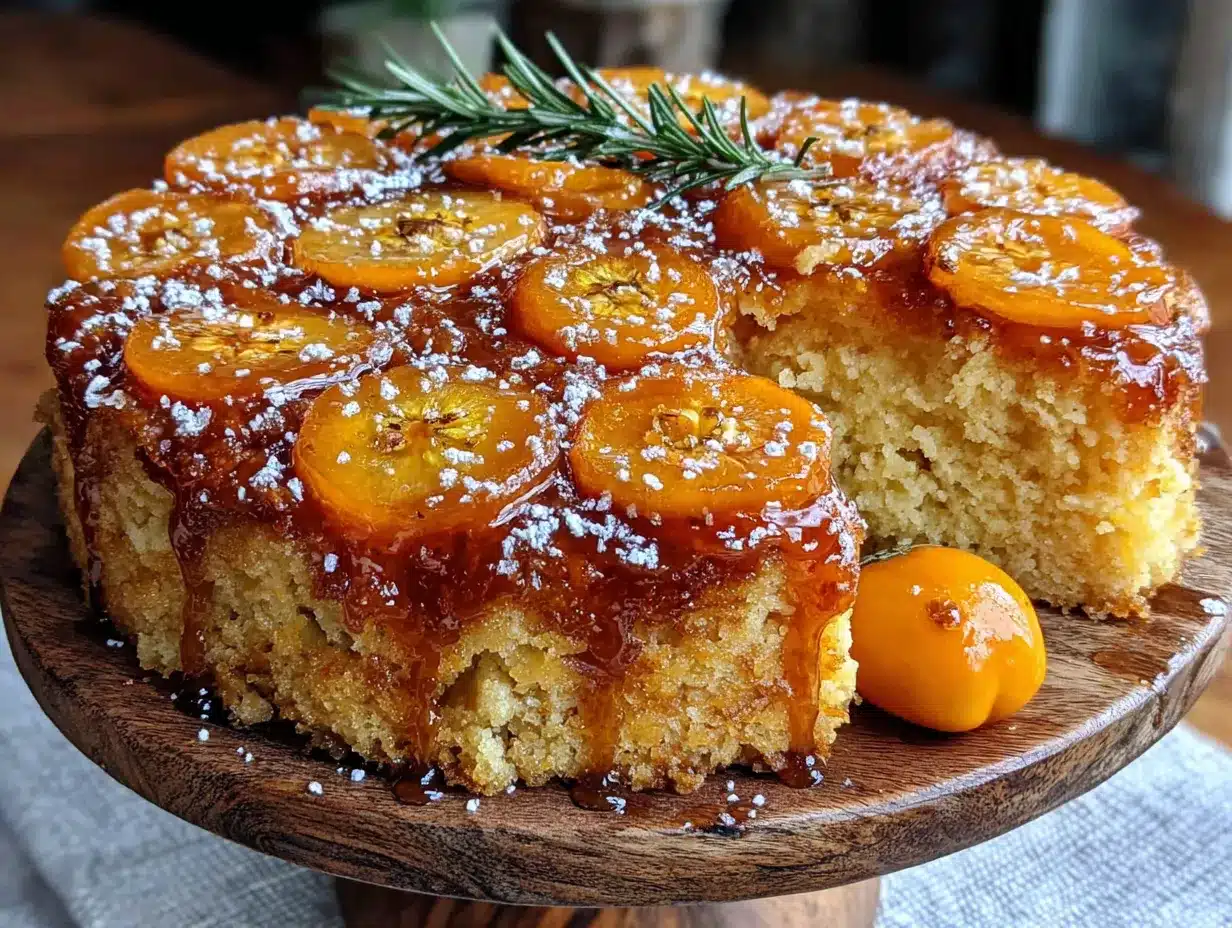
What sets this apart from other upside-down cakes is the persimmon itself. Unlike pineapple, which can be acidic and overwhelming, persimmons bring a gentle honey-like sweetness that complements the caramel without fighting it. And because persimmons break down differently than other fruits, you get these beautiful translucent slices that look like stained glass when the cake is flipped.
This recipe is also naturally more wholesome than your typical upside-down cake. I’ve cut back on the sugar slightly to let the persimmons shine, and I use a combination of whole wheat pastry flour and all-purpose flour for a little extra fiber and nuttiness. It’s the kind of dessert that feels indulgent but doesn’t leave you with that heavy, regretful feeling afterward.
What Ingredients You Will Need
This recipe uses simple, wholesome ingredients that work together to create something truly special. Most of these are pantry staples, and the persimmons are the only thing you might need to seek out — but trust me, they’re worth the effort.
For the Caramel Topping
- 1/2 cup unsalted butter (1 stick), cut into pieces — I prefer Kerrygold for its richness, but any good-quality butter works
- 3/4 cup packed brown sugar — light or dark both work; dark gives a deeper molasses flavor
- 2 tablespoons honey or maple syrup — adds complexity and helps the caramel stay glossy
- 1/4 teaspoon salt — balances the sweetness and enhances the caramel flavor
- 3-4 ripe but firm Fuyu persimmons, peeled and sliced into 1/4-inch rounds (about 1 1/2 cups sliced) — look for persimmons that give slightly when pressed but aren’t mushy
For the Cake Batter
- 1 1/2 cups all-purpose flour — I sometimes swap 1/2 cup for whole wheat pastry flour for a heartier texture
- 1 teaspoon baking powder
- 1/2 teaspoon baking soda
- 1/2 teaspoon ground cinnamon — adds warmth that pairs beautifully with persimmons
- 1/4 teaspoon ground ginger — optional but recommended; it gives a subtle kick
- 1/4 teaspoon salt
- 1/2 cup unsalted butter, softened to room temperature
- 3/4 cup granulated sugar — I’ve used coconut sugar here too, and it works great with a slightly earthier result
- 2 large eggs, room temperature — cold eggs can seize the batter, so let them sit out for 30 minutes
- 1 teaspoon vanilla extract
- 1/2 cup buttermilk — or make your own by adding 1/2 tablespoon lemon juice to 1/2 cup milk and letting it sit for 5 minutes
- 1/4 cup plain Greek yogurt or sour cream — adds moisture and tenderness; I prefer full-fat for best texture
Ingredient Selection Tips
For persimmons, look for Fuyu variety specifically — they’re the squat, tomato-shaped ones that stay firm when ripe. Hachiya persimmons (the acorn-shaped ones) are too soft and astringent for this application. I’ve made the mistake before, and the cake turned into a soggy mess. Fuyus hold their shape beautifully during baking and develop that gorgeous translucent look.
If you can’t find persimmons, ripe pears or apples make decent substitutes, though the flavor profile changes. I’ve also made this with sliced plums in late summer, and it was fantastic — just reduce the sugar slightly since plums are more tart.
For the brown sugar, I recommend using fresh, soft brown sugar. If yours has hardened into a brick, pop it in the microwave with a damp paper towel for 20 seconds to soften it up. Trust me on this — hard brown sugar doesn’t dissolve properly in the caramel and can leave gritty spots.
Equipment Needed
You don’t need a professional kitchen to make this cake, but having the right tools makes everything smoother. Here’s what you’ll need:
- 10-inch cast iron skillet — This is my non-negotiable tool for upside-down cakes. The even heat distribution creates perfect caramel without hot spots, and the skillet goes straight from stovetop to oven. If you don’t have one, a 10-inch oven-safe nonstick skillet works, but the caramel won’t develop quite as evenly.
- Electric mixer — Hand mixer or stand mixer both work. I’ve made this with a whisk and some elbow grease, and it’s doable but tiring. The batter needs to be light and fluffy, so mechanical help is appreciated.
- Mixing bowls — At least two: one for dry ingredients, one for wet
- Sharp knife and cutting board — For slicing persimmons evenly. A mandoline works too if you want perfectly uniform slices
- Spatula — Both a rubber spatula for scraping bowls and an offset spatula for smoothing the batter
- Cooling rack — Essential for the flip step; you need airflow underneath the cake
- Parchment paper — Optional but helpful for lining the bottom of the skillet if you’re nervous about sticking
Budget-friendly tip: If you don’t own a cast iron skillet, check thrift stores or garage sales. I found my favorite one for $8, and it was already perfectly seasoned. New ones are great too, but there’s something special about a well-loved skillet.
Preparation Method
Let me walk you through this step by step. I’ve included all the little details I wish someone had told me the first time I made this.
- Preheat your oven to 350°F (175°C) and position a rack in the center. This is important — too low and the bottom of the cake won’t set properly; too high and the caramel burns before the cake is done.
- Make the caramel topping: Place your cast iron skillet over medium heat and add the 1/2 cup butter. Let it melt completely, swirling occasionally. Once the butter is melted and starting to foam (about 2 minutes), sprinkle the 3/4 cup brown sugar evenly over the butter. Add the 2 tablespoons honey and 1/4 teaspoon salt. Stir gently with a wooden spoon until everything is combined and bubbling — about 2-3 minutes. Don’t walk away here; caramel can go from perfect to burnt in seconds. Remove from heat and let it cool for 5 minutes. The caramel will thicken as it cools.
- Arrange the persimmons: While the caramel cools, peel your persimmons and slice them into even 1/4-inch rounds. I like to cut off the top and bottom first, then stand the persimmon up and slice downward. Arrange the slices in concentric circles over the caramel, overlapping them slightly. Don’t press them down — just lay them gently. The caramel will bubble up around them during baking. Take your time here; this is the part that makes the cake look gorgeous when flipped.
- Mix the dry ingredients: In a medium bowl, whisk together the 1 1/2 cups flour, 1 teaspoon baking powder, 1/2 teaspoon baking soda, 1/2 teaspoon cinnamon, 1/4 teaspoon ginger (if using), and 1/4 teaspoon salt. Set aside.
- Cream the butter and sugar: In a large bowl, beat the 1/2 cup softened butter and 3/4 cup granulated sugar together until light and fluffy — about 3-4 minutes with an electric mixer on medium speed. Scrape down the sides of the bowl halfway through. The mixture should look pale and almost doubled in volume. This step is crucial for a tender cake, so don’t rush it.
- Add eggs and vanilla: Add the 2 eggs one at a time, beating well after each addition (about 30 seconds each). Then add the 1 teaspoon vanilla extract and beat until combined. The batter might look slightly curdled at this point — that’s normal, especially if your eggs were cold. Don’t panic.
- Alternate dry and wet ingredients: With the mixer on low speed, add about one-third of the flour mixture, then half of the buttermilk, then another third of flour, then the remaining buttermilk, and finally the last of the flour. Mix just until combined after each addition — overmixing will make the cake tough. Fold in the 1/4 cup Greek yogurt or sour cream with a rubber spatula until just incorporated. The batter should be thick and fluffy, like a really good muffin batter.
- Assemble and bake: Spoon the batter in dollops over the persimmon layer, then gently spread it evenly with an offset spatula. Be careful not to disturb the persimmon arrangement too much. Bake for 35-40 minutes, or until a toothpick inserted in the center comes out clean or with just a few moist crumbs. The top should be golden brown and spring back when lightly pressed. My oven runs hot, so I start checking at 32 minutes.
- The flip: This is the moment of truth. Let the cake cool in the skillet for exactly 10 minutes — no longer, or the caramel will stick. Run a knife around the edge of the skillet to loosen the cake. Place a large serving plate (with a lip to catch any caramel drips) upside down over the skillet. Take a deep breath, then carefully but confidently flip the skillet over. Let it sit for 30 seconds before lifting the skillet. If any persimmon slices stick, just nudge them back into place with a knife. It happens to everyone.
- Cool completely: Let the cake cool on the plate for at least 30 minutes before slicing. The caramel needs time to set, and the cake needs to finish cooking through from its own residual heat. I know it’s tempting to cut into it immediately, but patience pays off here.
Cooking Tips & Techniques
After making this cake more times than I care to count, I’ve learned a few things the hard way. Here are my best tips:
Don’t skip the buttermilk. I know, I know — it’s an extra ingredient. But the acidity in buttermilk reacts with the baking soda to create a tender crumb that’s essential for this cake. If you must substitute, use regular milk with a tablespoon of lemon juice or vinegar, let it sit for 5 minutes, and proceed. But honestly? Real buttermilk makes a noticeable difference.
Watch your caramel like a hawk. The first time I made this, I got distracted by a phone call and let the caramel go too long. It turned bitter and grainy, and I had to start over. Caramel is forgiving up to a point, but once it crosses that line, there’s no going back. Keep the heat at medium, not high, and stir constantly once the sugar is added.
Room temperature ingredients matter. Cold butter doesn’t cream properly, cold eggs can seize the batter, and cold buttermilk can make the final batter lumpy. I set everything out on the counter about an hour before I start baking. If I forget, I’ll microwave the buttermilk for 15 seconds and put the eggs in a bowl of warm water for 5 minutes.
The flip technique is everything. I’ve had cakes stick, slide, and once — I’m not proud of this — land on the floor. Here’s what I’ve learned: let it cool exactly 10 minutes, not 8 and not 12. Run your knife around the edge twice. When you flip, do it in one smooth motion — hesitating is what causes the cake to break. And always use a plate with a rim; there will be caramel drips.
If the caramel sticks to the skillet, don’t panic. Place the skillet back on the stove over low heat for 30-60 seconds to loosen the caramel, then try again. This has saved me multiple times.
Variations & Adaptations
One of the things I love about this recipe is how adaptable it is. Here are some variations I’ve tried and loved:
Gluten-Free Version: Substitute the all-purpose flour with a 1:1 gluten-free baking flour blend. I’ve had great results with Bob’s Red Mill 1:1 Baking Flour. Add an extra tablespoon of buttermilk since gluten-free flours tend to be more absorbent. The texture is slightly more delicate, but the flavor is spot-on.
Dairy-Free Adaptation: Use vegan butter (I like Miyoko’s for baking) and substitute the buttermilk with 1/2 cup unsweetened almond milk mixed with 1/2 tablespoon apple cider vinegar. Replace the Greek yogurt with coconut yogurt. The cake won’t be quite as tender, but it’s still delicious.
Spiced Winter Version: Add 1/4 teaspoon each of cardamom, nutmeg, and cloves to the dry ingredients. This turns the cake into something that tastes like a winter market in a Scandinavian country. I made this version for a holiday party and got three recipe requests.
Apple-Persimmon Combo: Use half persimmons and half thinly sliced apples (Honeycrisp or Fuji work great). The apples add a slight tartness that balances the sweetness of the persimmons. Arrange them in alternating patterns for a beautiful presentation.
Individual Skillet Cakes: Use 6-inch cast iron skillets or oven-safe ramekins. Reduce the baking time to 20-25 minutes. These are perfect for dinner parties where everyone wants their own little cake.
Lower Sugar Option: Reduce the brown sugar in the caramel to 1/2 cup and the granulated sugar in the batter to 1/2 cup. The cake will be less sweet but still delicious, and the persimmons’ natural sweetness will shine through more. I’ve made this version for friends who are watching their sugar intake, and nobody complained.
Serving & Storage Suggestions
Serving: This cake is best served warm, about 30 minutes after it comes out of the oven. The caramel is still slightly gooey, and the cake is tender and fragrant. A dollop of lightly sweetened whipped cream or a scoop of vanilla ice cream takes it to another level — the cold creaminess against the warm, sticky cake is pure magic.
For a more elegant presentation, dust the top with a little powdered sugar or add a sprinkle of flaky sea salt right before serving. The salt cuts through the sweetness and makes the persimmon flavor pop. I learned this trick from a pastry chef friend, and I never skip it now.
Storage: Cover the cake tightly with plastic wrap or aluminum foil and store at room temperature for up to 2 days. The caramel will soften and soak into the cake more over time, which honestly makes it even better the next day. I’ve eaten this cake for breakfast more times than I’d like to admit.
For longer storage, wrap individual slices in plastic wrap, then place them in a freezer-safe bag or container. Freeze for up to 3 months. To reheat, let the slice thaw at room temperature for 30 minutes, then warm it in a 300°F oven for 10 minutes, or microwave for 20-30 seconds. The microwave is faster, but the oven restores some of the crispness to the caramel edges.
Flavor Development: Here’s something interesting — the persimmon flavor actually intensifies after the cake sits for a day. The first day, the caramel is the dominant flavor. By day two, the honeyed notes of the persimmon have melded with the caramel, creating a more complex, nuanced dessert. So if you can resist eating it all on day one, you’re in for a treat on day two.
Nutritional Information & Benefits
Per slice (based on 10 servings): approximately 380 calories, 18g fat, 52g carbohydrates, 2g fiber, 32g sugar, 5g protein. These are estimates and will vary based on specific ingredients and substitutions.
Persimmons are the real nutritional star here. They’re packed with vitamin A (great for eye health), vitamin C (immune support), and manganese. They also contain antioxidants like flavonoids and tannins that have anti-inflammatory properties. One persimmon has about 6 grams of fiber, which helps with digestion and keeping you full.
This cake also uses less sugar than traditional upside-down cakes because persimmons are naturally very sweet. I’ve reduced the sugar by about 25% compared to my original pineapple version, and nobody has ever noticed. It’s a small win for anyone trying to cut back without sacrificing flavor.
For those with dietary concerns: this recipe contains dairy, gluten, and eggs. The variations section above includes dairy-free and gluten-free options. It’s not suitable for vegan diets as written, but I’m working on a vegan version and will share it when it’s ready.
Conclusion
This sticky caramel persimmon upside-down cake has become my signature fall dessert for good reason. It’s the kind of recipe that feels special without being complicated, the one that makes people ask for seconds and then quietly ask for the recipe. The combination of tender, spiced cake with those jammy persimmon slices and that glossy caramel topping is something I genuinely look forward to making every year when persimmon season rolls around.
I’d love for you to try this and make it your own. Maybe you’ll add more spice, swap in a different fruit, or discover that you love it with a drizzle of extra caramel on top (no judgment here). The beauty of a recipe like this is that it’s a starting point — a framework for something delicious that you can adapt to your own taste.
When you make it — and I hope you do — come back and let me know how it turned out. Did you try a variation? Did your family fight over the last slice? Did you discover a trick I haven’t thought of? I read every comment, and your stories are what keep me experimenting in the kitchen. Happy baking, friend. This one’s a keeper.
Frequently Asked Questions
Can I use Hachiya persimmons instead of Fuyu?
I wouldn’t recommend it. Hachiya persimmons are very soft and astringent when not fully ripe, and they turn into mush during baking. Stick with Fuyu persimmons — they’re firm enough to hold their shape and sweet enough to not need any extra sugar. If Hachiya is all you can find, make sure they’re extremely ripe (almost jelly-like inside) and expect a much softer, less defined result.
Why did my caramel stick to the skillet?
This usually happens for one of two reasons: either you let the cake cool too long in the skillet (more than 12-15 minutes), or the caramel wasn’t cooked long enough before adding the persimmons. Next time, set a timer for exactly 10 minutes after the cake comes out of the oven. If it still sticks, gently warm the skillet on the stove for 30-60 seconds to loosen the caramel, then try flipping again.
Can I make this cake ahead of time?
Absolutely. In fact, I often make it the day before I plan to serve it. The flavors meld and deepen overnight, and the caramel soaks into the cake beautifully. Just cool the cake completely, cover it tightly, and store at room temperature. Reheat individual slices in a 300°F oven for 10 minutes, or serve at room temperature — both are delicious.
How do I know when persimmons are ripe enough?
Fuyu persimmons should be firm but give slightly when you press them gently — similar to a ripe tomato or a firm peach. The skin should be bright orange without any green patches. If they’re rock hard, let them sit on the counter for a few days. If they’re mushy or have dark spots, they’re past their prime for this recipe.
Can I freeze this cake?
Yes, and it freezes surprisingly well. Let the cake cool completely, then wrap individual slices tightly in plastic wrap, followed by a layer of aluminum foil. Freeze for up to 3 months. To thaw, let the slice sit at room temperature for about 30 minutes, then warm it in a 300°F oven for 10 minutes. The caramel might lose a bit of its initial gloss, but the flavor will still be fantastic.
Pin This Recipe!
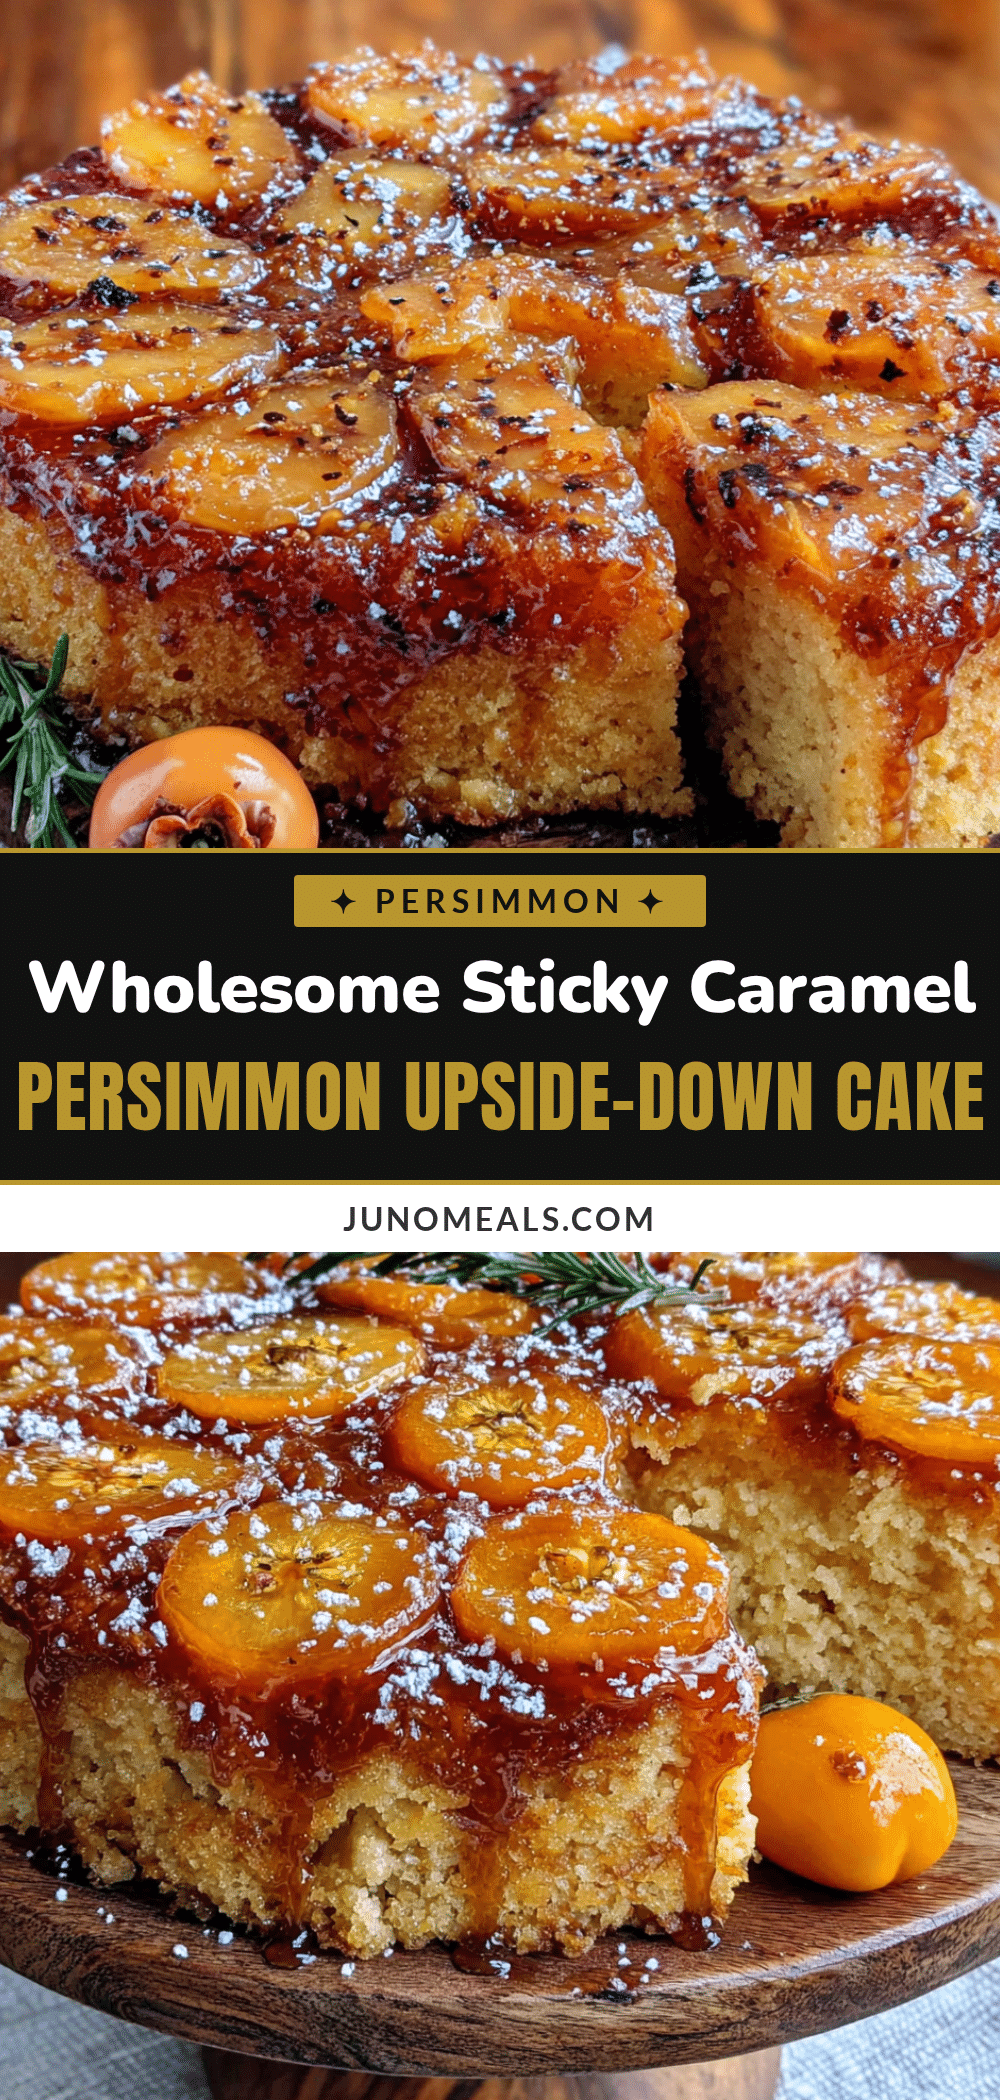
Best Sticky Caramel Persimmon Upside-Down Cake Recipe
A tender, spiced upside-down cake featuring jammy Fuyu persimmon slices and a glossy caramel topping. This fall favorite comes together in about an hour with simple ingredients and is perfect for gatherings or cozy weekends.
- Prep Time: 20 minutes
- Cook Time: 35-40 minutes
- Total Time: 1 hour
- Yield: 10 servings 1x
- Category: Dessert
- Cuisine: American
Ingredients
- 1/2 cup unsalted butter (1 stick), cut into pieces
- 3/4 cup packed brown sugar (light or dark)
- 2 tablespoons honey or maple syrup
- 1/4 teaspoon salt
- 3–4 ripe but firm Fuyu persimmons, peeled and sliced into 1/4-inch rounds (about 1 1/2 cups sliced)
- 1 1/2 cups all-purpose flour (or substitute 1/2 cup with whole wheat pastry flour)
- 1 teaspoon baking powder
- 1/2 teaspoon baking soda
- 1/2 teaspoon ground cinnamon
- 1/4 teaspoon ground ginger (optional)
- 1/4 teaspoon salt
- 1/2 cup unsalted butter, softened to room temperature
- 3/4 cup granulated sugar (or coconut sugar)
- 2 large eggs, room temperature
- 1 teaspoon vanilla extract
- 1/2 cup buttermilk (or 1/2 cup milk + 1/2 tablespoon lemon juice, let sit 5 minutes)
- 1/4 cup plain Greek yogurt or sour cream (full-fat preferred)
Instructions
- Preheat oven to 350°F (175°C) and position a rack in the center.
- Make the caramel topping: In a 10-inch cast iron skillet over medium heat, melt 1/2 cup butter until foaming (about 2 minutes). Sprinkle 3/4 cup brown sugar evenly over the butter. Add 2 tablespoons honey and 1/4 teaspoon salt. Stir gently with a wooden spoon until combined and bubbling (2-3 minutes). Remove from heat and let cool for 5 minutes.
- Arrange the persimmons: Peel and slice persimmons into 1/4-inch rounds. Arrange slices in concentric circles over the caramel, overlapping slightly. Do not press down.
- Mix dry ingredients: In a medium bowl, whisk together 1 1/2 cups flour, 1 teaspoon baking powder, 1/2 teaspoon baking soda, 1/2 teaspoon cinnamon, 1/4 teaspoon ginger (if using), and 1/4 teaspoon salt. Set aside.
- Cream butter and sugar: In a large bowl, beat 1/2 cup softened butter and 3/4 cup granulated sugar together until light and fluffy (3-4 minutes with electric mixer on medium speed). Scrape down sides halfway through.
- Add eggs and vanilla: Add 2 eggs one at a time, beating well after each addition (about 30 seconds each). Add 1 teaspoon vanilla extract and beat until combined.
- Alternate dry and wet ingredients: With mixer on low, add about one-third of flour mixture, then half of buttermilk, then another third of flour, then remaining buttermilk, then last of flour. Mix just until combined after each addition. Fold in 1/4 cup Greek yogurt or sour cream with a rubber spatula until just incorporated.
- Assemble and bake: Spoon batter in dollops over persimmon layer, then gently spread evenly with an offset spatula. Bake for 35-40 minutes, or until a toothpick inserted in center comes out clean or with a few moist crumbs. Top should be golden brown and spring back when lightly pressed.
- The flip: Let cake cool in skillet for exactly 10 minutes. Run a knife around edge to loosen. Place a large serving plate (with a lip) upside down over skillet. Carefully but confidently flip skillet over. Let sit for 30 seconds before lifting skillet. If any persimmon slices stick, nudge them back into place.
- Cool completely: Let cake cool on plate for at least 30 minutes before slicing.
Notes
Use Fuyu persimmons only; Hachiya are too soft. Let cake cool exactly 10 minutes before flipping to prevent sticking. For best texture, use room temperature ingredients. If caramel sticks, warm skillet on low heat for 30-60 seconds to loosen. The cake tastes even better the next day as flavors meld.
Nutrition
- Serving Size: 1 slice
- Calories: 380
- Sugar: 32
- Sodium: 280
- Fat: 18
- Saturated Fat: 11
- Carbohydrates: 52
- Fiber: 2
- Protein: 5
Keywords: persimmon upside-down cake, sticky caramel cake, fall dessert, persimmon recipe, upside-down cake, cast iron skillet cake


