The bake sale was in six hours and I’d completely forgotten. My son had reminded me three times—Tuesday, Wednesday, and Thursday morning—but somewhere between packing lunches and finding his other shoe, the banana pumpkin bread I’d promised to make slipped right out of my head. It was 9 AM on Friday, and every other parent would be bringing those picture-perfect Pinterest creations with fancy frosting swirls and edible glitter. I had three overripe bananas on the counter, half a can of pumpkin puree from last month’s pie experiment, and a bag of walnuts that were probably past their prime. Let me tell you, I was not feeling confident.
I mean, I’ve been cooking for my family long enough to know that kids are brutally honest about food. They don’t care if you spent three hours on something—if it looks weird or tastes strange, they’ll tell you. So when I pulled this bread out of the oven, slightly lopsided because I’d opened the door too early to check on it (rookie mistake, honestly), I was ready to run to the store and buy something store-bought. But the smell—that warm, cozy smell of banana and pumpkin and cinnamon—filled the whole kitchen, and my youngest came running in asking, “Is that for us?”
I cut a small slice to test it, and you know that feeling when something turns out way better than you expected? The texture was soft and moist, the walnuts added this perfect little crunch, and the banana-pumpkin combo was just sweet enough without being too much. I wrapped it up, dropped it off, and tried not to think about it. That afternoon, my son came home with an empty plate and a note that said, “Please send more of this bread—it was the first thing gone.” Honestly, I was more surprised than anyone. But that’s how this recipe became a regular in our house. It’s not fancy, it’s not complicated, and it definitely doesn’t look like it belongs on a magazine cover. But it tastes like home, and apparently, that’s exactly what kids want.
Why You’ll Love This Recipe
Let me tell you why this banana pumpkin bread has earned a permanent spot in my weekly rotation. First off, it’s practically foolproof. I’ve made it when I was rushing between soccer practice and piano lessons, when I was half-awake on a Sunday morning, and even when my toddler decided to “help” by dumping in extra cinnamon. It came out great every single time. That’s the kind of recipe you need when you’re feeding a family on a budget—something reliable that doesn’t stress you out.
- Quick & Easy: From start to finish, you’re looking at about an hour. Mix the wet ingredients, stir in the dry ones, and let the oven do the work. No stand mixer required, no complicated techniques.
- Simple Ingredients: You probably have most of this in your pantry right now. Bananas, pumpkin puree, flour, sugar, eggs, oil, and walnuts. Nothing fancy, nothing expensive.
- Perfect for Busy Families: This bread works for breakfast, after-school snacks, lunchbox treats, or even a quick dessert. It’s not too sweet, so kids can eat it without bouncing off the walls.
- Crowd-Pleaser: I’ve served this to picky eaters, to my neighbor who claims she doesn’t like pumpkin, and to my dad who only eats “real” desserts. They all asked for seconds.
- Unbelievably Delicious: The combination of banana and pumpkin creates this incredibly moist texture that stays soft for days. And the walnuts? They add just enough crunch to keep every bite interesting.
What makes this recipe different from the dozens of banana bread recipes out there is the balance. Most pumpkin breads are too dense, and most banana breads disappear by lunchtime. This one hits that sweet spot—it’s light enough to feel like a treat but sturdy enough to hold up in lunchboxes. Plus, it freezes beautifully, so you can make a double batch and save one for later. Trust me, future you will be very grateful.
What Ingredients You Will Need
This recipe uses simple, budget-friendly ingredients that work together to create something truly special. Nothing here will break the bank, and most of it is stuff you probably already have in your kitchen. Here’s what you’ll need:
For the Bread
- 3 large ripe bananas, mashed (the spotter, the better—those brown bananas are perfect here)
- 1 cup pumpkin puree (not pumpkin pie filling—make sure you grab the plain stuff)
- 1/2 cup granulated sugar (you can reduce to 1/3 cup if your bananas are very sweet)
- 1/2 cup brown sugar, packed (light or dark both work—dark gives more depth)
- 2 large eggs, room temperature (cold eggs can make the batter seize up)
- 1/3 cup vegetable oil (or melted coconut oil for a subtle tropical note)
- 1 teaspoon vanilla extract (pure is better, but imitation works fine)
- 1 3/4 cups all-purpose flour (spoon and level it—don’t scoop straight from the bag)
- 1 teaspoon baking soda (make sure it’s fresh—test it in hot water if you’re unsure)
- 1/2 teaspoon baking powder
- 1/2 teaspoon salt
- 2 teaspoons pumpkin pie spice (or 1 teaspoon cinnamon + 1/2 teaspoon nutmeg + 1/2 teaspoon ginger + 1/4 teaspoon cloves)
- 1 cup walnuts, chopped (toasted first if you have time—it makes a difference)
I usually buy my pumpkin puree in bulk when it goes on sale around Thanksgiving—it keeps in the pantry for months. For the walnuts, I grab them from the bulk bin at my local grocery store because it’s way cheaper than the pre-packaged ones. And here’s a tip I learned the hard way: don’t use overripe bananas that are completely black and mushy. You want them spotty but still somewhat firm. That sweet spot gives you the best flavor without making the bread too wet.
If you’re out of pumpkin pie spice, just mix your own. I keep a little jar of homemade blend on my counter, and it works for everything from pancakes to oatmeal. Also, if walnuts aren’t your thing, pecans work beautifully here. My sister-in-law uses chocolate chips instead, and her kids go crazy for it. More on that in the variations section!
Equipment Needed
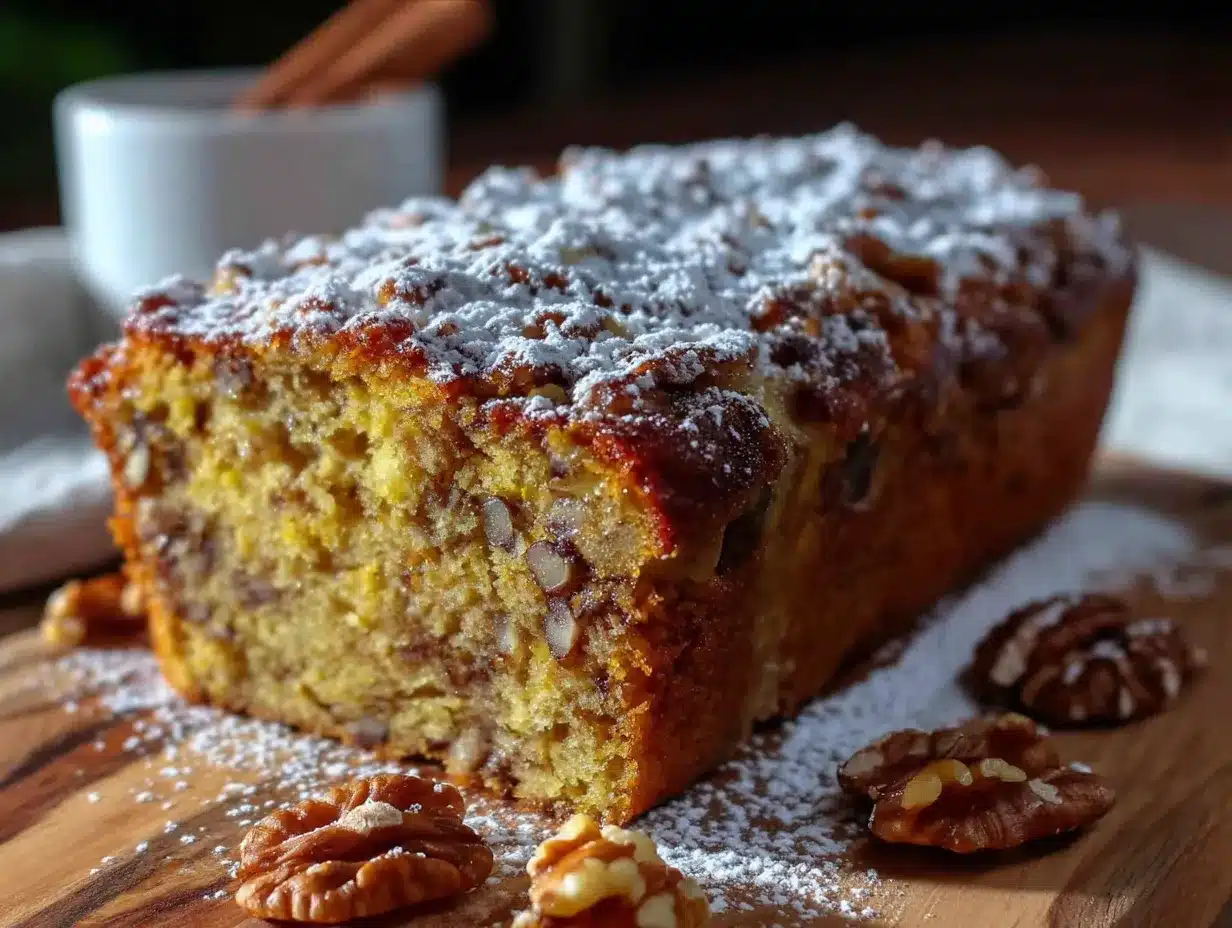
You don’t need a fancy kitchen to make this bread. Here’s what I use:
- 9×5-inch loaf pan (standard size—if yours is smaller, you’ll need to adjust baking time)
- Large mixing bowl (for wet ingredients)
- Medium mixing bowl (for dry ingredients)
- Whisk and wooden spoon (or a rubber spatula)
- Measuring cups and spoons (dry and liquid sets)
- Parchment paper (optional but highly recommended for easy removal)
- Cooling rack (a wire rack lets air circulate so the bottom doesn’t get soggy)
If you don’t have a loaf pan, you can use an 8×8-inch square pan—just reduce the baking time by about 10 minutes and check early. I’ve also made these as muffins in a standard 12-cup muffin tin, and they bake in about 18-22 minutes. My favorite budget-friendly tip? Skip the nonstick spray and use parchment paper instead. It costs pennies per sheet and guarantees your bread comes out in one piece every time.
I bought my loaf pan at a thrift store for two dollars, and it works better than the expensive one I got as a wedding gift. Sometimes the simple tools are the best ones. Just make sure whatever pan you use is light-colored—dark pans absorb more heat and can burn the outside before the inside is done.
Preparation Method
Alright, let’s get baking! This is straightforward, I promise. Here’s how I do it:
- Preheat your oven to 350°F (175°C). While it’s heating up, line your loaf pan with parchment paper, leaving some overhang on the long sides. This creates little handles that make lifting the bread out super easy. If you don’t have parchment, grease the pan well with butter or oil.
- Mash the bananas. In your large bowl, mash those three ripe bananas with a fork until they’re mostly smooth with a few small lumps. Don’t over-mash them into a liquid—you want some texture. A few chunks here and there add nice pockets of flavor in the finished bread.
- Mix the wet ingredients. Add the pumpkin puree, both sugars, eggs, oil, and vanilla extract to the mashed bananas. Whisk everything together until it’s smooth and well combined. It should look like a thick, orange-tinted batter at this point. If your eggs were cold, you might see the mixture look a little curdled—that’s fine, keep whisking and it’ll come together.
- Combine the dry ingredients. In your medium bowl, whisk together the flour, baking soda, baking powder, salt, and pumpkin pie spice. Whisking aerates the flour and distributes the leavening agents evenly, so don’t skip this step. I learned this the hard way when I bit into a pocket of baking soda once—not pleasant.
- Fold the dry into the wet. Gradually add the dry ingredients to the wet mixture, stirring gently with a wooden spoon or rubber spatula. Mix just until you don’t see any more streaks of flour—overmixing will make the bread tough and dense. A few lumps are perfectly fine here.
- Add the walnuts. Gently fold in the chopped walnuts until they’re evenly distributed throughout the batter. If you’re using toasted walnuts, let them cool completely before adding them, or they’ll warm the batter and affect the texture.
- Pour and spread. Scrape the batter into your prepared loaf pan and spread it into an even layer. Give the pan a gentle tap on the counter to release any air bubbles. The batter should come about three-quarters of the way up the sides of the pan.
- Bake. Place the pan in the center of the oven and bake for 50-60 minutes. At the 30-minute mark, check the bread—if the top is browning too quickly, tent it loosely with aluminum foil. You’ll know it’s done when a toothpick inserted into the center comes out clean or with just a few moist crumbs. The top should be golden brown and spring back when you gently press it.
- Cool. Let the bread cool in the pan for 10-15 minutes. Then use the parchment handles to lift it out and transfer it to a wire rack. Let it cool completely before slicing—I know it’s tempting, but cutting into warm bread makes it crumble. Patience pays off here.
One thing I always do: set a timer and check the bread at 50 minutes. Every oven runs differently, and my old apartment oven used to bake hot on one side. If you’re using a glass loaf pan, reduce the oven temperature by 25°F because glass retains heat differently. And if your kitchen is humid (hello, summer baking), you might need an extra 5-10 minutes.
Cooking Tips & Techniques
After making this bread more times than I can count, I’ve picked up a few tricks that make a real difference. Let me share what I’ve learned.
Don’t overmix the batter. This is the number one mistake people make with quick breads. Mix just until the flour disappears, then stop. Overmixing develops gluten, which gives you a tough, rubbery texture instead of that soft, tender crumb we’re after. I once let my kids “help” by stirring for way too long, and the bread came out dense as a brick. Still tasty, but not the same.
Toast your walnuts first. I know it’s an extra step, but it takes five minutes and makes a huge difference. Spread the walnuts on a baking sheet and toast them at 350°F for 5-7 minutes until they smell nutty and fragrant. Let them cool completely before adding to the batter. Toasted walnuts have a deeper, richer flavor that stands up better to the banana and pumpkin. Plus, they stay crunchier in the finished bread.
Use room temperature ingredients. Cold eggs and cold oil can make your batter seize up and create an uneven texture. Take your eggs out of the fridge about 30 minutes before you start baking. If you forget (and I forget all the time), place them in a bowl of warm water for 5 minutes. Same for the bananas—if they’re cold from the fridge, they won’t mash as smoothly.
Check your baking soda freshness. Baking soda loses its potency over time, and old baking soda won’t give your bread the rise it needs. To test it, drop a teaspoon into a small bowl of hot water or vinegar. If it fizzes vigorously, it’s still good. If it barely bubbles, toss it and buy fresh. I keep a new box in my pantry every six months, just to be safe.
Let it rest overnight. This bread is good the day you make it, but it’s amazing the next day. The flavors meld together overnight, and the texture becomes even more moist and tender. I often make it the night before I need it, wrap it tightly in plastic wrap, and let it sit on the counter. By morning, it’s perfection.
Variations & Adaptations
One of the best things about this recipe is how easy it is to customize. Here are some variations I’ve tried and loved:
Chocolate Chip Banana Pumpkin Bread. Swap the walnuts for 1 cup of semi-sweet chocolate chips. My kids go absolutely crazy for this version. The chocolate melts into little pockets of gooey goodness throughout the bread. If you’re feeling fancy, use mini chocolate chips so they distribute more evenly.
Gluten-Free Version. Replace the all-purpose flour with a 1:1 gluten-free baking blend that contains xanthan gum. I’ve used Bob’s Red Mill and King Arthur brands with great results. The texture might be slightly more crumbly, but the flavor is still fantastic. Just don’t overmix, and let the batter rest for 10 minutes before baking to allow the flour to hydrate.
Dairy-Free Adaptation. This recipe is actually dairy-free as written since we use oil instead of butter. But if you’re adding any mix-ins like chocolate chips, make sure to use dairy-free ones. Easy peasy.
Lower Sugar Option. Reduce the granulated sugar to 1/4 cup and the brown sugar to 1/3 cup. The bananas and pumpkin provide plenty of natural sweetness, so you won’t miss the extra sugar much. I make this version for breakfast sometimes, and it’s perfect with a smear of peanut butter.
Spice It Up. Add 1/2 teaspoon of cardamom or a pinch of cloves for a more complex flavor profile. My neighbor swears by adding a tablespoon of orange zest, and I have to admit, it’s pretty amazing. The citrus brightens up the whole bread.
Nut-Free Option. Obviously skip the walnuts and add 1/2 cup of raisins, dried cranberries, or even shredded coconut instead. My daughter’s best friend has a nut allergy, so I make this version for school events. No one ever complains.
Serving & Storage Suggestions
This bread is incredibly versatile when it comes to serving. Here’s how I like to enjoy it:
For breakfast: Slice it thick, toast it lightly, and spread with salted butter or cream cheese. The warmth brings out all those cozy spices. My husband likes his with a drizzle of honey, and my youngest prefers a thin layer of Nutella.
For snacks: Serve it at room temperature with a glass of milk or a cup of coffee. It’s sturdy enough to pack in lunchboxes without falling apart, which is a huge win in our house. I cut the slices into fun shapes with cookie cutters sometimes—star-shaped bread makes everything more exciting for kids.
For dessert: Warm a slice in the microwave for 15 seconds and top with a scoop of vanilla ice cream. The contrast between warm bread and cold ice cream is absolutely divine. Drizzle with caramel sauce if you’re feeling extra indulgent.
Storage: Wrap the cooled bread tightly in plastic wrap or aluminum foil and store at room temperature for up to 4 days. Do not refrigerate—the cold air dries out the bread and makes it stale faster. I learned this from my grandmother, and she was right.
Freezing: This bread freezes beautifully. Wrap the whole loaf or individual slices in plastic wrap, then place in a freezer-safe bag or container. Label with the date and freeze for up to 3 months. To thaw, leave it on the counter for a few hours or microwave individual slices for 30 seconds. I always keep a loaf in the freezer for unexpected guests or busy mornings.
Flavor development: The flavors actually deepen and improve after a day or two. The pumpkin and banana meld together, and the spices become more pronounced. So if you can resist eating it all on day one, you’re in for a treat on day three.
Nutritional Information & Benefits
Here’s the approximate nutritional breakdown per slice (based on 12 slices):
| Nutrient | Amount per Slice |
|---|---|
| Calories | 245 |
| Total Fat | 11g |
| Saturated Fat | 1.5g |
| Cholesterol | 31mg |
| Sodium | 210mg |
| Total Carbohydrates | 34g |
| Dietary Fiber | 3g |
| Sugars | 18g |
| Protein | 5g |
| Vitamin A | 45% DV |
| Vitamin C | 6% DV |
| Potassium | 8% DV |
This bread offers some real nutritional perks thanks to its key ingredients. Bananas are packed with potassium and vitamin B6, which support heart health and energy levels. Pumpkin is loaded with vitamin A (hello, healthy eyes and immune system) and fiber that keeps everyone full longer. Walnuts provide omega-3 fatty acids, which are great for brain health—perfect for growing kids. And since this recipe uses oil instead of butter, it’s lower in saturated fat than traditional quick breads.
If you’re watching your sugar intake, the lower-sugar variation works beautifully. And for those with gluten sensitivities, the gluten-free version is just as satisfying. Just be aware that this recipe contains eggs, wheat, and tree nuts (walnuts), so it’s not suitable for all allergies.
Conclusion
Look, I’m not going to tell you this banana pumpkin bread will change your life. But I will tell you it’ll make your Tuesday mornings a little easier, your lunchboxes a little happier, and your kitchen smell like the coziest place on earth. It’s the kind of recipe that doesn’t ask much of you—just a few basic ingredients and an hour of your time—but gives back way more than you’d expect.
What I love most about this bread is how forgiving it is. You can use slightly different measurements, swap in whatever nuts you have, or even forget to set the timer and let it bake a few extra minutes. It still comes out delicious. That’s the beauty of simple, honest cooking—it doesn’t need to be perfect to be wonderful.
I hope you give this recipe a try, and I hope it becomes a favorite in your home the way it has in mine. Maybe you’ll add chocolate chips for your kids, or extra spice for yourself, or maybe you’ll leave it just the way it is. However you make it, I’d love to hear how it turns out. Drop a comment below and let me know—did your family love it? Did you make any fun variations? And if you’re feeling generous, share this post with a friend who could use a little comfort bread in their life. Happy baking, friends!
Frequently Asked Questions
Can I use frozen bananas for this recipe?
Absolutely! Frozen bananas work great. Thaw them completely at room temperature, then drain off any excess liquid before mashing. The texture might be slightly softer, but the flavor is just as good. I often freeze overripe bananas specifically for baking projects like this.
Can I make this into muffins instead of a loaf?
Yes, and they’re wonderful! Grease a 12-cup muffin tin or line with paper liners. Divide the batter evenly among the cups, filling each about three-quarters full. Bake at 350°F for 18-22 minutes, or until a toothpick comes out clean. Muffins are perfect for lunchboxes and freeze even better than the loaf.
Why did my bread sink in the middle?
A sunken middle usually means the bread was underbaked or the oven temperature was too low. Make sure your oven is fully preheated and use an oven thermometer to check accuracy. Also, don’t open the oven door during the first 30 minutes of baking—the rush of cold air can cause the bread to collapse.
Can I leave out the walnuts?
Of course! If you’re not a fan of nuts or need a nut-free version, simply omit the walnuts. The bread will still be delicious. You can replace them with an equal amount of chocolate chips, dried fruit, or even leave the bread plain. No adjustments to the other ingredients are needed.
How do I know when the bread is fully baked?
The most reliable method is the toothpick test—insert a toothpick or skewer into the center of the bread. If it comes out clean or with just a few moist crumbs, it’s done. You can also check the internal temperature with an instant-read thermometer; it should read around 200-205°F. The top should be golden brown and spring back when lightly pressed.
Pin This Recipe!
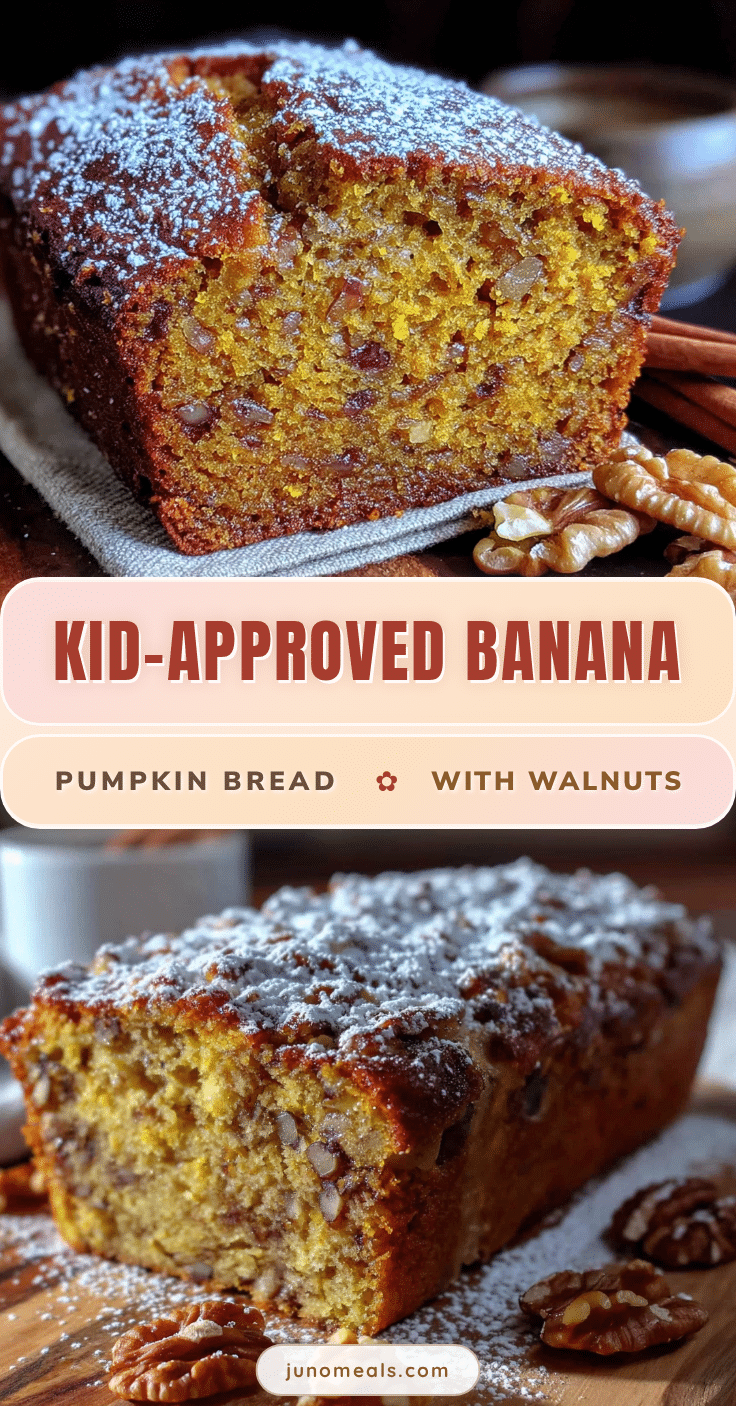
Best Kid-Approved Banana Pumpkin Bread with Walnuts
This moist and tender banana pumpkin bread is packed with cozy spices and crunchy walnuts. It’s a foolproof, kid-approved recipe that’s perfect for breakfast, snacks, lunchboxes, or dessert.
- Prep Time: 15 minutes
- Cook Time: 55 minutes
- Total Time: 1 hour 10 minutes
- Yield: 12 servings 1x
- Category: Bread
- Cuisine: American
Ingredients
- 3 large ripe bananas, mashed
- 1 cup pumpkin puree (not pumpkin pie filling)
- 1/2 cup granulated sugar
- 1/2 cup brown sugar, packed
- 2 large eggs, room temperature
- 1/3 cup vegetable oil (or melted coconut oil)
- 1 teaspoon vanilla extract
- 1 3/4 cups all-purpose flour
- 1 teaspoon baking soda
- 1/2 teaspoon baking powder
- 1/2 teaspoon salt
- 2 teaspoons pumpkin pie spice (or 1 tsp cinnamon + 1/2 tsp nutmeg + 1/2 tsp ginger + 1/4 tsp cloves)
- 1 cup walnuts, chopped
Instructions
- Preheat your oven to 350°F (175°C). Line a 9×5-inch loaf pan with parchment paper, leaving overhang on the long sides, or grease the pan well.
- In a large bowl, mash the bananas with a fork until mostly smooth with a few small lumps.
- Add pumpkin puree, granulated sugar, brown sugar, eggs, oil, and vanilla extract to the mashed bananas. Whisk until smooth and well combined.
- In a medium bowl, whisk together flour, baking soda, baking powder, salt, and pumpkin pie spice.
- Gradually add the dry ingredients to the wet mixture, stirring gently with a wooden spoon or rubber spatula until just combined. Do not overmix.
- Gently fold in the chopped walnuts until evenly distributed.
- Pour the batter into the prepared loaf pan and spread into an even layer. Tap the pan gently on the counter to release air bubbles.
- Bake for 50-60 minutes. At the 30-minute mark, if the top is browning too quickly, tent loosely with aluminum foil. The bread is done when a toothpick inserted into the center comes out clean or with a few moist crumbs.
- Let the bread cool in the pan for 10-15 minutes, then use the parchment handles to lift it out and transfer to a wire rack. Cool completely before slicing.
Notes
For best flavor, let the bread rest overnight before slicing. Toast walnuts at 350°F for 5-7 minutes before adding for extra crunch. Use room temperature ingredients for best texture. Do not overmix the batter. Store at room temperature for up to 4 days or freeze for up to 3 months.
Nutrition
- Serving Size: 1 slice
- Calories: 245
- Sugar: 18
- Sodium: 210
- Fat: 11
- Saturated Fat: 1.5
- Carbohydrates: 34
- Fiber: 3
- Protein: 5
Keywords: banana pumpkin bread, pumpkin banana bread, kid-friendly bread, easy banana bread, pumpkin bread with walnuts, moist banana bread, fall baking, lunchbox treat


