My niece took one look at the platter and actually screamed. That’s when I knew these cookies were a success. She pointed a shaky finger at the tray — at the gnarled, knobby, almond-nailed fingers staring back at her — and let out a shriek that brought everyone running from the living room. I stood there with my oven mitts on, trying not to laugh. Halloween had officially begun.
I didn’t set out to make the spookiest cookies on the block. Honestly, I was just tired of the same old sugar cookies with orange sprinkles. I wanted something that would make people stop, do a double-take, and maybe even feel a little creeped out before they took a bite. And these spooky witch finger cookies for Halloween did exactly that. They looked disgusting in the best possible way, but they tasted like buttery, almond-scented heaven.
The thing about this recipe is that it works because it’s simple. You don’t need a pastry degree or a drawer full of specialty cutters. You just need some dough, a little patience, and the willingness to shape something that looks like it belongs in a horror movie. The first time I made them, I was surprised at how real they looked. I actually had to look away while they baked. There’s something deeply unsettling about seeing a tray of human-looking fingers in your oven, you know?
But here’s the secret — once people get past the initial shock, they can’t stop eating them. The almond sliver “fingernails” add this perfect little crunch, and the cookie itself is soft, sweet, and completely addictive. These spooky witch finger cookies for Halloween have become my signature contribution to every October gathering. And honestly? I love that they still get a reaction every single time.
Why You’ll Love This Recipe
Let me tell you why these cookies are worth the effort. I’ve tested this recipe more times than I care to admit, and I’ve learned a few things along the way.
- Incredibly Easy to Make — The dough comes together in about 15 minutes. No chilling required if you’re in a hurry, though a quick chill makes shaping easier. You can have these ready to bake in under 30 minutes.
- Simple Pantry Ingredients — Butter, sugar, flour, eggs, and almonds. That’s it. You probably have everything in your kitchen right now. No weird gelatin or food coloring needed for the realistic look.
- Perfect for Halloween Parties — These are the star of any spread. Kids love the gross factor, adults appreciate the cleverness, and everyone fights over the ones with the most “knuckles.”
- Crowd-Pleaser Guaranteed — I’ve brought these to four different Halloween parties, and every single time, someone asks for the recipe. They disappear faster than the candy bowl.
- Unbelievably Delicious — The almond extract gives these cookies a subtle marzipan-like flavor that pairs perfectly with the buttery shortbread base. They’re not just creepy — they’re genuinely good.
What sets this recipe apart from others you’ll find online is the texture. I spent three batches getting the dough consistency just right — not too crumbly, not too sticky — so the fingers hold their shape and don’t spread into blobs in the oven. The knuckle indentations stay visible, the almond nails stay put, and the overall effect is genuinely unsettling in the best way.
These cookies aren’t just about the shock value. They’re about the moment when someone hesitates before taking a bite, then immediately reaches for another one. That’s the magic of Halloween baking — creating something that makes people laugh, scream, and eat all at the same time.
What Ingredients You Will Need
This recipe uses simple, everyday ingredients to create cookies that look anything but ordinary. The magic is in the shaping and the almond sliver fingernails, not in complicated components.
For the Cookie Dough
- 1 cup (226g) unsalted butter, softened to room temperature (I prefer Kerrygold for the rich flavor, but any good butter works)
- 1 cup (200g) granulated sugar (regular white sugar is fine; don’t substitute brown sugar or the color will be off)
- 1 large egg, room temperature (cold egg will make the dough stiff and harder to work with)
- 1 teaspoon almond extract (this is non-negotiable — it gives the cookies their signature flavor and that subtle marzipan vibe)
- 1/2 teaspoon vanilla extract (adds depth without overpowering the almond)
- 2 1/2 cups (312g) all-purpose flour (spoon and level your flour — scooping directly from the bag packs it down and makes dry cookies)
- 1/2 teaspoon salt (balances the sweetness and enhances the butter flavor)
- 1/2 teaspoon baking powder (helps the cookies puff slightly without losing their shape)
For the Witch Finger Details
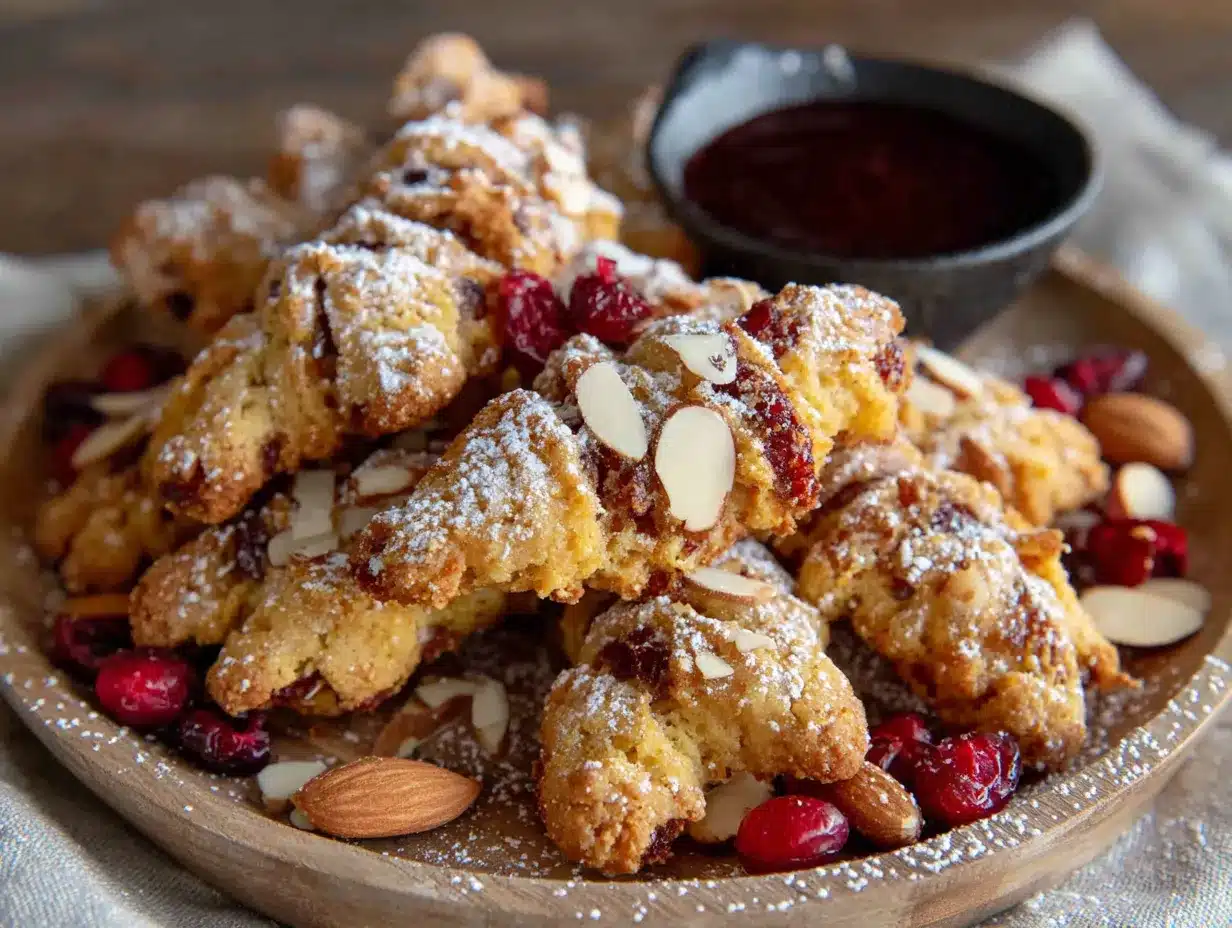
- Whole almonds (one per cookie, for the fingernails — I recommend blanched almonds for a more realistic nail color, but raw almonds with skins work fine)
- Red food coloring (just a drop mixed with a tiny bit of water, for painting “blood” at the nail base and knuckle creases)
- Small paintbrush (a clean, unused craft brush or a pastry brush with fine bristles)
Ingredient Tips and Substitutions
For the butter, make sure it’s truly softened — you should be able to press your finger into it easily, but it shouldn’t be melted. If you’re dairy-free, you can use a high-quality vegan butter stick (not the spreadable kind in a tub). The texture will be slightly different, but the cookies will still hold their shape.
The almond extract is really the star here. I’ve tried making these with vanilla only, and they just taste like regular sugar cookies. The almond extract gives them that distinctive flavor that makes people think of marzipan or amaretti cookies. Don’t skip it.
For the almond fingernails, I’ve tried both blanched and skin-on almonds. The blanched ones look more realistic because they’re pale and nail-like, but the skin-on ones add a slightly more rustic, creepy look. Either works. Just make sure your almonds are whole and not slivered or chopped.
If you want to make these gluten-free, substitute a good 1:1 gluten-free flour blend. I’ve tested this with King Arthur Measure for Measure, and it worked beautifully. The cookies were slightly more delicate, but the shape still held.
Equipment Needed
You don’t need much for this recipe, which is part of what makes it so approachable. Here’s what you’ll need:
- Large mixing bowl — Any bowl works, but I prefer a wide, shallow one for creaming butter and sugar together
- Electric hand mixer or stand mixer — You can do this by hand with a wooden spoon, but a mixer makes the creaming process much faster and more consistent
- Baking sheets — Two standard half-sheet pans work perfectly. Line them with parchment paper for easy cleanup
- Parchment paper — Essential for preventing sticking and making the cookies easy to remove
- Sharp knife or bench scraper — For cutting the dough into finger-sized pieces
- Small paintbrush — For applying the red food coloring “blood” details
- Cooling rack — Wire racks allow air to circulate and keep the cookies from getting soggy on the bottom
If you don’t have a stand mixer, don’t worry. A hand mixer works just as well, and honestly, I’ve made these with just a sturdy spatula and some elbow grease. The dough is forgiving. Just make sure your butter is properly softened before you start.
One tip I learned the hard way — use a light-colored baking sheet if you have one. Dark sheets absorb more heat and can cause the bottoms of your cookies to brown too quickly. If you only have dark sheets, reduce your oven temperature by 25 degrees and keep a close eye on them.
Preparation Method
Alright, let’s get into the actual cookie-making. I’ll walk you through this step by step, including all the little tricks I’ve picked up along the way.
Step 1: Make the Dough
In your large mixing bowl, cream together the softened butter and granulated sugar until light and fluffy. This should take about 2-3 minutes with a mixer on medium speed. You’re looking for a pale, airy mixture that looks almost like whipped frosting. Scrape down the sides of the bowl halfway through.
Add the egg, almond extract, and vanilla extract. Beat until everything is well combined. The mixture might look slightly curdled at this point — that’s totally normal. Don’t panic.
In a separate bowl, whisk together the flour, salt, and baking powder. Gradually add the dry ingredients to the wet mixture, mixing on low speed until a soft dough forms. The dough should be smooth and pliable, not sticky. If it feels too sticky, add a tablespoon of flour. If it feels too dry and crumbly, add a teaspoon of milk.
Step 2: Shape the Fingers
Preheat your oven to 325°F (163°C). Line your baking sheets with parchment paper.
Take a small piece of dough — about the size of a golf ball, roughly 1.5 tablespoons — and roll it into a log shape about 3 inches long. Don’t make it perfectly straight. Witch fingers are supposed to be crooked and gnarled. Gently taper one end to be slightly narrower (that’s the fingertip) and leave the other end a bit thicker (that’s where the finger was “broken off”).
Place the shaped finger on your prepared baking sheet. Using the back of a butter knife or your fingernail, press lines into the dough to create knuckle creases. Make two or three indentations per finger. Don’t press too deep — you want them visible but not cutting all the way through.
Press a whole almond firmly into the narrow end of each finger to create the fingernail. The almond should be embedded about halfway into the dough. Angle it slightly so it looks like a real nail growing out of the fingertip.
Here’s a trick I discovered after my first batch came out looking like fat sausages — pinch and squeeze the dough around the almond to create a slight ridge, mimicking the cuticle area. It makes a huge difference in realism.
Step 3: Bake the Cookies
Place the baking sheets in the preheated oven and bake for 12-15 minutes. The cookies should be set and just barely golden on the bottoms. The tops should remain pale — that’s what keeps them looking like real fingers.
Let the cookies cool on the baking sheet for 5 minutes before transferring them to a wire cooling rack. They’ll be very soft when they come out of the oven, but they’ll firm up as they cool. Don’t try to move them too early or they’ll break apart.
Step 4: Add the Creepy Details
Once the cookies are completely cool, it’s time for the finishing touches. Mix one drop of red food coloring with a teaspoon of water. Using your small paintbrush, paint a thin line of red at the base of each almond “fingernail” to look like bloody cuticles. Add a tiny dab at the knuckle creases too.
For extra gross factor, you can also brush a little red coloring around the “broken” end of the finger. I’ve found that less is more here — you want it to look like realistic dried blood, not a massacre. A little goes a long way.
Step 5: Arrange and Serve
Arrange the finished cookies on a platter in a way that looks like a pile of severed fingers. Cross them over each other, scatter a few separately, and maybe throw in some fake spider webs or plastic spiders for atmosphere. The presentation is half the fun.
Cooking Tips & Techniques
I’ve made these cookies at least a dozen times now, and I’ve made every mistake in the book. Let me save you some trouble.
The dough temperature matters. If your kitchen is warm and the dough gets too soft, pop it in the refrigerator for 15-20 minutes before shaping. Cold dough is much easier to work with and holds its shape better in the oven. I learned this the hard way when my first batch spread into weird, flat blobs that looked more like alien slugs than witch fingers.
Don’t overbake. This is the most common mistake I see. The cookies will look pale and underdone when you take them out, but they continue to bake on the hot baking sheet. If you wait until they look golden brown, they’ll be too hard and crunchy. You want them soft and slightly tender, like a good shortbread.
Vary the shapes. Not every finger should look the same. Make some longer, some shorter, some fatter, some thinner. Bend a few slightly to look like they’re frozen mid-crawl. The variety is what makes them look realistic and unsettling.
Practice your knuckle technique. I found that pressing the knuckle lines at an angle — not straight across — looks more natural. Real fingers have slightly diagonal creases. Use the back of a butter knife or even a toothpick for finer detail.
Work in batches. Don’t try to shape all 30 cookies at once and then bake them. The dough will warm up from your hands and become harder to work with. Shape one tray, bake it, and shape the next tray while the first one is in the oven.
One thing I wish someone had told me — these cookies look really disturbing while they’re baking. I’m not kidding. Opening the oven to check on them and seeing a tray of humanoid fingers is genuinely unsettling. If you’re squeamish, maybe have someone else handle the oven duty.
Variations & Adaptations
Once you’ve mastered the basic recipe, there are so many ways to customize these cookies for different occasions or dietary needs.
Gluten-Free Version
As I mentioned earlier, a good 1:1 gluten-free flour blend works perfectly. I’ve tested this with King Arthur Measure for Measure, and the cookies turned out slightly more delicate but still held their shape. Add an extra tablespoon of flour if the dough feels too sticky.
Vegan Witch Fingers
Substitute the butter with a high-quality vegan butter stick. Use a flax egg (1 tablespoon ground flaxseed mixed with 3 tablespoons water, let sit for 5 minutes) instead of the regular egg. The texture will be a bit more crumbly, but the flavor is still great.
Chocolate Witch Fingers
Replace 1/4 cup of the flour with unsweetened cocoa powder. The chocolate version looks even more sinister — like zombie fingers. I’ve also tried adding a teaspoon of espresso powder to deepen the chocolate flavor, and it was amazing.
Different “Nails”
Instead of almonds, try using sliced almonds for a more delicate nail look, or even candy corn for a colorful, slightly ridiculous version. For a truly creepy effect, use black sesame seeds pressed into the dough to look like dirt-caked nails.
Spiced Witch Fingers
Add 1 teaspoon of pumpkin pie spice or cinnamon to the dough for a fall-flavored version. The warm spices pair beautifully with the almond extract and give the cookies a cozy, autumnal feel — even if they look like they came straight from a grave.
I once made a batch with crushed freeze-dried raspberries mixed into the dough, which gave them a pinkish, flesh-like color. They were disturbingly realistic. My husband refused to eat them. I consider that a win.
Serving & Storage Suggestions
These cookies are best served at room temperature, arranged on a dark platter or black serving board for maximum creepy effect. The contrast between the pale cookies and a dark background really makes the “blood” details pop.
For presentation, I like to scatter a few loose almond slivers around the platter to look like broken fingernails. It’s a small detail, but people notice it and it adds to the overall gross-out factor. You can also serve them alongside other Halloween treats like mini lemon blueberry cheesecakes for a contrast between spooky and elegant.
For drinks, these cookies pair surprisingly well with hot apple cider or a warm mug of spiced chai. The almond flavor complements the warm spices beautifully. For an adults-only gathering, a glass of amaretto liqueur is the obvious and delicious choice.
Storage: Store the cookies in an airtight container at room temperature for up to 5 days. Layer them between sheets of parchment paper to prevent the almond nails from getting knocked off. Do not refrigerate — the cold air will dry them out and make them hard.
Freezing: You can freeze the unbaked, shaped cookies (without the almond nails) for up to 3 months. Place them on a baking sheet in the freezer until solid, then transfer to a freezer bag. When you’re ready to bake, add the almond nails and bake straight from frozen, adding 2-3 minutes to the baking time.
Baked cookies can also be frozen for up to 2 months. Thaw at room temperature and refresh in a 300°F oven for 3-4 minutes if needed.
One thing I love about these cookies is that the flavors actually improve after a day or two. The almond extract mellows out and blends with the butter, creating a more complex, marzipan-like taste. If you can resist eating them all on day one, they’ll be even better on day two.
Nutritional Information & Benefits
Let’s be honest — these are Halloween cookies, not health food. But here’s the breakdown if you’re curious.
Per cookie (based on 30 cookies):
- Calories: 145
- Total Fat: 8g
- Saturated Fat: 5g
- Cholesterol: 28mg
- Sodium: 65mg
- Total Carbohydrates: 17g
- Sugars: 8g
- Protein: 2g
The almonds provide a small amount of healthy fats, vitamin E, and magnesium. The butter contains vitamin A and conjugated linoleic acid. But really, these are a treat — meant to be enjoyed in moderation as part of a Halloween celebration.
If you’re watching your sugar intake, you can reduce the sugar to 3/4 cup without significantly affecting the texture. The cookies will be slightly less sweet but still delicious. I’ve also tried making them with coconut sugar, which gives them a darker, more caramel-like color — less realistic for witch fingers, but tasty.
These cookies are nut-containing (almonds) and contain gluten and dairy. For allergen-friendly versions, see the variations section above.
Frequently Asked Questions
Can I make the dough ahead of time?
Absolutely. You can prepare the dough up to 3 days in advance and keep it wrapped tightly in the refrigerator. Let it sit at room temperature for about 15 minutes before shaping so it’s soft enough to work with. You can also freeze the dough for up to 3 months.
Why did my cookies spread and lose their shape?
This usually happens when the dough is too warm or the butter was too soft when you started. Make sure your butter is softened but not melted. If your kitchen is warm, chill the shaped cookies on the baking sheet for 10-15 minutes before putting them in the oven. Also, make sure your baking powder is fresh — old baking powder loses its effectiveness.
Can I use a different nut for the fingernails?
Yes! Sliced almonds work well for a more delicate look. Pecan halves can work for wider, more grotesque nails. I’ve even used whole cashews, though they’re softer and can break during baking. For a nut-free version, use small pieces of dried apricot or even candy corn for a silly, colorful twist.
How do I get the red “blood” to look realistic?
Use a very small amount of red food coloring — gel food coloring works best because it’s more concentrated. Mix it with just a drop of water or corn syrup. The corn syrup version looks more like thick, congealed blood. Apply it with a fine-tipped brush and remember that less is more. You want it to look like dried blood, not a crime scene.
Can I make these cookies with kids?
Absolutely! This is one of my favorite recipes to make with children. The shaping is fun and hands-on, and kids love the gross-out factor. Just supervise the use of the oven and the food coloring. I’ve made these with my niece and nephew, and they had a blast creating different finger shapes and deciding where to put the “blood.”
Conclusion
These spooky witch finger cookies for Halloween have become more than just a recipe in my kitchen — they’re a tradition. Every October, I know I’ll spend an evening shaping dough into gnarled fingers, laughing at my own squeamishness when I open the oven, and watching guests’ faces cycle through shock, disgust, and delight.
What I love most about this recipe is how it brings people together. Halloween is about embracing the creepy, the silly, and the unexpected. These cookies do all three. They’re a conversation starter, a photo opportunity, and a genuinely delicious treat all rolled into one.
I hope you’ll try making them. Don’t worry if your first batch doesn’t look perfect — my first batch looked more like fat sausages than witch fingers, but they still tasted amazing. The more you make them, the better you’ll get at the shaping, and the more realistic (and disturbing) they’ll become.
If you make these, I’d love to hear how they turned out. Drop a comment below with your best witch finger photos, your funniest reaction stories, or your own creative variations. And if you’re looking for more Halloween inspiration, check out our full collection of spooky recipes — there’s something for every kind of Halloween celebration.
Happy baking, and happy Halloween! May your cookies be creepy, your guests be shocked, and your platter be empty by the end of the night.
Pin This Recipe!
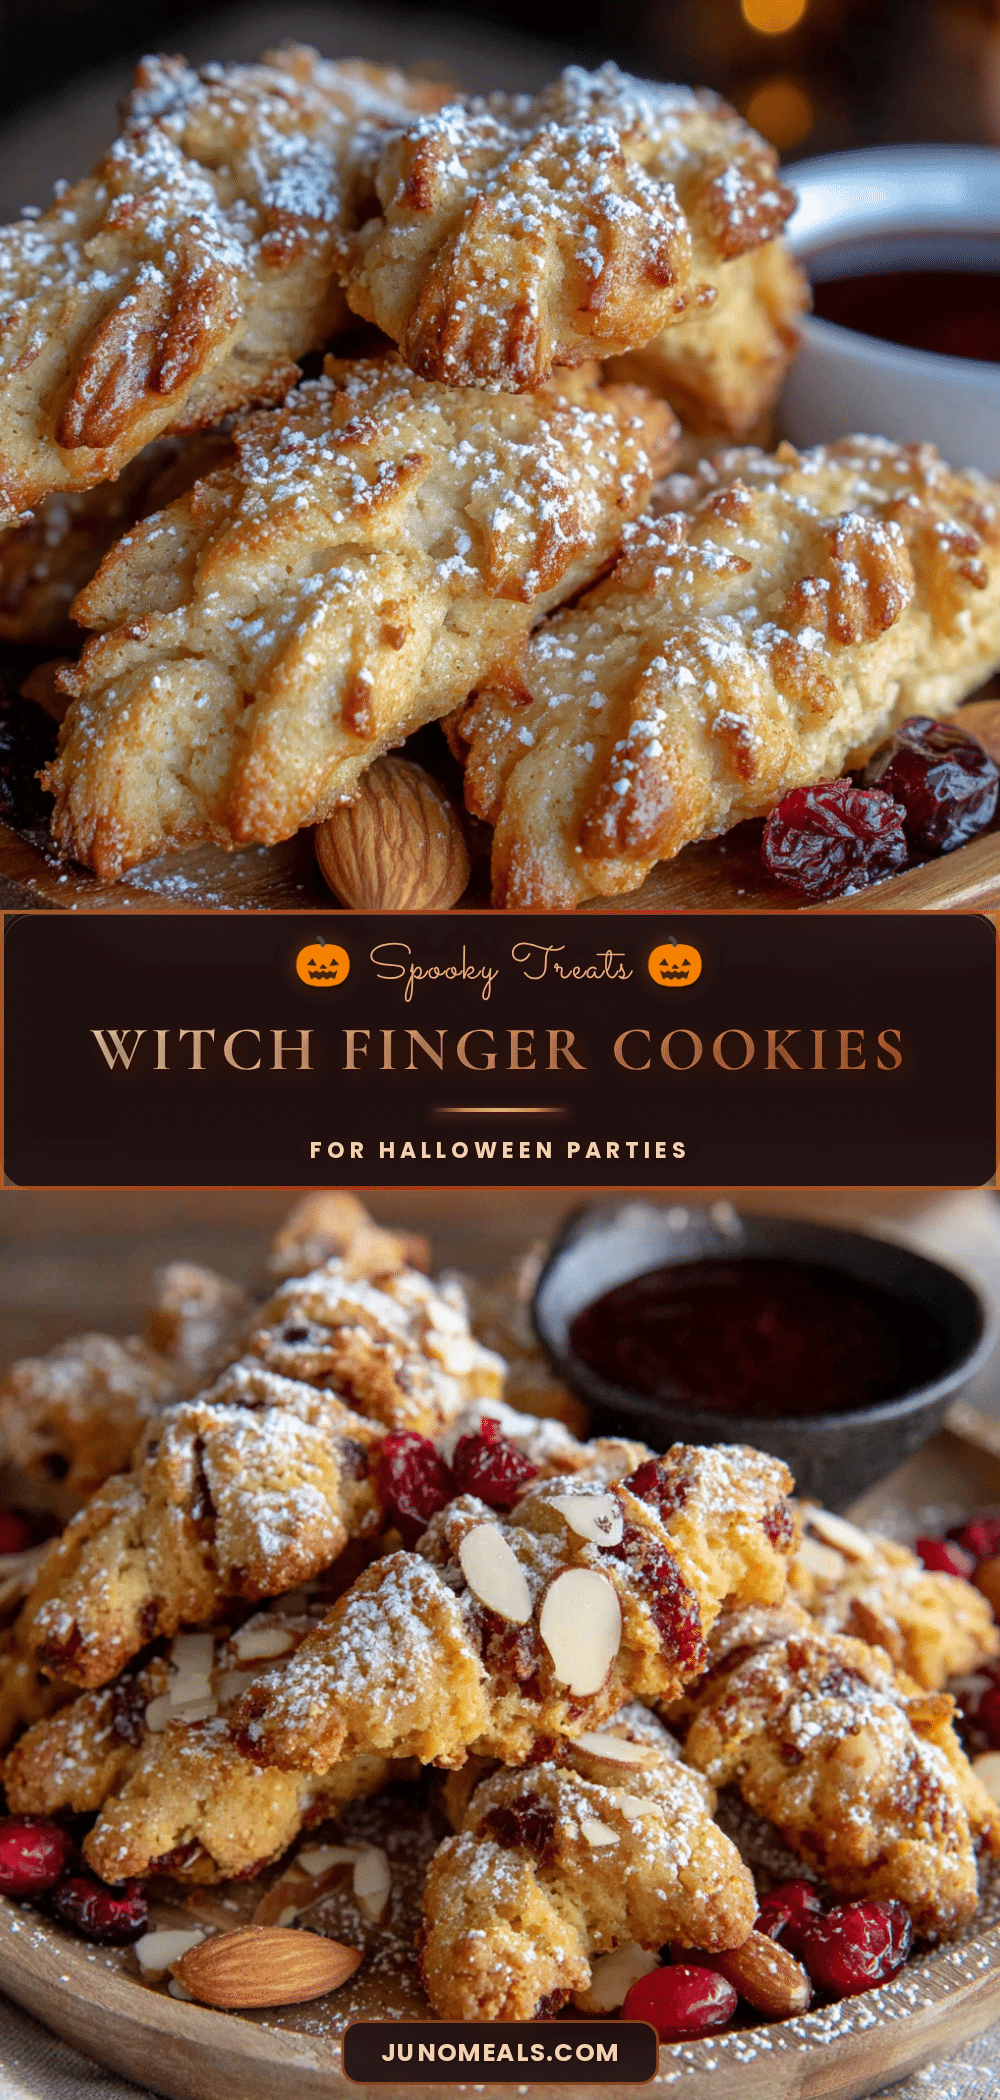
Best Easy Spooky Witch Finger Cookies Recipe for Halloween

These spooky witch finger cookies look disturbingly realistic but taste like buttery, almond-scented heaven. Perfect for Halloween parties, they’re easy to make with simple pantry ingredients and guaranteed to get a reaction.
- Prep Time: 15 minutes
- Cook Time: 15 minutes
- Total Time: 30 minutes
- Yield: 30 cookies 1x
- Category: Dessert
- Cuisine: American
Ingredients
- 1 cup (226g) unsalted butter, softened to room temperature
- 1 cup (200g) granulated sugar
- 1 large egg, room temperature
- 1 teaspoon almond extract
- 1/2 teaspoon vanilla extract
- 2 1/2 cups (312g) all-purpose flour
- 1/2 teaspoon salt
- 1/2 teaspoon baking powder
- Whole almonds (one per cookie)
- Red food coloring
- Small paintbrush
Instructions
- In a large mixing bowl, cream together the softened butter and granulated sugar until light and fluffy, about 2-3 minutes on medium speed.
- Add the egg, almond extract, and vanilla extract. Beat until well combined.
- In a separate bowl, whisk together the flour, salt, and baking powder. Gradually add to the wet mixture, mixing on low speed until a soft dough forms.
- Preheat oven to 325°F (163°C). Line baking sheets with parchment paper.
- Take a small piece of dough (about 1.5 tablespoons) and roll into a log shape about 3 inches long. Taper one end slightly for the fingertip.
- Place on prepared baking sheet. Use the back of a butter knife to press knuckle creases into the dough.
- Press a whole almond firmly into the narrow end of each finger to create the fingernail. Pinch the dough around the almond to create a cuticle ridge.
- Bake for 12-15 minutes until set and just barely golden on the bottoms. Cool on baking sheet for 5 minutes, then transfer to a wire rack.
- Once completely cool, mix one drop of red food coloring with a teaspoon of water. Paint a thin line at the base of each almond and at the knuckle creases.
- Arrange on a platter and serve.
Notes
For best results, chill the dough for 15-20 minutes if it becomes too soft. Do not overbake; cookies should remain pale. Vary finger shapes for realism. Store in an airtight container at room temperature for up to 5 days.
Nutrition
- Serving Size: 1 cookie
- Calories: 145
- Sugar: 8
- Sodium: 65
- Fat: 8
- Saturated Fat: 5
- Carbohydrates: 17
- Protein: 2
Keywords: witch finger cookies, Halloween cookies, spooky cookies, almond cookies, shortbread cookies, Halloween dessert, creepy cookies


