August heat pressing down, kitchen windows fogged up, and a mountain of Roma tomatoes covering every inch of the counter. That’s where this recipe started — not out of inspiration but pure necessity. I had planted way too many tomato seedlings that spring (classic overconfidence), and by late summer, they were ripening faster than I could give them away. Neighbors started avoiding eye contact. The farmer’s market wouldn’t take pity on me. So there I sat, surrounded by red orbs, wondering what on earth I was going to do.
I tried my usual go-to — a quick stovetop sauce — but it always came out thin and watery. You know that sad, bland tomato water that barely coats your pasta? Yeah, that. I needed something different. Something that would concentrate all that summer flavor into something worth the effort of canning. That’s when I remembered how roasting transforms tomatoes. The oven does the work for you, caramelizing the natural sugars and deepening the flavor until it’s almost jammy. So I tossed them in a pan with some garlic and herbs, let them hang out in a low oven for hours, and honestly? I haven’t made sauce any other way since.
This best slow-roasted garden tomato sauce for canning changed my whole approach to preserving. It’s not just a recipe — it’s a lifeline for anyone staring down a bumper crop. The roasting concentrates the tomatoes so you don’t have to boil off water for ages on the stovetop. The flavor is rich, sweet, and complex, like something that simmered all day even though the oven did most of the heavy lifting. And when you open a jar in the middle of February, you get a little taste of summer that makes the whole canning process worth it.
Why You’ll Love This Recipe
Let me tell you why this sauce has become my non-negotiable summer project. First off, it’s the laziest way to make the best tomato sauce you’ve ever tasted. Seriously. The oven does all the stirring for you.
- Incredible Depth of Flavor : Slow-roasting concentrates the tomatoes’ natural sweetness and adds a subtle smokiness you just can’t get from stovetop simmering. It’s like summer in a jar.
- Hands-Off Method : Once you toss everything in the pan, you walk away for hours. No stirring, no watching, no scorching the bottom of the pot. It’s practically self-care.
- Perfect for Canning : This sauce is acidified properly for water bath canning, so you can stock your pantry with confidence. No pressure canner needed.
- Uses Up Your Garden Bounty : Got a tomato avalanche? This recipe handles big quantities without breaking a sweat. I’ve made batches with up to 15 pounds at once.
- Simple, Clean Ingredients : Just tomatoes, garlic, herbs, olive oil, and a splash of lemon juice for safe canning. No weird additives or preservatives.
- Versatile Base : Use it straight up on pasta, as a pizza sauce, in soups, or as a braising liquid. It’s the Swiss Army knife of your pantry.
What makes this recipe different from any other tomato sauce you’ve tried? It’s the roasting. That low, slow heat transforms the tomatoes on a cellular level, breaking down fibers and concentrating sugars without the risk of burning. I’ve tested this method against stovetop versions side by side, and the roasted one wins every single time. It’s the kind of sauce that makes you close your eyes after the first bite. Honestly, it’s comfort food reimagined — deeply satisfying, pantry-friendly, and packed with the soul of summer.
What Ingredients You Will Need
This recipe uses simple, wholesome ingredients to deliver bold flavor and satisfying texture without any fuss. Most of these are probably already in your kitchen or garden.
- Roma tomatoes (10-12 pounds, or about 4.5-5.5 kg) — These are my go-to for sauce because they’re meaty with fewer seeds and less water. Plum tomatoes work great too. If you’re using larger beefsteak varieties, just expect a slightly longer roasting time to cook off the extra moisture.
- Garlic cloves (8-10, peeled and smashed) — Roasted garlic turns sweet and buttery. I never bother mincing it for this recipe since it gets blended later anyway. Just smash them with the flat side of your knife.
- Extra-virgin olive oil (1/4 cup, or 60 ml) — Use a good quality one here since it’s a primary flavor. I like California Olive Ranch for its balanced taste.
- Fresh basil leaves (1 cup packed, or about 20 grams) — Adds that classic Italian note. If you only have dried, use 2 tablespoons but add it during the last hour of roasting.
- Fresh oregano sprigs (4-5 sprigs) — Optional but lovely. Thyme works beautifully as a substitute.
- Salt (2 teaspoons kosher salt, or 10 grams) — I use Diamond Crystal kosher salt. If using table salt, reduce to 1 1/2 teaspoons.
- Black pepper (1 teaspoon freshly ground, or 2 grams) — Adds a subtle warmth.
- Bottled lemon juice (2 tablespoons per quart jar, or 30 ml) — This is non-negotiable for safe water bath canning. Do not use fresh lemon juice here — the acidity level is inconsistent. Bottled juice has a standardized pH.
- Optional: Balsamic vinegar (1 tablespoon, or 15 ml) — A tiny splash right before blending brightens everything up. Totally optional but highly recommended.
- Optional: Red pepper flakes (1/2 teaspoon, or 1 gram) — For a little heat. Add it to the roasting pan if you like spicy sauce.
Ingredient Selection Tips : Look for tomatoes that are fully ripe but still firm. Overly soft tomatoes will break down too much during roasting. If you’re buying from a store, vine-ripened or Roma varieties are your best bet. For the garlic, avoid pre-peeled cloves — they lack the sweetness of fresh.
Substitution Guidance : No fresh herbs? Use 2 tablespoons dried Italian seasoning sprinkled over the tomatoes before roasting. Need it oil-free? Skip the olive oil and roast the tomatoes on parchment paper — the sauce will be slightly less rich but still delicious.
Equipment Needed
You don’t need a professional kitchen to make this sauce, but a few key tools make the process much smoother.
- Large roasting pans (2 half-sheet pans, or 18×13 inches each) — You need enough surface area to spread the tomatoes in a single layer. Crowding them leads to steaming instead of roasting.
- Sharp chef’s knife (8-inch or 20 cm blade) — For coring and halving tomatoes efficiently. A dull knife is dangerous with slippery tomato skins.
- Cutting board — Preferably large enough to handle multiple tomatoes at once.
- Food mill or immersion blender — A food mill removes skins and seeds for an ultra-smooth sauce. An immersion blender works if you don’t mind some texture. I use my KitchenAid food mill attachment — it’s a game-changer for large batches.
- Water bath canner (or a large stockpot with a rack) — For processing the jars. You need something deep enough to cover the jars by at least 1 inch of water.
- Canning jars (Quart or pint-sized, with new lids and bands) — I prefer wide-mouth quarts for this sauce since it’s easier to scoop out.
- Jar lifter and canning funnel — Safety first. Trying to grab hot jars with tongs is a disaster waiting to happen.
- Clean kitchen towels — For wiping jar rims and resting hot jars.
Budget-Friendly Options : No food mill? Let the roasted tomatoes cool slightly, then peel off the skins by hand (they slip right off after roasting). Mash the tomatoes with a potato masher for a chunkier sauce. No canner? You can freeze this sauce in quart-sized freezer bags for up to 6 months.
Preparation Method
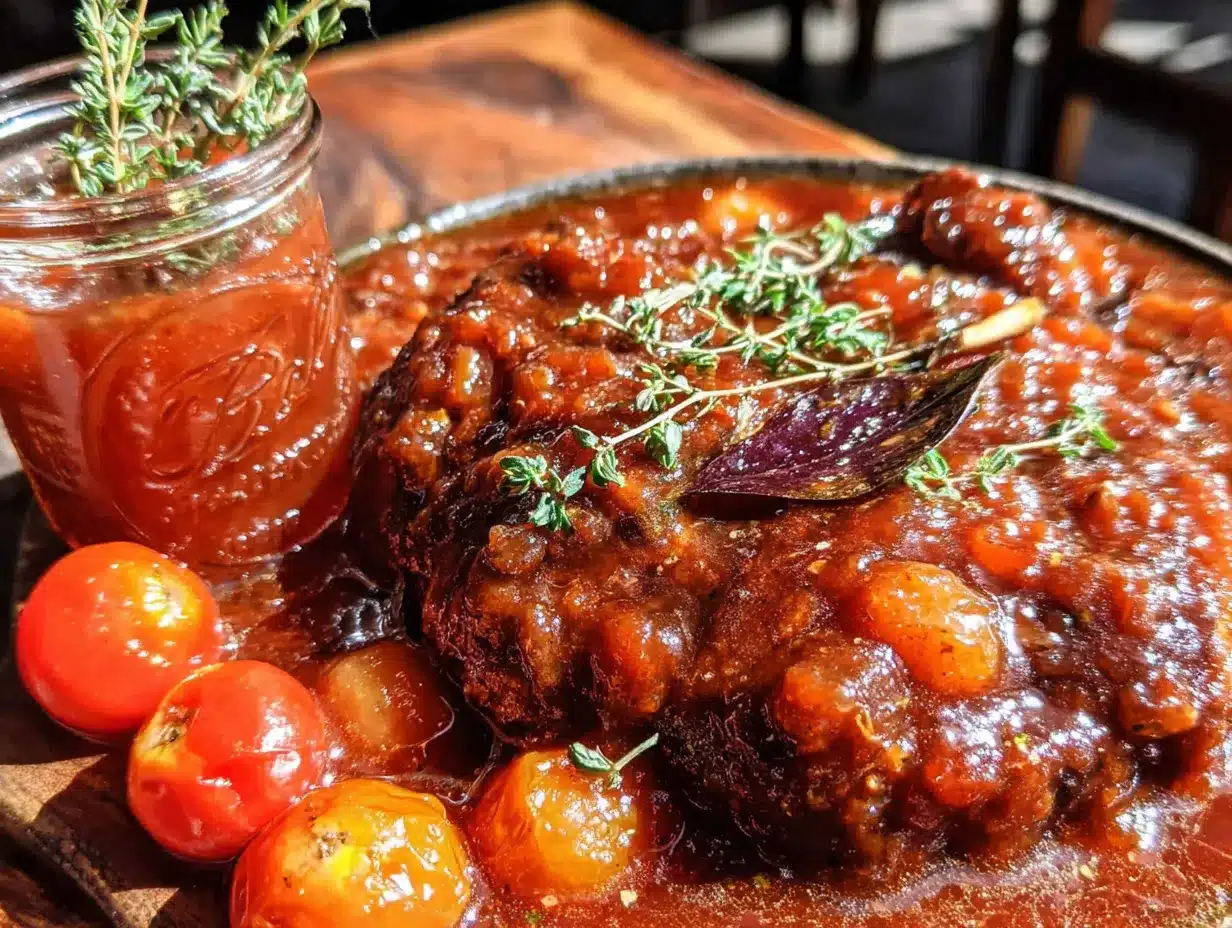
Let’s get down to business. This method is straightforward, but the timing matters. Plan for about 4 hours total, with most of that being hands-off roasting time.
- Preheat your oven to 300°F (150°C) . Yes, 300°F — not higher. Low and slow is the whole point here. Position racks in the upper and lower thirds of the oven.
- Prep the tomatoes : Wash them well, then core each one by cutting out the tough stem end. Slice the tomatoes in half lengthwise. If you’re using larger varieties, cut them into quarters so they roast evenly.
- Arrange on pans : Place the tomato halves cut-side up on your roasting pans. Don’t overcrowd — you want a single layer with a little space between each piece. Tuck the smashed garlic cloves and herb sprigs in between the tomatoes.
- Drizzle and season : Drizzle the olive oil evenly over everything. Sprinkle with salt and pepper. Toss gently with your hands to coat, then rearrange so the tomatoes are cut-side up again.
- Roast for 2 1/2 to 3 hours : The tomatoes should be wrinkled, slightly caramelized around the edges, and release most of their liquid. Halfway through, rotate the pans top to bottom and front to back for even roasting. You’ll know they’re done when the liquid has reduced by about half and the tomatoes look jammy.
- Cool slightly : Let the pans sit on a wire rack for 15-20 minutes. Remove the herb sprigs — they’ve given their all at this point.
- Process the tomatoes : If using a food mill, run the roasted tomatoes and garlic through it into a large pot. If using an immersion blender, transfer everything to a large pot and blend until smooth. I prefer a slightly chunky texture, so I pulse rather than fully puree.
- Simmer and adjust : Bring the sauce to a gentle simmer over medium heat. Taste and adjust salt and pepper. If the sauce seems too thick, stir in a little water. If it’s too thin, simmer for another 10-15 minutes to reduce further.
- Add lemon juice for canning : For each quart jar, add 2 tablespoons bottled lemon juice directly to the jar before filling. For pints, use 1 tablespoon. This ensures safe acidity levels for water bath canning.
- Fill the jars : Ladle the hot sauce into hot jars, leaving 1/2 inch headspace. Run a clean chopstick or bubble remover tool around the inside edge to release air bubbles. Wipe the rims clean with a damp towel, center the lids, and screw on the bands until fingertip-tight.
- Process in water bath : Place jars in the canner, ensuring they’re covered by at least 1 inch of water. Bring to a full rolling boil, then process for 35 minutes for quarts (adjust for your altitude — see note below).
- Cool and check seals : Turn off the heat, remove the lid, and let the jars sit in the water for 5 minutes. Use your jar lifter to transfer them to a towel-lined counter. Leave undisturbed for 12-24 hours. You’ll hear the satisfying “pop” as each lid seals. Press the center of each lid — if it doesn’t flex, it’s sealed.
Altitude Adjustment : If you’re above 1,000 feet, increase processing time. At 1,001-3,000 feet, add 5 minutes. At 3,001-6,000 feet, add 10 minutes. Above 6,000 feet, add 15 minutes.
Sensory Cues : During roasting, your kitchen will smell like the most incredible garlic bread and tomato soup hybrid. The tomatoes should look shrunken and slightly browned at the edges, and the liquid should be syrupy rather than watery. When you blend it, the color should be a deep, rich red — not pale or orange.
Cooking Tips & Techniques
I’ve made this sauce more times than I can count, and I’ve learned a few things the hard way. Here’s what I wish someone had told me.
Don’t skip the single layer rule. I once tried to cram 15 pounds of tomatoes onto two pans because I was in a hurry. Big mistake. The tomatoes steamed instead of roasted, and the sauce came out watery and bland. Spread them out. Use three pans if you have to. Your future self will thank you.
Roast garlic whole. I used to mince garlic before roasting, and it always burned. Now I just smash the cloves and toss them in. They roast to sweet, spreadable perfection, and the food mill catches any papery bits. No burnt garlic, no fuss.
Watch the liquid level. The roasting time varies depending on how juicy your tomatoes are. Roma tomatoes from the farmer’s market might be drier than grocery store ones. Check at the 2.5-hour mark. If there’s still a lot of liquid pooling in the pan, give them another 30 minutes. You want the liquid to be reduced and syrupy.
Use a timer for the canning process. I once got distracted by a phone call and let my jars process for an extra 10 minutes. The sauce was fine, but I stressed about it for days. Set a timer the moment the water returns to a boil, and don’t start it earlier.
Label your jars. I know it sounds obvious, but I have a cabinet full of unlabeled jars from 2020 that I’m scared to open. Write the date and contents on the lid with a permanent marker. You’ll thank yourself next winter.
Multitasking strategy : While the tomatoes roast, wash and sterilize your jars in the dishwasher. Prep your canning station. Make a batch of mini lemon blueberry cheesecakes for dessert while you wait. The hands-off time is perfect for tackling other kitchen projects.
Variations & Adaptations
This recipe is incredibly flexible. Here are some ways I’ve adapted it over the years.
Spicy Arrabbiata Version : Add 2-3 dried red chili peppers to the roasting pan along with the herbs. The heat infuses into the oil and tomatoes beautifully. Remove the peppers before processing. This version is amazing on pasta with a sprinkle of Pecorino Romano.
Roasted Vegetable Medley : Toss in a couple of halved bell peppers, a quartered onion, and a chopped carrot with the tomatoes before roasting. The carrot adds natural sweetness, and the peppers give a smoky depth. This is my go-to when I have extra veggies that need using up.
Herb-Infused Oil Swirl : Before serving, drizzle a little basil or rosemary-infused olive oil over the sauce. It’s a small touch that makes a big difference. I keep a bottle of infused oil in my pantry specifically for this purpose.
Smoky Chipotle Twist : Add 1-2 chipotle peppers in adobo sauce to the blender along with the roasted tomatoes. This gives the sauce a smoky, spicy kick that’s incredible on tacos or in enchiladas. Just be warned — it’s addictive.
Low-Sodium Option : Skip the added salt entirely and rely on the natural sweetness of the roasted tomatoes and garlic. You can always add salt later when you’re using the sauce. This is great for anyone watching their sodium intake.
Freezer-Friendly Adaptation : If you don’t want to can, let the sauce cool completely, then portion it into freezer-safe bags or containers. It keeps for up to 6 months. Lay the bags flat to freeze — they stack beautifully and thaw quickly.
I once made a batch with roasted eggplant thrown in, and honestly, it was one of the best mistakes I’ve ever made. The eggplant added a creamy texture that made the sauce almost velvety. Don’t be afraid to experiment.
Serving & Storage Suggestions
This sauce is a workhorse in the kitchen. Here’s how to make the most of it.
Serving Temperature : Serve the sauce hot, straight from the jar or pot. It’s perfect over al dente pasta — I love it with spaghetti or pappardelle. For a quick weeknight dinner, toss it with cooked pasta, a splash of pasta water, and a handful of fresh basil.
Presentation Ideas : Ladle the sauce over a bed of creamy polenta and top with grated Parmesan. Use it as a base for homemade pizza — spread a thin layer on your dough and add fresh mozzarella and basil. It’s also incredible as a dipping sauce for crusty bread or roasted vegetables.
Complementary Dishes : Pair this sauce with a simple green salad dressed with lemon vinaigrette, or serve alongside garlic bread for sopping up every last drop. For a complete meal, add a side of roasted chicken or Italian sausage. If you’re hosting, start with some other recipes from the blog for a full Italian-inspired feast.
Storage Instructions : Canned jars should be stored in a cool, dark place (like a pantry or basement) and used within 12-18 months for best quality. Once opened, refrigerate and use within 5-7 days. If you’re freezing the sauce, thaw it overnight in the refrigerator before using.
Reheating Methods : For canned sauce, simply pour it into a saucepan and warm over medium heat, stirring occasionally. If the sauce seems too thick after storage, stir in a splash of water or pasta cooking water. For frozen sauce, thaw in the fridge overnight, then reheat gently. The flavor actually deepens after a few months in the freezer — it’s like a fine wine, but cheaper.
Flavor Development : This sauce tastes even better after a few weeks in the jar. The flavors meld and mellow, creating a deeper, more complex profile. I always try to save at least one jar for at least a month before opening it. The wait is worth it.
Nutritional Information & Benefits
This sauce is as good for you as it is delicious. Here’s the breakdown per 1-cup serving (approximately 240 grams).
- Calories : 85-100 (depending on olive oil amount)
- Total Fat : 5-7 grams (mostly from heart-healthy olive oil)
- Sodium : 300-400 mg (adjustable with salt reduction)
- Carbohydrates : 10-12 grams
- Fiber : 3-4 grams
- Sugar : 6-8 grams (natural, from tomatoes)
- Protein : 2-3 grams
- Vitamin C : 25% of the Daily Value
- Vitamin A : 20% of the Daily Value
- Potassium : 10% of the Daily Value
- Lycopene : High concentration (a powerful antioxidant)
Health Benefits : Tomatoes are packed with lycopene, an antioxidant linked to reduced risk of heart disease and certain cancers. Roasting actually increases the bioavailability of lycopene, so this sauce is even more beneficial than raw tomatoes. The olive oil provides healthy monounsaturated fats, and garlic offers anti-inflammatory properties. This sauce is naturally gluten-free, dairy-free, and vegan — perfect for a wide range of dietary needs.
Dietary Considerations : For a lower-sodium version, reduce or omit the added salt. The natural sweetness of the roasted tomatoes means you won’t miss it. This sauce is also Whole30-compliant if you skip any added sugar. Always check your lemon juice label to ensure it’s pure with no additives.
Allergen Notes : This recipe is free from the top eight allergens. However, if you have a sensitivity to nightshades (tomatoes, peppers, eggplant), this sauce may not be suitable. Always consult with a healthcare provider for specific dietary concerns.
Honestly, knowing that I’m feeding my family something this nutritious while also stocking my pantry makes the whole canning process feel even more worthwhile. It’s a win-win.
Conclusion
This best slow-roasted garden tomato sauce for canning has become a summer tradition in my kitchen, and I hope it becomes one in yours too. It’s the kind of recipe that turns a mountain of tomatoes into a treasure trove of flavor, ready to brighten up the darkest winter days. The roasting method is forgiving, the ingredients are simple, and the results are genuinely restaurant-quality.
I love that this recipe lets me preserve summer in its purest form. Every jar is a little time capsule of August sunshine, garlic, and herbs. When I open one in February, I can almost feel the heat of the kitchen and smell the tomatoes roasting. It’s comfort in a jar.
Now it’s your turn. Grab your ripest tomatoes, preheat that oven, and get roasting. I’d love to hear how it goes — drop a comment below and tell me about your batch. Did you add any twists? How did you serve it? Share your photos and tag me so I can see your beautiful jars. Happy canning, friends. You’ve got this.
Frequently Asked Questions
Can I use canned tomatoes instead of fresh for this recipe?
Absolutely, but the flavor won’t be quite the same. If you’re using canned, drain them well and spread them on the pan in a single layer. Reduce the roasting time to about 2 hours since they’re already cooked. The result will still be delicious, just less complex than fresh garden tomatoes.
How long does this sauce last in the pantry?
Properly canned and sealed jars will keep for 12-18 months in a cool, dark place. After that, the quality gradually declines, though the sauce will still be safe to eat if the seal is intact. I always label my jars with the date and try to use them within a year for the best flavor.
Do I really need to add bottled lemon juice for canning?
Yes, this is non-negotiable for safe water bath canning. Tomatoes are borderline in acidity, and the lemon juice ensures the sauce is acidic enough to prevent the growth of harmful bacteria. Bottled lemon juice has a consistent pH level, while fresh lemon juice can vary. Don’t skip this step.
Can I double this recipe?
You can double or even triple it, but you’ll need multiple roasting pans and oven racks. Just make sure the tomatoes are in a single layer — no piling. You might need to roast in batches if your oven space is limited. The canning process can handle larger quantities as long as you have enough jars and pot space.
What if my sauce is too thin after roasting?
No worries! Simply simmer the blended sauce on the stovetop over medium heat for 10-15 minutes, stirring occasionally, until it thickens to your liking. You can also return the roasted tomatoes to the oven for an additional 20-30 minutes if they haven’t released enough moisture. Just keep an eye on them so they don’t burn.
Pin This Recipe!
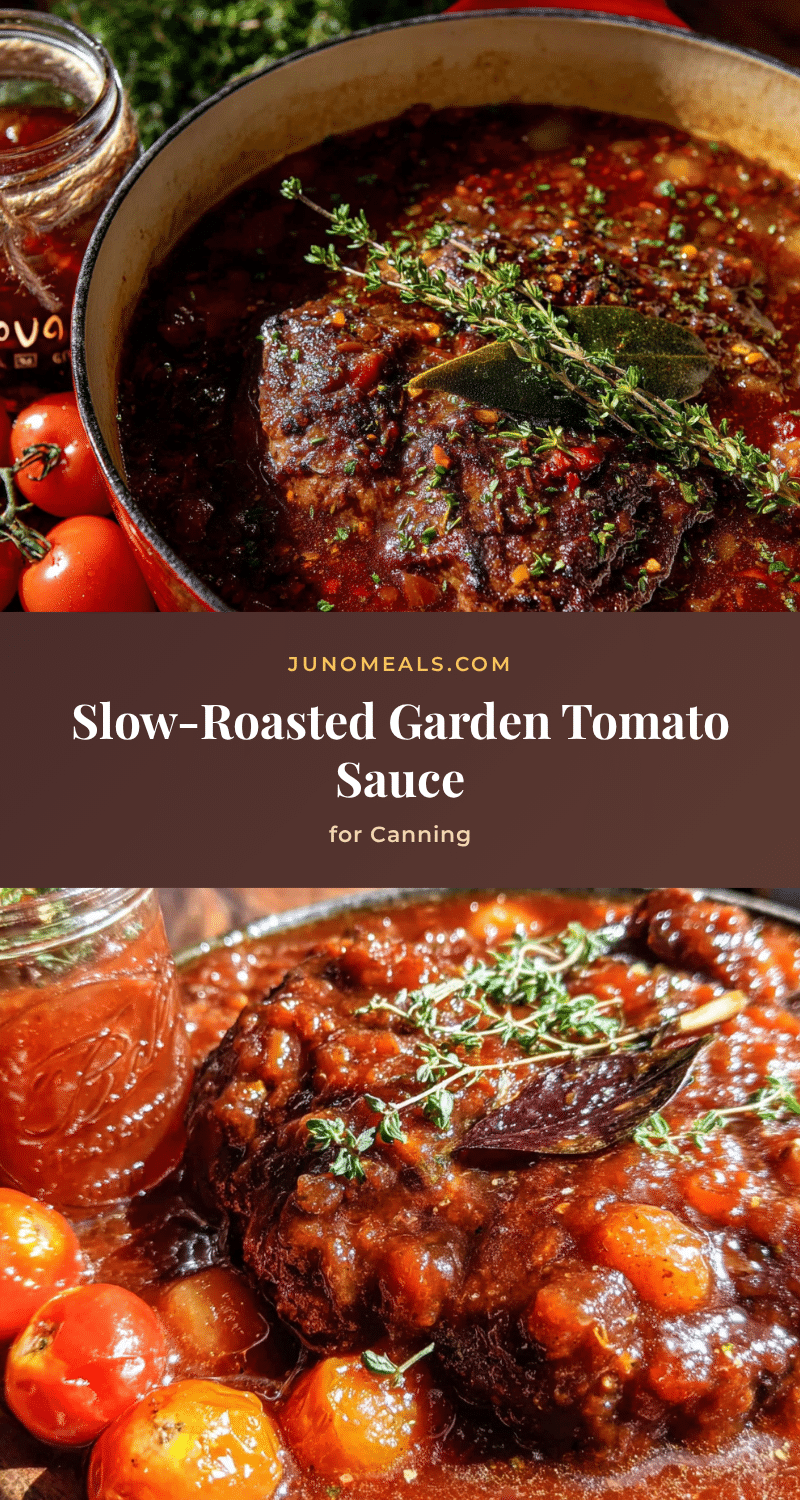
Best Easy Slow-Roasted Garden Tomato Sauce for Canning
This slow-roasted tomato sauce transforms a mountain of garden tomatoes into a rich, sweet, and complex sauce perfect for canning. The oven does all the work, concentrating flavors for a taste of summer in every jar.
- Prep Time: 30 minutes
- Cook Time: 3 hours
- Total Time: 4 hours
- Yield: 4 servings 1x
- Category: Sauce
- Cuisine: Italian
Ingredients
- 10–12 pounds Roma tomatoes (about 4.5–5.5 kg)
- 8–10 garlic cloves, peeled and smashed
- 1/4 cup extra-virgin olive oil (60 ml)
- 1 cup packed fresh basil leaves (about 20 grams)
- 4–5 fresh oregano sprigs
- 2 teaspoons kosher salt (10 grams)
- 1 teaspoon freshly ground black pepper (2 grams)
- Bottled lemon juice (2 tablespoons per quart jar, 30 ml)
- Optional: 1 tablespoon balsamic vinegar (15 ml)
- Optional: 1/2 teaspoon red pepper flakes (1 gram)
Instructions
- Preheat your oven to 300°F (150°C). Position racks in the upper and lower thirds of the oven.
- Wash the tomatoes, core them by cutting out the tough stem end, and slice them in half lengthwise. For larger varieties, cut into quarters.
- Arrange the tomato halves cut-side up on two large roasting pans in a single layer without overcrowding. Tuck the smashed garlic cloves and herb sprigs in between.
- Drizzle the olive oil evenly over everything. Sprinkle with salt and pepper. Toss gently with your hands to coat, then rearrange so the tomatoes are cut-side up again.
- Roast for 2 1/2 to 3 hours, rotating the pans top to bottom and front to back halfway through. The tomatoes should be wrinkled, slightly caramelized around the edges, and the liquid reduced by about half.
- Let the pans cool on a wire rack for 15-20 minutes. Remove the herb sprigs.
- Process the tomatoes: run the roasted tomatoes and garlic through a food mill into a large pot, or transfer to a large pot and blend with an immersion blender until smooth or slightly chunky.
- Bring the sauce to a gentle simmer over medium heat. Taste and adjust salt and pepper. If too thick, stir in a little water; if too thin, simmer for 10-15 minutes to reduce.
- For canning, add 2 tablespoons bottled lemon juice to each quart jar (1 tablespoon for pints) before filling.
- Ladle the hot sauce into hot jars, leaving 1/2 inch headspace. Remove air bubbles, wipe rims clean, center lids, and screw on bands until fingertip-tight.
- Process in a water bath canner: ensure jars are covered by at least 1 inch of water. Bring to a full rolling boil and process for 35 minutes for quarts (adjust for altitude).
- Turn off heat, remove lid, let jars sit in water for 5 minutes. Transfer to a towel-lined counter and leave undisturbed for 12-24 hours. Check seals by pressing the center of each lid.
Notes
For altitude adjustment: at 1,001-3,000 feet add 5 minutes processing time; at 3,001-6,000 feet add 10 minutes; above 6,000 feet add 15 minutes. Bottled lemon juice is non-negotiable for safe canning. The sauce tastes even better after a few weeks in the jar.
Nutrition
- Serving Size: 1 cup (240 grams)
- Calories: 85100
- Sugar: 68
- Sodium: 300400
- Fat: 57
- Saturated Fat: 1
- Carbohydrates: 1012
- Fiber: 34
- Protein: 23
Keywords: slow-roasted tomato sauce, garden tomato sauce, canning recipe, homemade tomato sauce, roasted tomato sauce, summer preserving


