Introduction
Red, white, and blue. That’s the craving right now, and I have everything except the perfect way to show it off in a dessert. Honestly, I’m not about fussing with complicated recipes when the Fourth of July or Memorial Day rolls around—something simple, bright, and fun is all I want. So here I am, thinking about those layered jello cups, the kind that look like a flag in a little cup but taste light and refreshing. The jiggle, the shimmer under the sun, that sweet yet tangy pop on the tongue—yes, that’s exactly what I want. It’s funny because I never imagined I’d be so particular about jello, but there’s something about this recipe that sticks. Maybe it’s how the layers set just right, or the way the colors stay vibrant without bleeding into each other. Or maybe it’s that subtle reminder of summer afternoons, laughter, and easy celebrations. This recipe is my go-to now; it’s a quiet little tradition without the fuss, and I trust it to bring smiles without a hitch.
Why You’ll Love This Recipe
Making these Easy Patriotic Layered Jello Cups has been a fun little project that turned out better than I expected. What’s great is how approachable the whole thing is—no weird ingredients or long waits, just pure, simple joy in layers. And trust me, I’ve tested a few methods to get that perfect separation between the red, white, and blue.
- Quick & Easy: All layers come together in under 2 hours, with most of that being chilling time—great for last-minute festive treats.
- Simple Ingredients: You’ll mostly find these in your pantry or fridge—gelatin packets, sweetened condensed milk, and basic flavorings.
- Perfect for Summer Events: Whether it’s a family barbecue, a picnic, or a backyard party, these cups are festive and mess-free.
- Crowd-Pleaser: Kids love the fun layers, and adults appreciate the nostalgic yet refined flavors.
- Unbelievably Delicious: The creamy white layer balances the fruity jello perfectly, making every bite a little celebration.
- What Makes This Recipe Stand Out: Instead of just plain jello, the white layer uses sweetened condensed milk blended with gelatin for a smooth, creamy texture that feels like a little dessert within itself. It’s the kind of detail that makes this recipe feel special but stays simple in execution.
Honestly, this recipe stuck with me because it’s one of those rare treats that feels festive without being fussy. There’s no stress about perfect slicing or plating, just grab a cup and enjoy. That’s what makes it my favorite for any patriotic celebration.
What Ingredients You Will Need
This recipe uses simple, wholesome ingredients to create bold, vibrant layers that hold their shape and flavor without fuss. Most are pantry staples, so you probably have what you need on hand.
- For the Red Layer:
- 1 package (3 oz / 85 g) strawberry or cherry flavored gelatin
- 1 cup (240 ml) boiling water
- 1/2 cup (120 ml) cold water
- For the White Layer:
- 1 package (3 oz / 85 g) unflavored gelatin
- 1/2 cup (120 ml) cold water
- 1 cup (240 ml) sweetened condensed milk (I like Eagle Brand for its creamy sweetness)
- 1/2 cup (120 ml) boiling water
- For the Blue Layer:
- 1 package (3 oz / 85 g) blue raspberry or blueberry flavored gelatin
- 1 cup (240 ml) boiling water
- 1/2 cup (120 ml) cold water
Optional toppings, if you want to get fancy: fresh blueberries, sliced strawberries, or even a small dollop of whipped cream. In the summer, swapping in fresh berries instead of the gelatin fruits can be a nice twist, but the classic jello flavors bring nostalgia. For a dairy-free version, swap the sweetened condensed milk with coconut condensed milk—you’ll keep that creamy layer without the dairy.
Equipment Needed
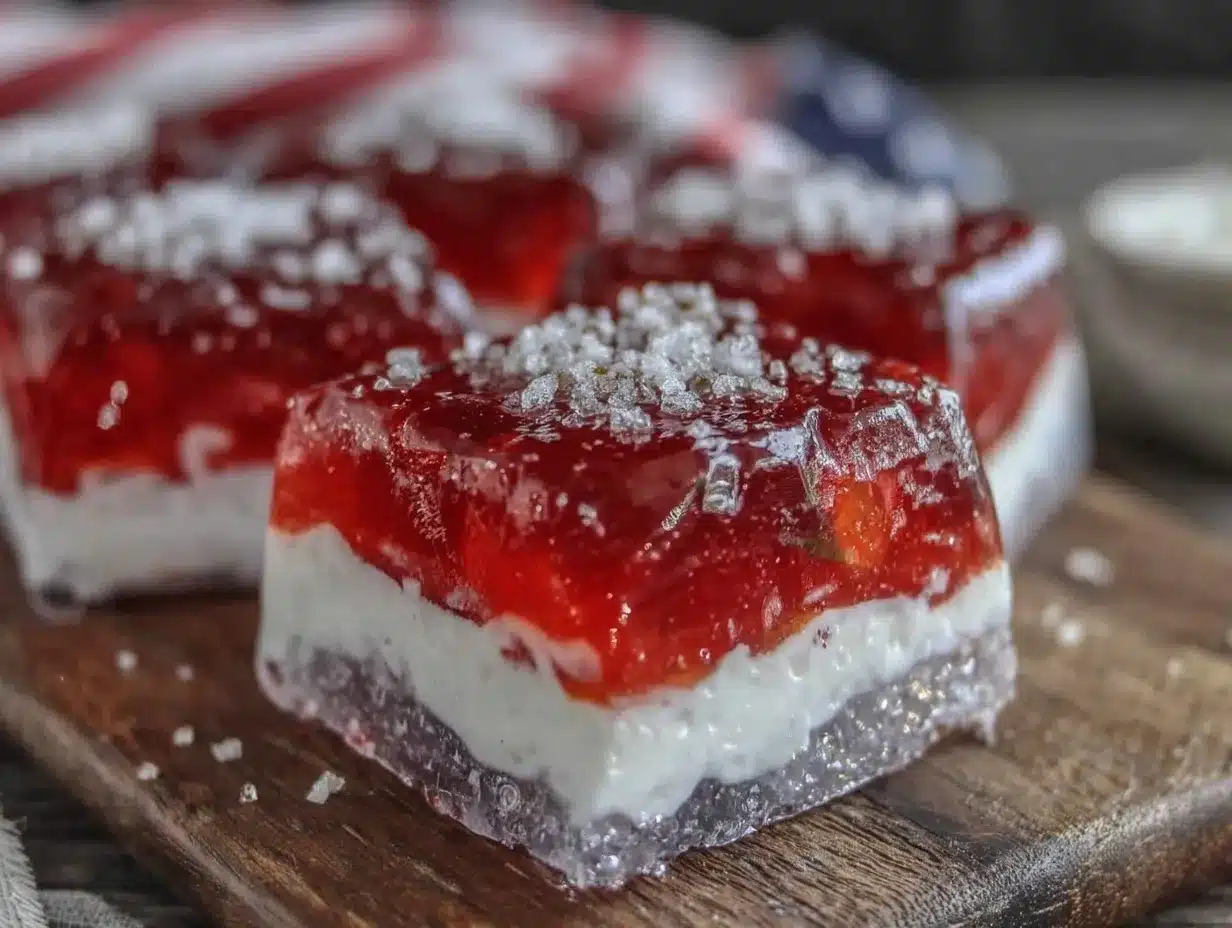
Making these layered jello cups doesn’t require much beyond the basics. Here’s what I use and recommend:
- Clear plastic or glass cups (4 to 6 oz / 120 to 180 ml size) – clear cups show off the layers beautifully.
- Measuring cups and spoons – to keep the layers balanced.
- Mixing bowls – one for each layer.
- Whisk or fork – for stirring the gelatin until fully dissolved.
- Kettle or pot for boiling water.
- Refrigerator space – important for chilling and setting each layer properly.
If you don’t have clear cups, small mason jars work just as well and can double as cute serving containers. I once tried silicone molds, but the layers didn’t come out nearly as crisp, so I stick with cups. No fancy tools needed, and cleanup is a breeze.
Preparation Method
- Prepare the Red Layer: In a mixing bowl, pour 1 cup (240 ml) boiling water over the red gelatin powder. Stir until completely dissolved. Add 1/2 cup (120 ml) cold water and mix well. Pour this mixture evenly into your clear cups, filling each about one-third full. Place the cups in the refrigerator for 30 to 40 minutes, or until the gelatin is firm to the touch but not fully set. This slightly tacky surface helps the next layer stick better.
- Prepare the White Layer: While the red layer chills, sprinkle the unflavored gelatin over 1/2 cup (120 ml) cold water and let it bloom (absorb) for 5 minutes. Meanwhile, bring 1/2 cup (120 ml) water to a boil. Pour the boiling water over the bloomed gelatin and stir until fully dissolved. Stir in 1 cup (240 ml) sweetened condensed milk until smooth. Let this mixture cool for about 5 minutes—too hot and it will melt the red layer.
- Add the White Layer: Carefully pour the white layer over the chilled red layer, filling another one-third of each cup. Return the cups to the refrigerator for another 30 to 40 minutes until this layer is set but still slightly tacky.
- Prepare the Blue Layer: Just like the red, dissolve the blue gelatin powder in 1 cup (240 ml) boiling water, stir well, then add 1/2 cup (120 ml) cold water. Let it cool to room temperature before pouring.
- Finish with the Blue Layer: Gently pour the blue gelatin over the white layer until cups are full. Chill the cups for at least 2 hours, or until the entire dessert is firm.
- Serving: Right before serving, garnish with fresh blueberries or a small dollop of whipped cream if you want some flair.
Pro tip: Pouring the layers slowly and gently over the back of a spoon helps keep the layers neat and prevents them from mixing. Also, make sure each layer is cool enough—not hot—before adding the next. I learned this the hard way after watching the layers blur into one another during a rushed attempt.
Cooking Tips & Techniques
Getting those crisp, vibrant layers can be trickier than it seems. Here’s what’s helped me avoid jello disasters:
- Take your time with chilling. Patience is key. Rushing to add the next layer too soon will cause colors to bleed and layers to mix.
- Use room temperature gelatin mixtures for layering. Pouring hot gelatin on a set layer melts it and ruins your perfect stripes.
- Bloom unflavored gelatin properly. This step ensures the white layer sets with a creamy, firm texture instead of being runny or grainy.
- Pour gently. Pour each new layer slowly over a spoon or the edge of the cup to keep the layers separate.
- Beware of condensation. When removing the cups from the fridge, let them sit a minute to reduce moisture on the surface before serving.
One time, I tried to speed things up by freezing the layers—big mistake. The gelatin texture changed and got rubbery. So, chill in the fridge only, please. Also, multitasking while waiting for layers to set is a lifesaver—prep some easy snacks or prep a batch of mini lemon blueberry cheesecakes for the crowd while you wait.
Variations & Adaptations
While the classic red, white, and blue are perfect for patriotic celebrations, this recipe is flexible enough to play with:
- Dietary Adaptations: Use sugar-free gelatin and a sugar-free condensed milk alternative to make it diabetic-friendly. For a vegan or dairy-free version, swap the white layer with coconut milk gelatin or a cashew cream layer.
- Flavor Twists: Instead of red strawberry, try raspberry for a tart punch. Blue raspberry or blueberry jello can alternate the blue layer’s taste. Add a splash of lemon juice to the white layer for a subtle tang.
- Seasonal Variations: For winter holidays, swap out the colors for red and green layers with lime gelatin for a Christmas theme.
- Texture Changes: Mix in small chunks of fresh fruit into the white layer before it sets for a fun surprise.
I once tried a layered jello cup with a vanilla pudding middle instead of the white gelatin and it was deliciously creamy but a bit harder to layer neatly. Still, it’s a fun alternative if you want to experiment.
Serving & Storage Suggestions
These jello cups are best served chilled, straight from the fridge. They look fantastic on a picnic table or buffet because the layers catch the light just right. Pair them with light snacks like grilled chicken skewers or a fresh salad for a balanced summer meal.
Store leftovers in an airtight container or cover each cup with plastic wrap to avoid fridge odors. They keep well for up to 3 days. Avoid freezing as it can ruin the texture. When ready to serve again, a few minutes at room temperature helps take the chill off without melting the layers.
Flavors tend to meld subtly over time, making the cups taste a little sweeter and creamier the next day. For parties, I like to prepare them a day ahead to save time—just make sure they’re tightly covered.
Nutritional Information & Benefits
Each Easy Patriotic Layered Jello Cup contains roughly 150 to 180 calories depending on portion size and brand of condensed milk used. They’re naturally low in fat, with a moderate amount of sugar (from gelatin and condensed milk). The red and blue gelatin layers provide small amounts of antioxidants if you choose fruit-flavored gelatin with real fruit juice.
This dessert is gluten-free and can be made dairy-free with simple substitutions. It’s a light, portion-controlled treat that satisfies sweet cravings without feeling heavy. Plus, the fun colors make it a festive way to get the whole family interested in a homemade dessert.
Conclusion
This Easy Patriotic Layered Jello Cups recipe is a simple, charming way to celebrate any festive occasion without the fuss. It’s one of those recipes that feels like a tried-and-true classic but with a personal touch—the creamy white layer really sets it apart. I love how customizable it is; you can tweak flavors or colors to match your theme or dietary needs, making it a dependable crowd-pleaser every time.
Give it a go and see how quickly it becomes your go-to patriotic dessert. If you love the ease of this recipe, you might find inspiration in other delightful treats like those mini lemon blueberry cheesecakes that also bring a festive vibe with less effort. Feel free to share your own twists or questions in the comments—I’m always eager to hear how you make this recipe your own. Here’s to simple, joyful celebrations!
FAQs
Can I make these layered jello cups ahead of time?
Yes! They actually taste better after chilling overnight. Just cover them tightly to prevent fridge odors.
What if I don’t have sweetened condensed milk for the white layer?
You can substitute with evaporated milk plus sugar or try a coconut-based condensed milk for a dairy-free option.
How do I prevent the layers from mixing?
Make sure each layer is partially set and cooled before adding the next. Pour slowly over a spoon for best results.
Can I use fresh fruit instead of flavored gelatin?
Fresh fruit can be added into the white layer or as a topping, but the gelatin layers need flavored gelatin to set properly.
Are these jello cups suitable for kids?
Absolutely! They’re colorful, fun, and use simple ingredients that kids generally love.
Pin This Recipe!
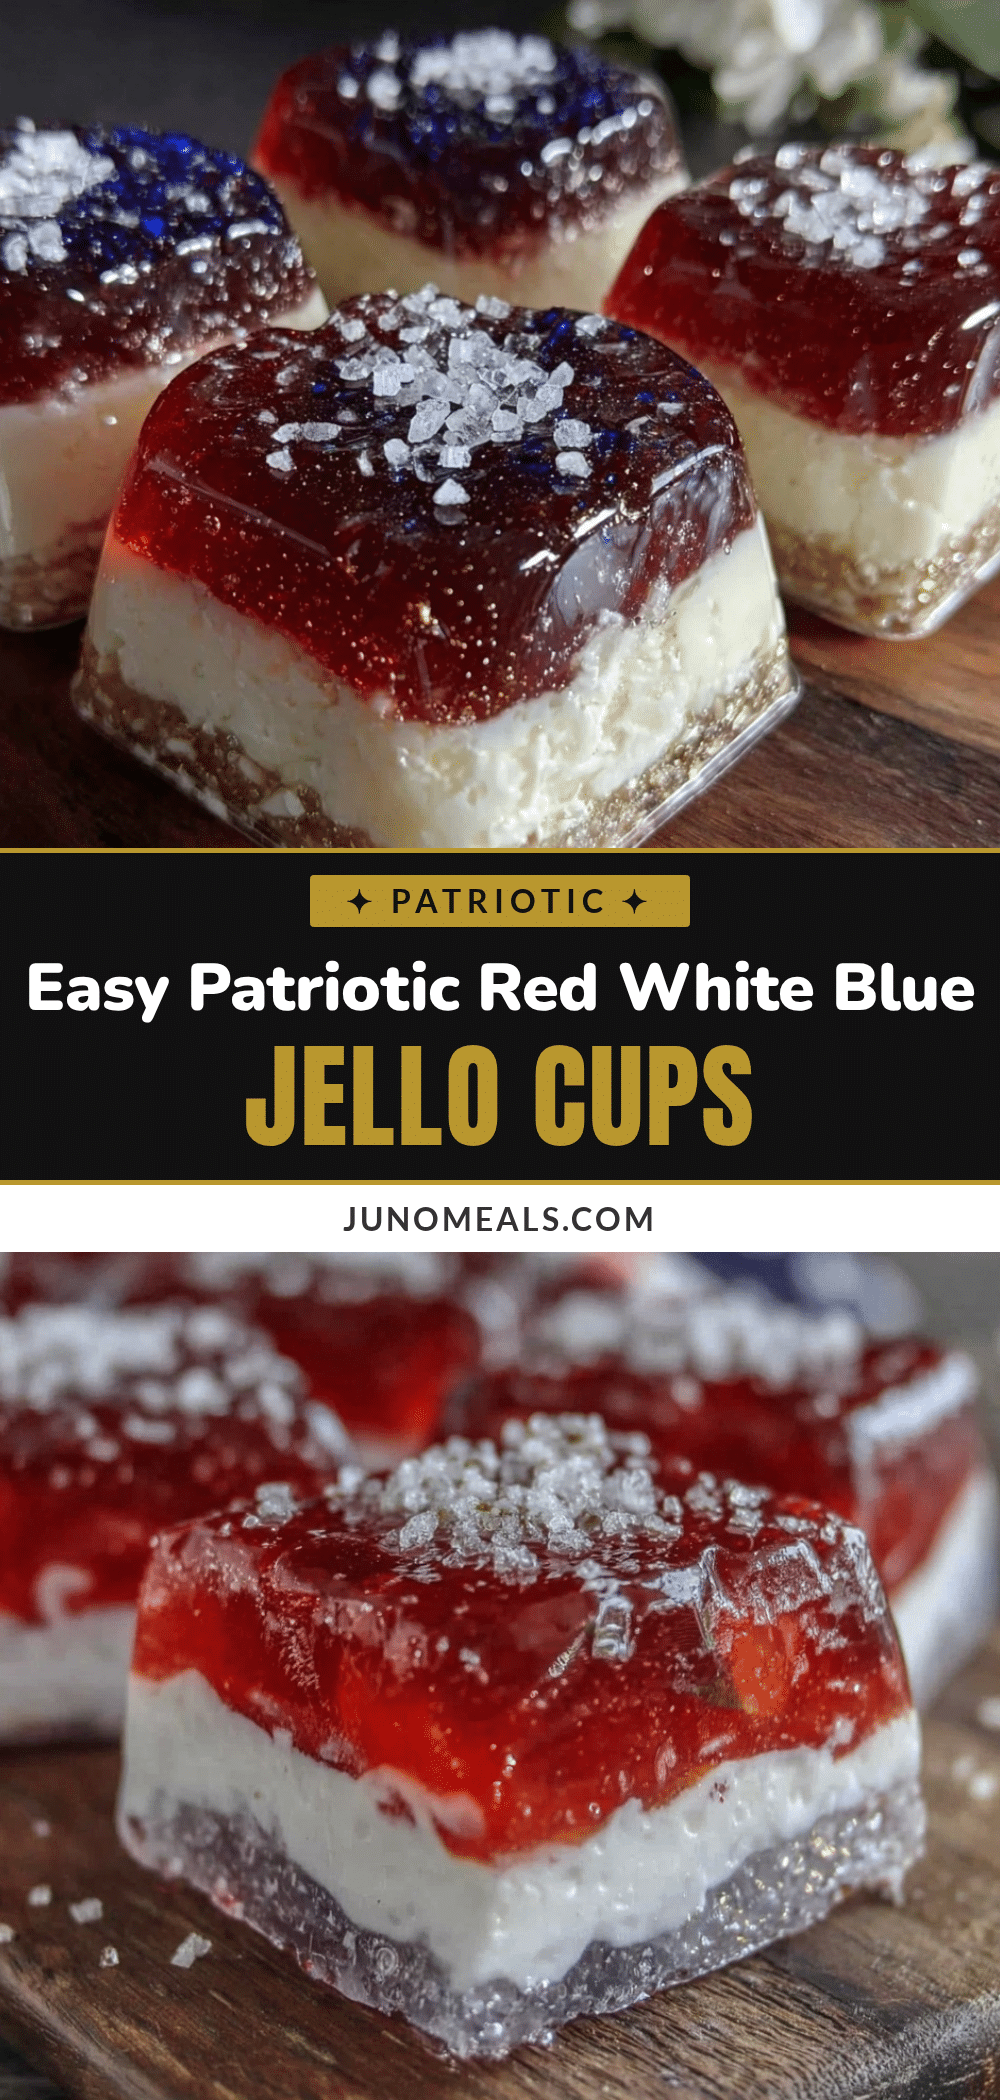
Easy Patriotic Layered Jello Cups Recipe Perfect for Festive Celebrations
A simple, bright, and fun layered jello dessert featuring red, white, and blue layers perfect for patriotic celebrations like the Fourth of July or Memorial Day. The creamy white layer made with sweetened condensed milk balances the fruity jello layers for a refreshing treat.
- Prep Time: 15 minutes
- Cook Time: 2 hours 30 minutes
- Total Time: 2 hours 45 minutes
- Yield: 6 servings 1x
- Category: Dessert
- Cuisine: American
Ingredients
- 1 package (3 oz / 85 g) strawberry or cherry flavored gelatin
- 1 cup (240 ml) boiling water
- 1/2 cup (120 ml) cold water
- 1 package (3 oz / 85 g) unflavored gelatin
- 1/2 cup (120 ml) cold water
- 1 cup (240 ml) sweetened condensed milk
- 1/2 cup (120 ml) boiling water
- 1 package (3 oz / 85 g) blue raspberry or blueberry flavored gelatin
- 1 cup (240 ml) boiling water
- 1/2 cup (120 ml) cold water
- Optional toppings: fresh blueberries, sliced strawberries, whipped cream
Instructions
- Prepare the Red Layer: In a mixing bowl, pour 1 cup boiling water over the red gelatin powder. Stir until completely dissolved. Add 1/2 cup cold water and mix well. Pour this mixture evenly into clear cups, filling each about one-third full. Refrigerate for 30 to 40 minutes until firm to the touch but not fully set.
- Prepare the White Layer: Sprinkle unflavored gelatin over 1/2 cup cold water and let bloom for 5 minutes. Bring 1/2 cup water to a boil, pour over the bloomed gelatin and stir until dissolved. Stir in 1 cup sweetened condensed milk until smooth. Let cool for about 5 minutes.
- Add the White Layer: Carefully pour the white layer over the chilled red layer, filling another one-third of each cup. Refrigerate for 30 to 40 minutes until set but slightly tacky.
- Prepare the Blue Layer: Dissolve blue gelatin powder in 1 cup boiling water, stir well, then add 1/2 cup cold water. Let cool to room temperature.
- Finish with the Blue Layer: Gently pour the blue gelatin over the white layer until cups are full. Chill for at least 2 hours until firm.
- Serving: Garnish with fresh blueberries or a dollop of whipped cream before serving.
Notes
Pour layers slowly and gently over the back of a spoon to keep layers neat and prevent mixing. Ensure each layer is cool enough before adding the next to avoid melting the previous layer. Chill layers fully but avoid freezing to prevent rubbery texture. Let cups sit at room temperature a few minutes before serving to reduce condensation.
Nutrition
- Serving Size: 1 cup (4 to 6 oz)
- Calories: 165
- Sugar: 30
- Sodium: 150
- Fat: 2
- Saturated Fat: 1.5
- Carbohydrates: 35
- Protein: 2
Keywords: patriotic dessert, layered jello cups, Fourth of July dessert, easy jello recipe, festive dessert, summer dessert, red white and blue dessert


