Last October, I was standing in the checkout line at the grocery store, completely exhausted from a long week. My cart was a mess of milk, bread, and whatever else I could grab without thinking too hard. The woman behind me—probably in her sixties, with a calm smile—glanced at my cart and then at the candy corn display next to the register. “You know,” she said, not really to me but to the air, “my grandkids go crazy when I mix those with marshmallows and cereal. Takes ten minutes.” She shrugged like it was nothing, paid for her things, and walked off. I stood there for a second, honestly too tired to even process what she said. But the next day, when I had about fifteen minutes to throw together a treat for my kid’s school bake sale, I remembered her words. And let me tell you—that accidental tip from a stranger in a checkout line turned into my most-requested fall recipe.
These 3-Ingredient Candy Corn Rice Krispie Treats are exactly what they sound like: a ridiculously easy, no-bake dessert that comes together in under fifteen minutes. You only need butter, marshmallows, and crispy rice cereal—plus a bag of candy corn for that festive fall flair. I know, I know, candy corn is one of those divisive ingredients. People either love it or hate it. But in this recipe? It melts into the marshmallow mixture just enough to leave little pockets of sweet, chewy goodness without being overpowering. Honestly, it turned me into a candy corn believer.
The best part? You don’t need to be a baker to pull these off. I mean, if you can melt butter and stir, you’ve got this handled. Maybe you’ve been there—standing in your kitchen at 8 PM, realizing you need something for a classroom party or a last-minute gathering, and you’re too tired to even look at a complicated recipe. These treats are your answer. They’ve saved me more times than I can count, and they always disappear faster than I expect. That’s why I keep coming back to them.
Why You’ll Love This Recipe
Let me be real with you—I’ve tested a lot of dessert recipes over the years, and most of them require more patience than I have on a Tuesday night. These 3-Ingredient Candy Corn Rice Krispie Treats are different. They’re the kind of recipe that makes you look like a hero with almost zero effort. Here’s why they work so well:
- Quick & Easy: From start to finish, you’re looking at about 12 minutes. No oven, no complicated steps, no waiting around. Melt, stir, press, cool. That’s it.
- Simple Ingredients: You probably already have butter and marshmallows in your pantry. The only special addition is candy corn, which shows up everywhere during fall. No fancy grocery trips required.
- Perfect for Last-Minute Needs: School bake sales, Halloween parties, potlucks, or just a fun weekend treat with the kids. These are ready faster than you can decide what to watch on Netflix.
- Crowd-Pleaser: I’ve brought these to three different gatherings this fall, and every single time, someone asks for the recipe. Kids love the colorful look, and adults appreciate the nostalgic flavor.
- Unbelievably Delicious: The texture is spot-on—crispy from the cereal, gooey from the marshmallows, with little bursts of chewy sweetness from the candy corn. It’s comfort food at its simplest.
What makes this version different from every other rice krispie treat recipe out there? It’s the way the candy corn melts into the marshmallow mixture. Most recipes just sprinkle candy corn on top as a garnish, but I stir it right in. As it melts, it creates these subtle orange and yellow streaks throughout the treats, and the flavor becomes this lovely, buttery vanilla-caramel situation. It’s not just a gimmick—it genuinely makes the treats better. Plus, the colors make them look like you spent way more effort than you actually did. Honestly, that’s my favorite kind of recipe.
What Ingredients You Will Need
This recipe keeps things beautifully simple. You only need four ingredients—yes, technically four, but three of them are the classic rice krispie treat base, and the candy corn is the star. Here’s what you’ll need and why each one matters:
- 3 tablespoons unsalted butter (I use salted in a pinch, just reduce any extra salt later. The butter gives richness and helps the marshmallows melt smoothly without burning.)
- 1 package (10 ounces) regular marshmallows (Mini marshmallows melt faster, but standard ones work fine. Just stir patiently. I prefer Jet-Puffed for consistent melting.)
- 6 cups crispy rice cereal (Rice Krispies brand gives the classic crunch, but generic store brands work perfectly too. Just make sure they’re fresh—stale cereal makes sad treats.)
- 1 cup candy corn (This is where the magic happens. I use Brach’s because it’s widely available, but any brand works. For best results, use fresh candy corn—stale ones are too hard and won’t melt as nicely.)
Optional but recommended: A pinch of salt. Candy corn is sweet, marshmallows are sweet, and a tiny bit of salt balances everything out. I add about ¼ teaspoon flaky sea salt right before pressing the mixture into the pan. It makes a surprising difference.
Ingredient selection tips: When shopping for candy corn, look for bags that feel soft and pliable when you squeeze them through the packaging. Hard, brittle candy corn is old and won’t melt properly. Also, if you’re making these for a party with dietary restrictions, note that traditional candy corn contains gelatin, so it’s not vegetarian or vegan. There are vegan candy corn options available online, though they can be harder to find in regular stores.
Substitution guidance: If you’re out of butter, margarine or coconut oil works in a pinch, though the flavor will change slightly. For a dairy-free version, use vegan butter and check that your marshmallows are plant-based (Dandies brand makes good ones). You can also swap the crispy rice cereal for puffed millet or a gluten-free crisp rice cereal if needed. Just be aware that gluten-free versions can be a bit more delicate and may crush more easily when pressing.
One more thing—don’t skip the butter. I tried making these with cooking spray instead of butter once, thinking I’d save a few calories. The marshmallows seized up, the treats were a sticky mess, and I ended up throwing the whole batch away. Trust the butter. It’s not just for flavor—it’s for texture and structure.
Equipment Needed
You don’t need a fancy kitchen for these treats. Here’s what you’ll need:
- Large saucepan or Dutch oven (You need something big enough to hold all the cereal and stir without spilling. I use my 5-quart Dutch oven—it gives plenty of room.)
- Rubber spatula or wooden spoon (A silicone spatula is ideal because it won’t scratch your pan and it scrapes the sides clean. But a sturdy wooden spoon works just fine.)
- 9×13-inch baking dish (This gives you thick, satisfying treats. An 8×8 pan makes them even thicker—just adjust the cooking time slightly.)
- Parchment paper or wax paper (Lining the pan is non-negotiable. Trust me, trying to get these out of an unlined pan is a nightmare. Parchment paper is best because it’s non-stick and heat-safe.)
- Measuring cups and spoons (You need a liquid measuring cup for the cereal and standard measuring spoons for the butter. Eyeballing it works in a pinch, but treats turn out better with proper ratios.)
Budget-friendly alternatives: If you don’t have a 9×13 pan, use a rimmed baking sheet or even a cast-iron skillet. Just grease it well or line it with foil. For stirring, a regular metal spoon works—just be careful not to scratch non-stick pans. And if you’re really in a bind, you can press the mixture into a greased muffin tin for individual portions. They’ll be a bit messy to get out, but they’re cute and portable.
I learned the hard way that a cheap spatula can leave bits of melted marshmallow stuck to your pan. If you’re making these often, invest in a good silicone spatula—it saves so much cleanup time. Also, keep a bowl of warm water nearby while you work. Dipping your spatula in it helps prevent the marshmallow from sticking to everything.
Preparation Method
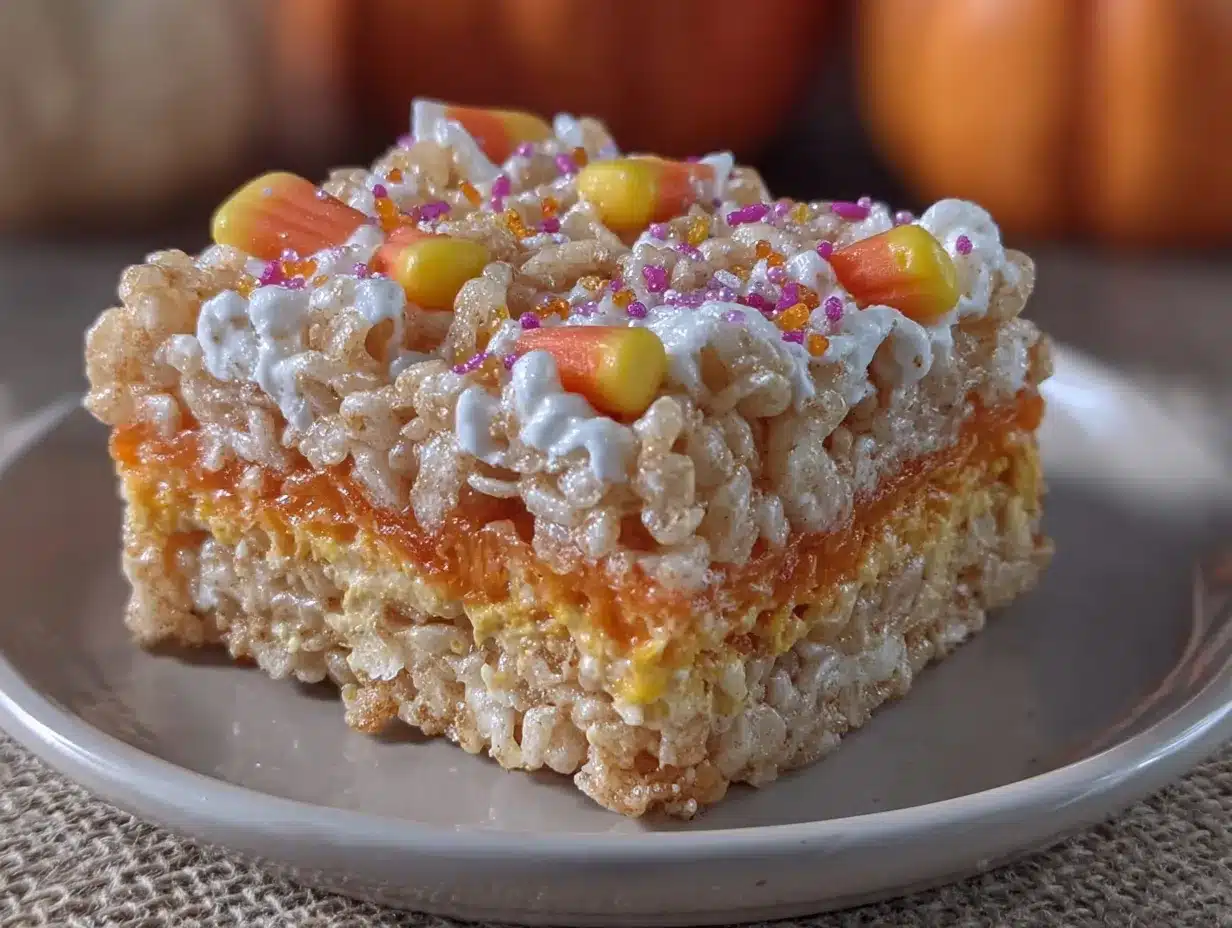
Alright, let’s get to the fun part. These 3-Ingredient Candy Corn Rice Krispie Treats come together in about 12 minutes flat. Here’s exactly how to do it:
- Prep your pan first. Line a 9×13-inch baking dish with parchment paper, leaving some overhang on two sides. This creates handles so you can lift the whole block out later. Lightly grease the parchment with butter or cooking spray. Don’t skip this—even with parchment, a little grease helps prevent sticking.
- Melt the butter. Place your large saucepan over medium-low heat and add the 3 tablespoons of butter. Let it melt slowly, swirling the pan occasionally. You want it fully melted but not bubbling or browning. If it starts to sizzle, your heat is too high—turn it down. Burnt butter will ruin the whole batch.
- Add the marshmallows. Pour the entire 10-ounce bag of marshmallows into the melted butter. Stir constantly with your spatula. The marshmallows will start to puff up and then collapse into a smooth, gooey mass. This takes about 3-4 minutes. Keep the heat low and steady—high heat will scorch the marshmallows and make them grainy.
- Stir in the candy corn. Once the marshmallows are completely melted and smooth, add 1 cup of candy corn. Stir gently but thoroughly. The candy corn will start to soften and melt into the mixture, creating beautiful orange and yellow streaks. Don’t over-stir—you want some chunks of candy corn to remain for texture. This should take about 1 minute.
- Remove from heat and add cereal. Take the pan off the burner. Pour in 6 cups of crispy rice cereal all at once. Fold everything together gently but quickly. Use a folding motion—lift the mixture from the bottom and bring it over the top. Don’t stir too aggressively or you’ll crush the cereal. You want everything evenly coated, which should take about 1-2 minutes.
- Transfer to the pan. Scrape the mixture into your prepared baking dish. It will be sticky and warm. Don’t worry if it looks messy—that’s normal.
- Press it down evenly. Here’s the trick: lightly grease your hands or your spatula with butter or cooking spray. Then gently press the mixture into an even layer. Don’t press too hard—you want the treats to hold together but still have some airiness. If you compact them too much, they’ll be rock-hard. Aim for gentle, even pressure. This takes about 2 minutes.
- Cool completely. Let the treats sit at room temperature for at least 30 minutes before cutting. If you try to cut them while they’re warm, they’ll fall apart. Patience here pays off. For faster cooling, pop the pan in the fridge for 15 minutes.
- Cut and serve. Once cooled, lift the whole block out using the parchment paper handles. Place on a cutting board. Use a sharp knife to cut into squares—I do 12 large pieces or 24 smaller ones. For clean cuts, wipe the knife clean between each slice. If the knife starts sticking, dip it in warm water and dry it off.
Sensory cues: When the marshmallows are fully melted, the mixture should be smooth and glossy, like thick honey. When you add the candy corn, you’ll see it soften and streak the mixture with warm yellow and orange. The finished mixture should look like a confetti of color. When pressing into the pan, you should feel some resistance but not struggle—it should be pliable, not stiff.
Time-saving tip: While the marshmallows are melting, measure out your cereal and candy corn. Have them ready to go. This recipe moves fast once the marshmallows are melted, and you don’t want to be scrambling for ingredients while the mixture cools and hardens.
Cooking Tips & Techniques
I’ve made these treats more times than I can count, and I’ve definitely learned a few things the hard way. Here are my best tips for perfect results every time:
- Low and slow is the rule. I cannot stress this enough. Melting marshmallows over high heat seems faster, but it almost always ends in disaster. The marshmallows scorch, the sugar crystallizes, and you end up with grainy, burnt-tasting treats. Keep your heat at medium-low or even low. Yes, it takes a few extra minutes. Yes, it’s worth it.
- Don’t overwork the cereal. When you fold in the crispy rice cereal, use a gentle hand. Aggressive stirring crushes the cereal into tiny pieces, and your treats will be dense and sad instead of light and crispy. Think of it like folding egg whites into a batter—gentle, purposeful motions.
- Wet your hands for pressing. This is my number one trick. Before pressing the mixture into the pan, run your hands under cold water, shake off the excess, and then press. The water creates a barrier between your skin and the sticky marshmallow. Re-wet your hands as needed. It works like magic.
- Let them cool completely. I know, I know—warm rice krispie treats are irresistible. But cutting them while they’re still warm is a recipe for a crumbly mess. If you absolutely cannot wait, at least let them cool for 20 minutes in the fridge. The texture will be better, and you’ll get cleaner cuts.
- Use a sharp knife. A dull knife will squish the treats rather than cut them. A sharp chef’s knife or a long serrated knife works best. Wipe the blade clean between cuts to prevent sticky buildup.
Common mistakes and how to avoid them: The biggest mistake I see is using stale marshmallows or old cereal. Fresh ingredients make a huge difference. Stale marshmallows don’t melt as smoothly, and stale cereal is soft and unappealing. Also, don’t skip the butter—it’s not just for flavor, it’s for texture. One time I tried using margarine, and the treats turned out greasy and flat. Stick with real butter.
Another lesson I learned: if your treats turn out too hard, you probably pressed them too firmly into the pan. Next time, use a lighter touch. If they’re too soft and fall apart, you may have used too much butter or not enough cereal. Adjust the ratio slightly next time—add an extra half cup of cereal for firmer treats.
Variations & Adaptations
One of the best things about this recipe is how easy it is to customize. Here are some of my favorite variations:
- Chocolate Drizzle: After the treats have cooled, melt ½ cup of chocolate chips with 1 teaspoon of coconut oil and drizzle it over the top. The chocolate pairs beautifully with the sweet, buttery candy corn flavor. Let the chocolate set before cutting. This is my personal favorite—it makes them look fancy with almost no extra effort.
- Peanut Butter Twist: Stir ¼ cup of creamy peanut butter into the marshmallow mixture along with the candy corn. The peanut butter adds a savory-sweet depth that balances the candy corn’s sweetness perfectly. If you’re allergic to peanuts, try almond butter or sunflower seed butter instead.
- Gluten-Free Version: Use a certified gluten-free crispy rice cereal. Most major brands offer one, and the texture is virtually identical. Just double-check that your marshmallows and candy corn are also gluten-free—most are, but it’s worth confirming.
- Vegan Adaptation: Use vegan butter, plant-based marshmallows (Dandies is my go-to), and vegan candy corn. The process is the same, though vegan marshmallows can take a bit longer to melt. Be patient and keep stirring—they’ll get there.
- Seasonal Swaps: Candy corn is perfect for fall, but you can adapt this recipe for any season. Try using pastel mints for spring, crushed peppermint for winter, or chopped dried fruit for summer. The base recipe is endlessly flexible.
I once made a batch with white chocolate chips stirred in along with the candy corn, and it was honestly one of the best decisions I’ve ever made in the kitchen. The white chocolate melts into little pockets of creaminess that contrast with the crispy cereal. Try it—you won’t regret it.
Serving & Storage Suggestions
These treats are best served at room temperature, right after they’ve set. The texture is perfectly balanced—crispy on the outside, slightly chewy in the middle, with those lovely soft bits of candy corn throughout. I like to arrange them on a platter with a few extra candy corn scattered around for color. It makes them look festive without any extra work.
What to serve with them: These treats are sweet on their own, so I like to pair them with something slightly salty or tangy. A glass of cold milk is the classic choice—it cuts through the sweetness beautifully. For adults, they go surprisingly well with a cup of black coffee or a mug of hot apple cider. If you’re serving them at a party, set them out alongside a cheese board or some salted nuts. The contrast is lovely.
Storage instructions: Store leftover treats in an airtight container at room temperature for up to 5 days. Do not refrigerate them—the fridge makes them hard and stale. If you live in a humid climate, add a piece of bread to the container to absorb excess moisture. Replace the bread every day or two. It sounds weird, but it works.
Freezing tips: These treats freeze beautifully. Wrap individual squares tightly in plastic wrap, then place them in a freezer-safe bag or container. They’ll keep for up to 3 months. To thaw, just leave them at room temperature for about 30 minutes. The texture stays surprisingly good—almost as fresh as the day you made them.
How flavors develop: Honestly, these treats are best within the first 24 hours. The candy corn stays soft, and the cereal retains its crunch. After day two, the candy corn starts to harden slightly, and the cereal loses a bit of its snap. They’re still delicious, just not quite as perfect. So if you’re making them for an event, try to make them the day before or the morning of.
Nutritional Information & Benefits
Let’s be real—these are a treat, not a health food. But here’s a rough estimate for one serving (based on 12 servings per batch):
- Calories: Approximately 220-250 per square
- Total Fat: 6-8g (mostly from butter)
- Carbohydrates: 40-45g (mostly sugar)
- Protein: 1-2g
- Fiber: Less than 1g
- Sugar: 28-32g
Health considerations: These treats are high in sugar and low in fiber and protein, so they’re best enjoyed as an occasional indulgence rather than an everyday snack. If you’re watching your sugar intake, consider making a smaller batch or cutting them into smaller pieces. The good news is that they’re free from common allergens like eggs, nuts (if you skip the peanut butter variation), and soy, depending on your specific brands.
Potential allergens: Traditional candy corn contains gelatin, which is derived from animal products. If you’re vegetarian or vegan, look for plant-based candy corn. Also, some crispy rice cereals contain malt flavoring that may contain gluten, so check labels if you’re gluten-sensitive.
My personal take: I don’t make these every week, but when I do, I enjoy every single bite without guilt. Life is too short to stress about a few marshmallows and candy corn. They’re a fun, nostalgic treat that brings people together—and honestly, that’s worth more than any nutritional metric.
Conclusion
These 3-Ingredient Candy Corn Rice Krispie Treats are everything I want in a fall dessert: quick, easy, fun, and absolutely delicious. They come together in under 15 minutes, use ingredients you can find at any grocery store, and they always make people smile. Whether you’re making them for a school bake sale, a Halloween party, or just because you need a little sweetness in your life, they never disappoint.
What I love most about this recipe is how forgiving it is. You don’t need to be an experienced baker. You don’t need special equipment. You just need a few simple ingredients and a willingness to get a little sticky. And honestly, that’s the kind of recipe I always come back to—the ones that feel more like a favor from a friend than a chore.
I’d love to hear how yours turn out! Did you add any fun variations? Did your family love them as much as mine does? Drop a comment below and let me know. And if you’re looking for more quick and easy fall treats, don’t forget to check out our crispy caramel popcorn recipe—it’s another 15-minute winner that disappears fast. Happy cooking, friends!
Frequently Asked Questions
Can I use mini marshmallows instead of regular ones?
Absolutely! Mini marshmallows melt faster and more evenly than regular ones. If you’re using minis, reduce the melting time by about a minute and watch closely so they don’t scorch. The end result will be just as good.
Why did my treats turn out hard?
Hard treats usually mean you pressed the mixture too firmly into the pan or you used too much heat when melting the marshmallows. Next time, use a light hand when pressing, and keep your heat on low. Also, make sure you’re not over-stirring the cereal—gentle folding keeps things light and airy.
Can I make these ahead of time for a party?
Yes! These treats are best made the day before or the morning of your event. Store them in an airtight container at room temperature. If you need to make them further ahead, freeze them (wrapped individually) for up to 3 months and thaw at room temperature.
Are these treats gluten-free?
They can be! Most crispy rice cereals contain malt flavoring that includes gluten, but many brands now offer gluten-free versions. Rice Krispies brand has a gluten-free option, and there are other gluten-free crisp rice cereals available. Just check the label. Also, confirm that your candy corn and marshmallows are gluten-free, though most are.
Can I use something other than candy corn?
Definitely! This base recipe works with all kinds of mix-ins. Try chopped peanut butter cups, M&Ms, dried cranberries, or crushed peppermint for different seasons. Just keep the total amount around 1 cup to maintain the right texture.
Pin This Recipe!
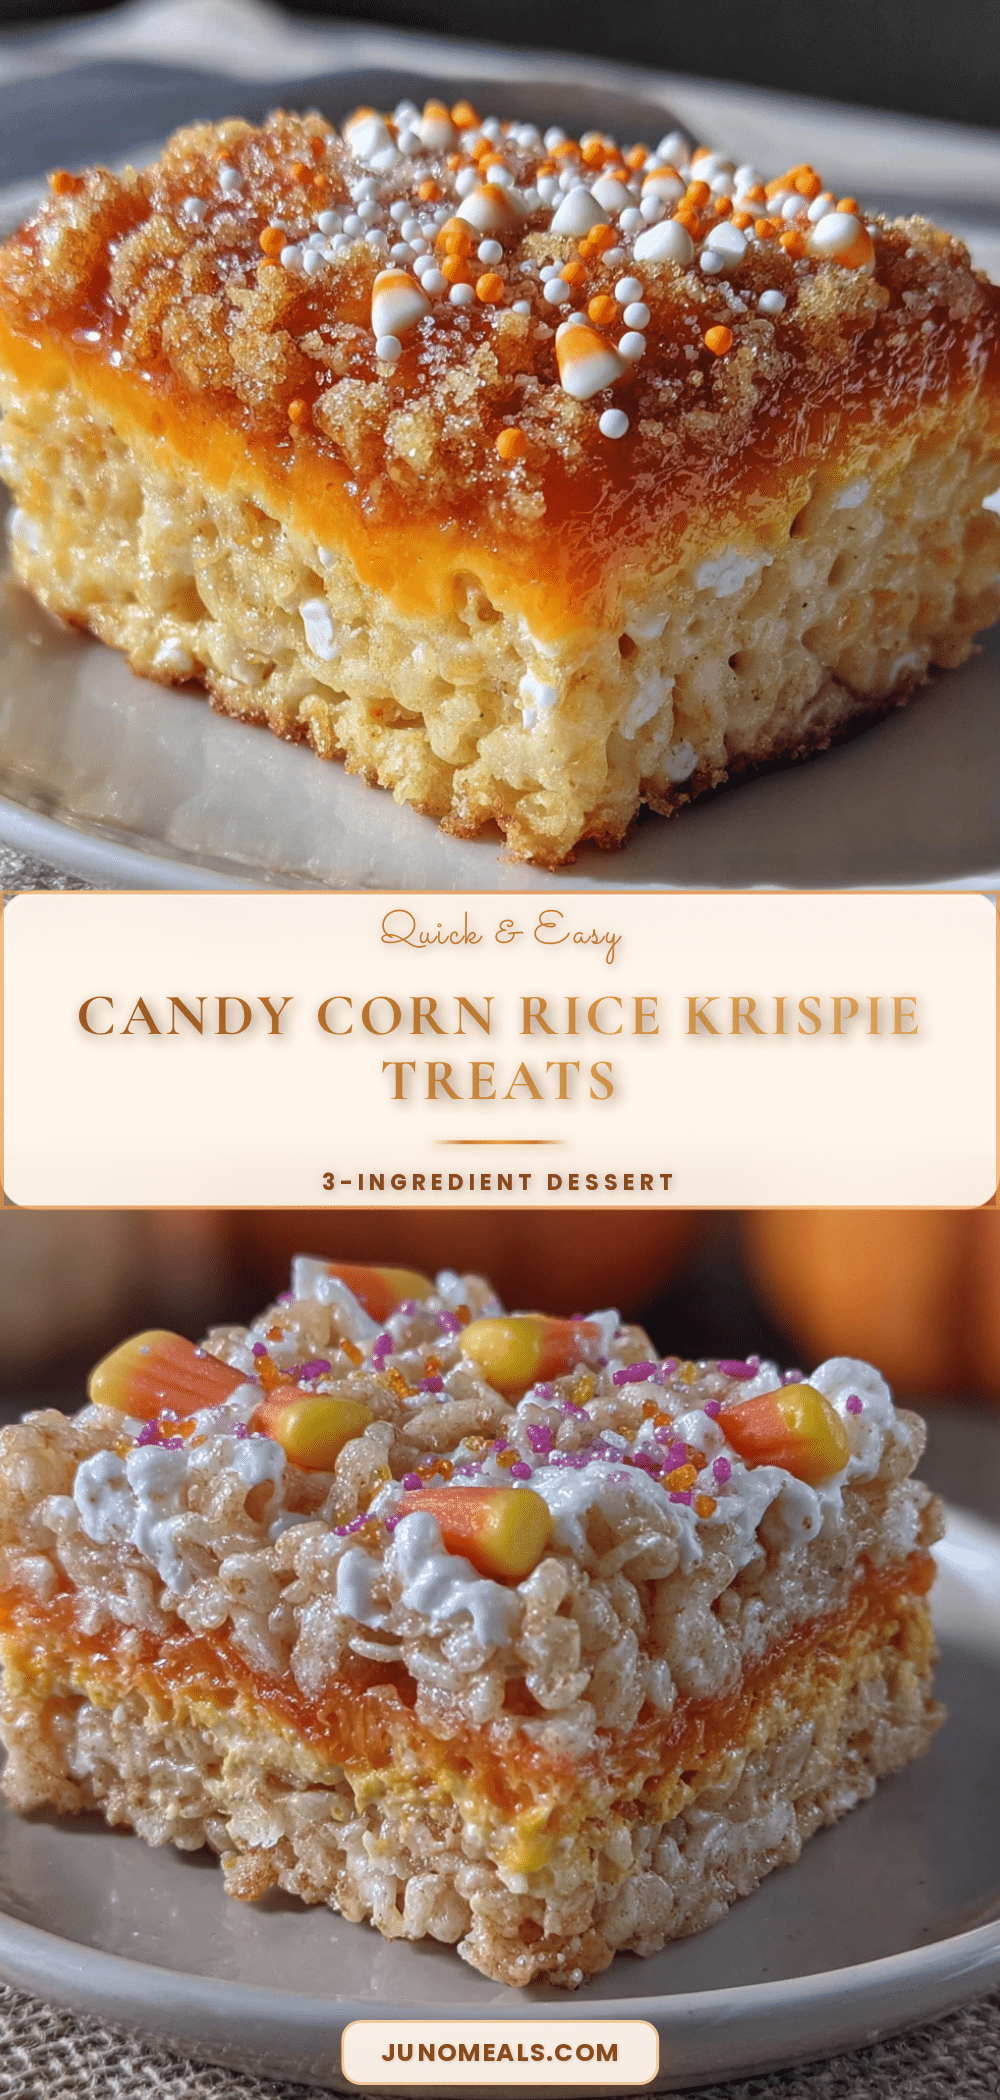
3-Ingredient Candy Corn Rice Krispie Treats: Easy Fall Recipe

These 3-Ingredient Candy Corn Rice Krispie Treats are a ridiculously easy, no-bake dessert that comes together in under fifteen minutes. With butter, marshmallows, crispy rice cereal, and candy corn, they’re perfect for last-minute gatherings and always disappear fast.
- Prep Time: 5 minutes
- Cook Time: 7 minutes
- Total Time: 12 minutes
- Yield: 12 servings 1x
- Category: Dessert
- Cuisine: American
Ingredients
- 3 tablespoons unsalted butter
- 1 package (10 ounces) regular marshmallows
- 6 cups crispy rice cereal
- 1 cup candy corn
- ¼ teaspoon flaky sea salt (optional)
Instructions
- Line a 9×13-inch baking dish with parchment paper, leaving overhang on two sides. Lightly grease the parchment with butter or cooking spray.
- Place a large saucepan over medium-low heat and melt 3 tablespoons of butter slowly, swirling occasionally, until fully melted but not bubbling or browning.
- Add the entire 10-ounce bag of marshmallows to the melted butter. Stir constantly until the marshmallows are completely melted and smooth, about 3-4 minutes. Keep heat low and steady.
- Stir in 1 cup of candy corn gently but thoroughly until it softens and creates orange and yellow streaks, about 1 minute. Leave some chunks for texture.
- Remove the pan from heat. Pour in 6 cups of crispy rice cereal all at once. Fold gently with a folding motion until everything is evenly coated, about 1-2 minutes. Do not over-stir.
- Scrape the mixture into the prepared baking dish.
- Lightly grease your hands or spatula with butter or cooking spray. Gently press the mixture into an even layer without compacting too much, about 2 minutes.
- Let the treats cool completely at room temperature for at least 30 minutes (or 15 minutes in the fridge for faster cooling).
- Lift the block out using the parchment paper handles. Cut into squares using a sharp knife, wiping the blade clean between cuts. Makes 12 large or 24 small pieces.
Notes
Use fresh candy corn for best melting. Keep heat low when melting marshmallows to avoid scorching. Do not over-press the mixture to keep treats light and airy. For clean cuts, let treats cool completely and wipe knife between slices.
Nutrition
- Serving Size: 1 square (based on 1
- Calories: 235
- Sugar: 30
- Sodium: 150
- Fat: 7
- Saturated Fat: 4
- Carbohydrates: 43
- Protein: 1
Keywords: candy corn, rice krispie treats, fall recipe, no-bake dessert, easy dessert, 3-ingredient, Halloween treats


