“You really don’t need a fancy ice cream maker for this,” my friend said, sliding a small bowl across the table. It was late afternoon, and honestly, I was skeptical. Ice cream without a machine? With only three ingredients? It sounded like one of those too-good-to-be-true health hacks. But as I took my first spoonful, creamy and subtly sweet, I paused — no, this was the real deal.
That moment stuck with me, especially after many attempts in my own kitchen. The ease of this easy protein ice cream with 3 ingredients quickly turned it into my go-to, especially when I craved a cool treat without the hassle or guilt. I remember one evening when I was juggling work calls and dinner prep; this recipe saved the day. No churning, no waiting for hours, just a simple blend and freeze that felt like a tiny luxury amid the chaos.
The charm is how the ingredients come together so effortlessly, yet deliver that smooth, satisfying texture you expect from ice cream. It’s not just a quick fix; it’s a recipe that gently reminds you healthy indulgence can be simple and approachable. And honestly, after trying it multiple times in a week (I told you, obsession phase!), I realized it’s perfect for anyone who wants a sweet protein boost without fuss.
So, whether you’re cooling down on a warm day or sneaking in a post-workout treat, this recipe holds a quiet promise: easy, wholesome, and surprisingly delicious. It’s the kind of thing you might not expect to become a staple, but once it does, it quietly earns its spot in your favorite recipes.
Why You’ll Love This Recipe
Having tested this easy protein ice cream recipe several times, I can honestly say it hits the sweet spot for busy people who want something nutritious and indulgent. Here’s why it’s become a favorite in my kitchen:
- Quick & Easy: Ready in under 10 minutes before freezing, making it perfect for last-minute cravings or post-workout refuel.
- Simple Ingredients: Only three, and you probably have them already. No hunting for exotic stuff or complicated prep needed.
- Perfect for Anytime: Whether it’s a hot afternoon, a quick dessert after dinner, or a snack to keep hunger at bay, it fits the bill.
- Crowd-Pleaser: I’ve shared this with friends and family, and it always gets a thumbs up—even from those who usually avoid protein powders.
- Unbelievably Delicious: The creamy texture and subtle sweetness make it feel like a treat, not just a healthy snack.
What sets this recipe apart is the balance of flavors and texture you get without any fancy equipment. I like to blend my ingredients just right, so the ice cream turns out smooth and scoopable, not icy or grainy. Plus, you can tweak the protein powder flavor or add a dash of cinnamon or vanilla extract to make it uniquely yours. In my experience, this easy protein ice cream offers a satisfying way to enjoy dessert that feels light but filling—something that’s tough to find in many store-bought options.
What Ingredients You Will Need
This recipe uses simple, wholesome ingredients to deliver bold flavor and satisfying texture without the fuss. They’re all pantry staples or easy to grab at any grocery store, making this a stress-free go-to dessert.
- Frozen Bananas (2 medium, sliced): The base for creaminess and natural sweetness. Overripe bananas work best for a smooth texture and rich flavor.
- Protein Powder (1/2 cup or about 40 grams): I recommend a vanilla or unflavored whey protein for best texture and taste. Brands like Optimum Nutrition or Dymatize blend well without clumping.
- Milk or Milk Alternative (1/2 cup or 120 ml): Use whole milk for creaminess or unsweetened almond milk if you prefer a dairy-free option.
Optional add-ins I sometimes use:
- A splash of vanilla extract for depth of flavor
- A pinch of cinnamon or cocoa powder for a twist
- A spoonful of nut butter to add richness
When choosing your protein powder, keep texture in mind. Some plant-based powders can make the ice cream gritty, so if you prefer those, try blending longer or adding a little more milk. Frozen bananas are the unsung hero here—they melt down into a creamy base that feels indulgent without any added sugars. If bananas aren’t your thing, frozen mango chunks are a decent alternative, though the flavor will shift noticeably.
Equipment Needed
- Blender or Food Processor: Essential for turning frozen bananas and protein powder into smooth ice cream. I’ve tried using a regular blender and a high-speed one—both work, but a food processor handles the frozen fruit better without overheating.
- Freezer-Safe Container: For storing and firming up the ice cream after blending. A shallow container helps the ice cream freeze evenly.
- Spoon or Ice Cream Scoop: For serving. Using a warm spoon can help scoop out the ice cream easily.
Optional but helpful:
- Rubber Spatula: To scrape down the sides of the blender or processor, making sure nothing goes to waste.
- Measuring Cups and Spoons: For accurate ingredient amounts—especially helpful if you’re tracking macros.
If you don’t have a food processor, a high-powered blender like a Vitamix works wonders. I once tried this with a low-powered blender and had to stop frequently to stir and scrape, which got a bit tedious. Also, keep your frozen bananas in small chunks to avoid overworking the motor. Cleaning is straightforward—just rinse immediately after use to prevent protein powder residue from sticking.
Preparation Method
- Prepare the Bananas: Slice 2 medium ripe bananas into chunks about 1 inch (2.5 cm) thick. Freeze them for at least 4 hours or overnight. This ensures a creamy texture without ice crystals. (Tip: I keep a bag of frozen banana slices ready for quick desserts.)
- Combine Ingredients: In your blender or food processor, add the frozen banana chunks, 1/2 cup (40 grams) of protein powder, and 1/2 cup (120 ml) of your chosen milk or milk alternative. If you want, add a splash of vanilla extract here.
- Blend Until Smooth: Pulse the mixture a few times to break down the frozen bananas, then blend continuously. This usually takes about 1 to 2 minutes. Stop occasionally to scrape down the sides with a rubber spatula to blend everything evenly. (Watch for overheating—if your blender gets warm, pause and stir.)
- Check Texture & Adjust: At this point, the mixture should be creamy and scoopable, similar to soft-serve ice cream. If it’s too thick, add a tablespoon (15 ml) of milk and blend again. If it’s too runny, add a bit more frozen banana or protein powder and pulse briefly.
- Freeze for Firmness: Transfer the mixture to a freezer-safe container, smoothing the top. Freeze for 1 to 2 hours to firm up to a scoopable consistency. (I sometimes skip this step if I’m in a rush, but the texture improves after chilling.)
- Serve & Enjoy: Scoop into bowls or cones. If the ice cream is too hard after freezing, let it sit at room temperature for 5 minutes before serving.
Some preparation notes: The key is using ripe, frozen bananas and blending thoroughly. I once rushed the freezing step and ended up with icy chunks instead of creamy ice cream—lesson learned! Also, don’t skimp on the protein powder; it adds body and flavor. Lastly, if you want to try mini lemon blueberry cheesecakes for your next party, this protein ice cream can be a great healthy dessert option alongside.
Cooking Tips & Techniques
One of the trickiest parts for beginners is getting the ice cream texture right without an ice cream maker. Here are a few tips that helped me along the way:
- Freeze bananas thoroughly: The colder and more solid, the creamier your ice cream will be. If your bananas aren’t frozen solid, the mixture can turn out mushy.
- Use a high-speed blender or food processor: This prevents chunky bits and ensures a silky finish. Low-powered blenders can struggle but don’t give up—just blend in short bursts and stir often.
- Scrape the sides: Protein powder loves to stick, so scraping the container sides mid-blend is key for even mixing.
- Don’t overdo the liquid: Too much milk makes the ice cream icy and runny. Add it gradually and only as needed.
- Freeze after blending: While the ice cream is edible immediately, a short freeze firms it up nicely for classic scooping.
I also learned to trust my senses: the ice cream should look thick and creamy, with no visible chunks of banana or powder. If you notice graininess, try blending a little longer or adding a splash more milk. And multitasking is your friend—while the ice cream chills, you can prep toppings or other snacks, like some tasty treats from the recipe collection.
Variations & Adaptations
This base recipe is a great canvas for personalization. Here are some ways I’ve switched it up:
- Flavor Boost: Add 1 tablespoon (15 ml) of cocoa powder for chocolate protein ice cream or a handful of frozen berries for a fruity twist.
- Dairy-Free Version: Use coconut or almond milk and a plant-based protein powder. Just expect a slightly different texture.
- Nut Butter Swirl: Mix in 1 tablespoon (15 grams) of almond or peanut butter for richness and extra protein.
- Low Sugar Option: Choose an unsweetened protein powder and add a few drops of liquid stevia if you want more sweetness without calories.
One variation I tried recently was adding a pinch of instant coffee granules, which surprisingly gave it a subtle mocha flavor that was delightful. Also, if you want to save time, you can blend the mixture and freeze it in popsicle molds for a portable treat.
Serving & Storage Suggestions
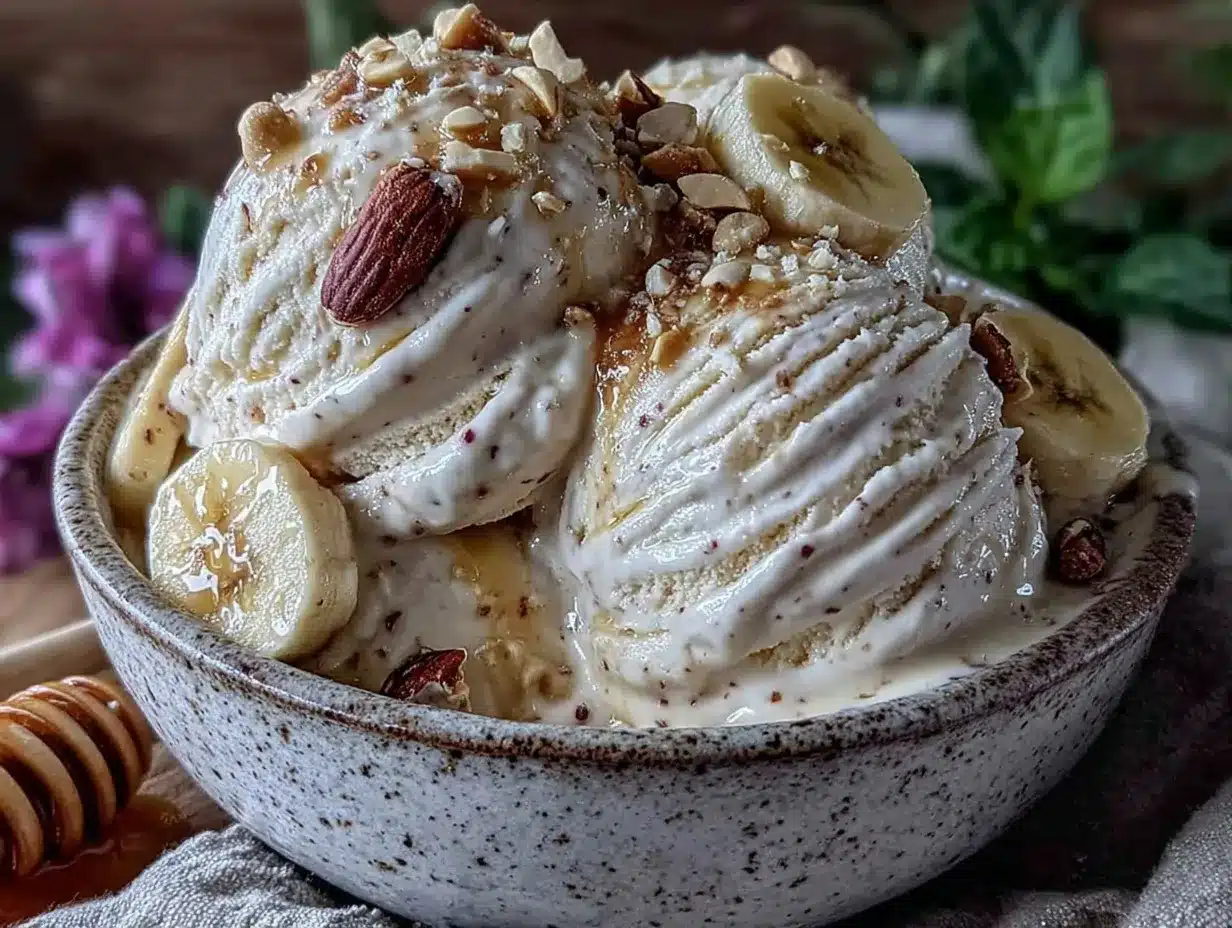
This protein ice cream is best served slightly chilled but not rock-hard. Let it sit out for 5 minutes before scooping for easier serving. I like to garnish it with fresh fruit, a sprinkle of chopped nuts, or a drizzle of honey for extra texture and sweetness.
It pairs nicely with light desserts like fruit salads or even alongside a slice of something rich like a cheesecake. If you want a lighter companion to your mini lemon blueberry cheesecakes, this protein ice cream fits beautifully.
Store leftovers in an airtight container in the freezer for up to one week. When reheating, avoid microwaving directly as it melts unevenly. Instead, let it thaw in the fridge for about 30 minutes or leave at room temperature until scoopable. Flavors tend to mellow and deepen after a day or two, making it even more enjoyable.
Nutritional Information & Benefits
This easy protein ice cream offers a balanced snack with approximately:
| Serving Size | Calories | Protein | Carbs | Fat |
|---|---|---|---|---|
| 1/2 cup (about 120 g) | 150-180 | 15-20 g | 20-25 g | 1-3 g |
The ripe bananas provide natural sugars and fiber, while the protein powder boosts muscle recovery and satiety. Using milk alternatives keeps it light and dairy-free if needed. This recipe is gluten-free by default and suitable for most low-fat diets. Just watch for nut allergies if adding nut butter.
I appreciate how this recipe fits into a balanced lifestyle—simple, wholesome, and satisfying without the extra additives. It’s a treat that supports wellness goals, especially when you’re craving something sweet but want to stay on track.
Conclusion
Honestly, this easy protein ice cream with 3 ingredients has quietly become a staple in my kitchen for good reason. It’s simple enough to whip up anytime but still feels special enough to satisfy cravings. You can tweak it to your taste, swap ingredients, or make it part of a larger dessert spread.
For me, it’s that little win—treating myself without the guilt, with ingredients I trust and flavors I love. If you try it, I’d love to hear how you customize it or what your favorite add-ins are. Sharing recipes and ideas makes cooking more fun, don’t you think?
So next time you want a quick, creamy, protein-packed sweet fix, remember this easy recipe. It’s proof that sometimes, less really is more.
Frequently Asked Questions
Can I use other frozen fruits instead of bananas?
Yes, frozen mango or avocado can work, but bananas provide the best creaminess and sweetness. Other fruits may change texture and flavor significantly.
Do I need to add sweetener to the recipe?
Usually not, as ripe bananas add natural sweetness. If you prefer it sweeter, a little honey or stevia can be added.
How long can I keep this protein ice cream in the freezer?
Store in an airtight container for up to one week. After that, texture and flavor may decline.
Can I make this recipe vegan?
Absolutely! Use a plant-based protein powder and non-dairy milk like almond or coconut milk for a vegan-friendly version.
What’s the best protein powder to use?
Vanilla-flavored whey protein powders blend well, but if you want plant-based, pea or rice protein works too. Just expect slight texture differences.
Pin This Recipe!
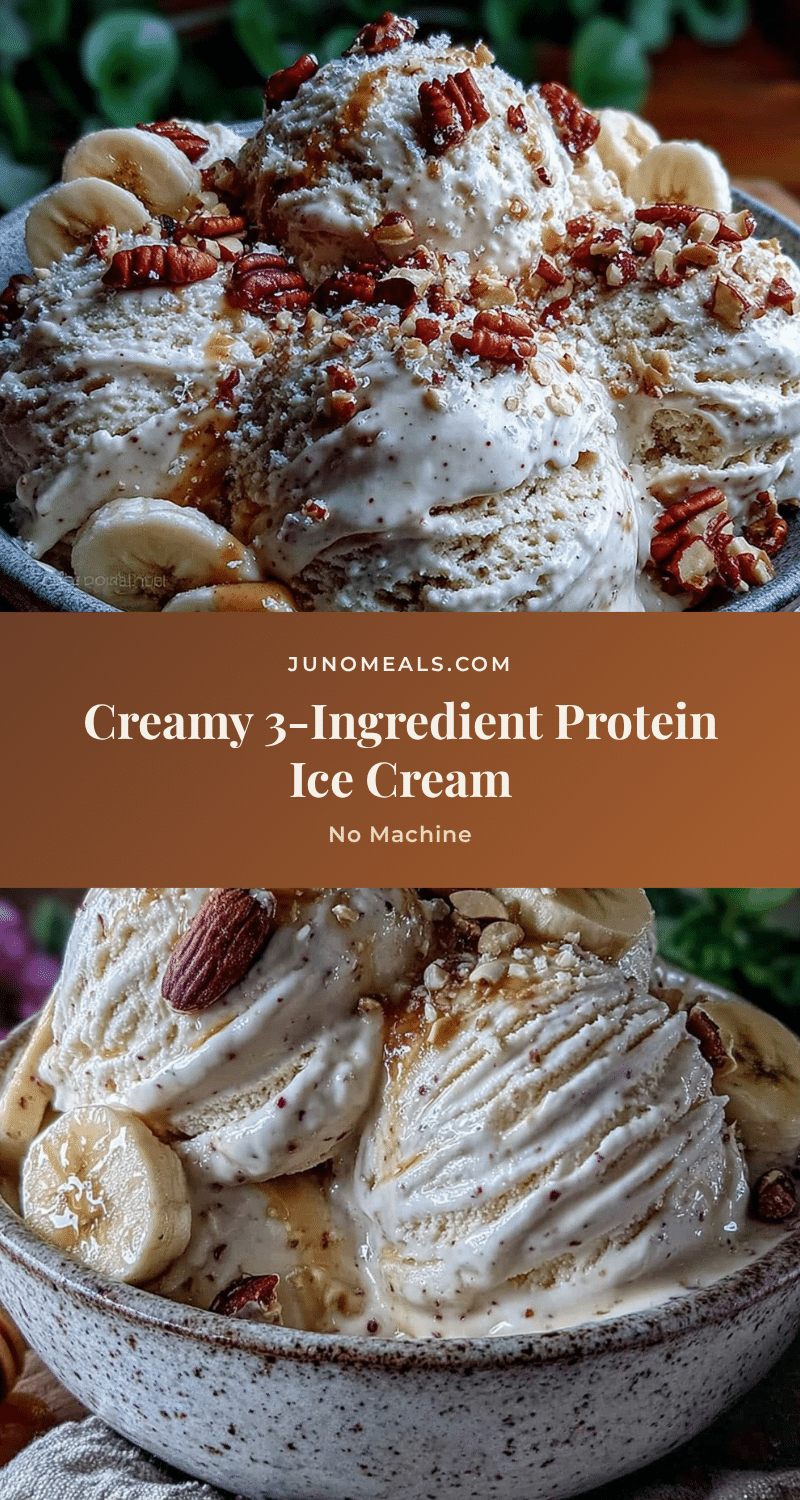
Easy Protein Ice Cream Recipe with 3 Ingredients No Machine Needed
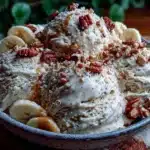
A quick and simple protein ice cream made with just three ingredients—frozen bananas, protein powder, and milk—no ice cream maker required. Perfect for a healthy, creamy treat anytime.
- Prep Time: 10 minutes
- Cook Time: 0 minutes
- Total Time: 1 hour 10 minutes
- Yield: 2 servings 1x
- Category: Dessert
- Cuisine: American
Ingredients
- 2 medium frozen bananas, sliced
- 1/2 cup (about 40 grams) vanilla or unflavored whey protein powder
- 1/2 cup (120 ml) milk or milk alternative (whole milk or unsweetened almond milk)
- Optional: splash of vanilla extract
- Optional: pinch of cinnamon or cocoa powder
- Optional: 1 tablespoon nut butter (almond or peanut)
Instructions
- Slice 2 medium ripe bananas into 1 inch thick chunks and freeze for at least 4 hours or overnight.
- In a blender or food processor, combine frozen banana chunks, 1/2 cup protein powder, and 1/2 cup milk or milk alternative. Add vanilla extract if desired.
- Pulse a few times to break down the bananas, then blend continuously for 1 to 2 minutes, scraping down the sides with a rubber spatula as needed.
- Check the texture; if too thick, add 1 tablespoon milk and blend again. If too runny, add more frozen banana or protein powder and pulse briefly.
- Transfer mixture to a freezer-safe container, smooth the top, and freeze for 1 to 2 hours to firm up.
- Scoop and serve. If too hard, let sit at room temperature for 5 minutes before serving.
Notes
Use ripe frozen bananas for best creaminess. Blend thoroughly to avoid graininess. Adjust milk quantity to control texture. Freeze after blending for firmer ice cream. Can customize with cocoa powder, cinnamon, nut butter, or vanilla extract. Store leftovers in airtight container up to one week. Let thaw slightly before serving for easier scooping.
Nutrition
- Serving Size: 1/2 cup (about 120 g
- Calories: 150180
- Fat: 13
- Carbohydrates: 2025
- Protein: 1520
Keywords: protein ice cream, healthy dessert, no machine ice cream, 3 ingredient ice cream, quick protein snack, frozen banana dessert