I was at the farmers market last October, practically wrestling with a bag of dried chiles I had no business buying. An older gentleman next to me, sorting through peppers like he was choosing fine wine, just watched me struggle for a minute. Then he reached over, picked up one of my chiles, and said “This one’s gonna give you trouble if you don’t toast it first.” His name was Roy, and he’d been making Texas chili for longer than I’d been alive.
Roy didn’t hand me a recipe card or anything formal. He just talked while we both weighed our produce — about how real Texas chili doesn’t have beans, how the meat should be the star, how smoked paprika was his secret weapon when he couldn’t get fresh dried chiles. I scribbled notes on a napkin while balancing my purse and a squash I’d also impulse-bought. Honestly, I forgot about the squash entirely. But that napkin? I still have it tucked in my cookbook.
This crowd-pleasing no bean Texas chili with smoked paprika is what came out of that conversation. I’ve tweaked it over the years — added more garlic, figured out the right beef-to-chile ratio, learned the hard way that burnt garlic ruins everything — but Roy’s voice is still in there. That first batch I made, I accidentally used way too much cumin and my apartment smelled like a taco stand for three days. But you know what? It was still delicious. Maybe you’ve been there, following someone’s loose instructions and hoping for the best.
What keeps me coming back to this recipe is how it brings people together. There’s something about a big pot of chili simmering on the stove that makes a house feel like a home. And when I serve this at gatherings, people don’t just eat it — they close their eyes after the first spoonful. That’s the kind of recipe worth holding onto.
Why You’ll Love This Recipe
This isn’t just another chili recipe you’ll find online. I’ve tested this version more times than I care to count, tweaking the spice blend and cooking technique until every batch came out consistently incredible. Here’s what makes it stand out:
- No Beans, All Meat — This is authentic Texas-style chili where beef is the absolute star. No fillers, just rich, tender chunks of meat in a deeply flavored sauce.
- Smoky Depth Without Effort — The smoked paprika does heavy lifting here, giving you that complex, fire-roasted flavor without needing to char anything yourself.
- Perfect for Hosting — You can make this entirely ahead of time. In fact, it tastes better the next day. That means you get to actually enjoy your own party.
- Crowd-Pleasing Guaranteed — I’ve served this at Super Bowl parties, casual dinners, and even a wedding rehearsal dinner. Empty pot every single time.
- Simple Ingredients, Big Flavor — Nothing fancy here. Most of these ingredients are probably in your pantry right now, which makes this perfect for last-minute hosting.
This recipe is the kind that makes you look like you spent all day in the kitchen when really, most of the time is just letting it simmer. It’s comfort food at its finest — hearty, warming, and deeply satisfying. Perfect for impressing guests without breaking a sweat.
What Ingredients You Will Need
This recipe uses straightforward ingredients that come together to create something truly special. I’ve tested different brands and cuts of meat, so let me share what works best.
For the Chili Base
- 3 pounds beef chuck, cut into ½-inch cubes — Look for well-marbled chuck roast. I prefer buying a whole roast and cubing it myself for the best texture. Pre-cut stew meat works in a pinch but tends to be less tender.
- 2 tablespoons vegetable oil — Or any neutral oil with a high smoke point. Avocado oil works great too.
- 1 large yellow onion, diced (about 2 cups)
- 6 cloves garlic, minced — Fresh garlic only here. The jarred stuff won’t give you the same punch.
- 2 jalapeño peppers, seeded and minced — Leave the seeds in if you want more heat. I usually remove them for a crowd-friendly spice level.
- 1 can (14.5 ounces) diced tomatoes — Fire-roasted if you can find them. They add another layer of smoky flavor.
- 1 can (8 ounces) tomato sauce
- 2 cups beef broth — I use low-sodium so I can control the salt level. Better Than Bouillon is my go-to brand for the richest flavor.
The Spice Blend
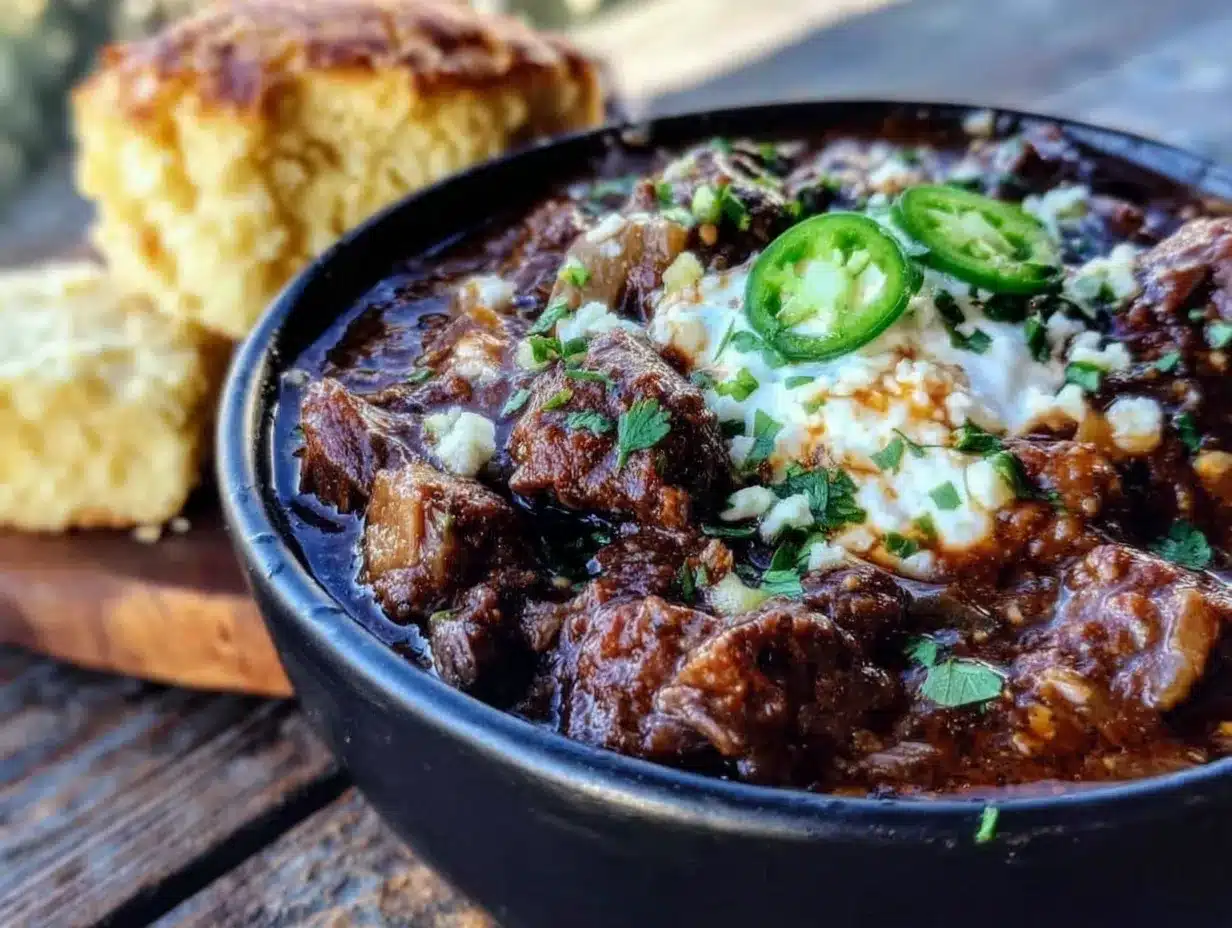
- 3 tablespoons smoked paprika — This is non-negotiable. Regular paprika won’t give you that deep, campfire flavor. I recommend the Spanish smoked paprika from Penzeys or the brand Savory Spice.
- 2 tablespoons chili powder — Use a mild blend unless you want serious heat. My favorite is Gebhardt’s for that classic Texas chili flavor.
- 1 tablespoon ground cumin — Toast whole cumin seeds and grind them yourself if you have time. The difference is noticeable.
- 1 tablespoon dried oregano — Mexican oregano is ideal, but Mediterranean works fine too.
- 1 teaspoon cayenne pepper — Adjust this based on your crowd. Start with ½ teaspoon if you’re unsure.
- 1 teaspoon black pepper
- 1 teaspoon salt, plus more to taste
- 1 teaspoon brown sugar — This balances the acidity of the tomatoes and rounds out the heat. Don’t skip it.
For Thickening and Finishing
- 2 tablespoons masa harina — This is the secret to authentic Texas chili texture. It thickens without leaving a raw flour taste. Maseca brand is widely available.
- ¼ cup warm water — For making a slurry with the masa harina.
Optional Toppings
- Shredded cheddar cheese
- Sour cream
- Fresh cilantro, chopped
- Diced white onion
- Sliced jalapeños
- Lime wedges
Equipment Needed
You don’t need a professional kitchen to make this chili, but having the right tools makes the process smoother. Here’s what I use:
- Large heavy-bottomed pot or Dutch oven — A 6-quart or larger Dutch oven is ideal. Le Creuset is lovely if you have one, but my $40 Lodge cast iron Dutch oven has made dozens of perfect batches. The heavy bottom prevents scorching during the long simmer.
- Sharp chef’s knife — Cubing 3 pounds of beef is much easier with a sharp knife. A dull knife is dangerous and frustrating. I love my Wusthof, but a good Victorinox is budget-friendly and works beautifully.
- Cutting board — Get a large one. You’ll be doing a lot of chopping.
- Wooden spoon or spatula — For stirring and scraping up the browned bits from the bottom.
- Measuring spoons — For the spice blend. I keep a separate set just for spices because the turmeric stains everything.
- Small bowl — For mixing the masa harina slurry.
- Tongs — For browning the beef in batches. Much easier than trying to flip pieces with a spoon.
One tip I learned the hard way — don’t use a nonstick pot for this. You want those browned bits stuck to the bottom. That’s where so much flavor lives. A stainless steel or cast iron pot gives you better browning and deeper flavor.
Preparation Method
This chili comes together in stages, but don’t let the number of steps intimidate you. Most of the time is hands-off simmering. Let me walk you through it.
Step 1: Prep Your Beef
Pat the beef chuck dry with paper towels. This is crucial — wet meat won’t brown properly. Cut the meat into ½-inch cubes, trimming off any large pieces of fat. You want some fat for flavor, but not huge chunks. Season the cubes generously with salt and pepper. Let them sit at room temperature for about 20 minutes while you prep your other ingredients.
Step 2: Brown the Meat in Batches
Heat 1 tablespoon of vegetable oil in your Dutch oven over medium-high heat until it shimmers. Add the beef in a single layer — don’t crowd the pot. You’ll need to do this in 3 or 4 batches. Let the meat brown undisturbed for 3-4 minutes per side. You’re looking for a deep, dark crust. Transfer each batch to a plate and set aside. If you skip this step or rush it, you’ll miss out on the rich flavor that makes this chili so good.
Step 3: Cook the Aromatics
Reduce the heat to medium. Add the remaining 1 tablespoon of oil. Toss in the diced onion and cook for 5-7 minutes, stirring occasionally, until it’s soft and translucent. Scrape up any browned bits from the bottom of the pot — that’s liquid gold. Add the minced garlic and jalapeños and cook for another minute until fragrant. Don’t let the garlic burn or it’ll turn bitter.
Step 4: Bloom the Spices
Add all the spices — smoked paprika, chili powder, cumin, oregano, cayenne, black pepper, salt, and brown sugar — to the pot. Stir constantly for about 1 minute. You’ll smell the spices become incredibly aromatic. This blooming step wakes up the flavors and makes them more pronounced in the final dish.
Step 5: Build the Chili Base
Pour in the diced tomatoes and tomato sauce. Stir everything together, scraping the bottom of the pot to release any remaining browned bits. Add the beef broth and stir to combine. Return the browned beef and any accumulated juices to the pot. Bring the chili to a boil, then reduce the heat to low. Cover and let it simmer gently.
Step 6: The Long Simmer
Let the chili simmer for 1½ to 2 hours, stirring occasionally. You want the beef to become fork-tender. If the chili looks too thick at any point, add a splash more beef broth or water. If it looks too thin, remove the lid for the last 30 minutes of cooking. The kitchen will smell incredible at this point — like a Texas barbecue joint.
Step 7: Thicken with Masa Harina
About 15 minutes before you’re ready to serve, mix the masa harina with ¼ cup warm water in a small bowl until smooth. This is your slurry. Slowly stir it into the chili. Let it simmer uncovered for 10-15 minutes, stirring occasionally. The chili will thicken nicely. Taste and adjust seasoning — you might want more salt or a pinch more cayenne.
Step 8: Rest and Serve
Remove the chili from heat and let it rest for 10 minutes before serving. This allows the flavors to settle and the texture to perfect itself. Serve hot with your choice of toppings. I always set out bowls of shredded cheddar, sour cream, diced onion, and fresh cilantro so everyone can customize their bowl.
Cooking Tips & Techniques
Over the years, I’ve made every mistake you can imagine with chili. Let me save you from the same trouble.
Don’t rush the browning. I once tried to brown all the beef at once because I was short on time. The meat steamed instead of seared, and the chili ended up tasting bland. Take the extra 15 minutes to do it in batches. That deep brown crust is where the beefy flavor comes from.
Toast your spices carefully. The first time I made this, I got distracted and let my spices burn in the pot. The whole batch had a bitter, acrid taste that no amount of simmering could fix. Keep stirring and watch for that moment when the spices become fragrant — usually about 60 seconds. The minute you smell them, add your liquids.
Use the right meat. I tried making this with ground beef once because it was on sale. It was fine, but it wasn’t Texas chili. Cubed chuck roast gives you those tender, meaty chunks that make this dish special. If you can’t find chuck, brisket or round steak work well too.
Make it ahead. This chili genuinely improves overnight. The flavors meld together, the meat becomes even more tender, and the texture thickens perfectly. I often make this a day before I’m hosting and just reheat it gently. My friends actually prefer the day-old version.
Control the heat wisely. Remember that spice intensity increases as the chili simmers. Start with less cayenne than you think you need. You can always add more heat at the end, but you can’t take it out. For a milder version, skip the jalapeño seeds and use only ½ teaspoon cayenne.
Variations & Adaptations
One of the best things about this chili is how adaptable it is. Here are some variations I’ve tried and loved:
Smokier Version
If you’re as obsessed with smoke as I am, try adding 1-2 chipotle peppers in adobo sauce. Chop them finely and add them with the tomatoes. The smokiness intensifies beautifully. Just be warned — this also adds heat, so adjust your cayenne accordingly.
Beer-Infused Chili
Replace 1 cup of the beef broth with a dark beer like Shiner Bock or Negra Modelo. The beer adds a malty richness that complements the smoked paprika perfectly. Add it after the tomatoes and let it simmer for an extra 15 minutes to cook off the alcohol.
Turkey Version
For a lighter option, substitute ground turkey for the cubed beef. Use 2 pounds of ground turkey and brown it like you would ground beef. The cooking time reduces to about 45 minutes since ground meat doesn’t need long to become tender. Add an extra tablespoon of smoked paprika to compensate for the milder flavor.
Slow Cooker Adaptation
Brown the beef and cook the aromatics on the stovetop first. Then transfer everything to your slow cooker. Cook on low for 6-8 hours or high for 3-4 hours. Add the masa harina slurry during the last 30 minutes. This is perfect for busy days when you want dinner ready when you walk in the door.
Spicier Version
For heat seekers, add 2 dried guajillo or arbol chiles. Toast them in a dry skillet for 2 minutes, then rehydrate in hot water for 15 minutes. Puree them and add to the chili with the tomatoes. This gives you authentic Mexican chili depth along with serious heat.
Serving & Storage Suggestions
This chili is incredibly versatile when it comes to serving. Here’s how I like to present it and keep it fresh.
Serving Temperature: Serve this chili piping hot. I ladle it into deep bowls and let everyone add their own toppings. The contrast between the hot chili and cool sour cream is perfect.
What to Serve Alongside: This chili is a meal in itself, but I love pairing it with warm cornbread or crusty bread for sopping up the sauce. A simple green salad with a tangy vinaigrette cuts through the richness nicely. For drinks, cold beer is classic, but a bold red wine like Zinfandel works surprisingly well.
Presentation Tips for Hosting: When I’m serving a crowd, I set up a chili bar. Big pot of chili in the center, surrounded by bowls of toppings — shredded cheese, diced onion, sour cream, pickled jalapeños, fresh cilantro, lime wedges, and crushed tortilla chips. Guests love building their own bowls, and it looks gorgeous on the table.
Storage Instructions: This chili keeps beautifully. Let it cool completely, then transfer to an airtight container. It stays good in the refrigerator for 4-5 days. The flavors actually deepen over time, so leftovers are a treat.
Freezing: This chili freezes like a dream. Portion it into freezer-safe bags or containers, leaving a little room for expansion. It keeps for up to 3 months. Thaw overnight in the refrigerator and reheat gently on the stovetop or in the microwave.
Reheating: Reheat chili slowly over medium-low heat, stirring occasionally. Add a splash of beef broth or water if it’s too thick. I actually prefer leftovers because the texture becomes even more velvety.
Nutritional Information & Benefits
This chili is packed with protein and flavor, making it a satisfying meal that keeps you full for hours.
| Nutrient | Per Serving (1½ cups, without toppings) |
|---|---|
| Calories | 420 |
| Protein | 38g |
| Fat | 22g |
| Saturated Fat | 8g |
| Carbohydrates | 12g |
| Fiber | 4g |
| Sugar | 5g |
| Sodium | 680mg |
| Iron | 25% DV |
| Vitamin A | 30% DV |
| Vitamin C | 15% DV |
The beef provides high-quality protein and iron, while the tomatoes offer lycopene, a powerful antioxidant. Smoked paprika contains capsaicin, which may help boost metabolism. This chili is naturally gluten-free and low-carb, with only 12 grams of carbohydrates per serving. If you’re watching your sodium, use low-sodium broth and adjust the salt at the end.
I personally love that this chili feels indulgent but is actually quite nutritious. It’s the kind of meal that satisfies both your taste buds and your body.
Conclusion
This crowd-pleasing no bean Texas chili with smoked paprika has become my go-to recipe for every gathering. It’s the dish that gets people talking, asking for seconds, and texting me for the recipe the next day. And honestly? I love sharing it.
What makes this recipe special isn’t just the deep, smoky flavor or the tender chunks of beef. It’s the way it brings people together around the table. There’s something about a big bowl of chili that makes conversation flow easier and laughter come more freely. Maybe that’s why I keep coming back to it.
I hope you give this recipe a try. Don’t be afraid to make it your own — add more heat if you like, swap in different toppings, or double it for a bigger crowd. The beauty of chili is that it welcomes adaptation. And if you make it once, I promise you’ll make it again.
I’d love to hear how yours turns out. Drop a comment below and let me know what toppings you used, or share a photo of your chili bar setup. Happy cooking, friends!
Frequently Asked Questions
Can I use ground beef instead of cubed beef?
You can, but it won’t have the same texture as traditional Texas chili. Ground beef cooks faster and works in a pinch, but cubed chuck roast gives you those tender, meaty chunks that make this dish special. If you’re short on time, ground beef is fine — just brown it well and reduce the simmering time to about 45 minutes.
How spicy is this chili?
This recipe is moderately spicy — it has warmth without being overwhelming. The smoked paprika adds depth rather than heat, while the cayenne and jalapeño provide a gentle kick. If you’re serving a crowd with varying heat tolerances, start with less cayenne and let people add hot sauce at the table. For a milder version, skip the jalapeño seeds entirely.
Can I make this in an Instant Pot?
Absolutely! Use the sauté function to brown the meat and cook the aromatics. Then add all remaining ingredients except the masa harina. Pressure cook on high for 35 minutes, then let the pressure release naturally for 15 minutes. Stir in the masa harina slurry and use the sauté function to thicken for 5 minutes. The flavor won’t be quite as deep as stovetop, but it’s still delicious and much faster.
Why no beans? Is that traditional?
Yes, authentic Texas chili is defined by its lack of beans. The official Texas Chili Appreciation Society doesn’t allow beans in competition chili. The focus is entirely on the beef and the chile-based sauce. That said, if you love beans in your chili, feel free to add a can of kidney or pinto beans when you add the tomatoes. Just know it won’t be strictly Texas-style anymore!
How do I fix chili that’s too thin?
If your chili is thinner than you’d like, the masa harina slurry is your best friend. Mix another tablespoon of masa harina with 2 tablespoons of water and stir it in. Let it simmer for 10 minutes and it should thicken right up. Alternatively, you can simmer the chili uncovered for an extra 20-30 minutes to let excess liquid evaporate. Avoid adding cornstarch — it can leave a weird texture and taste.
Pin This Recipe!
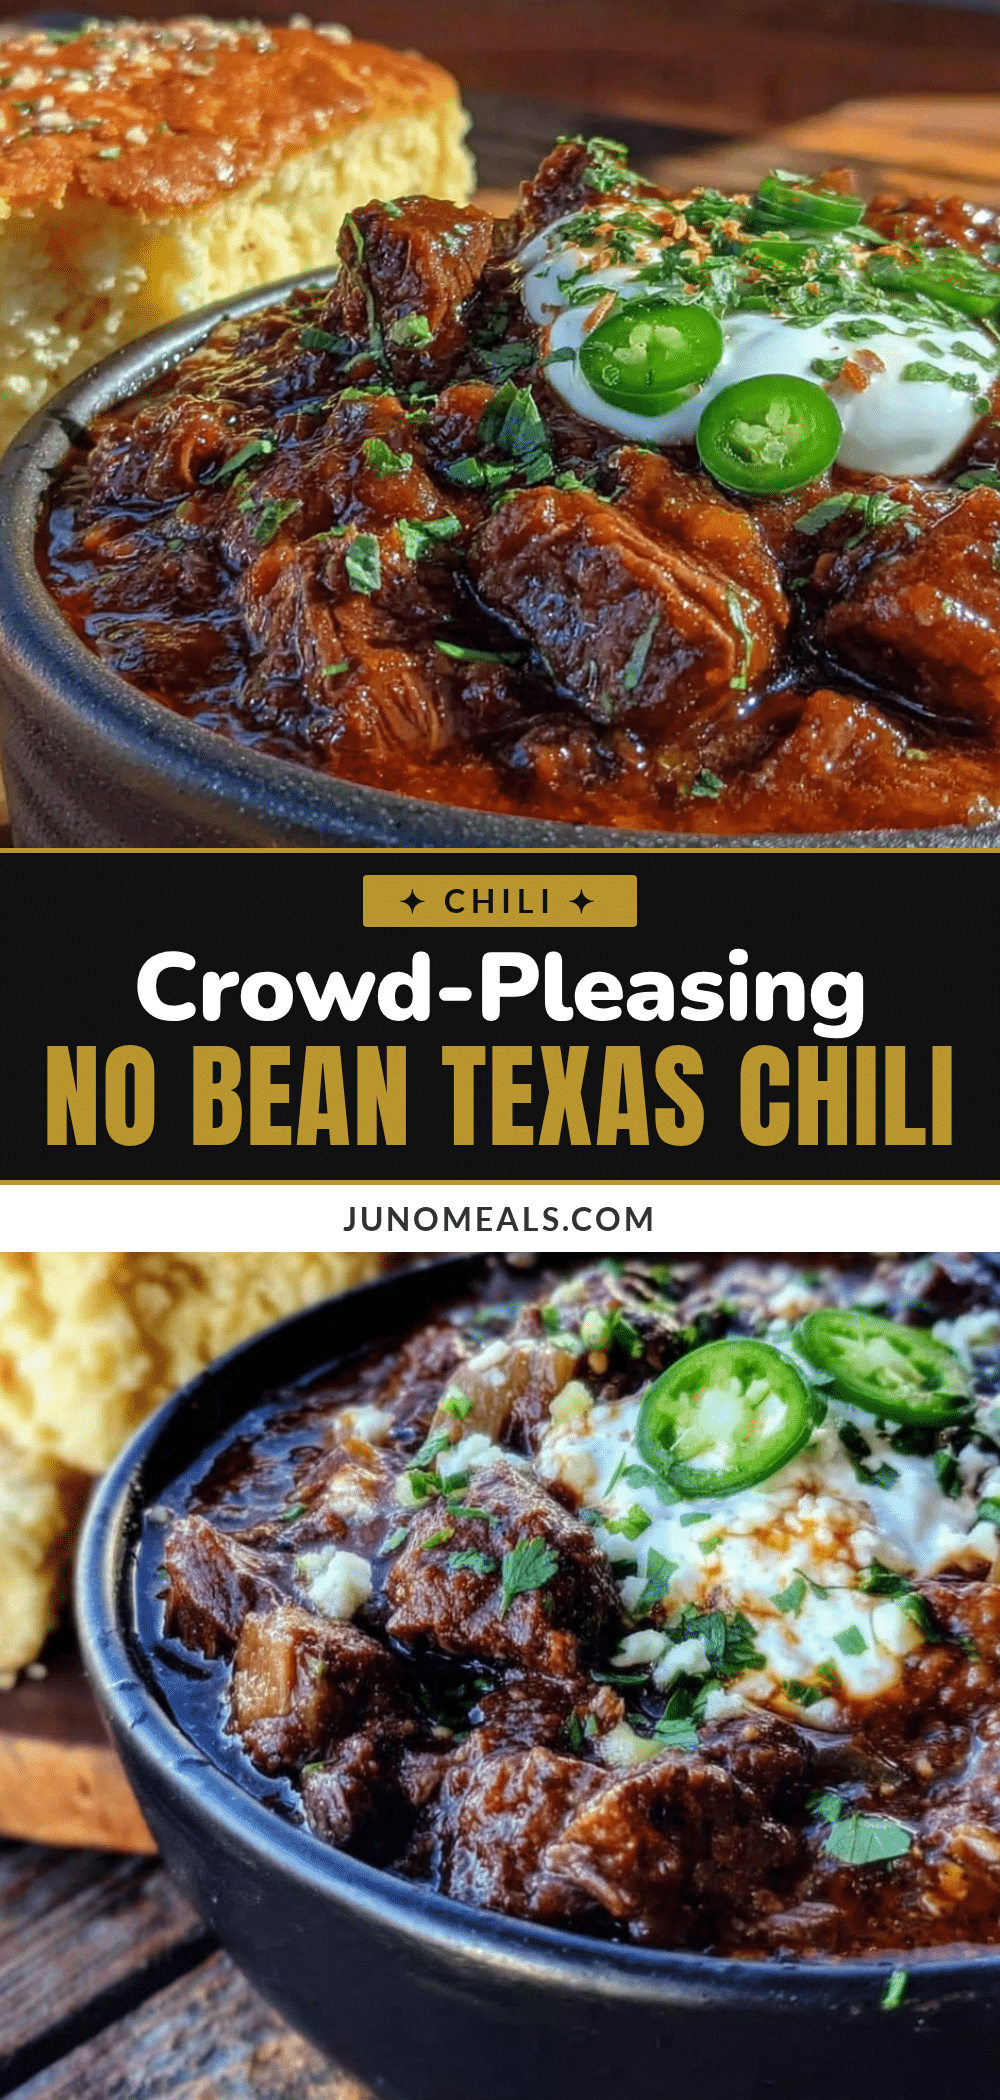
Crowd-Pleasing No Bean Texas Chili with Smoked Paprika

This authentic Texas-style chili features tender chunks of beef in a deeply flavored, smoky sauce without any beans. It’s a crowd-pleasing recipe that brings people together, perfect for hosting and even better the next day.
- Prep Time: 20 minutes
- Cook Time: 2 hours
- Total Time: 2 hours 20 minutes
- Yield: 8 servings 1x
- Category: Main Course
- Cuisine: American (Texas)
Ingredients
- 3 pounds beef chuck, cut into ½-inch cubes
- 2 tablespoons vegetable oil
- 1 large yellow onion, diced (about 2 cups)
- 6 cloves garlic, minced
- 2 jalapeño peppers, seeded and minced
- 1 can (14.5 ounces) diced tomatoes (fire-roasted preferred)
- 1 can (8 ounces) tomato sauce
- 2 cups beef broth (low-sodium preferred)
- 3 tablespoons smoked paprika
- 2 tablespoons chili powder (mild blend)
- 1 tablespoon ground cumin
- 1 tablespoon dried oregano (Mexican preferred)
- 1 teaspoon cayenne pepper
- 1 teaspoon black pepper
- 1 teaspoon salt, plus more to taste
- 1 teaspoon brown sugar
- 2 tablespoons masa harina
- ¼ cup warm water
- Optional toppings: shredded cheddar cheese, sour cream, fresh cilantro, diced white onion, sliced jalapeños, lime wedges
Instructions
- Pat the beef chuck dry with paper towels. Cut into ½-inch cubes, trimming large fat pieces. Season generously with salt and pepper. Let sit at room temperature for 20 minutes.
- Heat 1 tablespoon vegetable oil in a large Dutch oven over medium-high heat until shimmering. Brown the beef in batches (3-4 batches), cooking undisturbed for 3-4 minutes per side until a deep crust forms. Transfer each batch to a plate.
- Reduce heat to medium. Add remaining 1 tablespoon oil. Cook diced onion for 5-7 minutes until soft and translucent, scraping up browned bits. Add minced garlic and jalapeños; cook 1 minute until fragrant.
- Add all spices (smoked paprika, chili powder, cumin, oregano, cayenne, black pepper, salt, brown sugar) to the pot. Stir constantly for about 1 minute until fragrant.
- Pour in diced tomatoes and tomato sauce, scraping the bottom. Add beef broth and stir. Return browned beef and juices to the pot. Bring to a boil, then reduce heat to low. Cover and simmer gently.
- Simmer for 1½ to 2 hours, stirring occasionally, until beef is fork-tender. Adjust thickness with broth or water as needed.
- About 15 minutes before serving, mix masa harina with ¼ cup warm water until smooth. Stir slurry into chili. Simmer uncovered for 10-15 minutes, stirring occasionally, until thickened. Adjust seasoning.
- Remove from heat and let rest 10 minutes. Serve hot with desired toppings.
Notes
Don’t rush the browning; it builds flavor. Toast spices carefully to avoid bitterness. Use cubed chuck roast for best texture. Chili improves overnight. Control heat by adjusting cayenne and jalapeño seeds. For a smokier version, add chipotle peppers in adobo. For a beer-infused version, replace 1 cup broth with dark beer. For a turkey version, use 2 pounds ground turkey and reduce simmer to 45 minutes. For slow cooker, brown first then cook on low 6-8 hours or high 3-4 hours, adding masa slurry last 30 minutes. For Instant Pot, sauté then pressure cook on high 35 minutes with natural release. To fix thin chili, add more masa slurry or simmer uncovered.
Nutrition
- Serving Size: 1½ cups (without top
- Calories: 420
- Sugar: 5
- Sodium: 680
- Fat: 22
- Saturated Fat: 8
- Carbohydrates: 12
- Fiber: 4
- Protein: 38
Keywords: Texas chili, no bean chili, smoked paprika chili, beef chili, crowd-pleasing chili, authentic Texas chili, chili recipe


