My neighborhood Halloween block party was in six hours and I’d completely forgotten. Everyone else would be bringing those elaborate themed treats—you know the ones, where someone spent three days crafting a graveyard cake or those cookies that look like mummies. I had a dozen hard-boiled eggs in my fridge, a bottle of food coloring I’d bought for a kid’s craft project that never happened, and honestly? A sinking feeling in my stomach. Not my finest moment as someone who likes to think of themselves as a decent host.
I stood there staring into the fridge like it might magically produce something impressive. Then I spotted the eggs again and remembered a silly internet photo I’d seen years ago—candy corn deviled eggs. I mean, could it actually work? I had maybe an hour to prep before I needed to start getting the kids ready. Let me tell you, I was skeptical. The filling was going to be orange and yellow? It sounded like a Pinterest fail waiting to happen.
But here’s the thing—sometimes the best recipes come from panic and a pinch of stubbornness. I grabbed those eggs, some paprika for color, turmeric for that sunny yellow, and just went for it. The first batch looked… interesting. A little too neon, if I’m being honest. But I adjusted the colors, figured out the right piping technique, and by the time I layered them on the platter, I actually laughed out loud. They looked ridiculous in the best way possible.
So I carried that platter to the block party, fully prepared for people to be polite about my weird egg experiment. Instead, they disappeared in fifteen minutes. People were taking photos, asking for the recipe, and one neighbor actually asked if I’d cater her kid’s Halloween party next year. That’s the thing about candy corn deviled eggs—they’re unexpected, they’re playful, and they taste just as good as they look. Maybe you’ve been there, staring at your fridge, wondering how to pull off something memorable with almost no time. Trust me, I get it.
Why You’ll Love This Recipe
Let me tell you why these candy corn deviled eggs have become my absolute go-to for Halloween gatherings. I’ve tested this recipe about seven times now—through trial and error, through batches that looked more like abstract art than candy corn, and through the version that finally made me do a little kitchen victory dance.
- Quick & Easy: These come together in about 30 minutes of active prep time. The eggs can be boiled ahead, and the filling takes maybe ten minutes to whip up. Perfect for those last-minute Halloween parties where you promised to bring something “fun.”
- Simple Ingredients: You probably have most of these in your kitchen right now. Eggs, mayo, mustard, paprika, turmeric—nothing fancy. The food coloring is the only special addition, and you can find it at any grocery store.
- Perfect for Halloween Parties: These are made for gatherings. They’re finger food, they’re conversation starters, and they fit the Halloween theme without being overly complicated or creepy. Kids and adults both go crazy for them.
- Crowd-Pleaser: I’ve brought these to three different Halloween events now, and every single time, they’re the first thing to disappear. People can’t resist the novelty, but they stay for the taste.
- Unbelievably Delicious: Here’s the secret—they’re just really good deviled eggs. The colors don’t change the flavor. You get that creamy, tangy filling with a hint of paprika, and the yellow layer has a subtle warmth from the turmeric. It’s comfort food with a costume on.
What makes this recipe different from the dozens of other deviled egg variations out there is the technique. I figured out the exact ratio of food coloring to achieve that candy corn gradient without it looking artificial or streaky. The layering method—piping each color separately and letting it set slightly—makes all the difference. This isn’t just another Halloween recipe; it’s the one that’ll have people asking, “Wait, how did you do that?”
What Ingredients You Will Need
This recipe uses simple, everyday ingredients to create something that looks deceptively elaborate. Most of these are probably already in your pantry or fridge, which is exactly what you want when you’re prepping for a party.
- 12 large eggs – Room temperature works best for even cooking. If you’re in a rush, place cold eggs in warm water for 5 minutes before boiling.
- 1/3 cup mayonnaise – I prefer Duke’s for its tangier flavor, but Hellmann’s works beautifully too. Don’t use Miracle Whip—it’s too sweet for this.
- 1 tablespoon yellow mustard – This adds that classic deviled egg tang and helps with the color. French’s is my go-to.
- 1 teaspoon white vinegar – A little acidity brightens the filling. Apple cider vinegar works in a pinch.
- 1/2 teaspoon salt – Fine sea salt dissolves better than kosher in the filling.
- 1/4 teaspoon black pepper – Freshly ground if you have it.
- 1/2 teaspoon paprika – This goes into the orange layer for color and that classic deviled egg flavor. Smoked paprika adds a nice depth if you want to experiment.
- 1/4 teaspoon turmeric – This gives the yellow layer its sunny color without adding food coloring. It’s subtle in flavor but perfect for the gradient.
- Orange gel food coloring – Gel works better than liquid because it doesn’t thin out the filling. Americolor and Wilton both make good options.
- Yellow gel food coloring – You’ll need this to deepen the yellow layer if the turmeric isn’t bright enough on its own.
- Optional: Fresh chives or parsley for garnish – A tiny sprinkle of green adds contrast and makes the presentation pop.
For the egg boiling, you’ll also want a tablespoon of baking soda and salt added to the water—this makes peeling significantly easier. Trust me on this one. I learned the hard way after destroying an entire batch of beautiful hard-boiled eggs.
If you’re looking for substitutions, here are a few that work well: Greek yogurt can replace half the mayo for a lighter filling, though the texture will be slightly less creamy. For a dairy-free version, use vegan mayo—I’ve had good luck with Follow Your Heart’s brand. And if you don’t have turmeric, you can use just yellow food coloring, but the flavor won’t have that subtle warmth.
Equipment Needed
You don’t need anything fancy for these candy corn deviled eggs, which is part of why I love making them for parties. Here’s what you’ll need:
- Large pot – For boiling the eggs. Make sure it’s big enough that the eggs have room to move without cracking into each other.
- Mixing bowls – One large bowl for the filling, and two smaller ones for separating the colors.
- Hand mixer or whisk – A hand mixer makes the filling incredibly smooth and creamy. A whisk works, but you’ll need some arm strength.
- Piping bags or zip-top bags – I use disposable piping bags because they’re easier to control. Zip-top bags work in a pinch—just snip off a tiny corner.
- Piping tips – A round tip (like Wilton #12) works best for creating the candy corn layers. You can also just snip the bag directly, but the tip gives cleaner lines.
- Sharp knife – A clean cut makes all the difference for presentation. A serrated knife can help prevent the yolk from tearing.
- Egg platter or serving dish – Something with a bit of a lip to keep the eggs from sliding around.
If you don’t have piping bags, honestly, a sturdy zip-top bag with a corner snipped off works just fine. I’ve done it both ways, and while the piping bag gives slightly more control, the results are practically identical. Just make sure the hole isn’t too big—you want a steady stream, not a blob.
Preparation Method
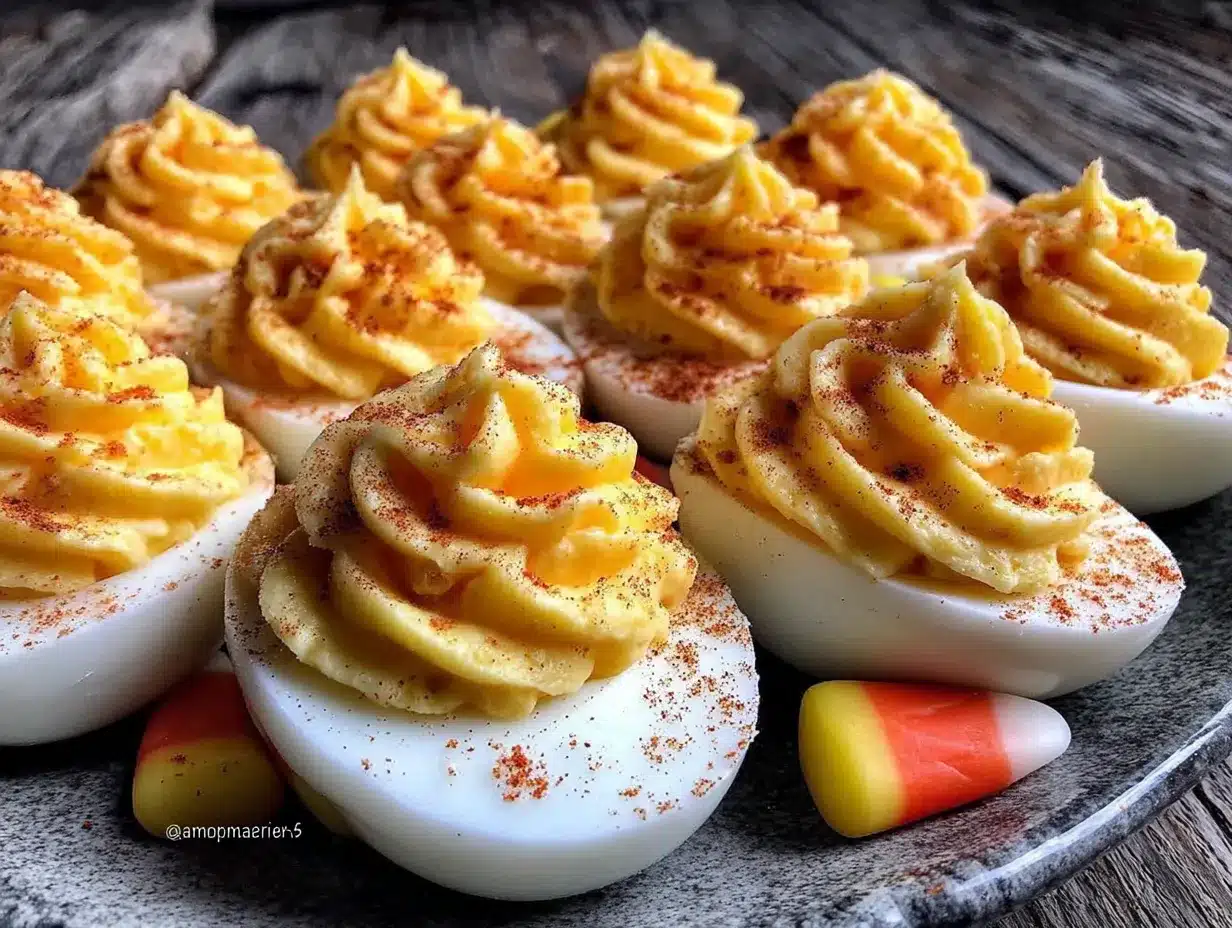
Let me walk you through this step by step. I’ve made these enough times to know where things can go wrong, so I’ll point out the tricky parts as we go.
- Boil the eggs. Place your eggs in a single layer in a large pot. Cover them with cold water by about an inch. Add 1 tablespoon each of baking soda and salt. Bring to a rolling boil over high heat, then immediately cover the pot, turn off the heat, and let sit for exactly 12 minutes. While they cook, prepare an ice bath in a large bowl. After 12 minutes, transfer the eggs to the ice bath and let them cool completely—about 10 minutes. This method gives you perfectly cooked yolks without that weird green ring.
- Peel the eggs. Gently tap each egg on the counter to crack the shell all over, then roll it between your palms to loosen the shell. Start peeling from the wider end where the air pocket is—the membrane comes off easier there. Rinse any shell fragments off under cool water. Pat the eggs dry with paper towels.
- Cut the eggs. Using a sharp knife, slice each egg in half lengthwise. Wipe the knife clean between cuts for the neatest presentation. Carefully pop out the yolks into a medium bowl. Arrange the egg white halves on your serving platter, cut side up.
- Make the base filling. To the bowl with the yolks, add the mayonnaise, yellow mustard, white vinegar, salt, and pepper. Mash everything together with a fork until it’s relatively smooth, then switch to a hand mixer and beat on medium speed for about 1 minute until the mixture is silky and completely lump-free. This step makes a huge difference—don’t skip the mixer.
- Divide and color the filling. Split the filling into three equal portions in separate small bowls. Leave one portion plain (this will be the white layer at the bottom). To the second portion, add the paprika and a tiny drop of orange gel food coloring—mix until the color is uniform. You’re aiming for a pale orange, like the middle section of a candy corn. To the third portion, add the turmeric and a tiny drop of yellow gel food coloring—mix until it’s a sunny, bright yellow. If the colors seem too pale, add more coloring one tiny dab at a time.
- Prepare your piping bags. Fit three piping bags with round tips (or snip the corners of three zip-top bags). Spoon each colored filling into its own bag. Twist the tops to seal. Pro tip: don’t overfill the bags—you want to be able to control the pressure easily.
- Pipe the bottom layer (white). Starting with the plain filling, pipe a small amount into the bottom third of each egg white cavity. Don’t overfill—you need room for the other two layers. Use the back of a small spoon or a toothpick to spread it evenly if needed. The layer should be about 1/4 inch thick.
- Pipe the middle layer (orange). Take the orange filling and pipe it directly on top of the white layer, filling the middle third of the cavity. Again, keep it even and about 1/4 inch thick. Try to keep the layers distinct—don’t let them blend together.
- Pipe the top layer (yellow). Finish with the yellow filling on top, creating the pointed tip of the candy corn shape. You want it to come to a slight peak if possible. Don’t worry if it’s not perfect—the layered effect is what matters.
- Chill and serve. Once all the eggs are piped, cover the platter loosely with plastic wrap and refrigerate for at least 30 minutes. This helps the layers set and makes the colors more distinct. Before serving, sprinkle with a tiny pinch of paprika or some chopped chives for contrast if you like.
Here’s something I learned the hard way: if your filling seems too soft to pipe clean layers, pop it in the fridge for 10-15 minutes before piping. It firms up just enough to hold its shape without being difficult to squeeze out. Also, if you accidentally mix the layers while piping, don’t stress—just scrape that egg white clean and start over. It happens to everyone.
Cooking Tips & Techniques
After making these candy corn deviled eggs about a dozen times—including one truly disastrous batch where the colors turned into a muddy brown—I’ve picked up some tricks that make the process smoother.
Perfect hard-boiled eggs every time. The age of your eggs matters more than you’d think. Eggs that are about a week old peel much easier than super fresh ones. If you only have fresh eggs, add that extra baking soda to the water—it helps break down the membrane. And please, please don’t boil them for longer than 12 minutes. Overcooked yolks get that green ring and turn crumbly, which makes the filling grainy.
Color layering without the mess. The biggest mistake I made my first time was using liquid food coloring. It made the filling too runny, and the layers bled into each other. Gel coloring is non-negotiable here. Also, let each layer sit for about 2 minutes before piping the next one—this gives it a chance to firm up slightly and creates cleaner lines.
Temperature matters. Cold filling pipes more cleanly than room temperature filling. If your kitchen is warm, pop the colored fillings in the fridge for 10 minutes before piping. On the flip side, if the filling is too cold and stiff to pipe easily, let it sit at room temperature for 5 minutes. You’re looking for that Goldilocks zone—firm enough to hold shape but soft enough to squeeze smoothly.
Multitasking strategy. Here’s how I handle these for parties: I boil and peel the eggs the night before, then store the whites and yolks separately in the fridge. The next day, I make the filling, color it, and pipe everything in about 20 minutes. This way, I’m not rushed, and the eggs are perfectly chilled for serving.
Consistency tip. If your filling seems too thick after adding the coloring, stir in a few drops of pickle juice or additional vinegar. If it’s too thin, add a tiny bit more mayo or even a spoonful of instant potato flakes—yes, really, it works without affecting the flavor.
Variations & Adaptations
One of the best things about this recipe is how easily you can adapt it. Here are some variations I’ve tried and loved:
Spicy Southwest Version: Add 1/4 teaspoon of chipotle powder and a pinch of cumin to the orange layer. The smoky heat pairs surprisingly well with the creamy filling. I made these for a Halloween taco bar party, and they were gone before the actual tacos.
Bacon Ranch Twist: Mix 2 tablespoons of ranch dressing mix into the base filling, and top each finished egg with a small piece of crispy bacon. The salty crunch contrasts beautifully with the creamy layers. Fair warning: these disappear fastest at parties.
Avocado Deviled Eggs: Replace half the mayo with mashed ripe avocado. The green color actually works well for Halloween—you can call them “monster eggs” instead of candy corn. Add a squeeze of lime juice to keep the avocado from browning.
Dairy-Free Version: Use vegan mayo and skip the butter in any variations. The texture will be slightly different, but the color layering works just as well. I’ve tested this with my dairy-free sister-in-law, and she couldn’t tell the difference.
Pickle Lover’s Variation: Add 1 tablespoon of finely chopped dill pickles and a splash of pickle juice to the base filling. The tangy crunch is incredible, and it helps cut through the richness of the mayo. This one’s become my personal favorite.
Make it a Deviled Egg Platter: Don’t limit yourself to just candy corn! Make a batch of these, then use the leftover filling to create a few other Halloween-themed eggs—add beet powder for purple, spinach powder for green, or just leave some classic. A mixed platter looks amazing on a buffet table.
Serving & Storage Suggestions
These candy corn deviled eggs are best served chilled, straight from the fridge. The cold temperature helps the layers stay distinct and the filling holds its shape better. I usually take them out about 10 minutes before serving—just enough to take the chill off without losing the structure.
Presentation tips for hosting: Arrange the eggs on a black or dark orange platter for maximum Halloween impact. The colors pop beautifully against a dark background. I like to sprinkle a few candy corn pieces around the platter for decoration—it helps guests immediately understand the theme. For an extra festive touch, place a small sign that says “Candy Corn Deviled Eggs” so people know what they’re looking at.
What to serve alongside: These pair perfectly with other Halloween finger foods. I usually put them out with a cheese board, some Halloween-themed cupcakes, and a bowl of popcorn tossed with orange and black sprinkles. For drinks, a crisp white wine or a pumpkin beer works wonderfully.
Storage instructions: Leftover deviled eggs can be stored in an airtight container in the refrigerator for up to 2 days. The colors may bleed slightly over time, so they’re best eaten within 24 hours. Don’t freeze them—the texture becomes watery and unpleasant when thawed.
Reheating: You don’t reheat deviled eggs! Serve them cold or at room temperature. If you’ve stored them and they seem a bit dry on top, a tiny sprinkle of paprika or fresh chives can revive the presentation.
Flavor development: Here’s something interesting—the flavors actually meld and deepen after a few hours in the fridge. The mustard and vinegar mellow out, and the spices become more integrated. I actually prefer these after they’ve sat for about 4 hours. Just keep them covered so they don’t absorb fridge odors.
Nutritional Information & Benefits
Per serving (2 deviled egg halves):
| Nutrient | Amount |
|---|---|
| Calories | 180 |
| Protein | 12g |
| Fat | 14g |
| Saturated Fat | 3g |
| Carbohydrates | 2g |
| Fiber | 0g |
| Sugar | 1g |
| Sodium | 280mg |
Eggs are a fantastic source of high-quality protein and contain all nine essential amino acids. They’re also rich in choline, which supports brain health, and lutein, which is great for eye health. The mayonnaise adds healthy fats that help your body absorb fat-soluble vitamins from any veggies you serve alongside.
Dietary considerations: This recipe is naturally gluten-free and low-carb. For a keto-friendly version, use full-fat mayo and skip any sweet garnishes. It’s also suitable for vegetarian diets. If you’re watching sodium, you can reduce the added salt—the mustard and mayo already contain some.
Potential allergens: This recipe contains eggs and may contain dairy depending on your mayo choice. Always check labels if you’re serving guests with allergies. For a completely dairy-free version, use vegan mayo and skip any butter-based additions.
Conclusion
Honestly, these candy corn deviled eggs are the kind of recipe that makes you look like a Halloween hero with almost no effort. They’re playful without being silly, impressive without being complicated, and they taste genuinely delicious—not just “good for a themed dish.” Every time I bring them to a party, someone asks for the recipe, and I love watching their face when they realize how simple it is.
I hope you give these a try for your next Halloween gathering. Don’t stress about making them perfect—the first batch I made looked more like abstract art than candy corn, and people still devoured them. Play around with the colors, add your own twist, and most importantly, have fun with it. That’s what Halloween cooking is all about.
If you make these, I’d love to hear how they turned out. Drop a comment below and let me know if your guests were as obsessed as mine were. And if you come up with a fun variation, share that too—I’m always looking for new ideas to try!
Frequently Asked Questions
Can I make these candy corn deviled eggs a day ahead?
Yes! You can prepare them up to 24 hours in advance. Just keep them covered in the refrigerator and add any garnishes right before serving. The colors may soften slightly overnight, but they’ll still look great.
Why did my filling turn brown when I added the food coloring?
This usually happens when you mix too many colors together or use too much coloring. Start with just a tiny dab of gel color and mix thoroughly before adding more. Also, make sure you’re using separate bowls for each color to avoid cross-contamination.
Can I use liquid food coloring instead of gel?
You can, but I don’t recommend it. Liquid coloring thins out the filling and makes the layers bleed into each other. Gel coloring gives you vibrant colors without changing the consistency. If liquid is all you have, use just a drop or two and add a bit more mayo to compensate for the extra liquid.
How do I get the layers to stay separate and not blend together?
The key is to pipe each layer and let it set for about 2 minutes before adding the next. Also, make sure your filling is cold—chill it for 10 minutes before piping if your kitchen is warm. Using a piping bag with a small round tip gives you more control than just snipping the corner of a bag.
What if I don’t have turmeric for the yellow layer?
No problem! You can use yellow food coloring alone to achieve the color. The turmeric adds a subtle earthy flavor, but it’s not essential. If you skip it, just add a tiny bit more yellow gel coloring to get the right shade. You could also try a pinch of curry powder for a different flavor profile.
Pin This Recipe!
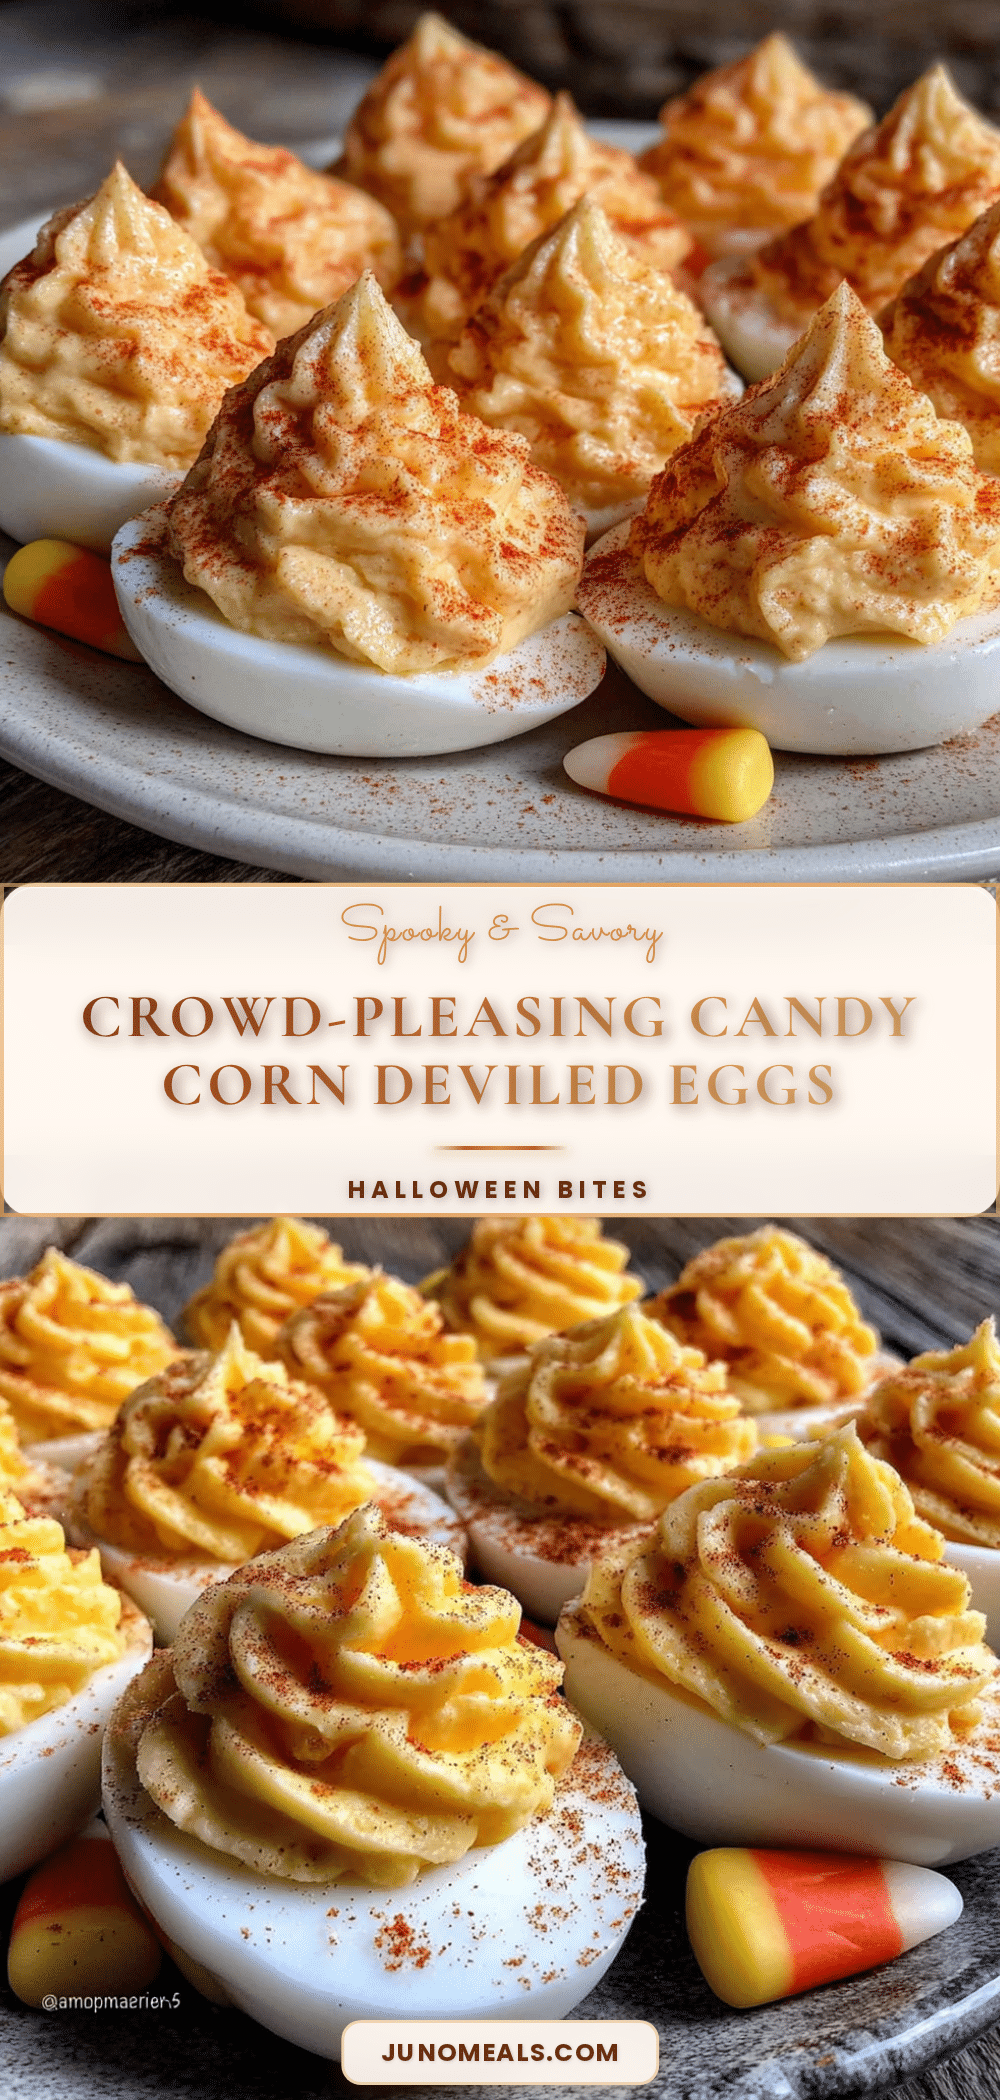
Best Easy Candy Corn Deviled Eggs for Halloween

These playful candy corn deviled eggs are a fun and delicious Halloween party treat. With a creamy, tangy filling layered in white, orange, and yellow, they look just like candy corn and taste amazing.
- Prep Time: 30 minutes
- Cook Time: 12 minutes
- Total Time: 42 minutes
- Yield: 24 deviled egg halves (12 servings of 2 halves each) 1x
- Category: Appetizer
- Cuisine: American
Ingredients
- 12 large eggs
- 1/3 cup mayonnaise
- 1 tablespoon yellow mustard
- 1 teaspoon white vinegar
- 1/2 teaspoon salt
- 1/4 teaspoon black pepper
- 1/2 teaspoon paprika
- 1/4 teaspoon turmeric
- Orange gel food coloring
- Yellow gel food coloring
- Optional: fresh chives or parsley for garnish
- 1 tablespoon baking soda (for boiling)
- 1 tablespoon salt (for boiling)
Instructions
- Boil the eggs: Place eggs in a single layer in a large pot. Cover with cold water by about an inch. Add 1 tablespoon each of baking soda and salt. Bring to a rolling boil over high heat, then immediately cover, turn off heat, and let sit for exactly 12 minutes. Prepare an ice bath. Transfer eggs to ice bath and cool completely, about 10 minutes.
- Peel the eggs: Gently tap each egg to crack the shell, roll between palms, and peel starting from the wider end. Rinse and pat dry.
- Cut the eggs: Slice each egg in half lengthwise. Remove yolks to a medium bowl. Arrange egg white halves on a serving platter.
- Make the base filling: To the yolks, add mayonnaise, yellow mustard, white vinegar, salt, and pepper. Mash with a fork, then beat with a hand mixer on medium speed for 1 minute until silky and lump-free.
- Divide and color the filling: Split filling into three equal portions in separate bowls. Leave one plain (white layer). To the second, add paprika and a tiny drop of orange gel food coloring; mix until pale orange. To the third, add turmeric and a tiny drop of yellow gel food coloring; mix until bright yellow.
- Prepare piping bags: Fit three piping bags with round tips (or snip corners of zip-top bags). Spoon each colored filling into its own bag.
- Pipe the bottom layer (white): Pipe a small amount of plain filling into the bottom third of each egg white cavity. Spread evenly if needed. Layer should be about 1/4 inch thick.
- Pipe the middle layer (orange): Pipe orange filling on top of white layer, filling the middle third. Keep even and about 1/4 inch thick.
- Pipe the top layer (yellow): Pipe yellow filling on top, creating a slight peak to mimic candy corn shape.
- Chill and serve: Cover platter loosely with plastic wrap and refrigerate for at least 30 minutes. Before serving, sprinkle with paprika or chopped chives if desired.
Notes
For best results, use gel food coloring instead of liquid to avoid thinning the filling. Let each layer set for about 2 minutes before piping the next to keep colors distinct. If filling is too soft, chill for 10-15 minutes before piping. Eggs that are about a week old peel more easily. Store leftovers in an airtight container in the refrigerator for up to 2 days; do not freeze.
Nutrition
- Serving Size: 2 deviled egg halves
- Calories: 180
- Sugar: 1
- Sodium: 280
- Fat: 14
- Saturated Fat: 3
- Carbohydrates: 2
- Protein: 12
Keywords: candy corn deviled eggs, Halloween deviled eggs, Halloween appetizer, deviled eggs recipe, Halloween party food


