I was standing in the middle of a party supply aisle last October, staring at a wall of plastic skeletons and fake cobwebs, when a bag of gummy worms hit me square in the back of the head. I turned around to see my friend Jenna waving apologetically — she’d been trying to toss them into her cart and overshot by a mile. And in that ridiculous moment, surrounded by orange and black decorations and the faint smell of cinnamon brooms, I had a flash of something so specific it almost hurt: my Aunt Carol’s kitchen table, covered in newspaper, with a spread of crackers and cheese arranged in the shape of a cat’s face. She’d done it for every Halloween party I could remember — no fancy boards, no Instagram-perfect styling, just a cardboard skeleton from the dollar store propped up next to a platter of pepperoni and cheddar cubes. She passed away a few years ago, and I haven’t been to a single Halloween gathering since that felt quite right. But standing there in that aisle, dodging candy projectiles, I realized I could make my own version — something that caught that same playful, slightly spooky spirit but with a lighter, fresher twist. So here we are. This light and easy skull charcuterie board is my attempt to bottle that memory, one cracker and cleverly placed olive at a time.
It’s funny how a simple snack board can carry so much weight, isn’t it? I mean, honestly, you’re just arranging food on a platter. But when you shape it into a friendly skull — with olive eyes and a pepperoni grin — it becomes something else entirely. It becomes the thing people gather around, the thing that makes them laugh and snap photos before they even take a bite. And let me tell you, the best part is how simple it is to pull off. You don’t need any special skills or expensive ingredients. Just a few smart choices and a little bit of patience.
Maybe you’ve been there — scrolling through Pinterest, seeing those elaborate Halloween boards that look like they took three days and a culinary degree to assemble. I get it. This one’s different. It’s meant to be doable on a Tuesday night before the party, with ingredients you can grab at any regular grocery store. And the best part? It actually tastes good. Not just looks cute. Because honestly, what’s the point of a spooky snack if nobody wants to eat it?
Why You’ll Love This Recipe
This light and easy skull charcuterie board isn’t just another pretty face at the party. It’s the kind of appetizer that solves real problems — like what to bring to a potluck when you’re short on time, or how to feed a crowd without turning on the oven. I’ve tested this board at three separate gatherings now (yes, I’m that person), and every single time, it disappears faster than anything else on the table. Here’s why it works so well:
- Quick & Easy : You can assemble this whole board in under 20 minutes. Seriously. The most time-consuming part is slicing the cheese, and even that goes fast with a sharp knife. Perfect for last-minute Halloween plans or when you realize the party starts in an hour.
- Simple Ingredients : No fancy grocery trips needed. Everything on this board is available at your local supermarket — pepperoni, cheese, crackers, olives, and a few fresh veggies. You probably already have half of it in your fridge.
- Perfect for Halloween Parties : This board is designed to be the centerpiece of any spooky spread. It’s festive without being fussy, and it fits right in with both kid-friendly and adult gatherings. The skull shape is instantly recognizable and always gets a reaction.
- Crowd-Pleaser : I’ve watched picky eaters, health-conscious friends, and cheese snobs all happily pick at this board. There’s something for everyone — savory meats, creamy cheeses, crunchy crackers, and fresh produce. It’s basically a choose-your-own-adventure snack.
- Unbelievably Delicious : The flavor combos here are next-level. The salty pepperoni pairs perfectly with mild mozzarella, while the crisp cucumber and cherry tomatoes add a fresh pop that cuts through the richness. It’s balanced in a way that keeps you coming back for just one more bite.
What makes this board different from all the other Halloween snack boards out there? It’s the lightness factor. Most charcuterie boards lean heavy — lots of cured meats, aged cheeses, and rich spreads. This one uses fresh mozzarella, cucumber slices, and cherry tomatoes to keep things bright and refreshing. You can actually eat a reasonable portion and not feel like you need a nap afterward. Plus, the skull shape is achieved with simple placement, not complicated carving or molding. It’s honest food, arranged with a little love.
This recipe isn’t just good — it’s the kind that makes you close your eyes after the first bite. It’s comfort food reimagined for Halloween: healthier, faster, but with the same soul-soothing satisfaction. Perfect for impressing guests without stress, or turning a simple snack into something memorable.
What Ingredients You Will Need
This light and easy skull charcuterie board uses simple, wholesome ingredients to deliver bold flavor and satisfying texture without the fuss. Most of these are pantry staples or easy-to-find items at any grocery store. I’ve kept the ingredient list intentionally short so you can focus on the fun part — the assembly.
For the Skull Base
- Pepperoni slices (about 20-25 slices) – These form the main structure of the skull shape. I prefer the large diameter slices for better coverage. (Turkey pepperoni works great for a lighter option.)
- Fresh mozzarella pearls (8-10 ounces) – Use the small bocconcini or ciliegine size. They’re perfectly portioned and add that creamy, mild flavor that balances the salty pepperoni.
- Cucumber (1 medium) – Sliced into rounds. The cool crunch is essential for freshness. I like English cucumbers because they have fewer seeds and a thinner skin.
- Cherry tomatoes (1 cup) – Halved or whole, depending on size. They add a pop of color and acidity that cuts through the richness of the cheese and meat.
For the Skull Features
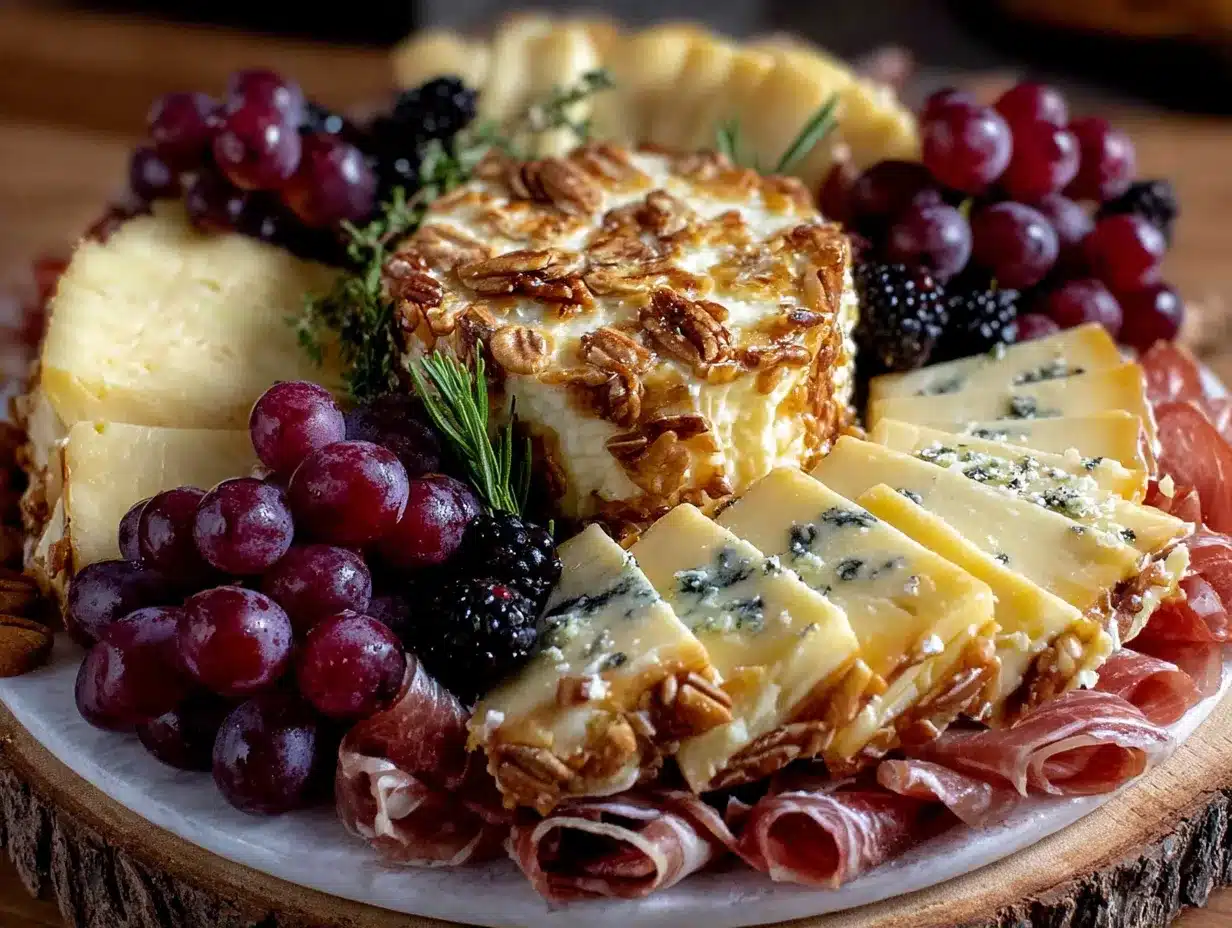
- Black olives (about 10-12) – Pitted, sliced into rounds for the eyes and nostrils. Kalamata olives work too, but standard black olives give a more cartoonish, friendly skull look.
- Red bell pepper (1/4 of a large pepper) – Cut into thin strips for the mouth/teeth area. The sweetness contrasts nicely with the salty elements.
- Baby carrots (3-4) – Cut into small triangles or rounds for optional decorative elements like a tiny bow tie or accents around the eyes.
For the Surrounding Board
- Crackers (about 30-40) – Choose a neutral-flavored cracker that won’t compete with the toppings. I recommend Ritz or Wheat Thins for their sturdy texture and mild taste.
- Cheese cubes (4-6 ounces) – Sharp cheddar or gouda, cut into bite-sized cubes. Adds variety and a different cheese texture alongside the fresh mozzarella.
- Salami or prosciutto (4-6 slices, optional) – Rolled or folded into small bundles for extra meat options. Not essential, but adds depth for heartier eaters.
- Grapes (1 cup, red or green) – Washed and left in small clusters. Their sweetness is a perfect counterpoint to the savory elements.
- Fresh rosemary or parsley (a few sprigs) – For garnish around the board. Adds a touch of green and a subtle herbal aroma.
Ingredient Selection Tips: For the best presentation, look for pepperoni slices that are uniform in size and not too greasy. I’ve found that Hormel brand pepperoni holds its shape well and doesn’t release too much oil onto the board. For the fresh mozzarella, BelGioioso makes excellent pearls that are consistently creamy and not too watery. If you can’t find fresh mozzarella pearls, you can cut a larger ball into small cubes — just pat them dry with a paper towel first.
Substitution Guidance: For a dairy-free version, use vegan pepperoni and your favorite plant-based cheese alternatives. For a lower-sodium option, choose low-sodium pepperoni and rinse the olives before using. In summer, swap in fresh basil leaves or small mint sprigs for the rosemary garnish — it adds a completely different but equally delicious flavor profile.
Equipment Needed
You don’t need much to pull off this light and easy skull charcuterie board. Honestly, the most important tool is a flat surface to arrange everything on. Here’s what I use:
- Large wooden cutting board or serving platter (at least 16×12 inches) – A rectangular board works best for the skull shape because it gives you room to spread out. I use a Teakhaus board that I’ve had for years — it’s sturdy, easy to clean, and has a nice natural color that contrasts with the food. If you don’t have a wooden board, a large white platter or even a clean baking sheet works perfectly.
- Sharp chef’s knife – For slicing the pepperoni (if needed), cutting the cucumber, and dicing the bell pepper. A good knife makes all the difference in getting clean, even cuts.
- Small cutting board – A secondary board for prepping the vegetables so you don’t cross-contaminate with the cheese or meat.
- Cheese knife or small paring knife – For cutting the cheese cubes and any decorative shapes. I’ve got a little Wusthof paring knife that’s perfect for detail work.
- Small bowls or ramekins (2-3) – For holding olives, cherry tomatoes, or any loose items that might roll around. Keeps the board organized and prevents things from sliding into each other.
- Paper towels – For patting the mozzarella pearls dry and wiping up any excess moisture from the cucumber slices. Trust me on this one — wet ingredients make the board slippery and messy.
- Toothpicks or small skewers (optional) – Handy for guests who want to grab individual items without touching everything. Plus, they add a cute detail if you use Halloween-themed ones.
Budget-Friendly Options: Don’t have a fancy wooden board? No problem. A sheet of parchment paper laid over a baking sheet works as a disposable serving surface. Or use a large dinner plate — just arrange the skull in the center and put the crackers around the edges. The beauty of this board is that it’s about the shape, not the serving piece.
Preparation Method
Here’s how to build your light and easy skull charcuterie board, step by step. Take your time with the skull shape — it’s easier than it looks, and even if it’s not perfect, it’ll still look fantastic. Trust me, I’ve made some lopsided skulls in my day, and nobody ever complained.
- Prep all your ingredients first (5 minutes) – Wash and dry the cucumber, cherry tomatoes, grapes, and bell pepper. Pat the fresh mozzarella pearls dry with paper towels. Slice the cucumber into even rounds, about 1/4-inch thick. Cut the cherry tomatoes in half if they’re large. Slice the black olives into rounds. Cut the red bell pepper into thin strips, about 1/4-inch wide. Cut the baby carrots into small triangles or rounds if using. Cube the cheddar or gouda into bite-sized pieces. Having everything ready before you start assembling makes the process so much smoother.
- Arrange the skull outline using pepperoni (3 minutes) – Place your board on a flat surface. Start by creating the general shape of a skull using pepperoni slices. Think of it like drawing a circle but with a wider bottom for the jaw and a slightly narrower top for the cranium. Lay the pepperoni slices in a rough oval shape, overlapping them slightly. Don’t worry about perfection here — you’ll fill in the details next. The pepperoni forms the “skin” of the skull, so cover an area about 8-10 inches wide and 10-12 inches tall. Use about 15-18 slices for the main shape.
- Fill the skull interior with mozzarella and cucumber (4 minutes) – Inside the pepperoni outline, start placing the fresh mozzarella pearls. Scatter them evenly across the interior, leaving small gaps. Then, nestle the cucumber slices between the mozzarella pearls. The combination of white (mozzarella) and green (cucumber) creates a textured, almost mosaic-like interior that mimics the look of a skull’s surface. Don’t pack them too tightly — you want some of the board to show through for contrast. Use about 8-10 mozzarella pearls and 10-12 cucumber slices.
- Create the skull features (4 minutes) – Now for the fun part — the face! For the eyes, place two olive slices about 2 inches apart in the upper third of the skull. Make sure they’re centered and level. For the nostrils, place two smaller olive slices (or half-slices) about 1 inch apart, just below the eyes. For the mouth, arrange the red bell pepper strips in a gentle curve below the nostrils. You can make it smile, frown, or even a jagged grin — I usually go for a friendly smile because it feels less intimidating. If you want teeth, add small pieces of baby carrot or tiny cheese cubes along the pepperoni line.
- Add the surrounding board elements (5 minutes) – Now fill in the space around the skull. Arrange the crackers in small clusters or lines around the edges of the board. Place the cheese cubes in one or two small piles. Add the rolled salami or prosciutto bundles if using. Scatter the cherry tomato halves and grape clusters in the remaining open spaces. The goal is to create a full, abundant-looking board where every inch has something interesting to look at and eat.
- Garnish and adjust (2 minutes) – Tuck the fresh rosemary or parsley sprigs around the edges of the board for a pop of green. Step back and look at your creation. Are the eyes level? Is the mouth centered? Make small adjustments now — move an olive slice, shift a pepperoni, add an extra cracker where it looks sparse. This is your chance to perfect the presentation before guests arrive.
- Serve immediately or refrigerate briefly (1 minute) – This board is best served at room temperature, so if you’ve prepped it ahead of time, let it sit out for 15-20 minutes before serving. If you need to store it, cover loosely with plastic wrap and refrigerate for up to 2 hours. Just bring it to room temperature before serving for the best flavor and texture.
Sensory Cue: When you’re placing the pepperoni, you should feel the slight give of the meat as you lay it down — it should be flexible but not floppy. The mozzarella pearls should feel cool and slightly springy to the touch. The cucumber slices should be firm and crisp, not bendable. If any of your ingredients feel off, swap them out for fresher ones.
Cooking Tips & Techniques
After making this light and easy skull charcuterie board more times than I care to admit (let’s just say my friends now expect it at every fall gathering), I’ve picked up a few tricks that make the process smoother and the result more impressive.
Keep the pepperoni at room temperature. Cold pepperoni is stiff and harder to arrange in curves. Let it sit out for 10 minutes before you start. I learned this the hard way when I tried to make a skull with fridge-cold pepperoni and ended up with a shape that looked more like a sad potato than a skull. Room-temperature slices bend beautifully and stay where you put them.
Use a template if you’re nervous. I’m not above tracing a skull shape on a piece of parchment paper and placing it under the board as a guide. Just trace a simple skull outline — two circles for eyes, a triangle for the nose, and a curved line for the mouth — then arrange your ingredients over the paper. When you’re done, gently slide the paper out from under the board. Nobody will ever know.
Don’t overcrowd the board. It’s tempting to pack every inch with food, but leaving some negative space actually makes the skull shape pop more. Think of the board as a canvas — the empty areas are just as important as the filled ones. Plus, guests need somewhere to set their napkins or drinks.
Pat everything dry. This is the tip I wish someone had told me before my first attempt. Wet mozzarella pearls, sweaty cucumber slices, and oily pepperoni all release moisture onto the board, which makes the crackers soggy and the whole thing look messy. Pat everything dry with paper towels before arranging. It takes an extra 30 seconds and makes a world of difference.
Build in layers. Start with the biggest elements (pepperoni, mozzarella) and work your way down to the smallest (olives, herbs). This creates depth and prevents the smaller items from getting lost. I once put the cherry tomatoes on first and then couldn’t find space for the crackers. Learn from my mistakes.
Common mistake: Making the eyes too big. I’ve done this. You put two large olive slices on and suddenly your skull looks like a surprised cartoon character. Use small olive slices — just a single ring each — for a more natural, friendly skull face. Trust me on this one.
Variations & Adaptations
One of the best things about this light and easy skull charcuterie board is how customizable it is. I’ve tried several variations over the past few Halloweens, and each one brings something different to the table.
Vegetarian Version: Skip the pepperoni and use roasted red pepper strips or sun-dried tomatoes for the skull outline instead. The color is similar, and the flavor is actually more complex — slightly sweet and smoky. Use extra cheese cubes and add marinated artichoke hearts for more savory depth. I made this version for a vegetarian friend last year, and she said it was the best Halloween snack she’d ever had.
Gluten-Free Adaptation: Replace the crackers with gluten-free crackers or rice cakes. Most brands work well, but I prefer Crunchmaster or Simple Mills for their sturdy texture. Also check the pepperoni — some brands use wheat-based fillers, so look for certified gluten-free options. Everything else on the board is naturally gluten-free.
Spicy Version: Swap the regular pepperoni for spicy pepperoni or add a few slices of jalapeño on the side. Use pepper jack cheese instead of cheddar for the cubes. The heat pairs surprisingly well with the cool cucumber and creamy mozzarella. Just be careful not to overdo it — you want the skull to be approachable, not intimidating.
Sweet and Savory Version: Add a small bowl of honey or fig jam near the board for drizzling over the cheese. The sweetness contrasts beautifully with the salty pepperoni and tangy olives. I tried this on a whim one year when I had leftover fig jam from a cheese plate, and it was an instant hit. Now I include it every time.
Kid-Friendly Version: Use mild cheddar, string cheese cut into rounds, and mini pepperonis. Skip the olives (kids often don’t like them) and use cucumber slices for the eyes instead. Add a few candy eyeballs (the kind you find at baking supply stores) on top of the cheese for extra fun. My nephew’s face lit up when he saw the candy eyes staring back at him.
Serving & Storage Suggestions
This light and easy skull charcuterie board is best served at room temperature, so plan to take it out of the refrigerator about 20 minutes before guests arrive. The flavors are more pronounced when the cheese isn’t cold, and the pepperoni softens slightly, making it easier to eat.
Presentation Tips: Place the board on a table where guests can gather around it. I like to put it at the center of a larger spread, surrounded by small plates and napkins. If you’re serving multiple appetizers, this board should be the star — it’s visually striking enough to anchor the whole table. Add a few Halloween-themed decorations around the board (mini pumpkins, fake spiders, or a small skeleton) for extra atmosphere.
Complementary Dishes: This board pairs beautifully with a light fall salad (think arugula with apple slices and a cider vinaigrette) or a warm soup like butternut squash or tomato basil. For drinks, a crisp white wine like Sauvignon Blanc or a light beer like a pilsner works well. Non-alcoholic options include sparkling apple cider or a cranberry spritzer.
Storage Instructions: If you have leftovers (honestly, that’s rare in my house), separate the components into airtight containers. The crackers will get soft if left with moist ingredients, so store them separately. The pepperoni and cheese can be refrigerated together for up to 3 days. The cucumber and cherry tomatoes are best eaten within 24 hours — they lose their crunch quickly.
Reheating Tips: This board is served cold or at room temperature, so reheating isn’t necessary. If you’ve refrigerated the cheese cubes, let them sit out for 15 minutes before serving again to bring back their full flavor.
Flavor Development: Interestingly, this board actually tastes better after it’s been assembled for about 30 minutes. The flavors meld together subtly — the pepperoni’s saltiness seeps into the cheese, and the cucumber’s freshness brightens everything around it. Don’t stress about making it too far ahead; it improves with a little time.
Nutritional Information & Benefits
This light and easy skull charcuterie board is designed to be a balanced, satisfying snack that won’t weigh you down. Here’s a rough estimate per serving (about 1/6 of the board, assuming 6 servings):
- Calories: Approximately 280-320
- Protein: 14-18 grams
- Fat: 18-22 grams
- Carbohydrates: 12-16 grams
- Fiber: 2-4 grams
- Sugar: 4-6 grams
- Sodium: 500-700 mg
Health Benefits: The fresh mozzarella provides a good dose of calcium and protein without the high saturated fat content of aged cheeses. Cucumber and cherry tomatoes are low-calorie, hydrating vegetables packed with vitamins C and K. Black olives offer healthy monounsaturated fats and antioxidants. Even the pepperoni, in moderation, contributes protein and B vitamins. This board is a great option for anyone watching their carb intake — just skip the crackers and load up on the vegetables and cheese.
Dietary Considerations: This board is naturally low-carb and can be made gluten-free with simple substitutions. It contains dairy (cheese) and may contain gluten (crackers), so be mindful of allergies. For a dairy-free version, use vegan cheese alternatives and skip the mozzarella. The fresh vegetables make it a lighter option compared to traditional charcuterie boards that rely heavily on aged cheeses and cured meats.
Personal Wellness Perspective: I love that this board lets me enjoy Halloween treats without the sugar crash. It’s the kind of snack that keeps you satisfied without feeling heavy — perfect for a night of socializing and maybe a little trick-or-treating with the kids.
Conclusion
This light and easy skull charcuterie board is proof that Halloween snacks don’t have to be complicated or loaded with sugar to be memorable. It’s simple, fresh, and genuinely fun to make — and even more fun to watch people react to when they see it on the table. I’ve made this board for three Halloweens now, and each time, it brings a little bit of that same joy I felt in Aunt Carol’s kitchen all those years ago. It’s not about perfection. It’s about gathering people around something that makes them smile.
I’d love to hear how your skull board turns out. Did you add your own twist? Did the kids love the candy eyes? Drop a comment below and let me know — I read every single one, and your ideas might inspire my next creation. And if you share a photo on social media, tag me so I can see your masterpiece. Happy Halloween, and happy snacking!
Frequently Asked Questions
Can I make this skull charcuterie board ahead of time?
Yes, you can assemble the board up to 2 hours ahead. Cover it loosely with plastic wrap and refrigerate. Just let it sit at room temperature for 20 minutes before serving to let the flavors come alive.
What if I can’t find fresh mozzarella pearls?
No problem! You can cut a larger fresh mozzarella ball into small cubes. Just make sure to pat them dry with a paper towel to remove excess moisture.
How do I keep the crackers from getting soggy?
Place the crackers around the edges of the board, away from the moist ingredients like cucumber and tomatoes. You can also add them just before serving for maximum crunch.
Can I use a different shape instead of a skull?
Absolutely! The same technique works for a pumpkin, ghost, or even a bat shape. Just adjust the outline and features accordingly. A pumpkin shape with a green bell pepper stem is especially cute for fall.
What’s the best way to transport this board to a party?
Assemble the skull on a flat, sturdy board that fits in your car. Cover it tightly with plastic wrap and place it on a flat surface (like the floor of the back seat) so it doesn’t slide around. Add any delicate garnishes like fresh herbs after you arrive.
Pin This Recipe!
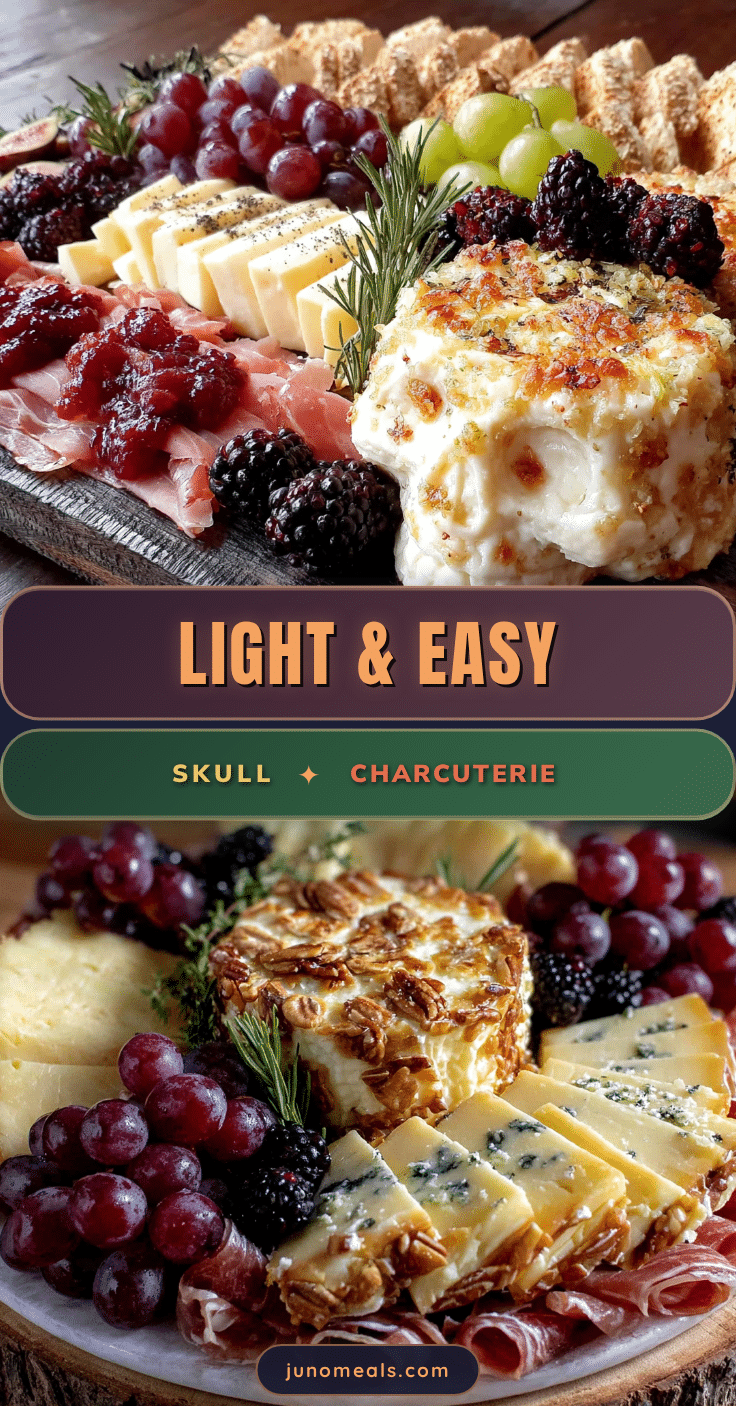
Light & Easy Skull Charcuterie Board: Best Halloween Appetizer

A playful, spooky charcuterie board shaped like a skull, featuring fresh mozzarella, pepperoni, cucumber, and cherry tomatoes. Perfect for Halloween parties, this light and easy appetizer comes together in under 20 minutes with simple ingredients.
- Prep Time: 20 minutes
- Cook Time: 0 minutes
- Total Time: 20 minutes
- Yield: 6 servings 1x
- Category: Appetizer
- Cuisine: American
Ingredients
- 20–25 slices pepperoni
- 8–10 ounces fresh mozzarella pearls
- 1 medium cucumber, sliced into rounds
- 1 cup cherry tomatoes, halved
- 10–12 black olives, pitted and sliced
- 1/4 large red bell pepper, cut into thin strips
- 3–4 baby carrots, cut into small triangles or rounds
- 30–40 crackers (Ritz or Wheat Thins recommended)
- 4–6 ounces sharp cheddar or gouda, cubed
- 4–6 slices salami or prosciutto (optional)
- 1 cup red or green grapes
- Fresh rosemary or parsley sprigs for garnish
Instructions
- Prep all ingredients: wash and dry cucumber, cherry tomatoes, grapes, and bell pepper. Pat mozzarella pearls dry. Slice cucumber into 1/4-inch rounds. Halve cherry tomatoes if large. Slice olives into rounds. Cut bell pepper into thin strips. Cut baby carrots into small shapes. Cube cheddar or gouda.
- Arrange the skull outline using pepperoni slices on a large board. Create a rough oval shape about 8-10 inches wide and 10-12 inches tall, overlapping slices slightly.
- Fill the skull interior with mozzarella pearls and cucumber slices, scattering them evenly to create a textured mosaic.
- Create skull features: place two olive slices for eyes (about 2 inches apart in upper third), two smaller olive slices for nostrils (about 1 inch apart below eyes), and arrange red bell pepper strips in a gentle curve for the mouth. Add baby carrot pieces for teeth if desired.
- Add surrounding board elements: arrange crackers in clusters, place cheese cubes in piles, add rolled salami or prosciutto, scatter cherry tomato halves and grape clusters in open spaces.
- Garnish with fresh rosemary or parsley sprigs around the edges. Adjust features as needed for symmetry.
- Serve immediately at room temperature, or refrigerate for up to 2 hours and bring to room temperature 20 minutes before serving.
Notes
Keep pepperoni at room temperature for easier shaping. Use a parchment paper template if needed. Pat all ingredients dry to prevent sogginess. Build in layers starting with largest elements. Avoid making eyes too large for a friendly skull look.
Nutrition
- Serving Size: 1/6 of board
- Calories: 300
- Sugar: 5
- Sodium: 600
- Fat: 20
- Saturated Fat: 8
- Carbohydrates: 14
- Fiber: 3
- Protein: 16
Keywords: Halloween appetizer, charcuterie board, skull board, easy appetizer, party snack, spooky snack, light charcuterie


