I threw the first three batches of pumpkin banana bread in the trash. Not because they burned—though one did—but because they were bland. Dense, wet, and aggressively mediocre. I kept trying to force pumpkin flavor into a banana bread recipe without understanding that pumpkin and banana are both moisture bombs that need different handling. The fourth loaf finally worked, and I’ve been making this version for six years. It’s the one I bring to fall gatherings where people politely ask for the recipe and then actually make it.
This One-Bowl Pumpkin Banana Bread with Walnuts came from a Tuesday night when I had a sad banana and half a can of pumpkin puree left over from something else. I wasn’t trying to be creative. I was trying to use up ingredients so they wouldn’t stare at me from the counter the next morning. But that accidental combination turned into the bread I now make on purpose, every single time the weather gets cold enough for a sweater.
The secret here is that neither flavor dominates. The pumpkin adds this earthy, almost buttery richness while the banana keeps everything tender and sweet. The walnuts give you that crunch that makes the whole thing feel like a real treat, not just a breakfast you grabbed because you were running late. And the one-bowl thing? That’s not a gimmick. I genuinely hate washing dishes, and this recipe respects that.
Why You’ll Love This Recipe
I’ve tested this recipe more times than I care to admit, and here’s what I’ve learned: it works because it doesn’t try too hard. The ingredients are simple, the method is straightforward, and the results are consistently good. Let me break down exactly why this bread deserves a spot in your regular rotation.
- One Bowl, No Fuss: Everything mixes in a single bowl. No separate mixing of dry and wet ingredients. No stand mixer required. Just one bowl, a whisk, and a spatula. The cleanup takes less time than preheating the oven.
- Pantry-Friendly Ingredients: You likely already have most of these items. Canned pumpkin puree keeps for months in the pantry, bananas freeze beautifully for baking, and walnuts stay fresh in the freezer. This is a recipe for when you want to bake but don’t want to go to the store.
- Perfect for Fall Mornings: This bread pairs with coffee like it was made for it. Slice it thick, toast it lightly, and spread a little butter on top. It’s the kind of breakfast that makes you slow down and actually sit at the table.
- Crowd-Pleaser Status: I’ve brought this to brunches, potlucks, and holiday breakfasts. It disappears fast. Kids eat it without complaint, and adults ask for seconds. The walnuts add enough texture to make it interesting without being polarizing.
- Freezer-Friendly: Bake two loaves, eat one now, and freeze the other for later. It thaws beautifully and tastes just as good as the day you baked it. This is my go-to move for holiday prep.
What makes this recipe different from the dozens of pumpkin banana bread recipes out there? The balance. Most versions lean too hard on one flavor or end up with a gummy texture from all that moisture. This recipe nails the ratio so you get a tender crumb with distinct pumpkin and banana notes, plus a crunchy walnut topping that makes every bite interesting. It’s not just another version—it’s the one I’ve settled on after years of trial and error.
Honestly, this is the kind of bread that makes you close your eyes after the first bite. It’s comfort food that actually delivers on the promise. No stress, no complicated techniques, just good bread that makes your kitchen smell amazing.
What Ingredients You Will Need
This recipe uses straightforward ingredients that work together to create something genuinely better than the sum of their parts. Here’s what you’ll need and why each one matters.
For the Bread
- 1 ½ cups all-purpose flour (spooned and leveled—don’t scoop directly from the bag or you’ll pack in too much flour)
- 1 teaspoon baking soda (this is your leavening agent; make sure it’s fresh or your bread won’t rise properly)
- 1 teaspoon pumpkin pie spice (I prefer McCormick for consistent flavor, but any brand works)
- ½ teaspoon ground cinnamon (adds warmth and depth)
- ½ teaspoon salt (don’t skip this—it balances the sweetness)
- 1 cup granulated sugar (regular white sugar works best here; brown sugar makes the bread too dense)
- 2 large eggs, room temperature (cold eggs will seize up the batter; leave them out for 30 minutes before starting)
- ½ cup vegetable oil (canola or avocado oil also work; avoid olive oil as the flavor is too strong)
- 1 cup mashed ripe banana (about 2 large or 3 medium bananas—the spottier, the sweeter)
- ¾ cup pumpkin puree (not pumpkin pie filling—make sure you grab the plain stuff)
- 1 teaspoon vanilla extract (pure vanilla extract tastes noticeably better than imitation)
For the Topping
- ½ cup chopped walnuts (toast them first for extra flavor—see the tip below)
- 1 tablespoon turbinado sugar (optional but recommended for a crunchy, sparkly top)
Ingredient Selection Tips
For the pumpkin puree, I recommend Libby’s—it’s consistently thick and not watery. Some store brands are thinner and can make your bread soggy. If you’re using a different brand, check the consistency first. It should be thick enough to hold its shape on a spoon.
For the bananas, the riper the better. Those sad, brown bananas sitting on your counter are perfect. If your bananas aren’t ripe enough, you can speed things up by baking them at 300°F for 15 minutes until the skins turn black. Let them cool before mashing.
Substitution Guidance
- Gluten-free option: Use a 1:1 gluten-free baking flour blend. King Arthur Measure for Measure works well here.
- Nut-free option: Skip the walnuts or replace them with pumpkin seeds for a similar crunch.
- Lower sugar option: Reduce the sugar to ¾ cup and add an extra tablespoon of maple syrup to maintain moisture.
- Dairy-free: This recipe is already dairy-free as written, but if you’re adding butter for serving, use a plant-based option.
Equipment Needed
The beauty of this recipe is that you don’t need fancy equipment. Here’s what you’ll actually use:
- 9×5-inch loaf pan (standard size—don’t use an 8×4 or your bread will overflow)
- Large mixing bowl (any bowl big enough to hold all the ingredients without splashing)
- Whisk (for mixing the wet ingredients and combining everything evenly)
- Rubber spatula (for scraping down the sides and folding in the walnuts)
- Parchment paper (optional but highly recommended for easy removal from the pan)
- Cooling rack (lets air circulate so the bottom doesn’t get soggy)
- Measuring cups and spoons (use dry measuring cups for flour and sugar, liquid measuring cup for oil and pumpkin)
If you don’t have a cooling rack, you can use the wire rack from your oven—just make sure it’s clean. If you don’t have parchment paper, grease the pan thoroughly with butter or nonstick spray and dust it with flour. I’ve done both methods, and parchment is easier, but greasing works fine if that’s what you have.
One tip: invest in a good whisk. I used a cheap one for years, and the wires kept bending. A sturdy whisk makes mixing this batter effortless.
Preparation Method
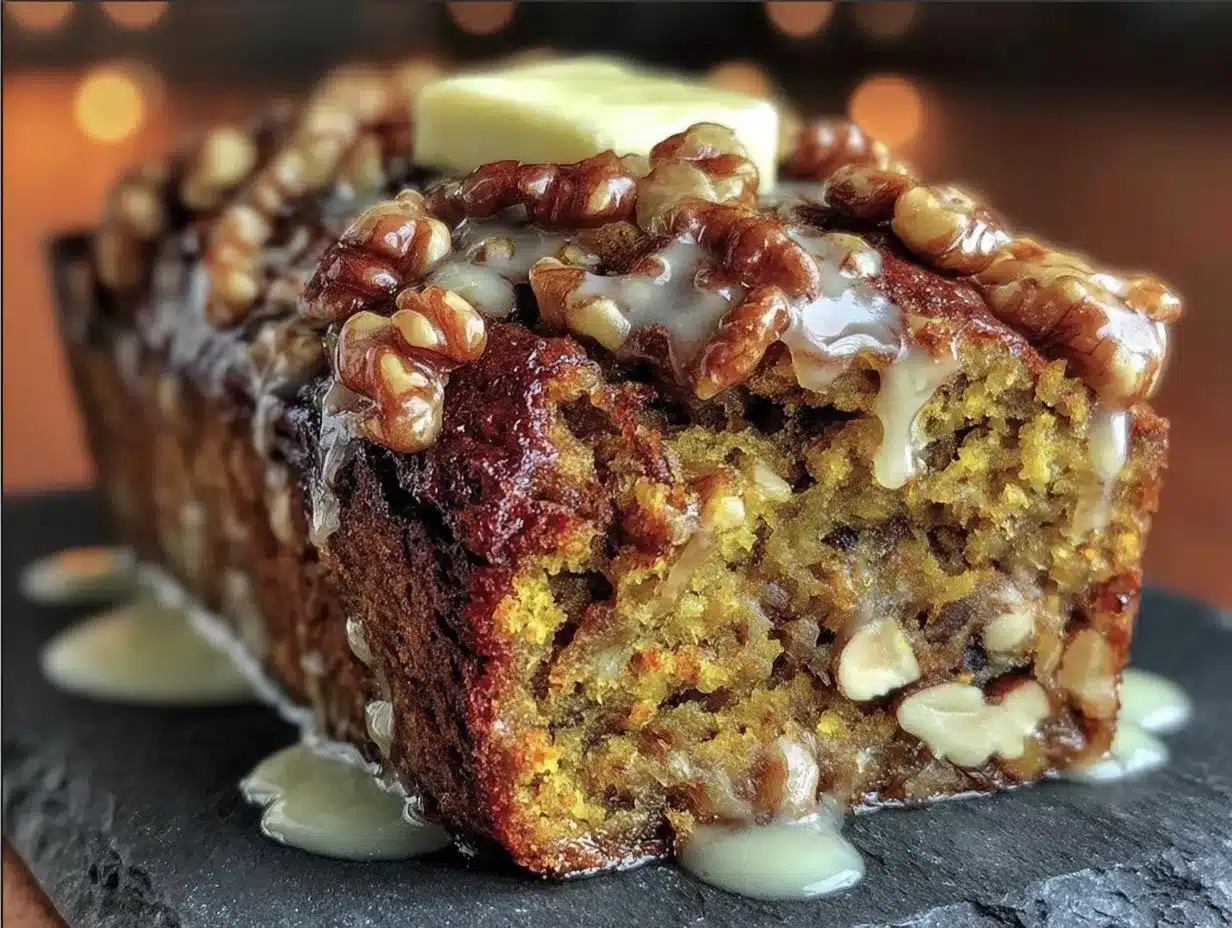
Let’s get to the actual baking. This method is straightforward, but I’ve included every detail I wish someone had told me the first time I made this.
- Preheat your oven to 350°F (175°C). Position the rack in the center of the oven. Line your loaf pan with parchment paper, leaving some overhang on the long sides—this makes lifting the bread out so much easier. If you’re not using parchment, grease the pan thoroughly with butter or nonstick spray and dust it with a tablespoon of flour. Tap out the excess flour.
- Toast the walnuts (optional but worth it). Spread the chopped walnuts on a baking sheet and toast them in the preheating oven for 5-7 minutes until they smell nutty and are lightly browned. Watch them carefully—they burn fast. Let them cool while you prepare the batter.
- Mash the bananas. In your large mixing bowl, mash the bananas with a fork until they’re mostly smooth with a few small lumps. You want some texture here—completely smooth bananas make the bread denser. Aim for a consistency that looks like lumpy baby food. Set the bowl aside.
- Add the wet ingredients. To the mashed bananas, add the pumpkin puree, vegetable oil, eggs, and vanilla extract. Whisk everything together until it’s smooth and well combined. The mixture should look uniform with no streaks of egg white. This takes about 30 seconds of whisking.
- Add the sugar. Pour in the granulated sugar and whisk again until the sugar is fully incorporated. You shouldn’t feel any grittiness at the bottom of the bowl. The mixture will look slightly thinner than before—that’s normal.
- Add the dry ingredients. Sprinkle the flour, baking soda, pumpkin pie spice, cinnamon, and salt over the wet mixture. Don’t dump it all in one spot—spread it out so it incorporates more evenly. Stir with a rubber spatula or wooden spoon until just combined. You want to see no more streaks of flour, but stop as soon as it comes together. Overmixing at this stage will make your bread tough and dense. A few small lumps are fine—they’ll bake out.
- Fold in the walnuts. Reserve about 2 tablespoons of the toasted walnuts for the top. Gently fold the remaining walnuts into the batter with your spatula. Use a folding motion—scoop from the bottom and bring it over the top—to distribute them evenly without overmixing.
- Transfer the batter to the pan. Pour the batter into your prepared loaf pan and spread it evenly with your spatula. Give the pan a couple of gentle taps on the counter to release any air bubbles. Sprinkle the reserved walnuts and the turbinado sugar over the top. The sugar gives a beautiful crunchy crust—don’t skip it if you have it.
- Bake for 55-65 minutes. Place the pan in the preheated oven and bake until a toothpick inserted into the center comes out clean or with just a few moist crumbs. Start checking at 55 minutes. If the top is browning too quickly, tent the pan loosely with aluminum foil after 40 minutes. My oven runs hot, so I usually check at 50 minutes and tent at 35.
- Cool properly. Let the bread cool in the pan on a wire rack for 15 minutes. Then lift it out using the parchment overhang and let it cool completely on the rack. This step is crucial—if you slice it while it’s still warm, it will crumble and fall apart. I learned this the hard way. Patience pays off here.
Sensory Cues
- When you whisk the wet ingredients, the mixture should be smooth and glossy, with a deep orange color from the pumpkin.
- After adding the dry ingredients, the batter will be thick and slightly sticky—thicker than regular banana bread batter, but not as thick as cookie dough.
- During baking, your kitchen will smell like fall. The bread is done when the top is golden brown and cracked, and the edges have pulled away slightly from the pan.
- When you tap the top of the baked loaf, it should feel firm and spring back slightly.
Cooking Tips & Techniques
I’ve made this bread at least thirty times, and I’ve made every mistake in the book. Here’s what I’ve learned so you don’t have to repeat my errors.
The Moisture Balance is Everything
Pumpkin and banana both release moisture as they bake. If you don’t account for this, you end up with a dense, soggy loaf. The trick is to measure your flour correctly. Spoon it into your measuring cup and level it off with a knife. Scooping directly from the bag packs in too much flour, which makes the bread dry. Yes, I just said you need to avoid soggy bread, but you also need to avoid dry bread. The correct flour measurement is the sweet spot.
Room Temperature Ingredients Matter
I used to think this was kitchen snobbery until I tested it side by side. Cold eggs and cold banana make the batter seize up, creating a dense texture. Room temperature ingredients emulsify better, giving you a lighter, more tender crumb. Take the eggs out of the fridge 30 minutes before you start. If you forgot, place them in a bowl of warm water for 5 minutes.
Don’t Overmix—Seriously
I ruined my first few loaves by mixing the batter until it was perfectly smooth. That develops gluten, and too much gluten makes bread tough. Mix until you can’t see any more flour, then stop. A few lumps are your friends here. They’ll disappear during baking, I promise.
The Toothpick Test Lies
Sometimes the toothpick comes out clean but the bread is still underdone in the center. This happens when the sugar caramelizes on the toothpick. Instead, use a thin knife or a skewer. Insert it into the center of the loaf—if it comes out clean or with a few moist crumbs, the bread is done. If it comes out with wet batter, give it another 5 minutes.
Cooling is Not Optional
I know it’s torture to wait, but slicing warm bread is a guaranteed way to end up with a crumbly mess. The bread continues to set as it cools. Let it cool completely on a wire rack—at least an hour. If you can’t wait that long, at least give it 30 minutes. Your slices will thank you.
Variations & Adaptations
This recipe is flexible. Here are some variations I’ve tried and loved.
Chocolate Chip Pumpkin Banana Bread
Fold in ½ cup of semi-sweet chocolate chips along with the walnuts. The chocolate adds a richness that pairs beautifully with the pumpkin and banana. I’ve also used dark chocolate chips for a less sweet version. This is my go-to when I’m making bread for kids—they love the chocolate bits.
Spiced Maple Variation
Replace ½ cup of the granulated sugar with ⅓ cup of maple syrup. Reduce the oil to ⅓ cup to compensate for the extra liquid. Add an extra ¼ teaspoon of pumpkin pie spice. The maple flavor comes through subtly and makes the bread taste even more autumnal. I made this version for a Thanksgiving brunch and it was gone in 20 minutes.
Gluten-Free Version
Use a 1:1 gluten-free baking flour blend. I’ve tested this with King Arthur Measure for Measure and it works perfectly. The texture is slightly more crumbly than the regular version, but it’s still tender and delicious. Let the bread cool completely before slicing—gluten-free baked goods are more fragile when warm.
Vegan Adaptation
Replace the eggs with two flax eggs (2 tablespoons ground flaxseed mixed with 6 tablespoons water, let sit for 5 minutes). Use a plant-based oil like avocado or coconut oil. The bread will be slightly denser but still moist and flavorful. I’ve made this for vegan friends and they couldn’t tell the difference.
Nut-Free Version
Skip the walnuts entirely or replace them with pumpkin seeds, sunflower seeds, or even dried cranberries. The texture will be different but still enjoyable. If you’re avoiding nuts for allergy reasons, make sure all your other ingredients are processed in nut-free facilities.
Serving & Storage Suggestions
Serving
This bread is best served at room temperature or slightly warm. Slice it thick—about 1-inch slices—and toast them lightly if you want a crispy exterior with a soft center. Spread a little butter, cream cheese, or even a thin layer of honey on top. It’s also delicious plain with a cup of coffee or tea.
For a more indulgent presentation, serve it with a dollop of whipped cream and a sprinkle of cinnamon. This works well for dessert or a special brunch. I’ve also used it as the base for a bread pudding—just cube the bread, soak it in a custard mixture, and bake until golden. It’s a great way to use up leftover slices.
Storage
Store the bread in an airtight container at room temperature for up to 3 days. If your kitchen is warm or humid, refrigerate it to prevent mold. The bread will stay moist for longer in the fridge, but it will also dry out slightly—toast it before serving to bring back the texture.
Freezing
This bread freezes beautifully. Let it cool completely, then wrap it tightly in plastic wrap, followed by a layer of aluminum foil. Freeze for up to 3 months. To thaw, leave it at room temperature for several hours or overnight in the fridge. You can also freeze individual slices—wrap each one in plastic wrap and store them in a freezer bag. This way, you can grab a slice whenever you want without defrosting the whole loaf.
Reheating
To reheat a slice, pop it in the toaster or microwave for 15-20 seconds. For a whole loaf, warm it in a 300°F oven for 10-15 minutes. The flavors actually develop over time—day-old bread often tastes better than fresh-baked because the spices have had time to meld.
Nutritional Information & Benefits
Here’s the approximate nutritional breakdown for one slice (assuming 10 slices per loaf):
| Nutrient | Amount per Slice |
|---|---|
| Calories | 285 |
| Total Fat | 14g |
| Saturated Fat | 2g |
| Cholesterol | 37mg |
| Sodium | 220mg |
| Total Carbohydrates | 37g |
| Dietary Fiber | 2g |
| Sugars | 20g |
| Protein | 4g |
Health Benefits
This bread isn’t health food, but it does have some redeeming qualities. Pumpkin is rich in vitamin A and fiber, which supports eye health and digestion. Bananas provide potassium, which helps regulate blood pressure, and vitamin B6, which supports brain function. Walnuts are packed with omega-3 fatty acids, which are great for heart health. The eggs add protein, and the oil provides healthy fats.
Dietary Considerations
This recipe is naturally dairy-free and can be made gluten-free, vegan, or nut-free with the substitutions listed above. It contains eggs, gluten (in the flour), and walnuts, so it’s not suitable for those with allergies to these ingredients without modifications.
Personal Wellness Perspective
I’m not a nutritionist, and I don’t pretend this bread is a health food. But I do believe that food made with real ingredients—even if it includes sugar and oil—is better than processed alternatives. This bread satisfies a craving for something sweet and comforting without relying on preservatives or artificial flavors. It’s a treat, and treats are part of a balanced life. Enjoy it without guilt.
Conclusion
This One-Bowl Pumpkin Banana Bread with Walnuts has become my fall baking staple for a reason. It’s simple enough for a Tuesday night, impressive enough for a holiday brunch, and forgiving enough for beginner bakers. The combination of pumpkin and banana creates something uniquely comforting—earthy and sweet, tender and crunchy, all in one slice.
What I love most about this recipe is that it doesn’t demand perfection. You can swap ingredients, adjust the spices, or add your own twist, and it still works. It’s a recipe that grows with you. The first time you make it, you follow the instructions exactly. The second time, you start experimenting. By the third time, it’s yours.
I’d love to hear how yours turns out. Did you add chocolate chips? Swap the walnuts for pecans? Forget the turbinado sugar and regret it? Share your experience in the comments below—your feedback helps other bakers, and I genuinely read every comment. If you try this recipe, tag me in your photos. There’s nothing better than seeing a recipe come to life in someone else’s kitchen.
Happy baking, and may your kitchen always smell like fall.
Frequently Asked Questions
Can I use fresh pumpkin instead of canned?
Yes, but you’ll need to roast and puree it first. Fresh pumpkin has more water than canned, so you’ll need to drain it after pureeing. Place the puree in a cheesecloth-lined strainer over a bowl and let it sit for 30 minutes. Squeeze out any excess liquid before using. I’ve done this, and while it’s more work, the flavor is slightly brighter. For convenience, canned works just as well.
Why did my bread sink in the middle?
This usually happens for one of three reasons: the oven temperature was too low, the batter was overmixed, or the bread was underbaked. Make sure your oven is fully preheated to 350°F before putting the bread in. Don’t open the oven door during the first 30 minutes of baking—the rush of cold air can cause the bread to collapse. And always test for doneness with a skewer or thin knife before removing from the oven.
Can I make this into muffins instead of a loaf?
Absolutely. Grease a 12-cup muffin tin or line it with paper liners. Divide the batter evenly among the cups—fill each about ¾ full. Bake at 350°F for 18-22 minutes, or until a toothpick inserted into the center of a muffin comes out clean. Muffins bake faster than a loaf, so start checking at 18 minutes. This is a great option if you want portion-controlled servings or need something portable.
How do I know when the bananas are ripe enough?
Look for bananas with brown spots all over the peel. The peel should be mostly brown or even black—that’s when they’re sweetest and easiest to mash. If your bananas are still yellow, leave them on the counter for a few more days. You can also speed up the ripening process by placing them in a paper bag with an apple overnight. Green bananas won’t work here—they’re not sweet enough and won’t mash properly.
Can I reduce the sugar without ruining the recipe?
You can reduce the sugar to ¾ cup without major issues. The bread will be slightly less sweet and the texture will be a bit denser, but it will still be good. If you reduce it further, you’ll need to compensate with a liquid sweetener like maple syrup or honey to maintain moisture. I’ve made it with ½ cup sugar plus 2 tablespoons maple syrup, and it turned out well—just slightly less tender than the original.
Pin This Recipe!
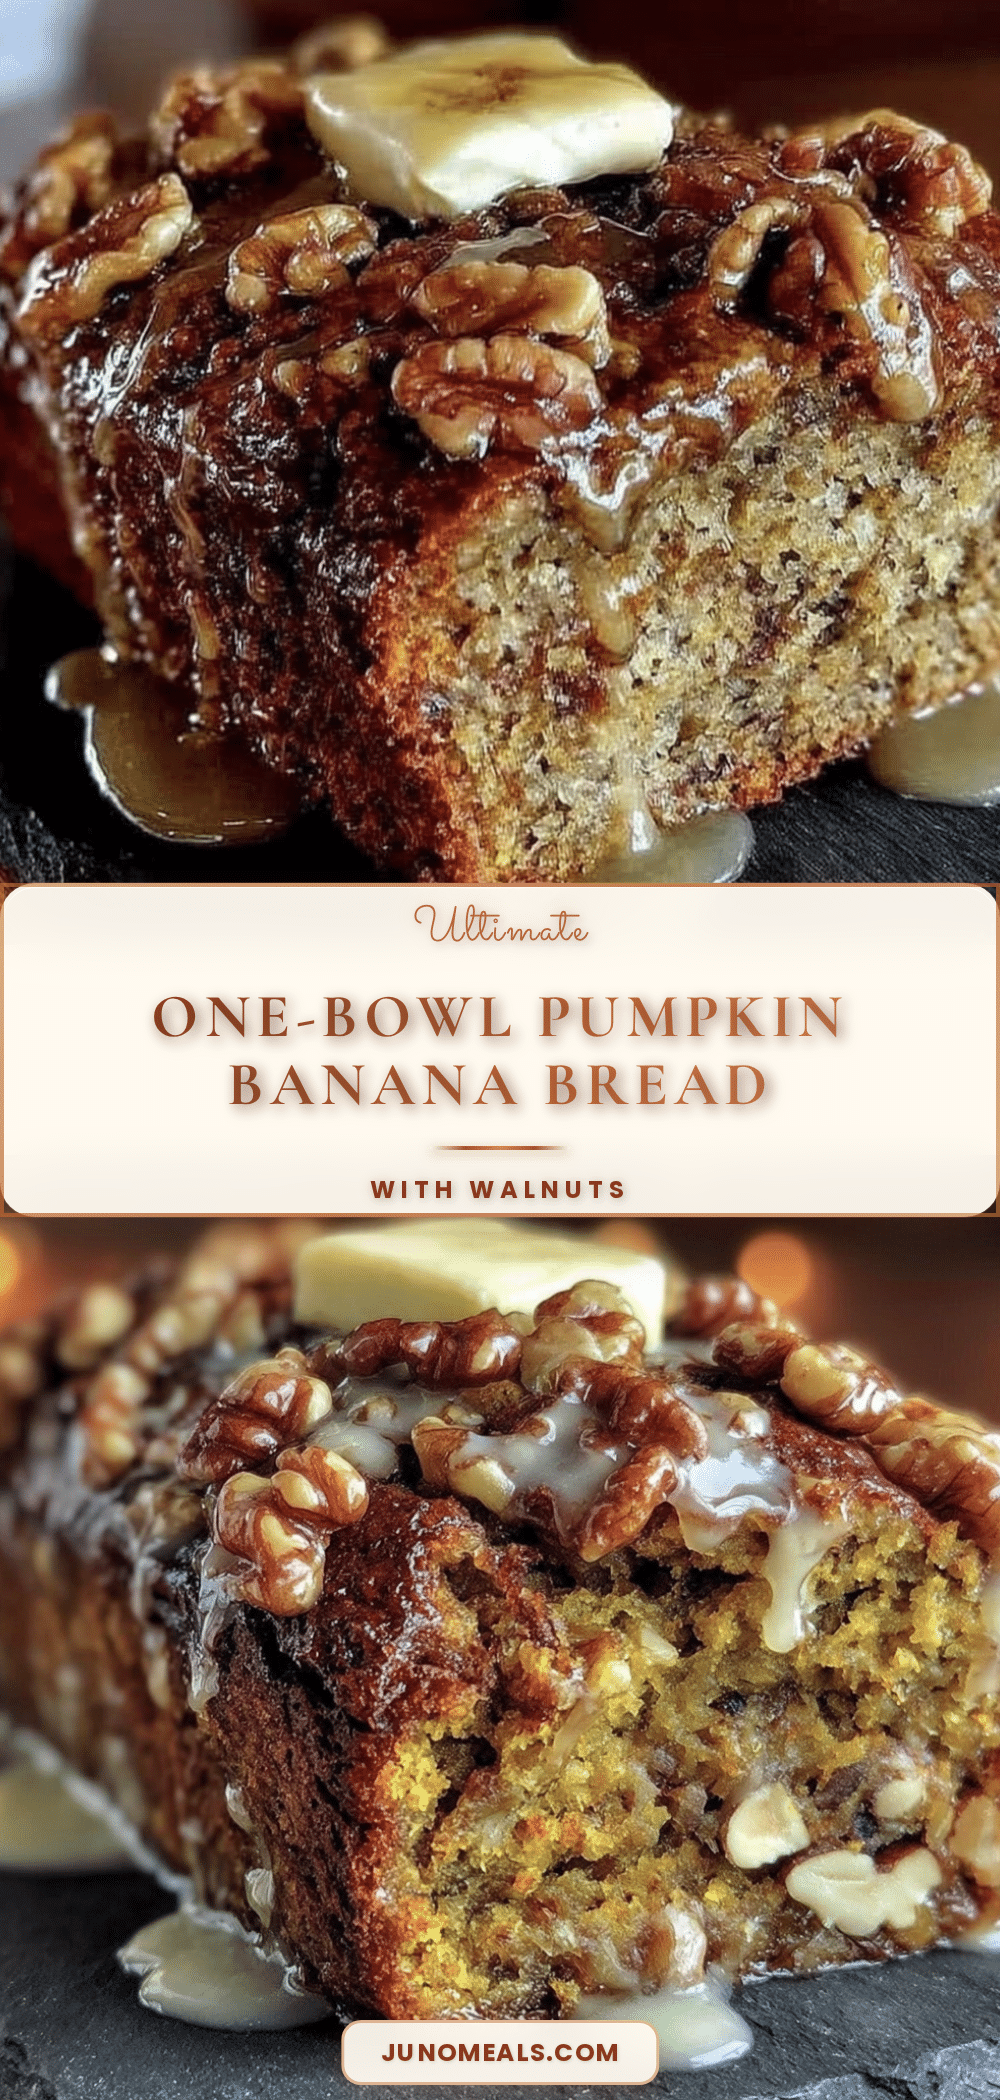
One-Bowl Pumpkin Banana Bread with Walnuts
This one-bowl pumpkin banana bread with walnuts is the perfect fall treat. It combines earthy pumpkin and sweet banana for a tender, moist loaf with a crunchy walnut topping.
- Prep Time: 15 minutes
- Cook Time: 55-65 minutes
- Total Time: 1 hour 20 minutes
- Yield: 10 servings 1x
- Category: Dessert
- Cuisine: American
Ingredients
- 1 ½ cups all-purpose flour (spooned and leveled)
- 1 teaspoon baking soda
- 1 teaspoon pumpkin pie spice
- ½ teaspoon ground cinnamon
- ½ teaspoon salt
- 1 cup granulated sugar
- 2 large eggs, room temperature
- ½ cup vegetable oil (canola or avocado oil also work)
- 1 cup mashed ripe banana (about 2 large or 3 medium bananas)
- ¾ cup pumpkin puree (not pumpkin pie filling)
- 1 teaspoon vanilla extract
- ½ cup chopped walnuts
- 1 tablespoon turbinado sugar (optional)
Instructions
- Preheat your oven to 350°F (175°C). Position the rack in the center of the oven. Line your loaf pan with parchment paper, leaving some overhang on the long sides. If not using parchment, grease the pan thoroughly with butter or nonstick spray and dust with flour.
- Toast the walnuts (optional): Spread the chopped walnuts on a baking sheet and toast in the preheating oven for 5-7 minutes until fragrant and lightly browned. Let cool.
- In a large mixing bowl, mash the bananas with a fork until mostly smooth with a few small lumps.
- Add the pumpkin puree, vegetable oil, eggs, and vanilla extract to the mashed bananas. Whisk until smooth and well combined.
- Add the granulated sugar and whisk until fully incorporated.
- Sprinkle the flour, baking soda, pumpkin pie spice, cinnamon, and salt over the wet mixture. Stir with a rubber spatula or wooden spoon until just combined. Do not overmix.
- Reserve about 2 tablespoons of the toasted walnuts for the top. Gently fold the remaining walnuts into the batter.
- Pour the batter into the prepared loaf pan and spread evenly. Sprinkle the reserved walnuts and turbinado sugar over the top.
- Bake for 55-65 minutes, until a toothpick inserted into the center comes out clean or with a few moist crumbs. If the top browns too quickly, tent with foil after 40 minutes.
- Let the bread cool in the pan on a wire rack for 15 minutes. Then lift it out using the parchment overhang and cool completely on the rack before slicing.
Notes
Measure flour correctly by spooning into the cup and leveling off. Use room temperature ingredients for best texture. Do not overmix the batter. Let the bread cool completely before slicing to avoid crumbling.
Nutrition
- Serving Size: 1 slice
- Calories: 285
- Sugar: 20
- Sodium: 220
- Fat: 14
- Saturated Fat: 2
- Carbohydrates: 37
- Fiber: 2
- Protein: 4
Keywords: pumpkin banana bread, one bowl, walnuts, fall baking, easy bread recipe


