I figured a one-pan chicken dinner meant sacrificing flavor for convenience. It took about three attempts—and a kitchen that looked like a garlic bomb went off—for that assumption to fall apart completely.
The first time I made these garlic butter chicken thighs, I was rushing. I had a bag of skin-on thighs thawed, a head of garlic that was starting to sprout (we’ve all been there), and a pat of butter that felt like a cheat. I figured I’d brown the chicken, toss in some garlic, and hope for the best. What came out of that pan was honestly embarrassing: pale chicken, burnt garlic bits, and a sauce that was more grease than flavor.
But here’s the thing about stubborn cooks—we don’t quit. The second attempt? Better. The third? That’s when it clicked. The trick wasn’t just technique; it was trust. Trusting the pan to get hot enough, trusting the butter to work with the rendered chicken fat, and trusting that a ridiculously simple combination could taste like something you’d pay for at a restaurant.
These thighs aren’t fussy. They don’t ask for marinating overnight or a grocery list that requires a second mortgage. They’re the kind of dinner you make on a Tuesday when you’re tired but still want something that feels special. The skin gets shatteringly crisp, the meat stays juicy, and that garlic butter sauce—well, let’s just say you’ll want extra bread for sopping.
This recipe stuck because it proved me wrong. Simple isn’t boring. Simple, when done right, is genius.
Why You’ll Love This Recipe
Listen, I’ve tested this recipe more times than I care to admit. Some batches ended up with soggy skin (the horror), others had garlic that burned into bitter little specks. But the version I’m sharing today? It’s the one that made my neighbor knock on the door asking what smelled so good. That’s the kind of feedback you can trust.
- Quick & Easy: From fridge to table in about 35 minutes. No marinating, no complicated steps, no stress.
- Simple Ingredients: Chicken thighs, butter, garlic, and a few pantry staples. You probably have everything right now.
- Perfect for Busy Weeknights: One pan means minimal cleanup. That’s a win in my book any day of the week.
- Crowd-Pleaser: My picky-eating nephew devoured three thighs last time I made these. Three. He usually eats chicken nuggets.
- Unbelievably Delicious: The contrast between crispy, golden skin and tender, juicy meat, all coated in a rich garlic butter sauce—it’s next-level comfort food without the fuss.
What makes this recipe different from the hundreds of other chicken thigh recipes out there? It’s the technique. Most recipes tell you to just throw everything in the pan and hope for the best. I’ve learned that starting the chicken skin-side down in a cold pan, letting it render slowly, then cranking the heat for that final crisp—that’s the game-changer. Plus, I add a splash of chicken broth to deglaze the pan after searing, which transforms those browned bits into liquid gold. This isn’t just another garlic butter chicken recipe; it’s the one that finally works every single time.
This recipe is comfort food reimagined—healthier than deep-frying, faster than a slow-cooker meal, but with the same soul-soothing satisfaction. It’s perfect for impressing guests without stress, or turning a simple Tuesday meal into something memorable.
What Ingredients You Will Need
This recipe relies on simple, wholesome ingredients that work together to create big flavor without the fuss. Most of these are pantry staples, so you likely already have everything on hand.
- Chicken thighs, bone-in, skin-on (4-6 pieces, about 2 lbs / 900g): Bone-in thighs stay juicier during cooking, and the skin crisps up beautifully. I prefer organic or free-range when possible—the flavor difference is noticeable.
- Unsalted butter (4 tablespoons / 56g): Use unsalted so you can control the salt level. Kerrygold is my go-to for its rich, creamy taste.
- Garlic cloves (8-10 cloves, smashed): Don’t chop them finely—smashing them whole releases flavor without burning. Fresh garlic is non-negotiable here; the jarred stuff just won’t cut it.
- Chicken broth (1/2 cup / 120ml): Use low-sodium to avoid an overly salty sauce. Homemade is great, but a good store-bought brand works perfectly.
- Fresh thyme (4-5 sprigs): Adds an earthy, aromatic note that complements the garlic beautifully. Dried thyme works in a pinch—use 1 teaspoon.
- Lemon juice (1 tablespoon / 15ml, from half a lemon): A splash at the end brightens the sauce and cuts through the richness.
- Salt (1 teaspoon / 5g)
- Black pepper (1/2 teaspoon / 2g)
- Paprika (1 teaspoon / 2g): Adds color and a subtle smokiness. Smoked paprika is even better if you have it.
- Olive oil (1 tablespoon / 15ml): For searing. Helps the butter from burning too quickly.
- Fresh parsley (2 tablespoons, chopped, for garnish): Optional but adds freshness and color.
Equipment Needed
You don’t need a fancy kitchen for this recipe. Here’s what you’ll need:
- Large oven-safe skillet or cast-iron pan (12-inch / 30cm): Cast iron is ideal for even heat distribution and that perfect sear. If you don’t have one, a heavy-bottomed stainless steel pan works too. Just avoid non-stick—you won’t get the same crispy skin.
- Tongs: For flipping the chicken without piercing the skin. Trust me on this one.
- Meat thermometer: Not essential, but it takes the guesswork out. Chicken thighs are done at 165°F (74°C), but I prefer pulling them at 175°F (80°C) for the most tender texture.
- Cutting board and chef’s knife: For smashing garlic and chopping parsley.
- Small bowl: For mixing the seasoning.
If you don’t have an oven-safe skillet, you can finish the chicken on the stovetop covered with a lid. The skin won’t be quite as crispy, but it’ll still be delicious.
Preparation Method
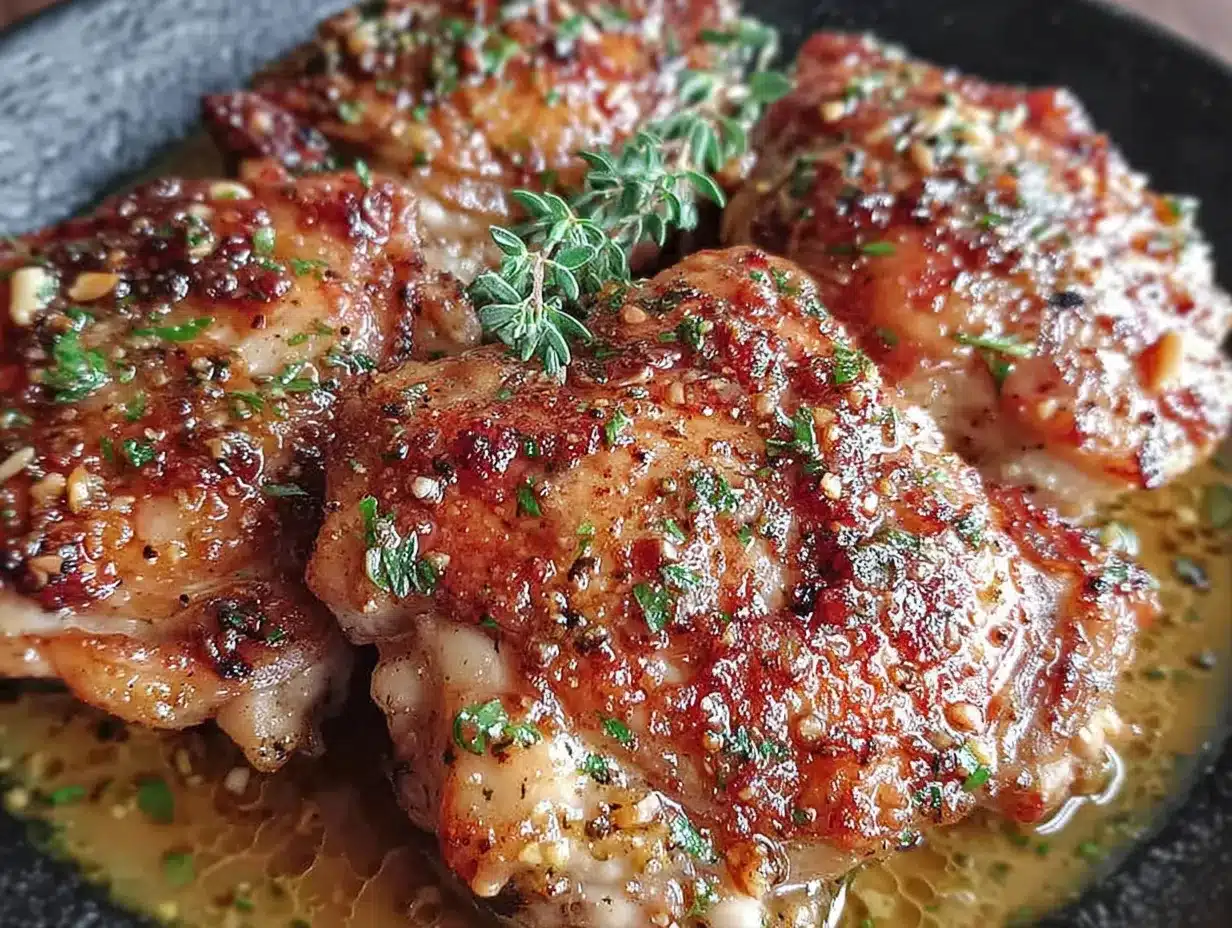
Let’s get cooking. This method has been tested, tweaked, and perfected. Follow these steps, and you’ll have restaurant-quality chicken thighs at home.
- Prep the chicken (5 minutes): Pat the chicken thighs dry with paper towels. This is crucial—wet skin won’t crisp. Season generously on both sides with salt, pepper, and paprika. Let them sit at room temperature for 10 minutes while you prep the garlic. (Don’t skip this resting step; it helps the seasoning penetrate.)
- Smash the garlic (2 minutes): Place the garlic cloves on a cutting board. Lay the flat side of your chef’s knife on top and press down firmly until they crack open. Leave them in large pieces—they’ll infuse the butter without burning.
- Start the sear (10 minutes): Place your skillet over medium heat and add the olive oil. Once the oil shimmers, place the chicken thighs skin-side down in a single layer. Don’t crowd the pan—work in batches if needed. Let them cook undisturbed for 6-7 minutes. The skin should turn deep golden brown. (Resist the urge to peek! You’ll tear the skin.)
- Flip and sear the other side (4 minutes): Using tongs, carefully flip each thigh. Cook for another 3-4 minutes until the second side is golden. Remove the chicken to a plate and set aside.
- Build the garlic butter sauce (3 minutes): Reduce the heat to low. Add the butter to the pan. Once it melts, add the smashed garlic cloves and thyme sprigs. Cook for 1-2 minutes, stirring occasionally, until the garlic is fragrant but not browned. (If it starts to brown, remove the pan from heat immediately—burnt garlic is bitter.)
- Deglaze the pan (1 minute): Pour in the chicken broth, scraping up all those browned bits from the bottom of the pan. This is where the flavor lives. Let it simmer for 30 seconds.
- Return the chicken to the pan (20 minutes): Place the chicken thighs back in the skillet, skin-side up. Spoon some of the garlic butter sauce over the top. Transfer the skillet to the oven and bake at 400°F (200°C) for 18-20 minutes, or until the internal temperature reaches 175°F (80°C).
- Finish with lemon and garnish (2 minutes): Remove from the oven. Squeeze fresh lemon juice over the chicken. Sprinkle with chopped parsley. Let rest for 5 minutes before serving. (This resting time lets the juices redistribute—don’t skip it!)
Your kitchen should smell absolutely incredible at this point. The skin will be crispy, the meat tender, and that garlic butter sauce—well, you’ll want to drink it.
Cooking Tips & Techniques
I’ve made every mistake in the book with this recipe, so you don’t have to. Here are the lessons I learned the hard way:
- Start skin-side down in a cold pan: This is my biggest tip. Placing the chicken in a cold pan and letting it heat up slowly renders the fat gradually, giving you the crispiest skin. High heat from the start will burn the skin before the fat renders.
- Don’t move the chicken too early: The skin needs time to develop a crust. If you try to flip it and it sticks, it’s not ready. Give it another minute. A properly seared piece of chicken will release easily from the pan.
- Watch the garlic like a hawk: Garlic burns in seconds. Once it turns golden, add the broth immediately. Burnt garlic will ruin the entire dish—trust me, I’ve ruined a batch this way.
- Use a meat thermometer: Chicken thighs are forgiving, but for the juiciest results, pull them at 175°F (80°C). They’ll continue cooking as they rest. Overcooking leads to dry, stringy meat.
- Let the pan do the work: Don’t overcrowd. If you’re cooking for a crowd, sear in batches. Crowding the pan steams the chicken instead of searing it, and you’ll end up with pale, sad skin.
Variations & Adaptations
This recipe is wonderfully adaptable. Here are a few variations I’ve tried and loved:
- Spicy Garlic Butter Chicken: Add 1-2 sliced red chilies or 1/2 teaspoon red pepper flakes along with the garlic. The heat cuts through the richness beautifully.
- Herb-Crusted Version: Mix 2 tablespoons of fresh chopped rosemary and oregano into the seasoning. It adds a lovely earthy depth.
- Dairy-Free Adaptation: Substitute the butter with a high-quality vegan butter or ghee (if you tolerate dairy). The flavor changes slightly but remains delicious.
- Lemon-Garlic Thighs: Add lemon slices to the pan along with the garlic. The citrus infuses the sauce and brightens everything up.
- One-Pan Vegetables: Add halved Brussels sprouts, baby potatoes, or asparagus to the pan during the last 15 minutes of baking. They soak up the garlic butter sauce and become a complete meal.
I personally love the spicy version—the contrast between the rich butter and the heat is addictive. My husband prefers the classic version, so I usually make both and we fight over the spicy ones.
Serving & Storage Suggestions
These garlic butter chicken thighs are incredibly versatile when it comes to serving. Here’s how I like to enjoy them:
- Serving temperature: Serve hot, straight from the pan. The sauce will thicken slightly as it cools, so spoon it over the chicken just before serving.
- Presentation: Place the chicken on a warm platter, spoon the garlic butter sauce over the top, and garnish with fresh parsley and lemon wedges. It looks impressive with minimal effort.
- What to serve with: Mashed potatoes are the classic choice—they soak up that sauce perfectly. Rice, crusty bread, or roasted vegetables also work beautifully. For a lighter option, try a simple green salad with a lemon vinaigrette.
- Storage: Store leftovers in an airtight container in the refrigerator for up to 4 days. The flavors actually deepen overnight—the chicken tastes even better the next day.
- Reheating: Reheat in a skillet over medium-low heat with a splash of chicken broth to revive the sauce. Avoid the microwave—it will dry out the chicken and ruin the crispy skin.
- Freezing: These thighs freeze well for up to 3 months. Cool completely, wrap individually, and place in a freezer bag. Thaw overnight in the refrigerator and reheat in a skillet.
Pro tip: If you’re meal-prepping, make a double batch. The leftovers are fantastic shredded over salads or tucked into sandwiches for lunch the next day.
Nutritional Information & Benefits
Here’s an approximate nutritional breakdown per serving (1 thigh with sauce):
| Nutrient | Amount |
|---|---|
| Calories | 380 |
| Protein | 32g |
| Fat | 26g |
| Saturated Fat | 10g |
| Carbohydrates | 3g |
| Fiber | 0g |
| Sugar | 1g |
| Sodium | 520mg |
Chicken thighs are a fantastic source of protein, iron, and B vitamins. The garlic in this recipe is known for its immune-boosting properties, while butter provides fat-soluble vitamins A, D, E, and K. This dish is naturally low-carb and keto-friendly. If you’re watching your sodium, use unsalted butter and low-sodium broth, and adjust the salt at the end.
I love that this recipe feels indulgent but is actually quite balanced. It’s real food, made with real ingredients—no mystery additives or processed shortcuts.
Conclusion
This easy one-pan garlic butter chicken thighs recipe has become a staple in my kitchen for good reason. It’s proof that you don’t need complicated techniques or obscure ingredients to create something truly memorable. The crispy skin, tender meat, and that luscious garlic butter sauce—it’s the kind of meal that makes you slow down and savor every bite.
I encourage you to make this recipe your own. Add your favorite herbs, turn up the heat with some chili flakes, or throw in some vegetables for a complete meal. The beauty of a simple recipe is how flexible it can be. And if you’re looking for a sweet finish, these mini lemon blueberry cheesecakes make the perfect light dessert afterward.
I’d love to hear how yours turn out. Drop a comment below and let me know what variations you tried, or tag me in your photos on social media. Happy cooking, friends—you’ve got this!
Frequently Asked Questions
Can I use boneless, skinless chicken thighs instead?
Yes, but the cooking time will be shorter—about 15-18 minutes total. The skin won’t be crispy (since there’s no skin), so I recommend searing them well for color and finishing in the sauce. They’ll still be delicious, just different.
How do I prevent the garlic from burning?
Keep the heat low when you add the garlic to the butter. Cook it just until fragrant, about 1-2 minutes. If it starts to brown, add the broth immediately to stop the cooking process. Smashing the cloves whole (instead of mincing) also helps them withstand heat better.
Can I make this recipe in an air fryer?
Absolutely! Season the chicken as directed, then air fry at 380°F (193°C) for 18-20 minutes, flipping halfway. Meanwhile, make the garlic butter sauce on the stovetop. Pour the sauce over the cooked chicken and serve. The skin gets incredibly crispy in the air fryer.
What if I don’t have an oven-safe skillet?
No problem. Sear the chicken in any skillet, then transfer it to a baking dish along with the garlic butter sauce. Bake at 400°F (200°C) for 18-20 minutes. Alternatively, you can cover the skillet with a lid and finish cooking on the stovetop over low heat for about 15 minutes.
Can I use chicken breasts instead of thighs?
You can, but be careful—chicken breasts dry out faster. Use boneless, skinless breasts and pound them to an even thickness. Sear for 3-4 minutes per side, then bake at 400°F (200°C) for 12-15 minutes, or until they reach 165°F (74°C). The sauce will still be amazing, but the texture won’t be as forgiving as thighs.
Pin This Recipe!
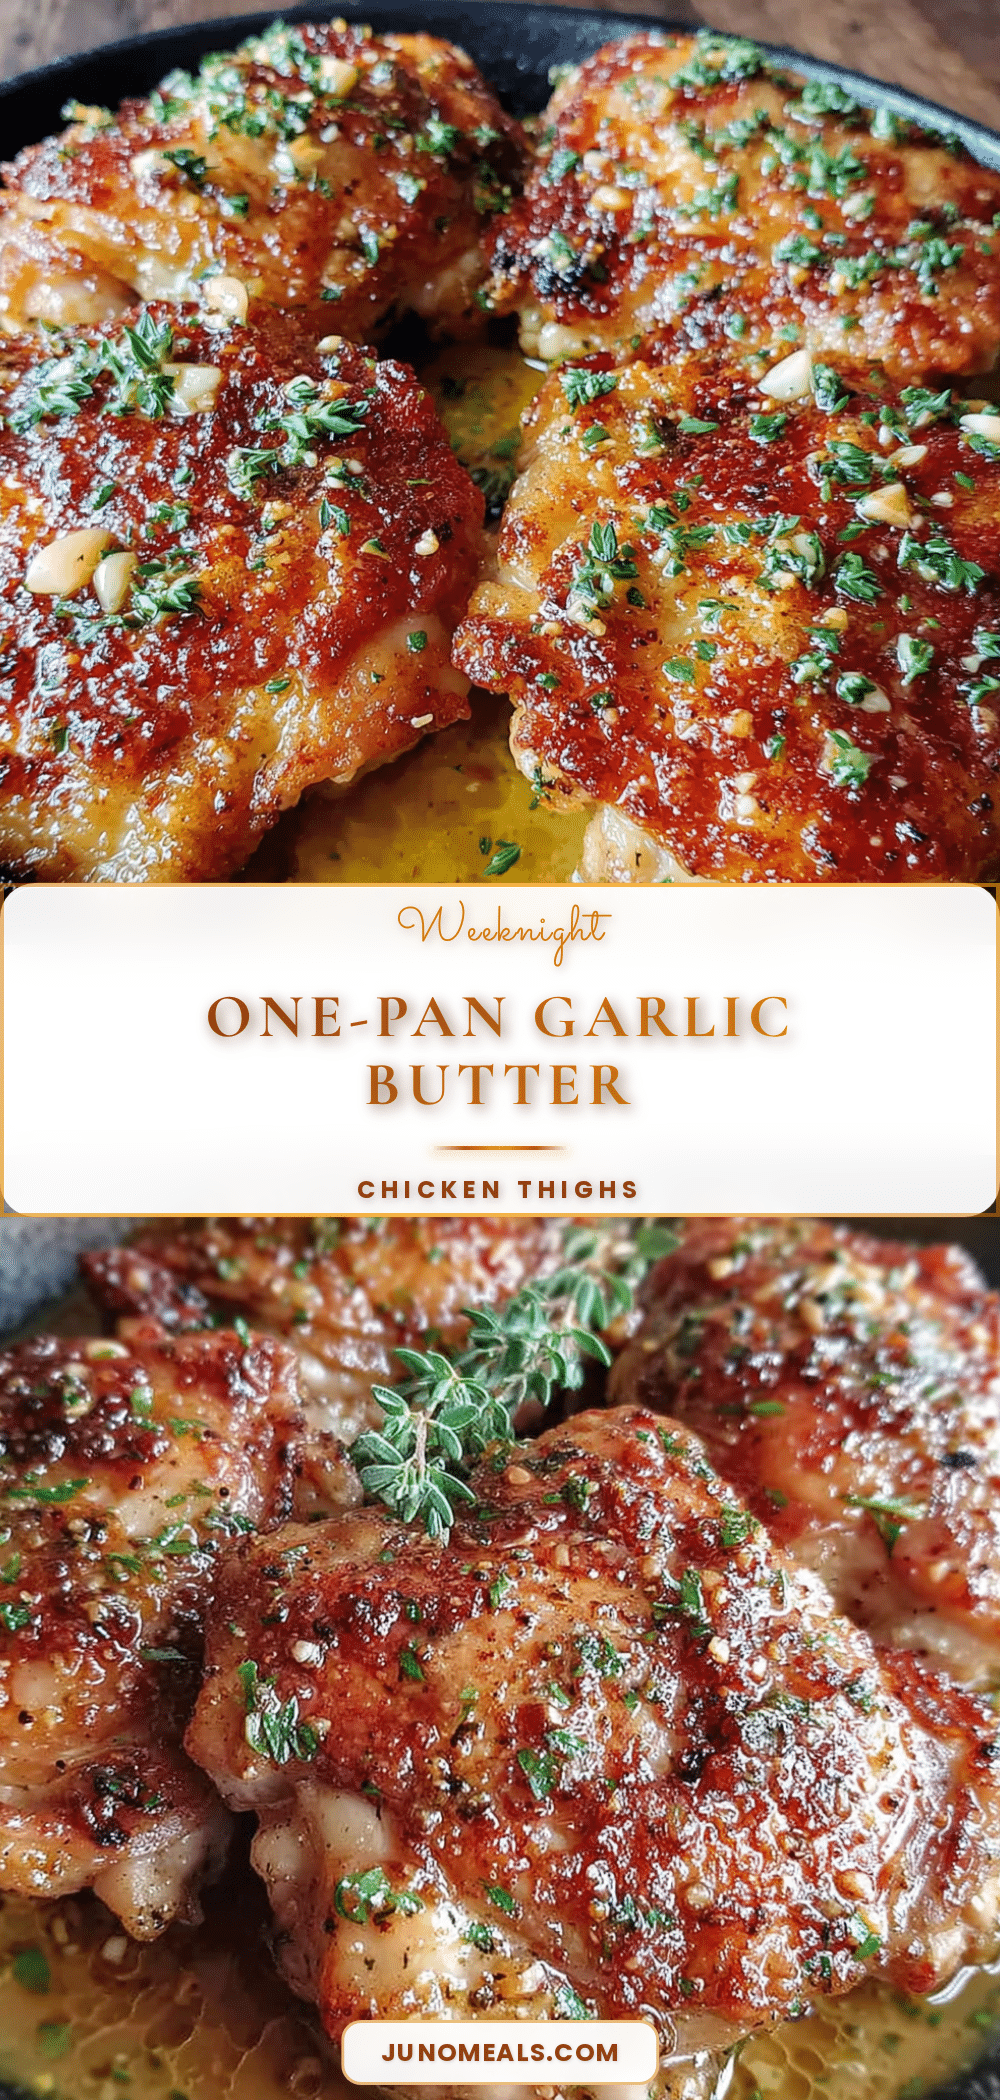
Easy One-Pan Garlic Butter Chicken Thighs: Best Weeknight Dinner

These garlic butter chicken thighs are a quick and easy weeknight dinner with crispy skin, tender meat, and a rich garlic butter sauce. Made in one pan with simple ingredients, this recipe is perfect for busy nights and guaranteed to impress.
- Prep Time: 10 minutes
- Cook Time: 25 minutes
- Total Time: 35 minutes
- Yield: 4 servings 1x
- Category: Main Course
- Cuisine: American
Ingredients
- 4–6 bone-in, skin-on chicken thighs (about 2 lbs / 900g)
- 4 tablespoons (56g) unsalted butter
- 8–10 garlic cloves, smashed
- 1/2 cup (120ml) low-sodium chicken broth
- 4–5 sprigs fresh thyme (or 1 teaspoon dried)
- 1 tablespoon (15ml) fresh lemon juice
- 1 teaspoon (5g) salt
- 1/2 teaspoon (2g) black pepper
- 1 teaspoon (2g) paprika (smoked paprika preferred)
- 1 tablespoon (15ml) olive oil
- 2 tablespoons fresh parsley, chopped (for garnish)
Instructions
- Prep the chicken: Pat chicken thighs dry with paper towels. Season generously on both sides with salt, pepper, and paprika. Let sit at room temperature for 10 minutes.
- Smash the garlic: Place garlic cloves on a cutting board and press firmly with the flat side of a chef’s knife until cracked open. Leave in large pieces.
- Start the sear: Place a large oven-safe skillet over medium heat and add olive oil. Once shimmering, place chicken skin-side down in a single layer. Cook undisturbed for 6-7 minutes until deep golden brown.
- Flip and sear the other side: Using tongs, flip each thigh and cook for another 3-4 minutes until golden. Remove chicken to a plate.
- Build the garlic butter sauce: Reduce heat to low. Add butter to the pan. Once melted, add smashed garlic and thyme sprigs. Cook for 1-2 minutes until fragrant but not browned.
- Deglaze the pan: Pour in chicken broth, scraping up browned bits from the bottom. Let simmer for 30 seconds.
- Return the chicken to the pan: Place chicken back in the skillet, skin-side up. Spoon some sauce over the top. Transfer to oven and bake at 400°F (200°C) for 18-20 minutes, or until internal temperature reaches 175°F (80°C).
- Finish with lemon and garnish: Remove from oven. Squeeze fresh lemon juice over chicken. Sprinkle with chopped parsley. Let rest for 5 minutes before serving.
Notes
Start skin-side down in a cold pan for the crispiest skin. Don’t move the chicken too early; let it develop a crust. Watch the garlic carefully to prevent burning. Use a meat thermometer for best results; pull chicken at 175°F (80°C). Let the pan do the work—don’t overcrowd.
Nutrition
- Serving Size: 1 thigh with sauce
- Calories: 380
- Sugar: 1
- Sodium: 520
- Fat: 26
- Saturated Fat: 10
- Carbohydrates: 3
- Protein: 32
Keywords: garlic butter chicken thighs, one-pan chicken, easy weeknight dinner, crispy chicken thighs, garlic butter sauce


