My sister called me last spring, completely fed up with her afternoon slump. She works from home, and around 2:30 PM, she’d hit this wall where coffee made her jittery but a snack bar left her hungry again within an hour. She had tried those store-bought protein balls, you know the ones—they either tasted like cardboard or had a weird chalky finish. She asked me, “Can you actually make something that tastes good and keeps me full?” I told her I’d figure it out.
Honestly, I thought the whole healthy-snack-without-compromise thing was a bit overblown. I had been burned before by recipes that promised “just like a cookie” and delivered something dense and sad. But she kept pushing, so I started tinkering. I wanted something that actually felt like a treat—not a health project. The first batch was too dry. The second batch fell apart. The third batch? That was the one.
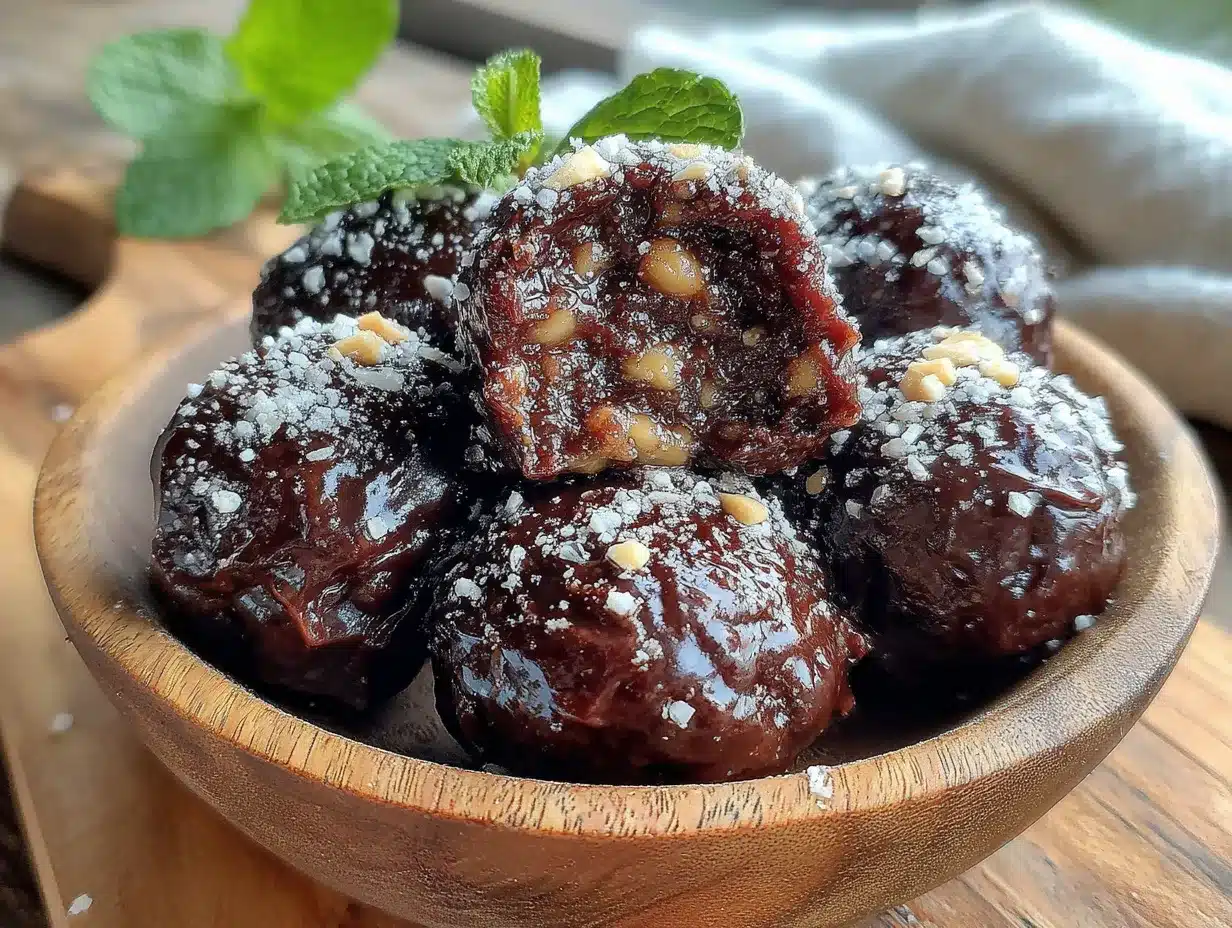
These Easy High-Protein Chocolate Peanut Butter Protein Balls hit every note. They are fudgy, not dry. Sweet, but not sugary. And they actually keep you going for hours. The texture is soft and a little bit chewy, exactly like a no-bake cookie dough bite. My sister texted me a photo of her first bite with the caption “game changer.” That meant more than any blog comment ever could.
I have made these probably thirty times since then, tweaking the ratios and testing different add-ins. This version is the one I keep coming back to. It is the kind of recipe you make on a Sunday afternoon and thank yourself for all week long.
Why You’ll Love This Recipe
Let me tell you why these Easy High-Protein Chocolate Peanut Butter Protein Balls have become a staple in my kitchen and my sister’s. I have tested this recipe on picky eaters, gym friends, and even my mom who usually side-eyes anything with protein powder.
- Quick & Easy: You need about 10 minutes of active time and zero baking. Mix, roll, and chill. That is it. Perfect for those afternoons when you need something fast.
- Simple Ingredients: No weird health food store finds here. Rolled oats, peanut butter, chocolate protein powder, honey, and a few mix-ins. You probably have most of this in your pantry right now.
- Perfect for Meal Prep: These balls hold up beautifully in the fridge for up to two weeks. Make a double batch on Sunday and grab one every day before work, after the gym, or whenever the 3 PM slump hits.
- Crowd-Pleaser: I brought these to a potluck once, and someone asked if they were cookie dough. High praise. Kids love them, adults love them, and nobody guesses they are packed with protein.
- Unbelievably Delicious: The combination of creamy peanut butter and rich chocolate is a classic for a reason. The texture is soft, fudgy, and satisfying without being heavy. It is comfort food that actually fuels you.
What makes this recipe different from the dozens of others out there? It is the ratio. I spent a lot of time figuring out how to get the perfect balance of moisture and binding so the balls hold together without being sticky or dry. The secret is a touch of honey and letting the oats absorb the liquid for a few minutes before rolling. It is a small step that makes a big difference.
This is the kind of snack that makes you feel good about eating something that tastes like dessert. It is honest, simple food that does its job and tastes great doing it.
What Ingredients You Will Need
This recipe uses simple, wholesome ingredients that work together to create a snack that is both satisfying and nourishing. You can find everything at a regular grocery store, no specialty shops required.
- Rolled Oats (1 cup / 90g): Use old-fashioned rolled oats, not instant or steel-cut. They give the balls structure and a pleasant chewy texture. I have used gluten-free oats when cooking for friends with sensitivities, and they work perfectly.
- Creamy Peanut Butter (1/2 cup / 130g): Go with a natural peanut butter that has no added sugar or oil. The kind where the oil separates on top is ideal. Stir it well before measuring. The natural oils help bind the mixture without making it greasy. If you use a processed peanut butter like Skippy, the balls may turn out a bit sweeter and softer.
- Chocolate Protein Powder (1/3 cup / 30g): This is the star of the show. I recommend a whey-based chocolate protein powder for the best texture and flavor. Plant-based protein powders can work, but they tend to make the balls drier, so you may need to add an extra tablespoon of peanut butter. My go-to is Orgain chocolate protein powder, but any brand you like will work.
- Honey (3 tablespoons / 60g): Honey adds natural sweetness and helps everything stick together. You can use maple syrup instead if you prefer a vegan option, though the flavor will be slightly different. If your peanut butter is already sweetened, you can reduce the honey to 2 tablespoons.
- Unsweetened Cocoa Powder (2 tablespoons / 10g): This deepens the chocolate flavor without adding extra sugar. It pairs beautifully with the protein powder to create a rich, fudgy taste. I have tried this with Dutch-process cocoa, and it works great too.
- Dark Chocolate Chips (1/4 cup / 45g): Mini chocolate chips are best because they distribute evenly throughout the mixture. They add little pockets of melted chocolate that make every bite exciting. Use dairy-free chips if needed.
- Chia Seeds (1 tablespoon / 10g): These are optional but highly recommended. They add a tiny crunch, a boost of fiber and omega-3s, and help with binding. You can substitute flax seeds or leave them out entirely.
- Pinch of Sea Salt: A small pinch elevates all the flavors. It balances the sweetness and makes the chocolate and peanut butter taste even more pronounced. Do not skip this.
That is it. Seven ingredients plus a pinch of salt. No complicated steps, no expensive superfoods. Just honest, good food.
Equipment Needed
You do not need a fancy kitchen to make these Easy High-Protein Chocolate Peanut Butter Protein Balls. Here is what you will need:
- Large Mixing Bowl: Any medium-to-large bowl works. I use a glass bowl because it is easy to scrape clean.
- Measuring Cups and Spoons: Accurate measurements matter here, especially for the peanut butter and protein powder. Too much of either can throw off the texture.
- Spatula or Wooden Spoon: For mixing everything together. A sturdy spatula works best because the mixture gets thick.
- Baking Sheet or Plate: To hold the rolled balls while they chill. Line it with parchment paper for easy cleanup.
- Cookie Scoop (optional): If you want perfectly uniform balls, a small cookie scoop (about 1 tablespoon size) is a game-changer. I use one from OXO, and it makes the process so much faster.
- Refrigerator: The balls need at least 30 minutes to firm up. Plan ahead so they have time to chill before you eat them.
If you do not have a cookie scoop, just use your hands. Wash them first, and lightly dampen your palms if the mixture is sticky. It works just as well.
Preparation Method
- Combine the dry ingredients: In your large mixing bowl, add the rolled oats, chocolate protein powder, unsweetened cocoa powder, chia seeds, and a pinch of sea salt. Stir them together with your spatula until everything is evenly distributed. This step ensures the protein powder and cocoa don’t clump later.
- Add the wet ingredients: Spoon the creamy peanut butter and honey into the bowl. Make sure your peanut butter is well-stirred so the oil is incorporated. If it is too stiff, microwave it for 10 seconds to soften it. That makes mixing much easier.
- Mix thoroughly: Start stirring everything together. It will look dry and crumbly at first. Do not panic. Keep pressing and folding the mixture with your spatula. The peanut butter and honey will gradually bind everything together. This takes about 2 minutes of solid mixing. Your arm might get a little tired, but that is part of the process.
- Let it rest: Once the mixture is evenly combined and holds together when pressed, let it sit for 5 minutes. This resting period allows the oats to absorb some of the moisture from the peanut butter and honey. You will notice the mixture becomes slightly softer and more cohesive after resting. This is the secret to perfect texture.
- Fold in the chocolate chips: Add the dark chocolate chips to the rested mixture. Fold them in gently until they are evenly distributed. If the mixture is too sticky to handle, pop it in the fridge for 10 minutes before rolling.
- Roll into balls: Lightly dampen your hands with water to prevent sticking. Scoop about 1 tablespoon of the mixture and roll it between your palms to form a smooth ball. Place each ball onto your parchment-lined baking sheet or plate. You should get about 16 to 18 balls, depending on how big you roll them. If the mixture starts sticking to your hands again, just re-dampen them.
- Chill: Place the baking sheet in the refrigerator for at least 30 minutes. This step is non-negotiable. The balls need time to firm up so they hold their shape. If you skip this, they will be too soft and may fall apart when you try to pick them up.
- Enjoy: After 30 minutes, they are ready to eat. The texture should be firm but tender, with a slight chew from the oats and a fudgy richness from the chocolate and peanut butter. Store any leftovers in an airtight container in the fridge.
Pro tip: If you want a smoother texture, pulse the rolled oats in a food processor for a few seconds before mixing. This creates a finer crumb that mimics the texture of cookie dough. I do this when I am making them for guests who might be put off by the texture of whole oats.
Cooking Tips & Techniques
I have made plenty of mistakes so you do not have to. Here is what I have learned the hard way:
Watch your peanut butter. I once used a fresh jar of natural peanut butter that had not been stirred properly. The first few scoops were mostly oil, and the balls turned out greasy and refused to hold together. Always stir your peanut butter thoroughly before measuring, or use a brand that is already emulsified.
Protein powder matters. Not all protein powders are created equal. Some are more absorbent than others. If your mixture feels too dry and crumbly after mixing, add a teaspoon of water or extra honey at a time until it holds together. If it feels too wet and sticky, add a tablespoon of oats or a bit more protein powder. I have had to adjust every time I switch brands.
Chill your hands. If the mixture is sticking to your palms while rolling, run your hands under cold water and shake off the excess. The cold creates a barrier that keeps the mixture from clinging. This trick works every single time.
Do not overmix the chocolate chips. Fold them in gently at the end. If you mix too aggressively, the heat from your hands can start melting the chocolate, and you will end up with streaky brown balls instead of distinct chocolate chips. Still delicious, but less pretty.
Let them rest before judging. The texture changes significantly after chilling. What feels too soft in the bowl will firm up beautifully in the fridge. Do not be tempted to add more oats or protein powder to fix a soft mixture before it has rested. Give it the full 30 minutes first.
Double the batch. Honestly, these disappear fast. I always make a double batch because a single batch barely lasts three days in my house. They are perfect for grabbing on the way out the door or packing in lunchboxes.
Variations & Adaptations
This recipe is forgiving and easy to customize. Here are some ways I have adapted it over the months:
Vegan Version: Swap the honey for maple syrup or agave nectar, and use a plant-based chocolate protein powder. The texture will be slightly different—a bit softer—but still delicious. I have made this version for a vegan friend, and she asked for the recipe immediately.
Nut-Free Option: Replace the peanut butter with sunflower seed butter or tahini. The flavor will change, but the texture remains the same. If using sunflower seed butter, be aware that it can react with baking soda or cocoa powder and turn greenish over time. It is safe to eat, just not as pretty. I have tested this, and it works best for immediate consumption.
Extra Crunch: Add 2 tablespoons of chopped peanuts or crushed almonds along with the chocolate chips. The added crunch makes these feel even more like a candy bar. I love this version for hiking trips because the extra texture is so satisfying.
Lower Sugar: Use unsweetened protein powder and reduce the honey to 1 tablespoon. Add a few drops of stevia or monk fruit sweetener if you need more sweetness. This version is less sweet but still tastes great, especially if you are used to lower-sugar snacks.
Flavor Twist: Add 1/2 teaspoon of vanilla extract or a pinch of cinnamon to the mixture. Vanilla enhances the chocolate flavor, and cinnamon adds a warm, cozy note. I made a batch with cinnamon and a dash of cayenne pepper once, and it was surprisingly good—like Mexican hot chocolate in a bite.
Different Protein Powder: Vanilla protein powder works well too. Just reduce or omit the cocoa powder if you want a peanut butter vanilla flavor. I have done this, and it tastes like peanut butter cookie dough. The chocolate version is still my favorite, but the vanilla one is a close second.
Serving & Storage Suggestions
These Easy High-Protein Chocolate Peanut Butter Protein Balls are best served cold or at room temperature. Straight from the fridge, they have a firm, fudgy texture that is incredibly satisfying. If you let them sit out for 10 minutes, they soften slightly and become almost like a no-bake cookie. Both ways are excellent.
For a pretty presentation, arrange them on a small plate or in a mason jar. They look great on a snack board alongside fresh fruit, nuts, and cheese. I have served them at brunch before, and they disappeared faster than the pastries.
Storage: Keep the balls in an airtight container in the refrigerator. They will stay fresh for up to two weeks, though I doubt they will last that long. You can also layer them between sheets of parchment paper if stacking them.
Freezing: These freeze beautifully. Place the rolled balls on a baking sheet and freeze until solid, about 1 hour. Transfer them to a freezer-safe bag or container. They will keep for up to three months. Thaw them in the refrigerator overnight or let them sit at room temperature for 15 minutes before eating. I always keep a stash in my freezer for busy weeks.
Reheating: You do not need to reheat them, but if you want a softer texture, microwave one ball for 5 to 8 seconds. Do not overdo it, or the chocolate chips will melt and make a mess. I have done this when I wanted a warm, gooey snack, and it was wonderful.
The flavors actually deepen after a day or two in the fridge. The oats soften further, and the peanut butter and chocolate meld together into something even more cohesive. They are good on day one, but they are great on day three.
Nutritional Information & Benefits
Each ball (based on 16 servings) contains approximately:
- Calories: 145
- Protein: 8g
- Fat: 8g
- Carbohydrates: 14g
- Fiber: 3g
- Sugar: 7g
These numbers are estimates and will vary based on your specific ingredients and portion sizes. I calculated these using natural peanut butter, whey protein powder, and regular honey.
The real benefit here is the balance. You get protein from the peanut butter and protein powder to keep you full, healthy fats from the peanut butter and chia seeds for sustained energy, and complex carbohydrates from the oats for steady fuel without a sugar crash. The chia seeds add fiber and omega-3 fatty acids, which are great for digestion and heart health.
These balls are naturally gluten-free if you use certified gluten-free oats. They are also vegetarian. If you need them to be vegan or nut-free, check the variations section above for easy swaps.
I love that these snacks actually do what they promise. They keep me full for hours, give me steady energy, and satisfy my sweet tooth without making me feel guilty. That is a win in my book.
Conclusion
These Easy High-Protein Chocolate Peanut Butter Protein Balls have become a non-negotiable part of my weekly routine. They are the snack I reach for when I need something quick, satisfying, and actually good for me. My sister still makes them every Sunday, and she has already converted three of her coworkers.
What I love most about this recipe is how adaptable it is. You can tweak it based on what you have in your pantry, make it fit your dietary needs, and still end up with something that tastes like a treat. It is not about perfection. It is about having a reliable, delicious snack that makes your life a little easier.
I would love to hear how these turn out for you. Did you try any fun variations? Did you double the chocolate chips? (I would not blame you.) Drop a comment below and let me know. And if you are looking for another easy, no-bake treat, you should check out these mini lemon blueberry cheesecakes—they are perfect for when you want something a little more special but still simple to make.
Go ahead, make a batch. Your future self will thank you.
Frequently Asked Questions
Can I use quick oats instead of rolled oats?
Yes, you can. Quick oats will break down more during mixing, resulting in a softer, more uniform texture. The balls will be slightly less chewy but still delicious. I have used quick oats in a pinch, and they worked fine.
Why are my protein balls too dry?
This usually happens if the protein powder is very absorbent or if the peanut butter is too thick. Add a teaspoon of honey or a splash of milk (dairy or plant-based) and mix again. Let the mixture rest for 5 minutes before checking the texture again.
How long do these protein balls last at room temperature?
They can sit out for a few hours, but they are best kept refrigerated. If you are taking them on a road trip or hike, pack them in a cooler. Without refrigeration, they will soften and may lose their shape after a day.
Can I make these without protein powder?
Yes, but the texture and nutrition will change. Replace the protein powder with an equal amount of oat flour or finely ground almonds. The protein content will be lower, but they will still taste great. I have made a version with almond flour, and it was delicious.
Can I roll these in something for extra flavor?
Absolutely. Roll the finished balls in unsweetened cocoa powder, shredded coconut, crushed nuts, or a mix of cinnamon and sugar. Do this right after rolling, while the balls are still slightly tacky. It adds a nice finishing touch and makes them look even more appealing.
Pin This Recipe!
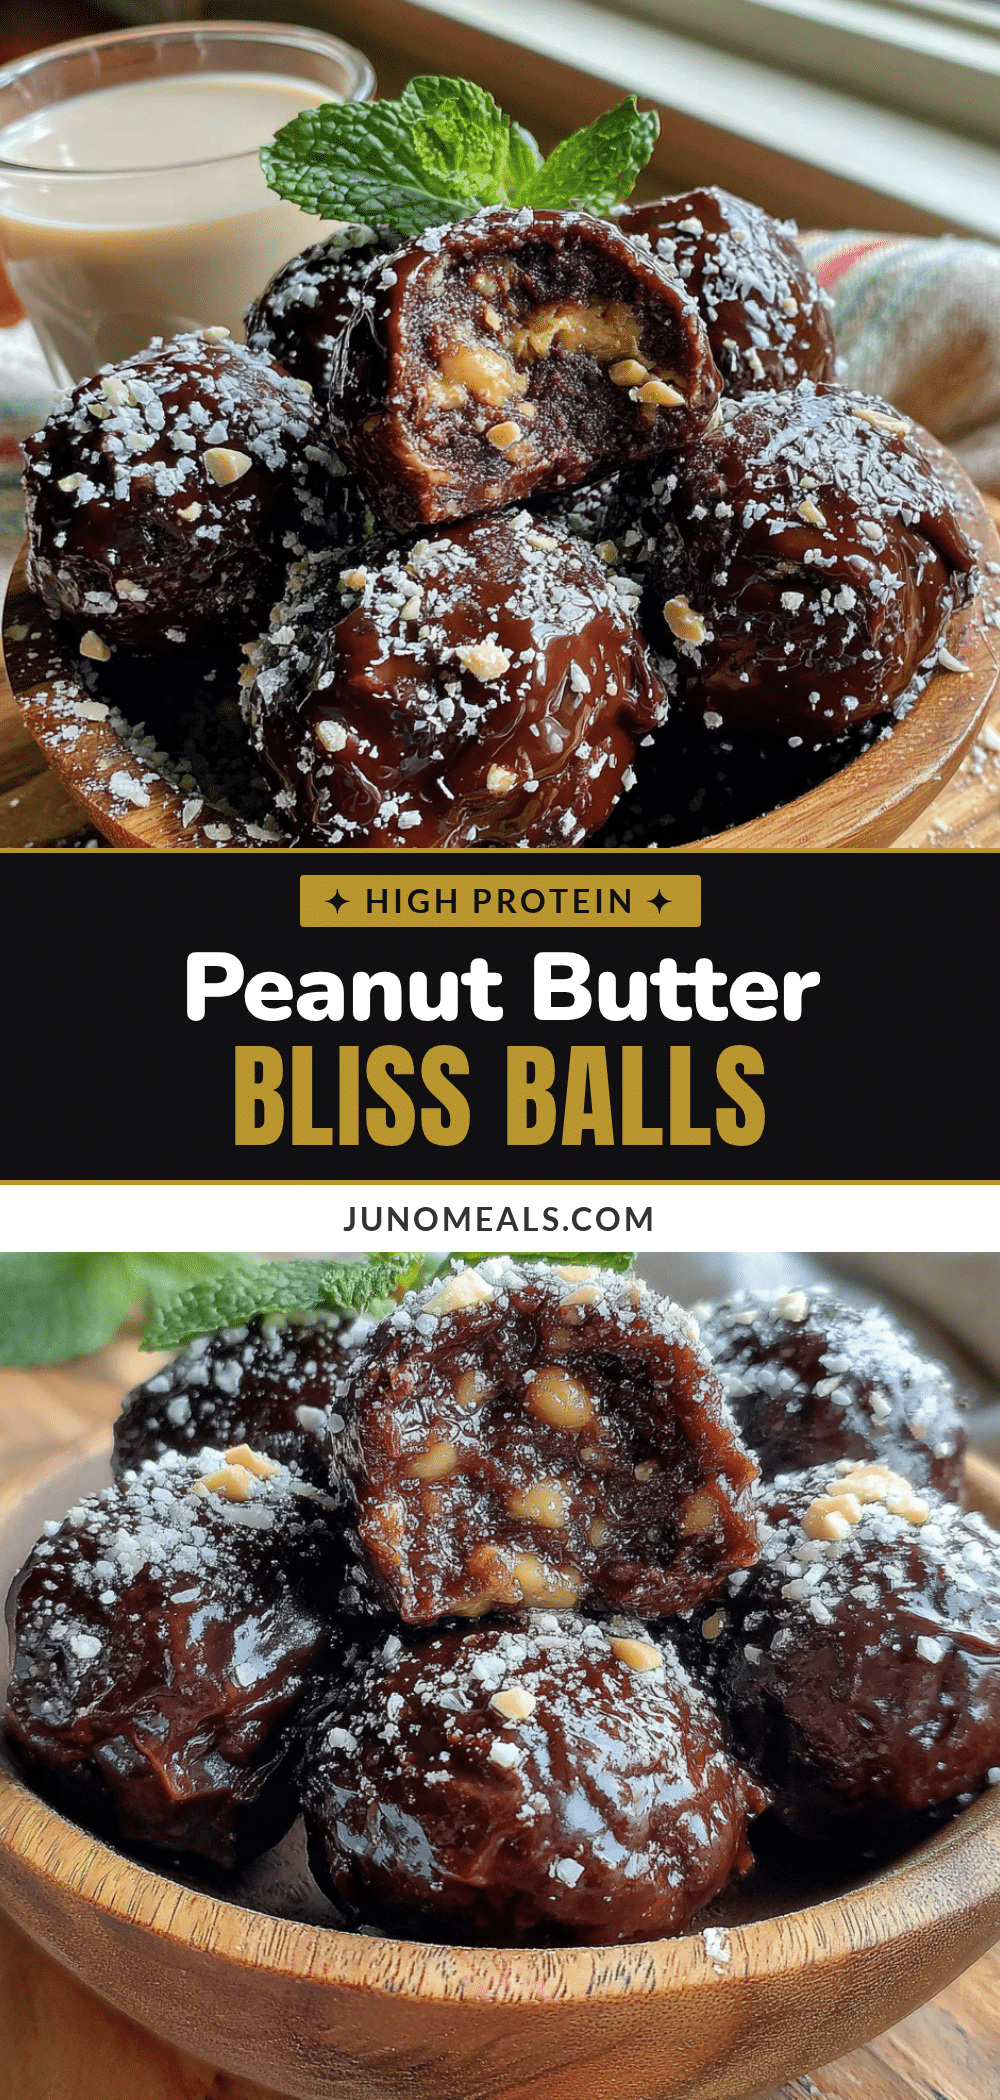
Easy High-Protein Chocolate Peanut Butter Protein Balls

These fudgy, no-bake protein balls are the perfect healthy snack to keep you full and satisfied. Made with simple ingredients like rolled oats, peanut butter, and chocolate protein powder, they taste like cookie dough but pack a protein punch.
- Prep Time: 10 minutes
- Cook Time: 0 minutes
- Total Time: 40 minutes (includes 30 minutes chilling)
- Yield: 16-18 balls 1x
- Category: Snack
- Cuisine: American
Ingredients
- 1 cup (90g) rolled oats
- 1/2 cup (130g) creamy peanut butter (natural, no added sugar or oil)
- 1/3 cup (30g) chocolate protein powder (whey-based recommended)
- 3 tablespoons (60g) honey
- 2 tablespoons (10g) unsweetened cocoa powder
- 1/4 cup (45g) dark chocolate chips (mini preferred)
- 1 tablespoon (10g) chia seeds (optional)
- Pinch of sea salt
Instructions
- Combine the dry ingredients: In a large mixing bowl, add the rolled oats, chocolate protein powder, unsweetened cocoa powder, chia seeds, and a pinch of sea salt. Stir together until evenly distributed.
- Add the wet ingredients: Spoon the creamy peanut butter and honey into the bowl. If the peanut butter is too stiff, microwave it for 10 seconds to soften.
- Mix thoroughly: Stir everything together. It will look dry and crumbly at first. Keep pressing and folding with a spatula for about 2 minutes until the mixture holds together.
- Let it rest: Once evenly combined, let the mixture sit for 5 minutes to allow the oats to absorb moisture.
- Fold in the chocolate chips: Add the dark chocolate chips and fold gently until evenly distributed. If too sticky, refrigerate for 10 minutes before rolling.
- Roll into balls: Lightly dampen your hands with water. Scoop about 1 tablespoon of the mixture and roll into smooth balls. Place on a parchment-lined baking sheet or plate. You should get 16-18 balls.
- Chill: Refrigerate for at least 30 minutes to firm up.
- Enjoy: Serve cold or at room temperature. Store leftovers in an airtight container in the refrigerator.
Notes
For a smoother texture, pulse the rolled oats in a food processor before mixing. If the mixture is too dry, add a teaspoon of water or extra honey. If too wet, add a tablespoon of oats or more protein powder. The balls can be frozen for up to 3 months.
Nutrition
- Serving Size: 1 ball
- Calories: 145
- Sugar: 7
- Sodium: 50
- Fat: 8
- Saturated Fat: 2
- Carbohydrates: 14
- Fiber: 3
- Protein: 8
Keywords: protein balls, chocolate peanut butter, no-bake, healthy snack, high protein, gluten-free, meal prep


