I burned my first no-bake pumpkin pie crust so badly I had to air out my apartment for two days. Not the filling—just the crust. The graham crackers caught while I was toasting them for a “secret step” I’d read about in some vintage cookbook. That was three Thanksgivings ago, and honestly, I almost gave up on the whole idea of a no-bake pumpkin dessert altogether. But I kept coming back to it because I wanted something that tasted like fall without turning on the oven for an hour. And let’s face it—by November, I’m usually ovened out.
I spent the next year testing versions. Some were too soft, some were too sweet, and a few looked like pumpkin soup in a pie plate. But the one that finally worked—this one—came together in about ten minutes of actual hands-on time. It set perfectly in the fridge, sliced cleanly, and didn’t require me to babysit a water bath or worry about cracks. That first successful bite was quiet. No fireworks. Just a small, satisfied nod at my kitchen counter.
This creamy no-bake pumpkin pie has become my go-to for fall gatherings, lazy Sunday afternoons, and even those random weeknights when I need a little seasonal comfort. It’s the kind of dessert that feels like a warm sweater—familiar, easy, and exactly right.
Why You’ll Love This Recipe
This isn’t just another pumpkin pie recipe. After countless trials in my own kitchen, I can tell you this version hits differently. It’s rich without being heavy, creamy without being unstable, and it comes together faster than you can preheat a conventional oven.
- Quick & Easy: You need about 10 minutes of active prep time. That’s it. The fridge does the rest of the work while you go about your day.
- Simple Ingredients: No obscure specialty items. You probably have most of these in your pantry right now—graham crackers, butter, pumpkin puree, cream cheese, and a few pantry spices.
- Perfect for Fall Gatherings: Whether it’s Friendsgiving, a casual dinner party, or just a cozy night in, this pie fits right in without causing kitchen stress.
- Crowd-Pleaser: I’ve served this to pumpkin pie purists and skeptics alike. The no-bake texture wins over almost everyone—it’s lighter than traditional pie but still deeply satisfying.
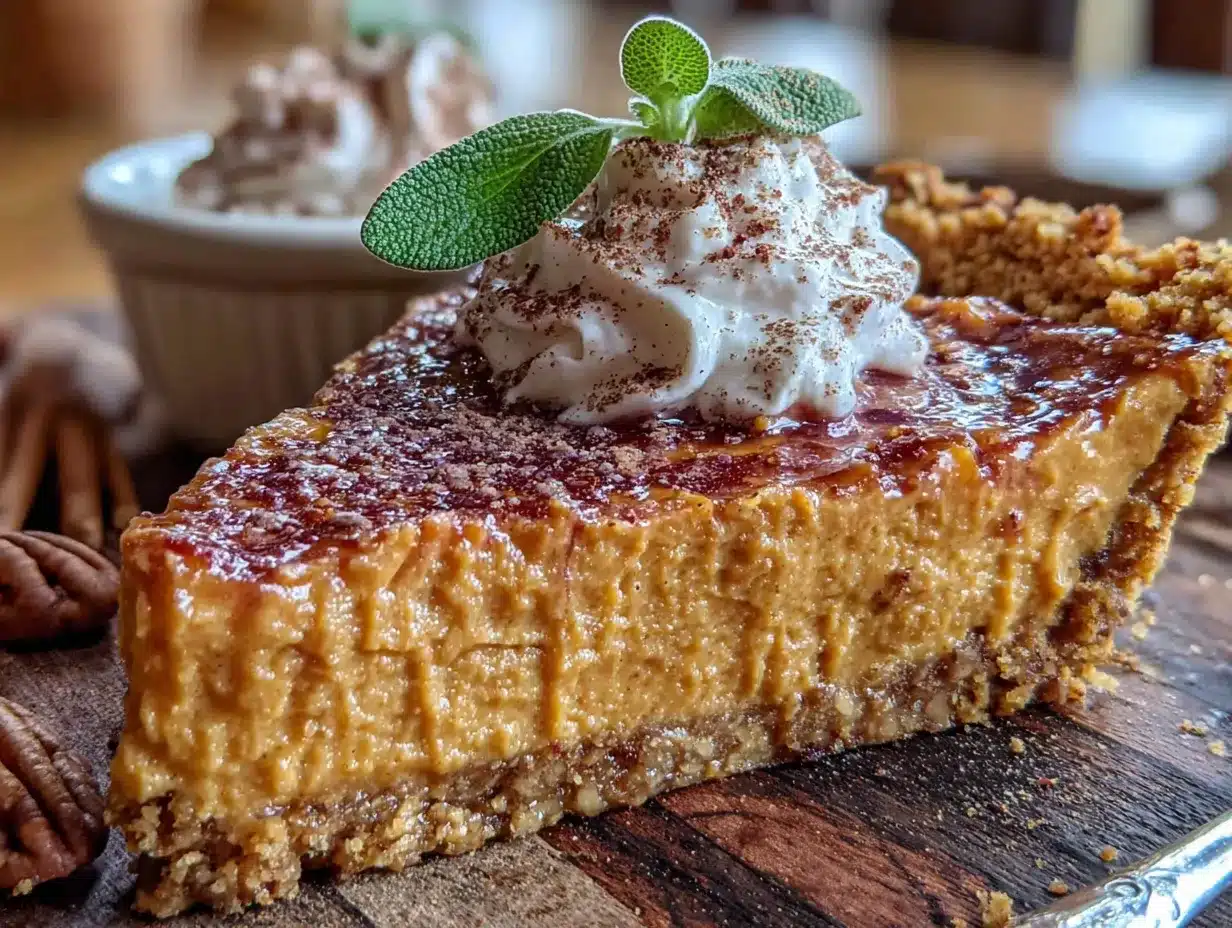
- Unbelievably Delicious: The secret is in the texture. By whipping the cream cheese and pumpkin mixture just right, you get a mousse-like filling that’s airy but stable. It feels decadent, but it’s actually pretty straightforward.
What makes this recipe different from all the others? It’s the balance. Most no-bake pumpkin pies are either too dense (think cheesecake that forgot to bake) or too loose (soupy slices that slide off your plate). This one hits the sweet spot. The combination of full-fat cream cheese and stabilized whipped cream creates a filling that holds its shape but melts in your mouth. Plus, the graham cracker crust stays crisp because we pre-chill it before adding the filling—a small trick that makes a big difference.
This is the kind of dessert that makes you close your eyes after the first bite. It’s comfort food without the oven heat, tradition without the stress, and honestly, it might just become your new fall favorite.
What Ingredients You Will Need
This recipe uses simple, wholesome ingredients that work together to create a creamy, spiced filling and a buttery, crisp crust. Most of these are pantry staples, especially if you bake for fall holidays.
For the Graham Cracker Crust
- 2 cups (200g) graham cracker crumbs (about 14-15 full sheets, crushed finely)
- 1/2 cup (113g) unsalted butter, melted
- 3 tablespoons (36g) granulated sugar
- 1/4 teaspoon ground cinnamon (optional, but I love the warmth it adds)
I prefer using full-sheet graham crackers and crushing them myself in a zip-top bag with a rolling pin or in a food processor. Pre-crushed crumbs work too, but they’re sometimes too fine. For the butter, I recommend a good-quality unsalted brand like Kerrygold—it makes the crust richer without being greasy.
For the Creamy Pumpkin Filling
- 1 cup (226g) full-fat cream cheese, softened to room temperature
- 1 cup (240ml) heavy whipping cream, cold
- 3/4 cup (150g) packed light brown sugar
- 1 cup (245g) pumpkin puree (not pumpkin pie filling—use 100% pure pumpkin)
- 2 teaspoons pumpkin pie spice
- 1 teaspoon vanilla extract
- 1/4 teaspoon salt
For the pumpkin puree, I always reach for Libby’s. It’s consistent, not too watery, and gives reliable results. If you’re using a different brand, you might need to blot the puree with a paper towel to remove excess moisture—otherwise the filling can get loose. The heavy cream should be cold straight from the fridge for best whipping results.
Optional Toppings
- 1/2 cup (120ml) heavy whipping cream, whipped to soft peaks (for garnish)
- Ground cinnamon or nutmeg for dusting
- Crushed graham crackers or candied pecans for crunch
If you want to make this dairy-free, you can substitute the cream cheese with a good-quality vegan cream cheese (like Kite Hill) and use coconut cream instead of heavy cream. The texture will be slightly different—a bit less firm—but still delicious. For a gluten-free option, use gluten-free graham crackers or crushed gluten-free cookies in the crust.
Equipment Needed
You don’t need a lot of fancy tools for this one. Here’s what I use in my kitchen:
- 9-inch pie dish (glass or ceramic works best—metal can sometimes conduct heat unevenly)
- Food processor or zip-top bag and rolling pin for crushing graham crackers
- Medium mixing bowl for the crust
- Large mixing bowl for the filling
- Hand mixer or stand mixer with whisk attachment (you can whisk by hand, but your arm will thank you for the mixer)
- Spatula for scraping down the bowl
- Measuring cups and spoons
- Plastic wrap for covering the pie while it chills
If you don’t have a food processor, no worries. I’ve made this crust many times by putting the graham crackers in a sturdy zip-top bag and going at them with a rolling pin. It’s a little messy, but it works. For the filling, a hand mixer is totally fine—I actually prefer it over a stand mixer for this because it’s easier to scrape down the bowl as you go.
I’ve used both glass and ceramic pie dishes, and I honestly prefer glass because I can see how the crust is setting up. But ceramic works beautifully too. Just avoid disposable aluminum pans—they’re too thin and can cause the crust to brown unevenly if you’re toasting it.
One tip: make sure your mixing bowl for the cream is metal or glass and has been chilled in the fridge for about 10 minutes. It helps the cream whip up faster and hold its shape better.
Preparation Method
This is where the magic happens. Follow these steps carefully, and you’ll have a pie that looks and tastes like you spent hours on it—when really, you were done in minutes.
Step 1: Make the Graham Cracker Crust
Start by crushing your graham crackers. If using a food processor, pulse until you have fine crumbs—about 10-15 pulses. If using a bag, seal it tight (leave a little air inside for cushion) and roll firmly until no large chunks remain. You want a consistent texture, like wet sand.
In a medium bowl, combine the graham cracker crumbs, melted butter, sugar, and cinnamon if using. Stir with a fork until every crumb is coated. The mixture should hold together when you squeeze a handful—if it falls apart, add another tablespoon of melted butter.
Press the mixture firmly into your 9-inch pie dish. Use the bottom of a flat measuring cup or a glass to really pack it down—especially along the sides and the edge. An even, compact crust prevents crumbling later. Place the crust in the refrigerator for at least 30 minutes to firm up while you make the filling.
Step 2: Whip the Cream
In a large, chilled bowl, pour in the cold heavy cream. Using a hand mixer or stand mixer with the whisk attachment, beat on medium-high speed until soft peaks form—about 2-3 minutes. You’re looking for peaks that flop over gently when you lift the whisk, not stiff peaks. Set the whipped cream aside in the refrigerator while you prepare the rest of the filling.
Don’t overwhip! I’ve done this before, and you end up with butter. If you see it starting to look grainy, stop immediately and move to the next step.
Step 3: Make the Pumpkin Base
In another large bowl, beat the softened cream cheese with an electric mixer on medium speed until smooth and creamy—about 1 minute. Add the brown sugar and beat until fully combined, scraping down the sides as needed. The mixture should look light and fluffy.
Add the pumpkin puree, pumpkin pie spice, vanilla extract, and salt. Beat on medium-low speed until everything is well incorporated. The mixture will be thick and smell incredible at this point. Taste it—adjust the spices if you want more warmth. I sometimes add an extra 1/4 teaspoon of cinnamon if I’m feeling bold.
Step 4: Fold Everything Together
Remove the whipped cream from the fridge. Using a spatula, gently fold about one-third of the whipped cream into the pumpkin mixture to lighten it. This first fold should be gentle—you’re just loosening things up. Then add the remaining whipped cream and fold until no white streaks remain. Don’t overmix, or you’ll deflate all that air you worked for.
The filling should look smooth, uniform, and slightly mousse-like. If it looks curdled or separated, you probably overwhipped the cream or the cream cheese was too cold. It’ll still taste fine, just won’t be as pretty.
Step 5: Assemble the Pie
Take the chilled crust out of the fridge. Spoon the pumpkin filling into the crust, spreading it evenly with a spatula. Smooth the top as best you can—it doesn’t have to be perfect because you’ll likely add toppings later. Tap the pie dish gently on the counter a few times to release any air bubbles.
Cover the pie loosely with plastic wrap, making sure the wrap doesn’t touch the surface of the filling. Refrigerate for at least 6 hours, but overnight is best. The filling needs time to set properly—rushing this step leads to a slice that doesn’t hold its shape.
Step 6: Garnish and Serve
Before serving, whip the remaining 1/2 cup of heavy cream to soft peaks and spread or pipe it over the pie. Dust with a little cinnamon or nutmeg. Slice with a sharp knife dipped in warm water for clean edges. Serve cold straight from the fridge.
Cooking Tips & Techniques
After making this pie more times than I can count, I’ve picked up a few things the hard way. Here’s what I wish someone had told me from the start.
Room temperature cream cheese is non-negotiable. I know, I know—we’re all impatient. But cold cream cheese creates lumps that no amount of beating will fix. Leave it on the counter for about 30-45 minutes before starting. If you forget, you can microwave it in 10-second bursts, but be careful not to melt it.
Blot your pumpkin puree. This is the biggest mistake I made early on. Even “solid pack” pumpkin puree has extra moisture. Spread it on a paper towel-lined plate for a few minutes, then gently press another paper towel on top. You’ll be shocked at how much liquid comes out. This step alone prevents a runny filling.
Don’t skip the crust chilling time. I once rushed this and pressed the filling into a warm crust. The butter melted, the crust softened, and I ended up with a graham cracker mud situation. Give it the full 30 minutes in the fridge—longer is even better.
Fold, don’t stir. When combining the whipped cream with the pumpkin mixture, use a gentle folding motion—cut down through the center, scrape along the bottom, and bring it up over the top. Turn the bowl as you go. Stirring aggressively deflates the air and makes the filling dense.
Taste as you go. Before you add the whipped cream, taste the pumpkin base. Is it spiced enough? Sweet enough? This is your last chance to adjust. I’ve added an extra pinch of salt or a dash more cinnamon at this stage more times than I can count.
Patience with setting time. Six hours is the minimum, but overnight is where the magic happens. The filling firms up beautifully and the flavors meld together. If you try to slice it after 4 hours, you’ll get a mess. Trust me on this one—I’ve made that mistake for you.
Variations & Adaptations
One of the best things about this recipe is how flexible it is. Here are some variations I’ve tried and loved.
Vegan Version
Use a vegan cream cheese (Kite Hill or Tofutti work well) and replace the heavy cream with full-fat coconut cream. Chill the can of coconut cream overnight, then scoop out the solid top layer and whip it just like regular cream. The texture will be slightly softer, but the flavor is still rich and pumpkin-y. Use a vegan butter substitute in the crust as well.
Gluten-Free Option
Swap the graham crackers for gluten-free graham crackers or crushed gluten-free shortbread cookies. I’ve also used crushed pecans mixed with a little butter and sugar for a nutty, naturally gluten-free crust. It adds a nice crunch and pairs beautifully with the pumpkin.
Spiced-Up Version
If you like things warm and bold, add 1/4 teaspoon of ground ginger, 1/8 teaspoon of ground cloves, and a pinch of black pepper to the filling. The pepper sounds weird, I know, but it adds a subtle warmth that makes the pumpkin flavor pop. I tried this on a whim one year and now I can’t go back.
Individual Mini Pies
Instead of one large pie, press the crust mixture into a muffin tin lined with paper liners. Fill each cup with the pumpkin mixture and chill. They set faster—about 3-4 hours—and make adorable single-serving desserts. Perfect for parties or portion control.
Chocolate Twist
Add 2 tablespoons of cocoa powder to the graham cracker crust for a chocolate-pumpkin combo that’s surprisingly good. I was skeptical the first time, but the chocolate adds depth without overpowering the pumpkin. You can also drizzle melted dark chocolate over the finished pie for extra flair.
Serving & Storage Suggestions
This pie is best served cold, straight from the refrigerator. I like to take it out about 10 minutes before slicing to take the edge off the chill, but that’s optional. The filling should be firm but creamy when you cut into it.
For presentation, I top the pie with a generous swirl of whipped cream—either spread evenly or piped in rosettes around the edge. A light dusting of cinnamon or nutmeg adds color and aroma. If I’m feeling fancy, I sprinkle crushed graham crackers or candied pecans over the top for texture contrast.
This pie pairs beautifully with a cup of hot coffee, spiced chai, or even a glass of cold milk. For a full fall dessert spread, serve it alongside a warm apple crisp or some of my mini lemon blueberry cheesecakes for a colorful contrast.
Storage: Cover the pie tightly with plastic wrap or aluminum foil and store in the refrigerator for up to 5 days. The crust will stay crisp for the first 2-3 days, then gradually soften. Honestly, I think the flavors get even better on day two—the spices meld together more.
Freezing: This pie freezes beautifully. Wrap the fully set, un-garnished pie in plastic wrap, then a layer of foil, and freeze for up to 2 months. Thaw overnight in the refrigerator before serving. Add the whipped cream topping after thawing for the best presentation. I’ve done this for holiday prep, and it saves so much stress.
Reheating: This is a no-bake pie, so there’s no reheating needed. But if you somehow have leftovers that have been in the fridge too long and the texture is too firm, let them sit at room temperature for 15-20 minutes before eating. The creaminess comes back beautifully.
Nutritional Information & Benefits
Here’s an approximate nutritional breakdown per slice (based on 8 servings):
| Nutrient | Amount per Slice |
|---|---|
| Calories | 385 |
| Total Fat | 26g |
| Saturated Fat | 15g |
| Cholesterol | 85mg |
| Sodium | 310mg |
| Total Carbohydrates | 34g |
| Dietary Fiber | 2g |
| Sugars | 22g |
| Protein | 5g |
| Vitamin A | 190% DV |
| Calcium | 6% DV |
| Iron | 8% DV |
Pumpkin is packed with vitamin A, which supports eye health and immune function. It’s also a good source of fiber and antioxidants. The cream cheese and heavy cream add richness, but you can lighten things up by using reduced-fat cream cheese and a lighter whipped topping if you prefer. This dessert is indulgent, but it’s made with real food—no artificial flavors or preservatives here.
If you’re watching your sugar intake, you can reduce the brown sugar to 1/2 cup. The pie will be less sweet but still delicious. For a lower-carb option, use a sugar substitute like monk fruit sweetener in both the crust and filling.
Conclusion
This creamy no-bake pumpkin pie has become my fall signature, and I think it’s about to become yours too. It’s the dessert that solves the “I want something special but I don’t want to turn on the oven” dilemma that hits every year around October. The texture is dreamy, the flavor is spot-on, and the effort-to-impress ratio is almost unfair.
I love this recipe because it feels like a warm hug on a plate—without the stress of a traditional pie. No blind baking, no water baths, no worrying about cracks. Just a few simple steps and a little patience while the fridge does the work. It’s forgiving enough for beginners but impressive enough for holiday tables.
Try it once, and I promise you’ll find yourself making it again—for Friendsgiving, for a cozy night in, or just because you saw a can of pumpkin in the pantry and got inspired. And when you do, come back and tell me how it went. I love hearing about your kitchen wins, your tweaks, and even your happy accidents.
Now go make some pumpkin magic—you’ve got this!
Frequently Asked Questions
Can I use pumpkin pie filling instead of pumpkin puree?
No, I wouldn’t recommend it. Pumpkin pie filling is already sweetened and spiced, so it throws off the balance of this recipe. Stick with 100% pure pumpkin puree for the best results. If you only have pumpkin pie filling on hand, reduce the sugar and spices in the recipe accordingly—but honestly, it’s easier to just grab the right can.
Why is my no-bake pumpkin pie runny?
This usually happens for one of three reasons: the cream cheese wasn’t fully softened, the pumpkin puree had too much moisture (try blotting it next time), or the pie didn’t chill long enough. Make sure you give it at least 6 hours, preferably overnight. If it’s still runny after that, the ratio might be off—double-check your measurements.
Can I make this pie a day ahead?
Absolutely! In fact, I prefer it that way. Making it a day ahead gives the filling plenty of time to set and the flavors to meld together. Just hold off on adding the whipped cream topping until right before serving for the prettiest presentation. This is my go-to strategy for holiday prep.
How do I get clean slices?
Use a sharp knife and dip it in warm water before each cut. Wipe the blade clean between slices. For the cleanest cuts, make sure the pie is fully chilled—at least 6 hours, but overnight is best. I also recommend slicing when the pie is cold and letting individual slices sit at room temperature for a few minutes before serving.
Can I freeze this pie?
Yes, and it freezes really well. Wrap the fully set, ungarnished pie tightly in plastic wrap, then a layer of aluminum foil. Freeze for up to 2 months. Thaw overnight in the refrigerator before serving. Add fresh whipped cream after thawing for the best texture and appearance. I do this for Thanksgiving prep every year—it’s a lifesaver.
For more easy dessert ideas, check out my full recipe collection for inspiration all year round.
Pin This Recipe!
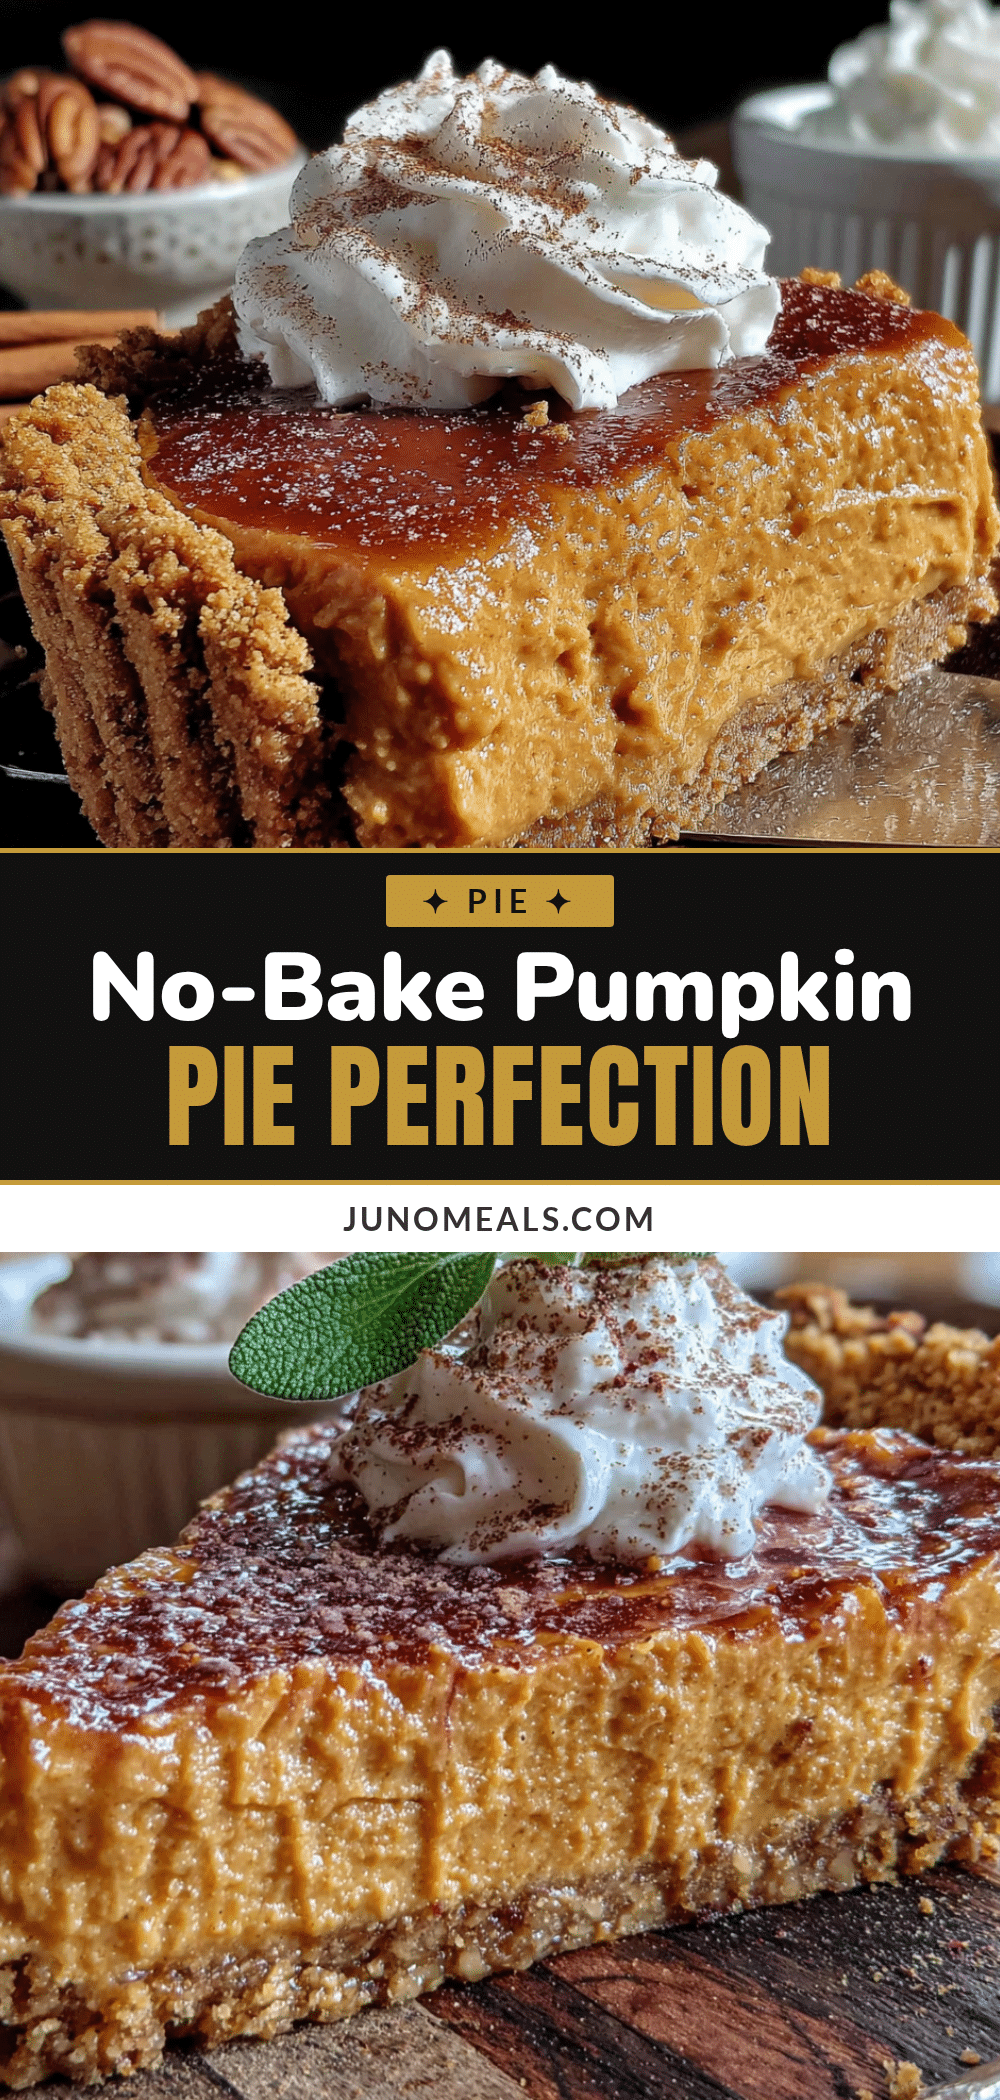
Creamy No-Bake Pumpkin Pie: Easy 10-Minute Dessert
This creamy no-bake pumpkin pie comes together in about 10 minutes of hands-on time and sets perfectly in the fridge. It’s rich, mousse-like, and perfect for fall gatherings without turning on the oven.
- Prep Time: 10 minutes
- Cook Time: 0 minutes
- Total Time: 6 hours 10 minutes (includes chilling time)
- Yield: 8 servings 1x
- Category: Dessert
- Cuisine: American
Ingredients
- 2 cups (200g) graham cracker crumbs (about 14–15 full sheets, crushed finely)
- 1/2 cup (113g) unsalted butter, melted
- 3 tablespoons (36g) granulated sugar
- 1/4 teaspoon ground cinnamon (optional)
- 1 cup (226g) full-fat cream cheese, softened to room temperature
- 1 cup (240ml) heavy whipping cream, cold
- 3/4 cup (150g) packed light brown sugar
- 1 cup (245g) pumpkin puree (not pumpkin pie filling)
- 2 teaspoons pumpkin pie spice
- 1 teaspoon vanilla extract
- 1/4 teaspoon salt
- 1/2 cup (120ml) heavy whipping cream, whipped to soft peaks (for garnish, optional)
- Ground cinnamon or nutmeg for dusting (optional)
- Crushed graham crackers or candied pecans for crunch (optional)
Instructions
- Make the graham cracker crust: Crush graham crackers into fine crumbs using a food processor or a zip-top bag and rolling pin. In a medium bowl, combine crumbs, melted butter, sugar, and cinnamon (if using). Stir until every crumb is coated. Press mixture firmly into a 9-inch pie dish using the bottom of a flat measuring cup or glass. Refrigerate for at least 30 minutes.
- Whip the cream: In a large chilled bowl, beat cold heavy cream with a hand mixer or stand mixer on medium-high speed until soft peaks form, about 2-3 minutes. Set aside in the refrigerator.
- Make the pumpkin base: In another large bowl, beat softened cream cheese on medium speed until smooth, about 1 minute. Add brown sugar and beat until fully combined. Add pumpkin puree, pumpkin pie spice, vanilla extract, and salt. Beat on medium-low speed until well incorporated.
- Fold everything together: Remove whipped cream from the fridge. Gently fold about one-third of the whipped cream into the pumpkin mixture to lighten it. Add the remaining whipped cream and fold until no white streaks remain. Do not overmix.
- Assemble the pie: Take the chilled crust out of the fridge. Spoon the pumpkin filling into the crust, spreading evenly with a spatula. Tap the pie dish gently on the counter to release air bubbles. Cover loosely with plastic wrap and refrigerate for at least 6 hours, preferably overnight.
- Garnish and serve: Before serving, whip the remaining 1/2 cup heavy cream to soft peaks and spread or pipe over the pie. Dust with cinnamon or nutmeg. Slice with a sharp knife dipped in warm water for clean edges. Serve cold.
Notes
Room temperature cream cheese is non-negotiable to avoid lumps. Blot pumpkin puree with paper towels to remove excess moisture. Chill the crust for at least 30 minutes before adding filling. Fold whipped cream gently to keep filling airy. Chill pie for at least 6 hours, preferably overnight, for best texture. For clean slices, dip knife in warm water between cuts.
Nutrition
- Serving Size: 1 slice (1/8 of pie)
- Calories: 385
- Sugar: 22
- Sodium: 310
- Fat: 26
- Saturated Fat: 15
- Carbohydrates: 34
- Fiber: 2
- Protein: 5
Keywords: no-bake pumpkin pie, easy pumpkin dessert, creamy pumpkin pie, fall dessert, no-bake dessert, pumpkin pie recipe


