“You’re making what?” My sister squinted at me over her coffee mug, one eyebrow raised like I’d just announced I was taking up competitive yodeling. “Gummies. Elderberry gummies. With honey,” I repeated, stirring a pot of deep purple liquid that smelled more like a witch’s cauldron than anything edible. She shook her head and went back to scrolling her phone, clearly unconvinced.
That was two winters ago, right before the worst cold season our house had seen in years. I’d been reading about elderberries for months—how they were packed with antioxidants, how they’d been used for centuries to support the immune system, how everyone from grandmothers to herbalists swore by them. But the store-bought syrups were loaded with sugar, and the gummy vitamins? Let’s just say my kids treated them like candy, which defeated the whole purpose. I wanted something I could control—something made with real ingredients that actually tasted good enough to take willingly.
So I ordered dried elderberries online, grabbed a bottle of raw honey from the farmer’s market, and cleared off my stovetop. The first batch was a disaster—too runny, weirdly sour, and the honey crystallized into little crunchy bits. But the second batch? That was the one. Firm, chewy, sweet-tart, and honestly kind of addictive. My sister tried one and immediately asked for the recipe. Now she makes them every fall. Funny how that works.
These homemade elderberry gummies with honey aren’t just a health thing—they’re the kind of recipe that makes you feel like you’re actually taking care of yourself. No weird additives, no artificial flavors, just good ingredients doing what they do best.
Why You’ll Love This Recipe
Let me be straight with you—I’ve tested this recipe more times than I care to admit. I’ve burned batches, made gummies that tasted like cough syrup, and ended up with blobs instead of bears. But after all that trial and error, I landed on a version that actually works. Here’s why I think you’ll love it too:
- Immune Support, No Guilt : Elderberries are loaded with flavonoids and antioxidants that help your body fight off seasonal bugs. Taking these feels like a treat, not a chore.
- Real Ingredients Only : No gelatin with artificial colors, no high-fructose corn syrup, no weird preservatives. Just elderberries, honey, and a few pantry staples.
- Kid-Approved : My nephew calls them “purple bears” and asks for them instead of candy. I’m not complaining.
- Quick to Make : Active prep time is about 15 minutes. The hardest part is waiting for them to set in the fridge.
- Customizable : You can adjust the sweetness, try different fruit juices, or even make them vegan with agar agar.
What makes these different from every other gummy recipe out there? It’s the honey. Most recipes use sugar or corn syrup, but honey brings a floral depth that balances the tartness of the elderberries perfectly. Plus, raw honey has its own immune-supporting properties—so you’re doubling down on the benefits. I’ve tried versions with maple syrup and agave, and honestly, nothing compares to the richness of a good local honey.
This isn’t just another wellness trend. It’s the kind of recipe that becomes a seasonal ritual—something you make on a Sunday afternoon, pop in the fridge, and reach for whenever you feel a tickle in your throat. Trust me, once you start making your own, you’ll never go back to store-bought.
What Ingredients You Will Need
This recipe keeps things simple. You don’t need a specialty health food store or a degree in herbalism—just a few basic ingredients that come together to create something genuinely good for you. Here’s what you’ll need:
For the Elderberry Base
- 1 cup dried elderberries (look for organic, whole berries—not powdered)
- 3 cups filtered water
- 1 cinnamon stick (optional, but it adds warmth and pairs beautifully with the berries)
- 1-inch piece fresh ginger, sliced (optional, for an extra immune kick)
For the Gummy Mixture
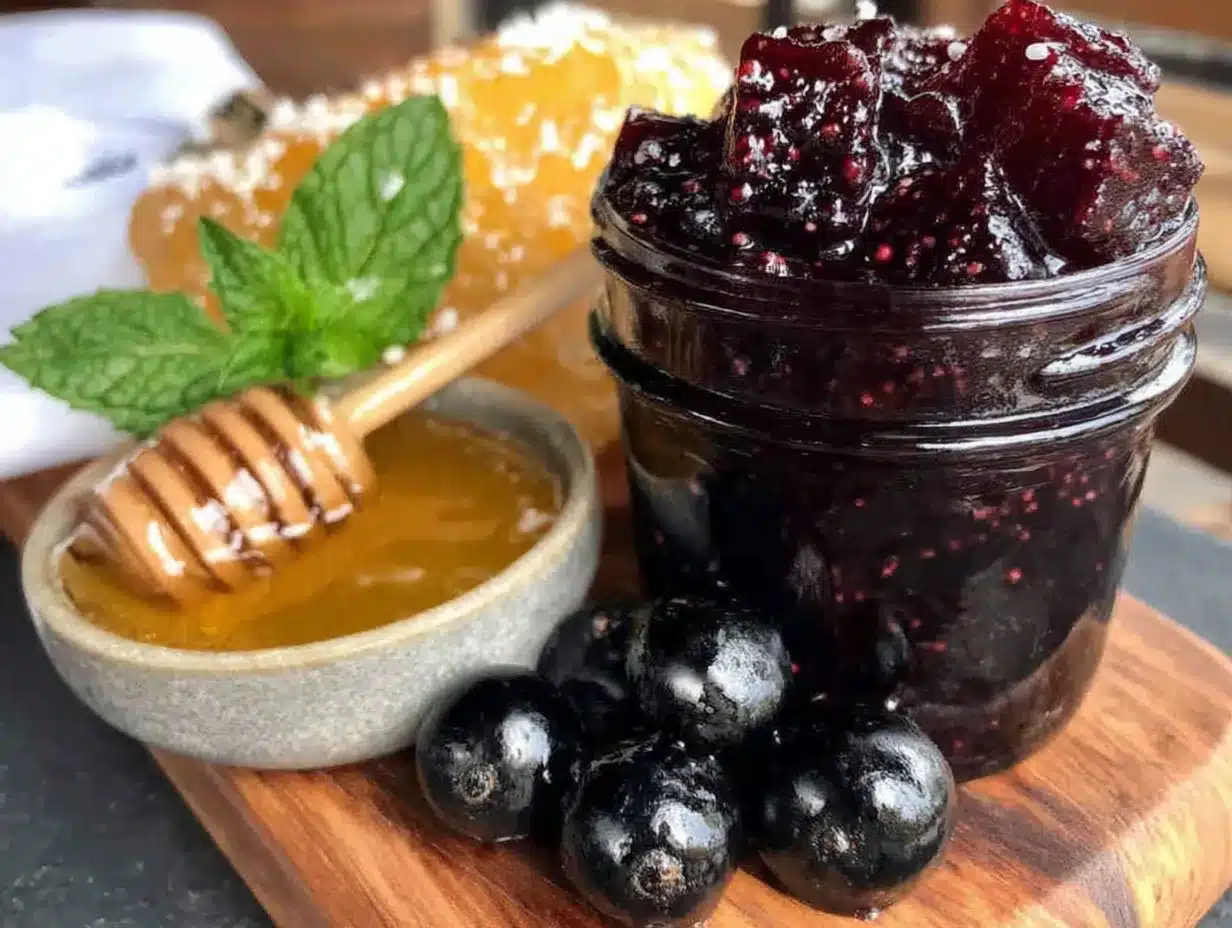
- 1/2 cup raw honey (I prefer local honey for the best flavor and potential allergy benefits)
- 1/4 cup fresh lemon juice (about 1-2 lemons—this helps preserve the gummies and brightens the flavor)
- 1/3 cup gelatin powder (I use grass-fed beef gelatin for the best texture, but porcine gelatin works too)
- Optional: 1/2 cup fruit juice (like pomegranate or blueberry—if you want a milder, sweeter flavor. Reduce the water in the elderberry base by half if adding juice.)
A quick note on sourcing: I’ve tried a few different brands of elderberries, and my favorite is Starwest Botanicals—they’re consistent, clean, and have a deep, rich flavor. For gelatin, Great Lakes or Vital Proteins are both excellent choices. And please, please use raw honey if you can. Processed honey loses most of its beneficial enzymes and just doesn’t taste as good.
If you’re vegan or vegetarian, you can substitute the gelatin with agar agar powder, but the texture will be different—more jelly-like and less chewy. You’ll also need to adjust the liquid ratio (about 1 tablespoon agar agar to 1 cup liquid) and bring it to a boil for a few minutes to activate it. I’ve tried it, and it’s good—just not the same as the classic gummy texture.
Equipment Needed
You don’t need fancy equipment for this recipe, but a few key tools will make your life a lot easier:
- Silicone gummy molds (I use bear-shaped ones because they’re fun, but any shape works. You can also use a small baking dish and cut the gummies into squares.)
- Fine-mesh strainer or cheesecloth (to strain the elderberry solids out of the liquid)
- Small saucepan (for simmering the elderberries)
- Medium bowl (for blooming the gelatin)
- Whisk (a silicone whisk is ideal—it won’t scratch your pans)
- Dropper or small measuring cup with a spout (for filling the molds without making a mess)
- Refrigerator space (you’ll need a flat spot for the molds to set)
If you don’t have silicone molds, you can use an ice cube tray or even a mini muffin tin lined with parchment paper. I’ve done both in a pinch, and while the shapes aren’t as cute, the gummies taste exactly the same. Just make sure whatever you use is flexible enough to pop the gummies out once they’re set.
One tip: don’t use metal molds or trays unless they’re non-stick. Gelatin can be stubborn, and you’ll end up fighting to get your gummies out. Silicone is your best friend here.
Preparation Method
Alright, let’s get into the actual process. I’ve broken this down into clear steps so you don’t end up with a sticky mess like I did the first time. Trust me—follow these, and you’ll be golden.
- Make the elderberry concentrate. In a small saucepan, combine the dried elderberries, water, cinnamon stick, and ginger slices if using. Bring to a boil over medium-high heat, then reduce the heat to low and let it simmer for about 30-40 minutes. You’ll know it’s ready when the liquid has reduced by about half and the berries have softened and burst open. The kitchen will smell amazing—like a cozy, spiced tea.
- Strain the liquid. Place a fine-mesh strainer over a medium bowl and pour the elderberry mixture through it. Use the back of a spoon to press down on the berries and extract as much liquid as possible. Discard the solids (or compost them—they’re done giving their goodness). You should have about 1 1/2 to 2 cups of deep purple concentrate. Let it cool to room temperature—about 15 minutes.
- Bloom the gelatin. Pour about 1/2 cup of the cooled elderberry concentrate into a separate bowl and sprinkle the gelatin powder evenly over the top. Let it sit for 5-10 minutes without stirring. This is called “blooming,” and it’s crucial—it allows the gelatin to absorb the liquid and ensures a smooth, lump-free texture. Don’t skip this step, or you’ll end up with grainy gummies.
- Warm the remaining concentrate. While the gelatin blooms, gently warm the rest of the elderberry concentrate in the saucepan over low heat. Add the honey and lemon juice, stirring until the honey is fully dissolved. Don’t let it boil—you just want it warm enough to incorporate everything smoothly. If you’re adding fruit juice, stir it in now.
- Combine everything. Remove the saucepan from the heat. Pour the bloomed gelatin mixture into the warm concentrate and whisk vigorously until completely smooth. This should take about 30 seconds. If you see any lumps, keep whisking—they’ll dissolve. The mixture should look like a thick, glossy syrup.
- Fill the molds. Carefully pour the mixture into your silicone molds using a dropper or a small measuring cup with a spout. Work quickly—gelatin starts to set as it cools. If it thickens too much, gently reheat it on the stove for a few seconds. Fill each mold cavity to the top, but don’t overfill—you want clean edges.
- Refrigerate to set. Place the filled molds on a flat tray or baking sheet (this makes them easier to move) and refrigerate for at least 2-3 hours, or until firm. I usually leave them overnight for the best texture. You’ll know they’re ready when they feel springy to the touch and pop out of the molds easily.
- Pop them out. Gently flex the silicone molds to release the gummies. If any stick, try running the back of the mold under warm water for a few seconds—that usually loosens them up. Store in an airtight container in the fridge.
One thing I learned the hard way: don’t try to rush the straining process. I once squeezed the berries too hard and ended up with cloudy gummies full of sediment. Gentle pressure is all you need—the liquid should be clear and vibrant.
Cooking Tips & Techniques
I’ve made this recipe more times than I can count, and I’ve definitely had my share of failures. Here’s what I’ve learned so you don’t have to repeat my mistakes:
- Don’t boil the honey. Raw honey loses its beneficial enzymes when heated above 95°F. Add it to the warm concentrate off the heat to preserve its goodness. If you’re using processed honey, this matters less, but raw honey is worth the extra care.
- Watch your liquid ratio. Too much water and your gummies won’t set—they’ll be more like jelly. Too little and they’ll be rubbery. The sweet spot is about 1 tablespoon of gelatin per 1 cup of liquid. For this recipe, that’s roughly 1/3 cup gelatin to 2 cups total liquid (concentrate plus honey and lemon juice).
- Taste before you pour. I always dip a clean spoon into the mixture before filling the molds. This is your chance to adjust the sweetness or add a pinch of salt (which balances the tartness beautifully). Once it’s in the fridge, you’re committed.
- Patience is key. The first time I made these, I checked them after an hour and they were still jiggly. I thought I’d messed up, so I added more gelatin and started over. Turns out they just needed more time. Give them at least 2-3 hours—overnight is even better.
- Keep the molds cold. If your kitchen is warm, the gummies might start to soften as you fill the molds. Work in batches if needed, keeping the unused mixture warm on the stove and the filled molds in the fridge.
I once tried to make these on a humid summer day without air conditioning. Let’s just say the gummies never fully set, and I ended up with a purple puddle in my fridge. Lesson learned: cool, dry conditions are your friend.
Variations & Adaptations
One of the best things about this recipe is how flexible it is. Here are some variations I’ve tried and loved:
- Vegan Version : Swap the gelatin for agar agar powder. Use 1 tablespoon agar agar per cup of liquid, and bring the mixture to a boil for 2-3 minutes to activate it. The texture will be more like fruit jelly than gummy candy, but it’s still delicious. I’ve made these for my vegan friends and they disappear fast.
- Spiced Elderberry Gummies : Add a pinch of cloves, star anise, or cardamom to the simmering elderberries. These are amazing in the winter—they taste like a warm hug in gummy form.
- Citrus Boost : Replace the lemon juice with orange or lime juice for a different flavor profile. I love orange—it makes the gummies taste almost like a grown-up version of those orange gummy rings from childhood.
- Herbal Infusion : Add a few sprigs of fresh thyme or rosemary to the elderberry simmer. These herbs have their own immune-supporting properties and add a subtle savory note that’s surprisingly good.
- Low-Sugar Option : If you’re watching your sugar intake, use a monk fruit honey substitute or reduce the honey to 1/4 cup. The gummies will be tarter, but still tasty. I’ve made these for a friend with diabetes and they worked great.
My personal favorite variation? I add a splash of pomegranate juice and a pinch of cayenne pepper. It sounds weird, but the heat from the cayenne pairs beautifully with the tart berries, and the pomegranate adds another layer of antioxidants. My sister calls them “spicy purple bears” and she’s obsessed.
Serving & Storage Suggestions
These gummies are best served cold—straight from the fridge. They have a satisfying, chewy texture when chilled, and the flavor is more vibrant. I like to pop a few in a small jar and keep them on my desk during cold season. They’re perfect for grabbing on the go.
For storage, keep your gummies in an airtight container in the refrigerator. They’ll stay fresh for up to 2-3 weeks. I’ve also frozen them successfully—just place them in a single layer on a baking sheet, freeze until solid, then transfer to a freezer bag. They’ll keep for up to 3 months. Thaw in the fridge overnight before eating.
One thing to note: these gummies are sensitive to heat. If you leave them out at room temperature for more than a few hours, they’ll start to soften and lose their shape. I learned this the hard way when I brought a batch to a picnic on a hot day. Let’s just say I ended up with a bag of purple goo. Keep them cool, and you’ll be fine.
Pair these with a cup of hot ginger tea or a warm bowl of oatmeal for a cozy immune-boosting breakfast. They also make a great afternoon snack—my kids love them after school instead of candy.
Nutritional Information & Benefits
Here’s a rough estimate per serving (about 4-5 gummies, depending on size):
- Calories : 45-60
- Carbohydrates : 10-12g
- Sugar : 8-10g (mostly from honey)
- Protein : 3-4g (from the gelatin)
- Vitamin C : 10% DV (from the elderberries and lemon juice)
- Antioxidants : High (elderberries are packed with flavonoids)
Elderberries are known for their immune-supporting properties. They’re rich in vitamin C, dietary fiber, and antioxidants called anthocyanins, which give them their deep purple color. Studies suggest they may help reduce the duration and severity of colds and flu. The honey adds additional antimicrobial benefits, while the gelatin supports joint health and digestion.
These gummies are naturally gluten-free, dairy-free, and nut-free. If you use agar agar instead of gelatin, they’re also vegan. Just note that they do contain honey, so they’re not suitable for infants under 1 year old.
Conclusion
Honestly, I never thought I’d be the person making homemade gummies. But once I started, I couldn’t stop. There’s something deeply satisfying about taking a handful of simple ingredients and turning them into something that actually helps you feel better—especially when it tastes this good.
This recipe has become a staple in my kitchen. It’s the kind of thing I make on a lazy Sunday, knowing that the next time a cold hits or the kids start sniffling, I’ll have a little jar of purple goodness ready to go. And yeah, my sister still gives me a hard time about it—but now she’s the one asking me to make extra.
I’d love to hear how yours turn out. Did you try a variation? Add a different spice? Make a mess of your kitchen like I did the first time? Drop a comment below and let me know. And if you’re looking for more immune-boosting recipes, you might also enjoy these mini lemon blueberry cheesecakes—they’re not exactly health food, but they’re perfect for when you need a little comfort.
Happy cooking—and stay healthy out there!
Frequently Asked Questions
Can I use fresh elderberries instead of dried?
Yes, but you’ll need to adjust the amount. Use about 2 cups of fresh elderberries in place of 1 cup dried. Keep in mind that fresh elderberries must be cooked thoroughly—they can be toxic if eaten raw. Simmer them for at least 20 minutes to be safe.
Why didn’t my gummies set properly?
This usually happens for one of three reasons: too much liquid, not enough gelatin, or the mixture wasn’t heated enough to dissolve the gelatin. Make sure you’re measuring accurately and that your liquid-to-gelatin ratio is correct. Also, check that your gelatin is fresh—expired gelatin loses its thickening power.
Can I use a different sweetener instead of honey?
Absolutely. Maple syrup, agave nectar, or even stevia can work. Just note that different sweeteners will affect the flavor and texture. Maple syrup is thinner than honey, so you may need to reduce the liquid slightly. Stevia is much sweeter, so use it sparingly.
How long do these gummies last?
Stored in an airtight container in the refrigerator, they’ll stay fresh for 2-3 weeks. You can also freeze them for up to 3 months. Just make sure they’re fully thawed in the fridge before eating—they lose their texture if thawed at room temperature.
Are these safe for children?
Yes, but with a few caveats. The gummies are safe for children over 1 year old (honey can cause botulism in infants). For younger kids, you can substitute honey with maple syrup or skip the sweetener entirely. Also, be mindful of portion sizes—these are treats, not candy. I give my kids 2-3 gummies per day during cold season.
Pin This Recipe!
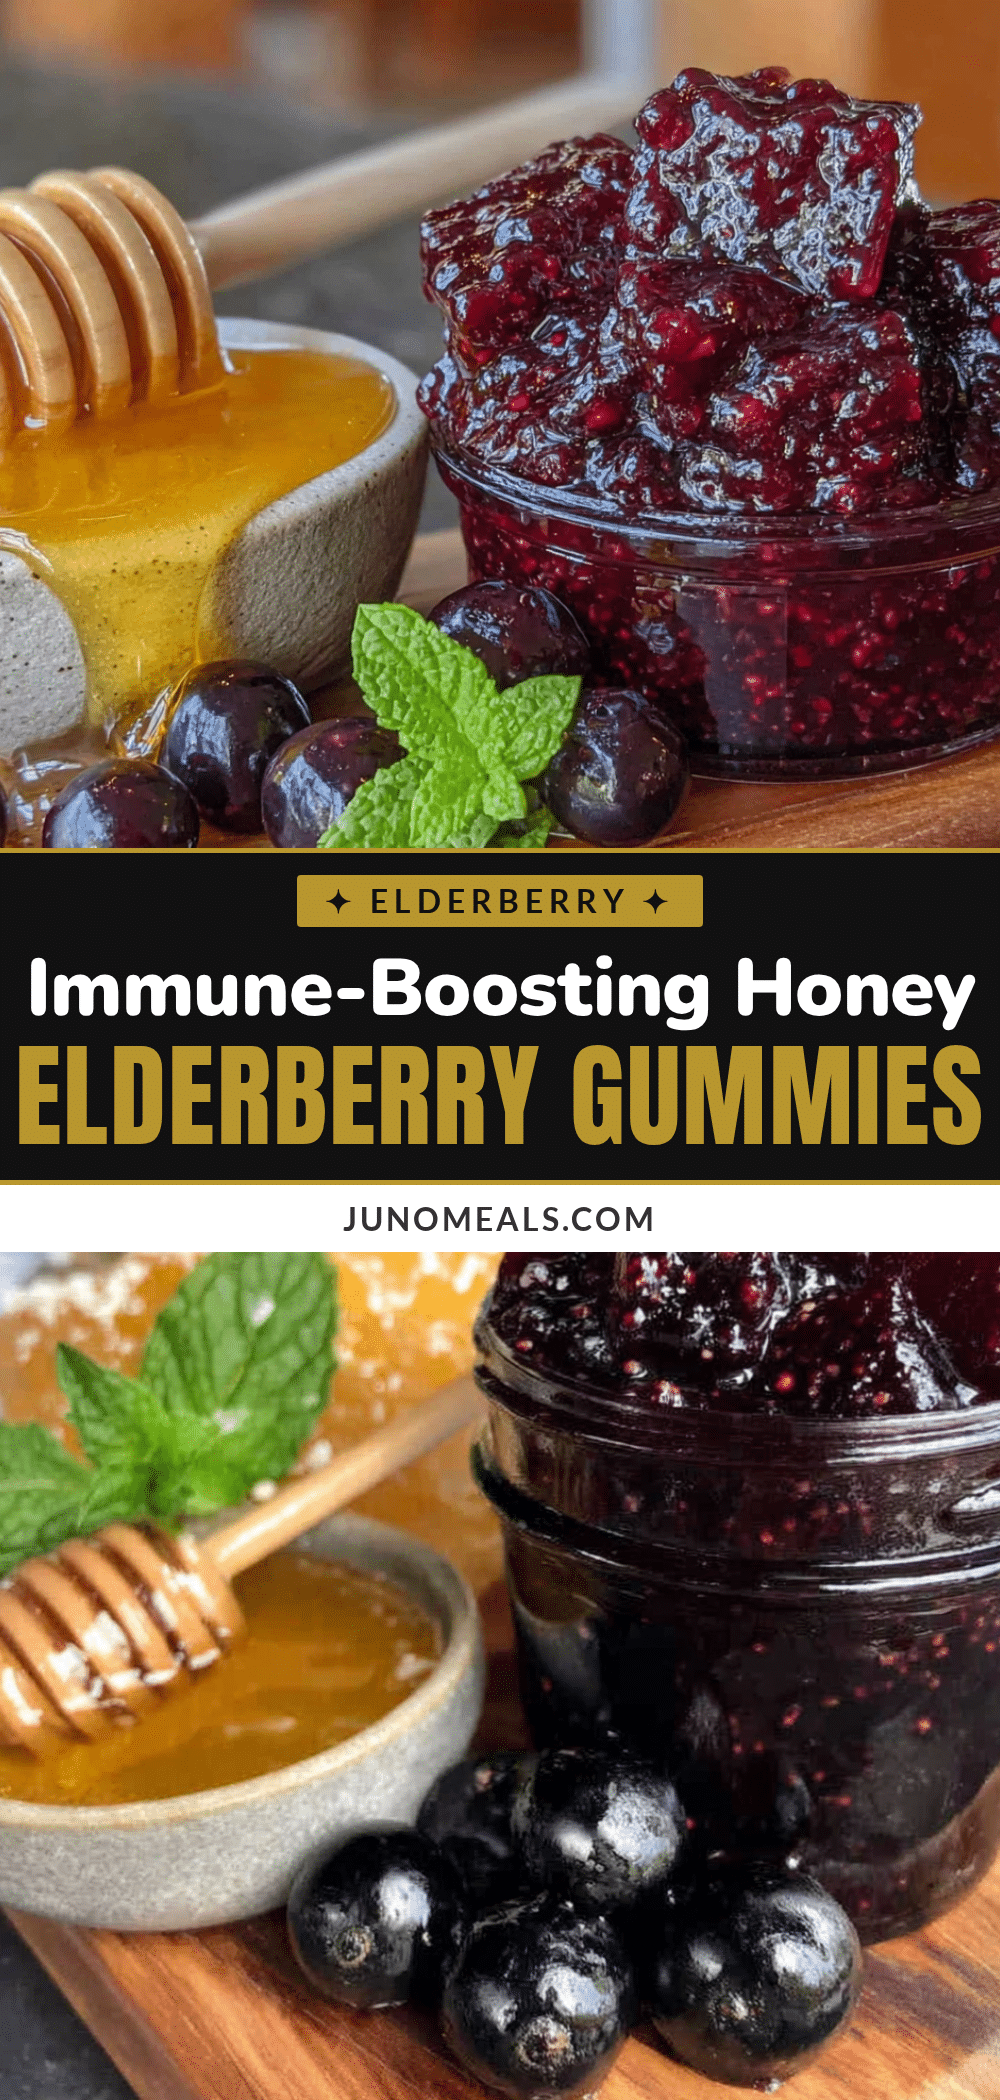
Easy Homemade Elderberry Gummies with Honey: Best Immune Boost
These homemade elderberry gummies with honey are a delicious and healthy immune-boosting treat. Made with real ingredients like dried elderberries, raw honey, and gelatin, they are free from artificial additives and perfect for the whole family.
- Prep Time: 15 minutes
- Cook Time: 40 minutes
- Total Time: 55 minutes (plus 2-3 hours setting time)
- Yield: 4 servings 1x
- Category: Snack
- Cuisine: American
Ingredients
- 1 cup dried elderberries
- 3 cups filtered water
- 1 cinnamon stick (optional)
- 1-inch piece fresh ginger, sliced (optional)
- 1/2 cup raw honey
- 1/4 cup fresh lemon juice (about 1–2 lemons)
- 1/3 cup gelatin powder (grass-fed beef gelatin recommended)
- Optional: 1/2 cup fruit juice (like pomegranate or blueberry)
Instructions
- Make the elderberry concentrate: In a small saucepan, combine dried elderberries, water, cinnamon stick, and ginger slices (if using). Bring to a boil over medium-high heat, then reduce heat to low and simmer for 30-40 minutes until liquid reduces by half and berries soften.
- Strain the liquid: Pour the mixture through a fine-mesh strainer into a medium bowl. Press down on berries with a spoon to extract as much liquid as possible. Discard solids. Let the concentrate cool to room temperature (about 15 minutes).
- Bloom the gelatin: Pour 1/2 cup of the cooled elderberry concentrate into a separate bowl. Sprinkle gelatin powder evenly over the top. Let sit for 5-10 minutes without stirring.
- Warm the remaining concentrate: Gently warm the rest of the elderberry concentrate in the saucepan over low heat. Add honey and lemon juice, stirring until honey dissolves. Do not boil. If using fruit juice, stir it in now.
- Combine everything: Remove saucepan from heat. Pour bloomed gelatin mixture into the warm concentrate and whisk vigorously until completely smooth (about 30 seconds).
- Fill the molds: Carefully pour the mixture into silicone gummy molds using a dropper or small measuring cup with a spout. Work quickly as gelatin sets as it cools. If mixture thickens, gently reheat on stove for a few seconds.
- Refrigerate to set: Place filled molds on a flat tray or baking sheet and refrigerate for at least 2-3 hours, or until firm (overnight is best).
- Pop them out: Gently flex silicone molds to release gummies. If any stick, run the back of the mold under warm water for a few seconds. Store in an airtight container in the refrigerator.
Notes
Do not boil honey to preserve its beneficial enzymes. Use raw honey if possible. For vegan version, substitute gelatin with agar agar powder (1 tablespoon per cup of liquid) and bring to a boil for 2-3 minutes. Keep gummies refrigerated; they soften at room temperature. For children under 1 year, substitute honey with maple syrup.
Nutrition
- Serving Size: 4-5 gummies
- Calories: 4560
- Sugar: 810
- Sodium: 5
- Carbohydrates: 1012
- Protein: 34
Keywords: elderberry gummies, homemade gummies, immune boost, honey gummies, elderberry recipe, healthy snack, natural remedy


