The jar was empty by noon. Honestly, I hadn’t even planned for everyone to like those crispy garlic dill refrigerator pickles that much. But there they were—texts from friends asking for the recipe, a second batch requested before the first was even gone. That crunch, that perfect tang, the subtle garlic punch—it all just worked in a way I didn’t expect.
It didn’t start with a grand plan. I was fiddling with some cucumbers left over from a farmer’s market haul, craving that homemade pickle flavor without the fuss of canning. Something quick, fresh, and crunchy. The garlic and dill felt right, classic but straightforward. I tossed the cucumbers in a simple brine, tossed in a bit more garlic than usual (because, well, garlic), and waited. The wait turned out to be the hardest part.
What stuck with me—and what keeps making these pickles a staple—is how the recipe manages to hit that satisfying crispness, even after sitting in the fridge for days. No soggy mess here. It’s the kind of recipe you can pull off without specialty equipment or fancy ingredients, but that still leaves everyone wondering if you spent hours perfecting it. Honestly, I’m quietly proud every time the jar empties faster than expected.
These pickles aren’t flashy or complicated. They’re just right: bright, garlicky, and dill-packed with a texture that says, “Yeah, I made this myself.” And that’s why they stay in rotation—because they deliver homemade flavor that feels effortless.
Why You’ll Love This Recipe
When I first started testing this crispy garlic dill refrigerator pickles recipe, the goal was simple: make pickles that taste homemade but don’t require hours or special canning gear. After a few tries and tweaks, this version emerged as a quiet winner in my kitchen. Here’s why I think it might win a spot in yours too:
- Quick & Easy: Ready to eat in just 24 hours, these pickles come together in under 10 minutes—great for busy days or last-minute snack cravings.
- Simple Ingredients: No need for obscure spices or fancy jars. Just cucumbers, garlic, fresh dill, and a straightforward brine made from pantry staples.
- Perfect for Any Occasion: Whether you’re hosting a casual BBQ or just want a zesty snack, these pickles bring that tangy crunch everyone loves.
- Crowd-Pleaser: I’ve never met a guest who didn’t ask for seconds. Kids, adults, pickles fans alike—they all seem to agree.
- Unbelievably Delicious: The secret is in the balance—the garlic’s punch, the dill’s freshness, and a touch of spice for good measure—resulting in a pickle that’s bursting with flavor.
This isn’t just another pickle recipe. The trick is soaking the cucumbers in an ice-cold brine and using fresh dill sprigs that really make that flavor pop. Plus, I toss in a pinch of red pepper flakes for a subtle heat that wakes up your taste buds without stealing the show.
Honestly, it’s the kind of recipe that makes you want to keep a jar ready at all times—a reliable go-to for a salty, crunchy bite. If you’ve ever been intimidated by homemade pickling, these refrigerator pickles make it approachable and fun.
What Ingredients You Will Need
This recipe uses simple, wholesome ingredients to deliver bold flavor and satisfyingly crispy texture without the fuss. Most of these you probably already have in your kitchen, and the rest come from your local market or garden.
- Fresh cucumbers (about 1 pound / 450 grams, preferably Kirby or pickling cucumbers for their firm texture)
- Garlic cloves (4-5 large, smashed or thinly sliced to release flavor)
- Fresh dill (3-4 sprigs, stems included; the secret to that classic dill punch)
- White vinegar (1 cup / 240 ml, helps set the tang and preserve crispness)
- Water (1 cup / 240 ml, preferably filtered or distilled for clean taste)
- Pickling salt (1 tablespoon; use kosher or canning salt, avoid iodized salt to keep brine clear)
- Granulated sugar (1 teaspoon, just enough to balance the acidity)
- Black peppercorns (1 teaspoon, whole for subtle seasoning)
- Red pepper flakes (optional, 1/4 teaspoon for a gentle heat kick)
Notes: For a gluten-free option, this recipe is naturally safe as-is. If you can’t find Kirby cucumbers, English cucumbers with seeds removed work well too, though texture may vary slightly. I often use Morton’s kosher salt here because it dissolves nicely and keeps the brine clear. If you want to swap the sugar, a pinch of honey or maple syrup can add a different, but still lovely, sweetness.
Equipment Needed
- Glass jar with lid (a quart-sized mason jar or any clean, sealable container works well)
- Measuring cups and spoons (for precise brine ratios)
- Mixing bowl or small saucepan (to combine and warm the brine, though warming is optional)
- Knife and cutting board (for slicing cucumbers and garlic)
- Tongs or clean hands (to pack cucumbers into the jar without bruising)
If you don’t have a mason jar, any airtight container will do, but glass is best to avoid flavor transfer. I’ve tried using plastic containers in a pinch, but glass just feels cleaner and keeps the pickles tasting fresh longer. Also, if you want to speed things up, a small saucepan helps dissolve the salt and sugar in the brine quickly, but you can just stir it cold if you prefer.
Preparation Method
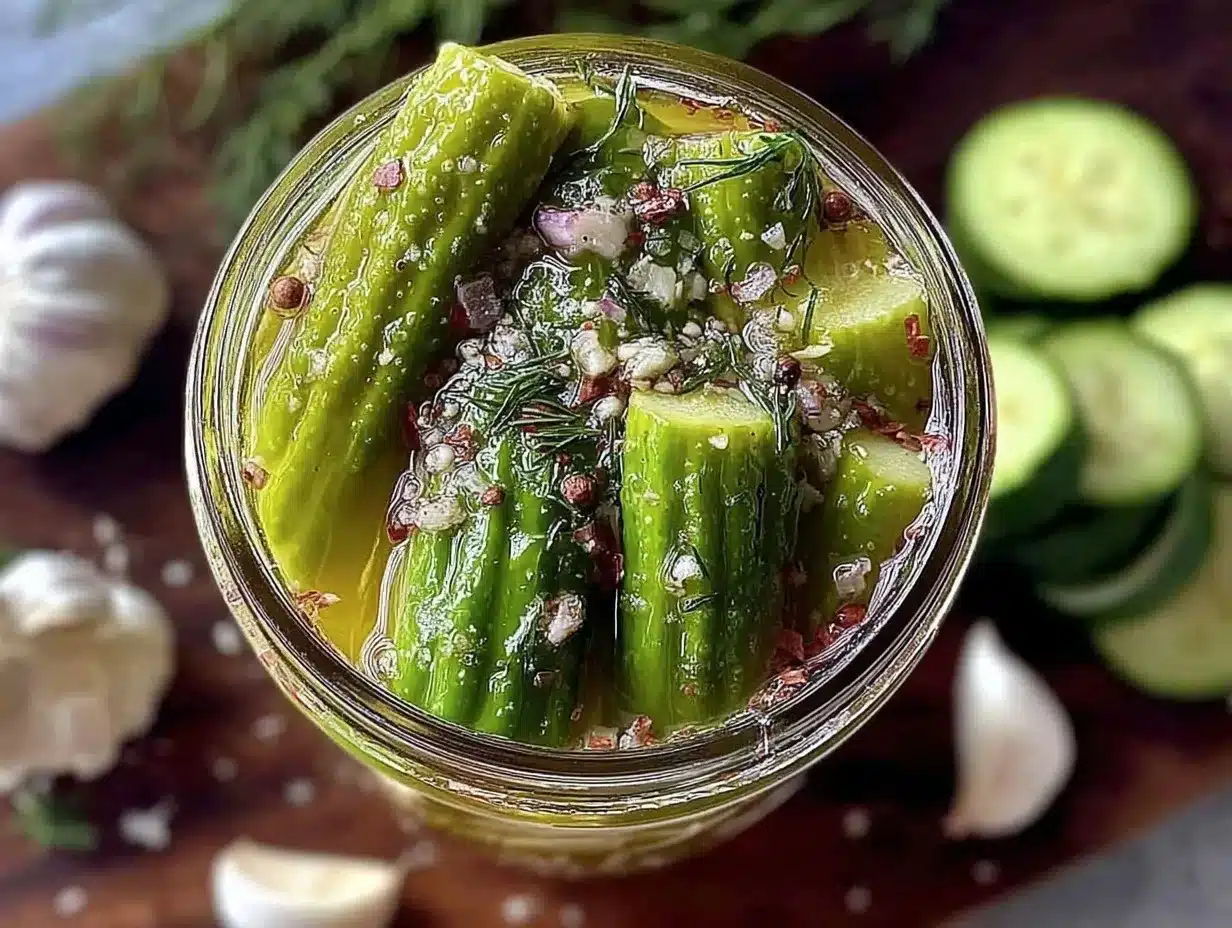
- Prepare the cucumbers: Rinse about 1 pound (450 grams) of cucumbers under cold water. Slice off the ends, then cut them into 1/4-inch (0.6 cm) thick rounds or spears—whichever you prefer. The spears hold up well and look great in jars.
- Smash the garlic: Peel 4-5 large garlic cloves and gently smash them with the side of your knife or thinly slice. This releases more flavor and aroma into the brine.
- Pack the jar: Place the cucumber slices or spears into a clean quart-sized jar. Tuck in the garlic cloves and 3-4 fresh dill sprigs among them. Add 1 teaspoon whole black peppercorns and optional 1/4 teaspoon red pepper flakes for a gentle heat.
- Make the brine: In a small saucepan or bowl, combine 1 cup (240 ml) white vinegar, 1 cup (240 ml) cold water, 1 tablespoon pickling salt, and 1 teaspoon granulated sugar. Stir until the salt and sugar are mostly dissolved. Warming the brine slightly helps, but it’s not required.
- Pour and seal: Pour the brine over the cucumbers in the jar until fully submerged. Use a clean utensil or your fingers to press cucumbers down if needed, ensuring no air pockets remain. Seal the jar tightly.
- Refrigerate and wait: Place the jar in the refrigerator for at least 24 hours before tasting. The flavors develop beautifully after 2-3 days, but they’re often good enough to enjoy sooner.
- Enjoy: Once ready, enjoy your pickles straight from the jar, as a tangy side, or chopped into sandwiches and salads.
Pro tip: If you notice the cucumbers floating, place a small clean weight or a folded piece of parchment inside the jar to keep them submerged. This keeps them crisp and evenly pickled.
Cooking Tips & Techniques
One of the trickiest parts of homemade pickling is keeping that satisfying crispness. Trust me, I’ve had my share of soggy, disappointing batches. Here’s what I’ve learned over time to keep these refrigerator pickles crunchy and flavorful:
- Use fresh, firm cucumbers: Look for firm, blemish-free pickling or Kirby cucumbers. Avoid overripe or soft ones—they turn mushy fast.
- Don’t skip the pickling salt: Regular table salt can cloud your brine or impact flavor. Pickling salt dissolves cleanly and keeps flavors pure.
- Keep cucumbers submerged: Air exposure causes uneven pickling and soft spots. A simple weight or pressing down the cucumbers helps.
- Refrigerate, don’t can: This recipe is for quick refrigerator pickles, not shelf-stable ones. Keep them chilled to stay crisp and fresh.
- Patience pays off: Though they’re good after 24 hours, waiting 2-3 days lets flavors meld and intensify.
One time, I skipped the sugar and ended up with a brine that was a little too sharp for my taste. A tiny pinch really balances the acid without making them sweet. Also, don’t rush the garlic—it needs a day or two in the brine to mellow and infuse properly.
Variations & Adaptations
This crispy garlic dill refrigerator pickles recipe is a great base for experimenting. Here are a few ways I’ve mixed it up over time:
- Spicy Pickles: Add extra red pepper flakes or a few sliced jalapeños for a fiery twist that wakes up your palate.
- Herbal Mix: Swap fresh dill for a mix of dill and fresh thyme or tarragon for a different herbal character.
- Sweet & Tangy: Increase the sugar to 2 teaspoons and add a cinnamon stick for a sweeter, spiced pickle reminiscent of bread-and-butter style.
- Low-Sodium: Use half the salt and add a splash of lemon juice to keep brightness without overloading on sodium.
- Vegan Creamy Dill Pickles: Blend soaked cashews with garlic and dill to create a creamy dip served alongside these crunchy pickles for a fun appetizer.
For different cooking methods, if you want faster pickles, you can lightly blanch the cucumbers in ice water for 30 seconds before pickling to help retain crunch. Personally, I prefer the raw method—it feels more authentic and keeps the texture lively.
Serving & Storage Suggestions
Serve these pickles chilled, straight from the jar for that satisfying crunch. They’re fantastic alongside grilled meats, in sandwiches, or chopped into potato salad for that garlicky dill kick. I like pairing them with smoky dishes or creamy spreads, and they add a fresh bite next to a rich bowl of soup.
Store the pickles in the refrigerator, tightly sealed, for up to 3 weeks. Over time, the flavors deepen, and the pickles become more mellow. I find they’re best eaten within the first two weeks for peak crunch.
When reheating dishes with these pickles, add them last to retain their texture. They’re not meant for cooking but rather as a fresh, cooling contrast.
For easy entertaining, try serving them alongside a platter of cheeses and charcuterie or with other homemade treats like mini lemon blueberry cheesecakes for a sweet and savory balance.
Nutritional Information & Benefits
These crispy garlic dill refrigerator pickles are low in calories and fat, making them a guilt-free snack or condiment. A typical serving (about 3-4 spears) contains roughly:
| Nutrient | Amount |
|---|---|
| Calories | 15 kcal |
| Carbohydrates | 3 g |
| Fiber | 1 g |
| Sodium | 450 mg |
The fresh dill offers antioxidants and vitamins A and C, while garlic contributes anti-inflammatory compounds. These pickles are naturally gluten-free and vegan-friendly, perfect for a variety of dietary needs. Just watch the sodium if you’re on a low-salt diet.
From my perspective, having a jar of these pickles ready means a quick way to add flavor and crunch without extra calories—handy when you want to snack smart but still enjoy bold tastes.
Conclusion
Honestly, these crispy garlic dill refrigerator pickles have become a quiet staple in my kitchen because they’re dependable, easy, and genuinely tasty. Whether you’re a pickle veteran or just curious about homemade flavor, this recipe makes it easy to get that perfect crunch and that classic garlic dill zing.
Feel free to tweak the garlic or heat levels to suit your taste—I’ve found it fun to make little adjustments each time. If you’re looking for a simple way to bring homemade flavor to your fridge without a lot of fuss, this recipe is worth keeping around.
The best part? Watching that jar disappear faster than expected and knowing you made it yourself is quietly satisfying. And if you’re interested in more simple recipes that bring joy with minimal effort, you might want to browse through the variety on our recipes page for inspiration.
Happy pickling!
FAQs
How long do refrigerator pickles last?
Stored in the fridge, these pickles keep their best quality for up to 3 weeks. The flavor deepens over time, but they may lose some crunch after that.
Can I use regular cucumbers instead of Kirby cucumbers?
Yes, you can use regular cucumbers, but Kirby or pickling cucumbers hold up better and stay crisp longer. If using English cucumbers, remove seeds for better texture.
Do I need to boil the brine before pouring it over the cucumbers?
It’s not necessary for this recipe since it’s a quick refrigerator pickle. Stirring the salt and sugar into cold or slightly warm water and vinegar works fine.
Can I make these pickles without garlic?
You can omit garlic if you prefer, but it’s a key flavor in this recipe. Try substituting with shallots or onion slices for a different twist.
What’s the best way to keep pickles crunchy?
Use firm cucumbers, keep them submerged in brine, and refrigerate promptly. Avoid canned or soft cucumbers, and don’t rush the pickling process.
Pin This Recipe!
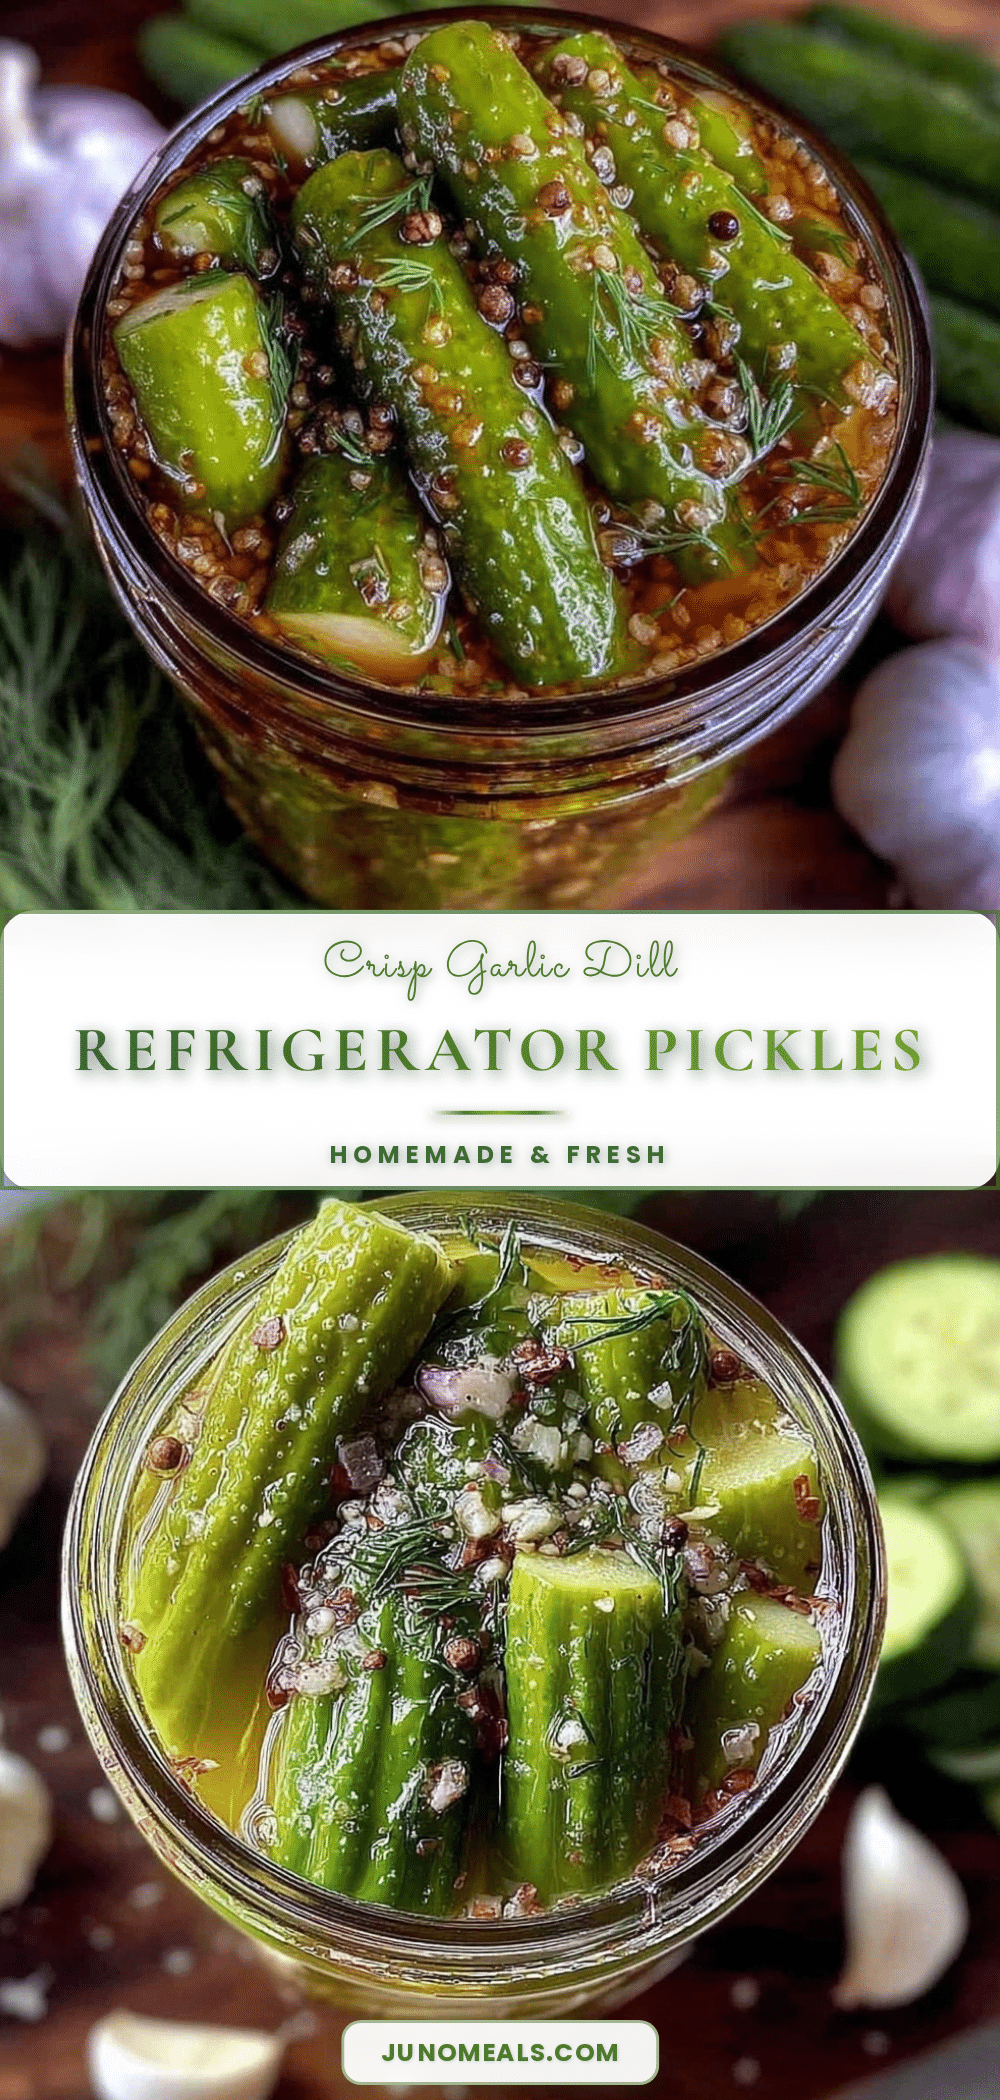
Crispy Garlic Dill Refrigerator Pickles
These quick and easy refrigerator pickles deliver a satisfying crunch with a perfect tangy garlic dill flavor, ready to enjoy in just 24 hours without any canning fuss.
- Prep Time: 10 minutes
- Cook Time: 0 minutes
- Total Time: 24 hours
- Yield: 4 servings 1x
- Category: Condiment
- Cuisine: American
Ingredients
- 1 pound fresh cucumbers (preferably Kirby or pickling cucumbers)
- 4–5 large garlic cloves, smashed or thinly sliced
- 3–4 sprigs fresh dill, stems included
- 1 cup white vinegar (240 ml)
- 1 cup water (240 ml), preferably filtered or distilled
- 1 tablespoon pickling salt (kosher or canning salt)
- 1 teaspoon granulated sugar
- 1 teaspoon whole black peppercorns
- 1/4 teaspoon red pepper flakes (optional)
Instructions
- Rinse about 1 pound (450 grams) of cucumbers under cold water. Slice off the ends, then cut into 1/4-inch (0.6 cm) thick rounds or spears.
- Peel 4-5 large garlic cloves and gently smash or thinly slice them to release flavor.
- Place cucumber slices or spears into a clean quart-sized jar. Add garlic cloves, 3-4 fresh dill sprigs, 1 teaspoon whole black peppercorns, and optional 1/4 teaspoon red pepper flakes.
- In a small saucepan or bowl, combine 1 cup white vinegar, 1 cup cold water, 1 tablespoon pickling salt, and 1 teaspoon granulated sugar. Stir until salt and sugar are mostly dissolved. Warming is optional.
- Pour the brine over the cucumbers in the jar until fully submerged. Press down to remove air pockets and seal the jar tightly.
- Refrigerate the jar for at least 24 hours before tasting. Flavors develop best after 2-3 days.
- Enjoy pickles straight from the jar, as a side, or chopped into sandwiches and salads.
Notes
Use fresh, firm cucumbers like Kirby for best crunch. Keep cucumbers fully submerged in brine to avoid sogginess. Patience is key—flavors improve after 2-3 days. Pickling salt is preferred over table salt to keep brine clear. Optional red pepper flakes add subtle heat. Store refrigerated and consume within 3 weeks for best quality.
Nutrition
- Serving Size: About 3-4 pickle spe
- Calories: 15
- Sugar: 1
- Sodium: 450
- Carbohydrates: 3
- Fiber: 1
Keywords: refrigerator pickles, garlic dill pickles, quick pickles, homemade pickles, easy pickles, crunchy pickles, dill pickles, garlic pickles


