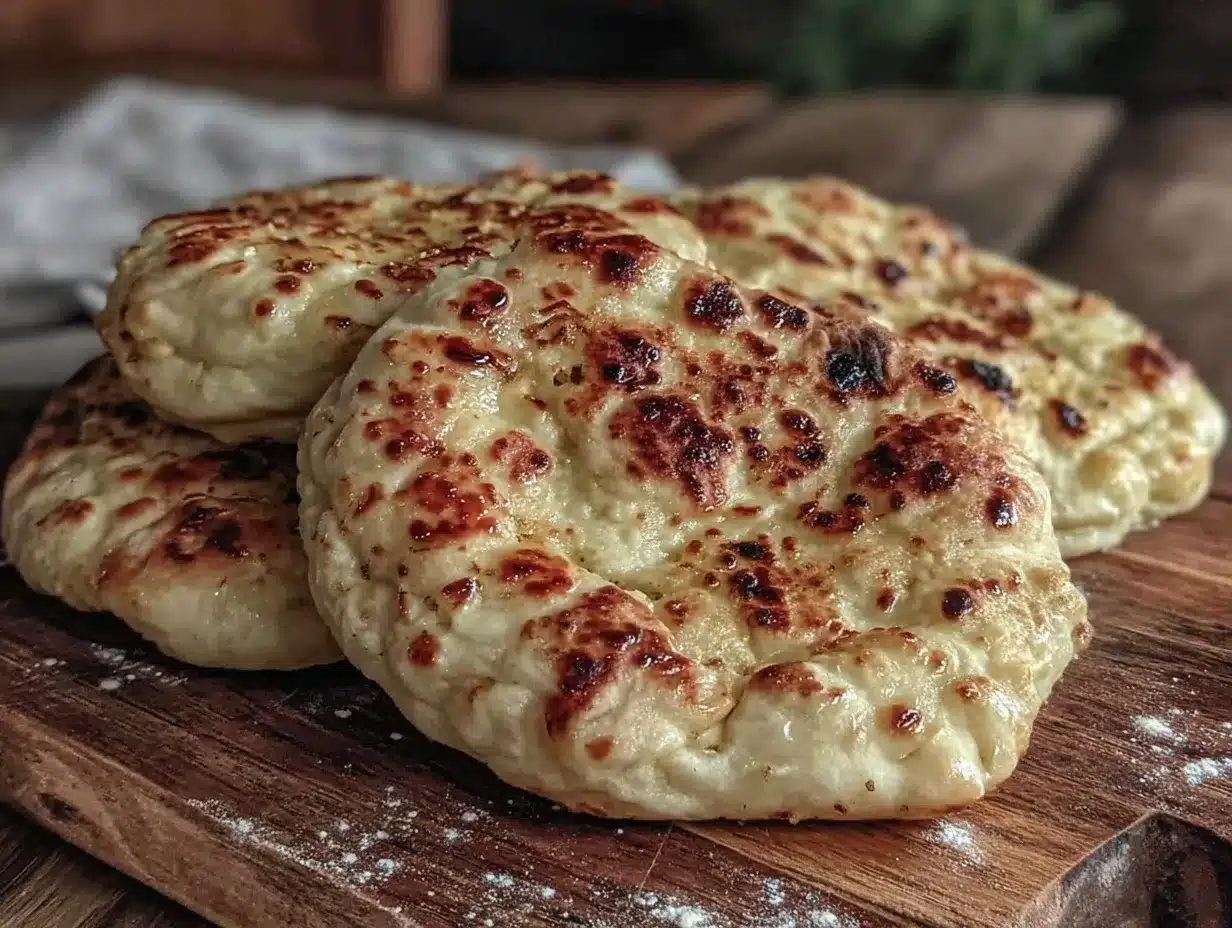
Let me tell you, the scent of warm, freshly baked pita bread drifting through my kitchen is enough to make anyone’s mouth water. Imagine soft, pillowy pockets with just the right touch of golden crispness, the kind you can tear apart to scoop up hummus or wrap around juicy grilled veggies. The first time I baked these fluffy homemade pita bread from scratch, I was instantly hooked—the kind of moment where you pause, take a deep breath, and just smile because you know you’re onto something truly special. It wasn’t just the smell or the taste, but the way these soft pitas puffed up perfectly in the oven, creating that magical pocket every pita lover dreams of.
Way back when I was knee-high to a grasshopper, my grandma used to make bread that filled the whole house with warmth and comfort. Years ago, I stumbled upon this pita bread recipe during a rainy weekend experiment, trying to recreate that nostalgia with a Middle Eastern twist. Honestly, I wish I’d discovered this fluffy homemade pita bread from scratch recipe years ago—it’s dangerously easy and delivers pure, nostalgic comfort without the fuss.
My family couldn’t stop sneaking them off the cooling rack (and I can’t really blame them). These soft pitas have become a staple for our weekend lunches and casual dinners. Whether you’re looking to brighten up your Pinterest recipe board or searching for a sweet treat for your kids, this recipe fits perfectly. Tested multiple times in the name of research, of course, it’s now a go-to for family gatherings, gifting, and those nights when you want something homemade but stress-free.
Why You’ll Love This Fluffy Homemade Pita Bread from Scratch Recipe
Honestly, this recipe isn’t just another pita bread—it’s the kind that makes you close your eyes after the first bite. Here’s why it’s a winner in my kitchen and could be yours too:
- Quick & Easy: Comes together in under 2 hours, perfect for busy weeknights or spontaneous cravings.
- Simple Ingredients: Uses pantry staples like flour, yeast, and olive oil—no fancy grocery trips required.
- Perfect for Any Occasion: Great for cozy dinners, casual get-togethers, or even breakfast wraps.
- Crowd-Pleaser: Kids and adults alike rave about the soft texture and perfect pockets.
- Unbelievably Delicious: The balance of fluffiness and slight chewiness hits that comfort food spot every time.
This recipe stands out because of the little tricks I’ve picked up over time—like the gentle kneading that builds the perfect gluten structure, or letting the dough rest just long enough to puff up beautifully in the oven. It’s comfort food reimagined: softer, lighter, but with all the soul-soothing satisfaction you expect. Whether you’re impressing guests or just treating yourself, these soft pitas hit the mark.
What Ingredients You Will Need for Fluffy Homemade Pita Bread from Scratch
This recipe uses simple, wholesome ingredients to deliver bold flavor and satisfying texture without the fuss. Most are pantry staples you probably have on hand, making it easy to whip up these soft pitas anytime.
- All-Purpose Flour (3 1/2 cups / 440 g) – I recommend King Arthur for best texture and consistency.
- Active Dry Yeast (2 1/4 tsp / 1 packet) – Look for fresh yeast for a stronger rise.
- Warm Water (1 1/4 cups / 300 ml) – About 110°F / 43°C; too hot and it kills the yeast, too cold and it won’t activate properly.
- Olive Oil (2 tbsp) – Adds richness and helps with softness.
- Sugar (1 tsp) – Feeds the yeast and aids browning.
- Salt (1 1/2 tsp) – Enhances flavor; kosher salt works great.
Optional but recommended:
- Whole Wheat Flour (swap up to 1 cup / 125 g for a nuttier flavor)
- Semolina Flour (for dusting) – Gives a nice texture and prevents sticking.
Substitution tips: For a gluten-free option, try a blend of gluten-free flour with xanthan gum, but note the texture will differ. You can swap olive oil with avocado oil if you prefer a milder taste. When fresh yeast is available, use 2 1/4 tsp and reduce the sugar slightly.
Equipment Needed
- Mixing Bowl: A large one to give the dough room to rise.
- Kitchen Scale: Helpful for precise measurements but cups work too.
- Stand Mixer with Dough Hook (Optional): Speeds up kneading, though hand kneading works just fine.
- Baking Sheet or Pizza Stone: A pizza stone helps get that perfect puff and crispy bottom, but a baking sheet will do.
- Rolling Pin: For evenly flattening the dough balls.
- Clean Kitchen Towel or Plastic Wrap: To cover the dough while it rises.
If you don’t have a pizza stone, preheat your baking sheet in the oven to mimic the effect—just be careful when placing the dough. I’ve used both and honestly, the stone gives a better puff but the baking sheet is a budget-friendly, no-fuss alternative.
Preparation Method for Fluffy Homemade Pita Bread from Scratch
- Activate the Yeast (5-10 minutes): In a small bowl, combine warm water (110°F / 43°C), sugar, and active dry yeast. Stir gently and let it sit until foamy and bubbly on top—that’s your yeast waking up and ready to work.
- Mix the Dough (10 minutes): In a large mixing bowl, whisk together the flour and salt. Create a well in the center and pour in the yeast mixture and olive oil. Stir with a wooden spoon or your hand until it forms a shaggy dough.
- Knead the Dough (8-10 minutes): Turn the dough onto a lightly floured surface. Knead by pushing with the heel of your hand, folding, and rotating. You want a smooth, elastic dough that springs back when poked. If using a stand mixer, knead with the dough hook on medium speed for 6-7 minutes.
- First Rise (1 hour): Place the dough in a lightly oiled bowl, cover with a clean kitchen towel or plastic wrap, and let it rise in a warm spot. It should double in size and feel airy. If your kitchen is cold, try placing the bowl inside the oven with the light on.
- Divide and Shape (15 minutes): Punch down the dough gently to release air. Turn it out on a floured surface and divide into 8-10 equal pieces (about 80-90g / 3 oz each). Roll each piece into a smooth ball, then flatten with a rolling pin into circles about 1/4 inch (6mm) thick.
- Second Rise (30 minutes): Place the flattened dough rounds on a floured surface, cover with a towel, and let them rest. They’ll puff slightly and relax, which helps them bake up soft and airy.
- Preheat Oven & Baking Surface (At least 30 minutes): Preheat your oven to 475°F (245°C). Place your pizza stone or inverted baking sheet inside to get piping hot.
- Bake the Pitas (3-5 minutes each batch): Carefully transfer 2-3 dough rounds onto the hot stone or baking sheet. Bake until they puff up like balloons and develop light golden spots, about 3-5 minutes. Don’t open the oven door during baking—this will deflate the pitas.
- Cool and Store: Remove the pitas and cover them with a clean towel to keep soft. Repeat with remaining dough. Let cool slightly before serving.
Pro tip: If your pitas don’t puff on the first try, don’t fret. Sometimes the dough needs a bit more resting time or a hotter oven. Keep practicing, you’ll get the hang of it!
Cooking Tips & Techniques for Perfect Soft Pitas
Here are a few tricks I’ve learned (sometimes the hard way) to make sure your fluffy homemade pita bread from scratch turns out just right every time:
- Water Temperature Matters: Yeast loves warmth but hates heat. Too hot water kills it; too cold won’t activate it. Aim for about 110°F / 43°C, which feels warm but not hot to your wrist.
- Knead Like You Mean It: The gluten network built during kneading traps gases, making those perfect puffy pockets. Don’t rush this step!
- Rest Is Key: Let the dough rise until doubled. Patience pays off with soft, airy pitas.
- Hot Oven & Baking Surface: A really hot stone or baking sheet mimics a traditional pita oven and helps the bread puff quickly before drying out.
- Don’t Peek During Baking: Opening the oven door lets heat escape and deflates your pitas. Resist the urge and trust the process.
- Flour Lightly: Dust your work surface and rolling pin lightly to prevent sticking but don’t overdo it or the dough dries out.
Honestly, the first few times I made pita, some batches didn’t puff. It’s normal! Keep adjusting oven temps and resting times. Once you nail it, it’s magic.
Variations & Adaptations for Fluffy Homemade Pita Bread from Scratch
Want to mix things up? Here are some tasty twists and adaptations you can try:
- Whole Wheat Pitas: Swap half or all the flour for whole wheat. It adds a nutty flavor and extra fiber but might make the pitas slightly denser.
- Herb-Infused Dough: Add 1-2 tbsp chopped fresh herbs like rosemary, thyme, or za’atar for a fragrant boost.
- Garlic & Olive Oil Brush: After baking, lightly brush pitas with garlic-infused olive oil for a flavorful finish.
- Gluten-Free Option: Use a gluten-free flour blend suited for bread baking, adding xanthan gum if your blend doesn’t contain it.
- Grilled Pitas: Instead of baking, try cooking the rolled dough on a hot grill pan or cast-iron skillet. It gives charred spots and smoky notes.
One of my favorite variations is the herb-infused dough—adds a subtle, fresh flavor that makes pita even more irresistible. Try it next time you want to impress!
Serving & Storage Suggestions for Your Soft Pitas
Serve these fluffy homemade pita bread from scratch warm or at room temperature. They’re perfect for stuffing with falafel, grilled meats, veggies, or simply dipping into tzatziki or hummus. For a simple snack, slice open and fill with your favorite spreads and salad.
To store, wrap cooled pitas tightly in plastic wrap or place in an airtight container. They keep well at room temperature for 2 days or in the fridge for up to a week. For longer storage, freeze them in a zip-top bag for up to 3 months—thaw at room temp or warm gently in the oven.
Reheating tip: Warm in a hot oven (350°F / 175°C) for 5-7 minutes wrapped in foil, or toast quickly in a dry skillet to refresh softness and bring back that toasty flavor. Flavors develop and deepen if you let the dough rest a little longer before baking, so try prepping ahead.
Nutritional Information & Benefits of Homemade Pita Bread
Each pita (about 80g) contains roughly 160 calories, 5 grams of protein, 1 gram of fat, and 32 grams of carbohydrates. Using olive oil adds healthy fats, and whole wheat flour boosts fiber and micronutrients. This recipe is naturally free from added sugars and preservatives, making it a wholesome alternative to store-bought pitas.
This fluffy homemade pita bread from scratch fits well into balanced diets and can be adapted for gluten-free or whole grain options. It’s a satisfying base for nutrient-rich fillings, offering both comfort and nourishment with every bite. For those mindful of allergens, this recipe contains wheat and gluten but is otherwise free from nuts and dairy.
Conclusion
Fluffy homemade pita bread from scratch is honestly one of those recipes that once you try it, you’ll wonder why you ever settled for store-bought. It’s soft, light, and utterly satisfying—with a texture that feels like a warm hug in every bite. Feel free to customize it with herbs, whole wheat, or your favorite cooking method to make it truly yours.
I love this recipe because it brings a little joy and comfort to my kitchen, turning simple ingredients into something that feels special. So go ahead, give it a try, and please come back to share your pita adventures—I’m always excited to hear how you make it your own!
FAQs about Fluffy Homemade Pita Bread from Scratch
How do I know if my pita dough has risen enough?
It should roughly double in size and feel soft and airy when you gently press it with your finger. If it springs back slowly, it’s ready.
Why didn’t my pita bread puff up?
Common reasons include oven not hot enough, dough resting too short or too long, or dough rolled too thin or thick. Make sure your oven is preheated and don’t open the door during baking.
Can I make pita bread without a pizza stone?
Yes! Use a preheated inverted baking sheet or cast-iron skillet. Just be careful transferring the dough to the hot surface.
How long can I store homemade pita bread?
Store at room temperature for up to 2 days, refrigerate for up to a week, or freeze for 3 months. Wrap tightly to keep it soft.
Is this recipe suitable for gluten-free diets?
The basic recipe contains wheat flour, but you can try a gluten-free flour blend with xanthan gum. The texture will differ but still tasty!
Pin This Recipe!
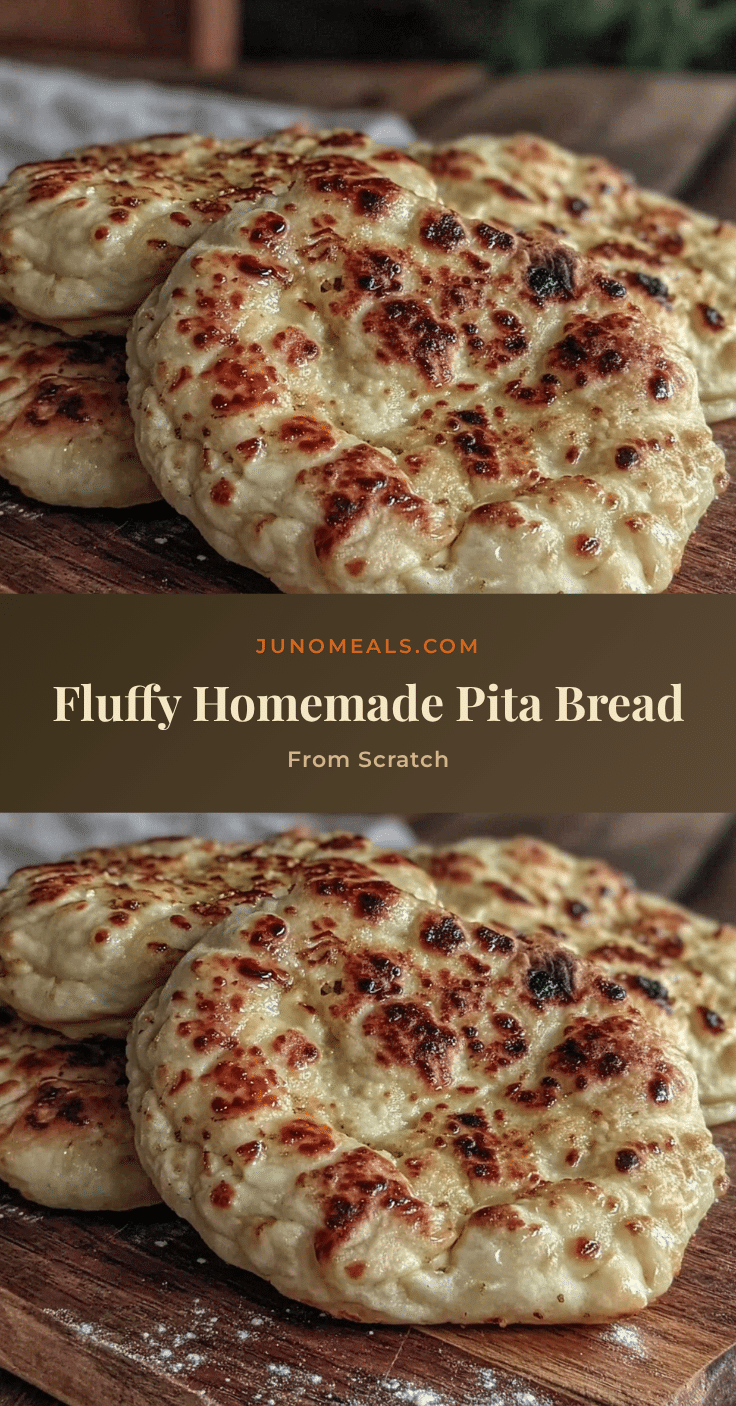
Fluffy Homemade Pita Bread from Scratch

Soft, pillowy pita bread with perfect pockets, made easily from simple pantry ingredients. Perfect for wraps, dips, and sandwiches.
- Prep Time: 25 minutes
- Cook Time: 15-20 minutes
- Total Time: 1 hour 40 minutes
- Yield: 8-10 pitas 1x
- Category: Bread
- Cuisine: Middle Eastern
Ingredients
- 3 1/2 cups (440 g) all-purpose flour
- 2 1/4 tsp (1 packet) active dry yeast
- 1 1/4 cups (300 ml) warm water (about 110°F / 43°C)
- 2 tbsp olive oil
- 1 tsp sugar
- 1 1/2 tsp salt
- Optional: up to 1 cup (125 g) whole wheat flour (to swap for part of the all-purpose flour)
- Optional: semolina flour for dusting
Instructions
- Activate the yeast by combining warm water, sugar, and active dry yeast in a small bowl. Let sit for 5-10 minutes until foamy.
- In a large mixing bowl, whisk together flour and salt. Make a well in the center and pour in the yeast mixture and olive oil. Stir until a shaggy dough forms.
- Turn dough onto a lightly floured surface and knead for 8-10 minutes until smooth and elastic. Alternatively, knead with a stand mixer dough hook on medium speed for 6-7 minutes.
- Place dough in a lightly oiled bowl, cover with a towel or plastic wrap, and let rise in a warm spot for 1 hour until doubled in size.
- Punch down dough and divide into 8-10 equal pieces (about 3 oz / 80-90 g each). Roll each into a ball and flatten into 1/4 inch (6 mm) thick circles.
- Place dough rounds on a floured surface, cover, and let rest for 30 minutes to puff slightly.
- Preheat oven to 475°F (245°C) with a pizza stone or inverted baking sheet inside for at least 30 minutes.
- Bake 2-3 dough rounds at a time on the hot surface for 3-5 minutes until they puff up and develop light golden spots. Do not open the oven door during baking.
- Remove pitas and cover with a clean towel to keep soft. Repeat with remaining dough. Let cool slightly before serving.
Notes
Use water at about 110°F to activate yeast properly. Knead dough well to develop gluten for perfect puffing. Preheat baking surface thoroughly. Do not open oven door while baking to prevent deflating pitas. For gluten-free option, use gluten-free flour blend with xanthan gum. Whole wheat flour can be substituted for part of the all-purpose flour for nuttier flavor.
Nutrition
- Serving Size: 1 pita (about 80 g)
- Calories: 160
- Sugar: 1
- Sodium: 300
- Fat: 1
- Saturated Fat: 0.2
- Carbohydrates: 32
- Fiber: 1.5
- Protein: 5
Keywords: pita bread, homemade pita, soft pita, fluffy pita, Middle Eastern bread, easy pita recipe, bread from scratch