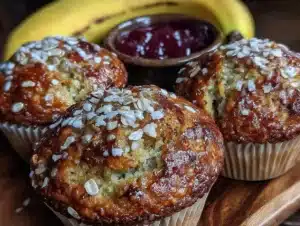
“Hey, did you try those chewy granola bars I sent with you?” my coworker asked over a quick coffee break. Honestly, I had almost forgotten about them, those little homemade bars I whipped up one frantic Sunday afternoon when the grocery store was out of just about everything except dried fruit and oats. I wasn’t expecting much—they were supposed to be a quick fix, a snack to hold me over between meetings. But as it turns out, they became my go-to pick-me-up throughout the week.
There’s something about the way the sweet dried fruit melds with the chewy oats and a hint of honey that feels like a small, satisfying reward. No fancy ingredients, just simple pantry staples coming together to create something unexpectedly comforting. This recipe stuck with me not because it was fancy or complicated, but because it’s reliable and honestly, pretty addictive once you get the balance right.
Now, every time I make a batch, I remember that rushed Sunday and how these chewy granola bars with sweet dried fruit quietly turned into a snack that friends started asking for—and I’m happy to share. They’re the kind of bars you can grab on your way out the door or pack in a lunchbox, and they don’t crumble into a mess. It’s a humble recipe, but it’s become part of my snack rotation, and I suspect it might slip into yours, too.
Why You’ll Love This Recipe
After testing and tweaking this chewy granola bars recipe more times than I can count, I’m confident it’s one of the easiest and tastiest homemade snacks you’ll find. Here’s why it’s a keeper:
- Quick & Easy: Ready in under 30 minutes, perfect for those busy mornings or last-minute snack cravings.
- Simple Ingredients: No hard-to-find stuff here—just oats, honey, nuts, and your favorite dried fruit. I usually keep a stash of Medjool dates and dried cherries on hand.
- Perfect for On-the-Go: These bars hold their shape, so tossing one in a bag or lunchbox is hassle-free and mess-free.
- Crowd-Pleaser: My kids and coworkers alike give these bars a thumbs-up, which isn’t always a given with homemade granola bars!
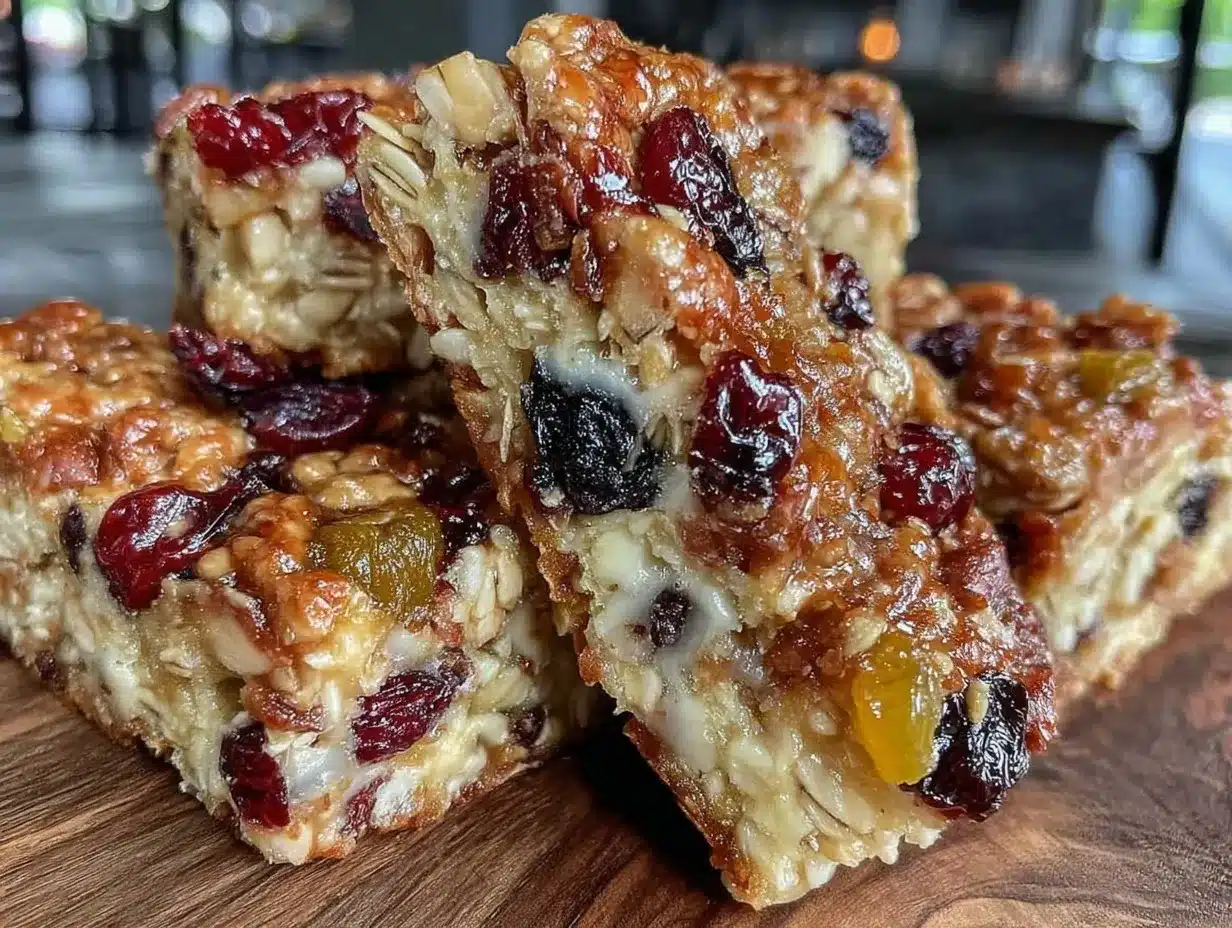
- Unbelievably Delicious: The texture is satisfyingly chewy, not brittle or crumbly, with just the right touch of sweet from the dried fruit.
What sets this recipe apart? It’s the way the dried fruit is chopped finely and mixed in evenly, so every bite surprises you with a burst of natural sweetness. Plus, I like to lightly toast the oats and nuts before mixing—it adds a depth of flavor that makes these bars feel homemade in the best way possible.
Honestly, it’s the kind of recipe that makes you pause, close your eyes, and appreciate a simple snack done well. If you’re after a reliable granola bar recipe that doesn’t rely on store-bought mixes, this one’s for you.
What Ingredients You Will Need
This recipe keeps things straightforward, using wholesome, pantry-friendly ingredients that work together to create a chewy texture and naturally sweet flavor. Here’s what you’ll need:
- Old-fashioned rolled oats (2 cups / 180g) – the base of your bars, providing that classic chewy texture. I prefer Bob’s Red Mill for consistent quality.
- Mixed nuts, chopped (1 cup / 120g) – walnuts, almonds, or pecans work well. Toast them lightly for extra flavor.
- Honey (½ cup / 170g) – acts as the natural sweetener and binder. Use raw honey if you can.
- Brown sugar (¼ cup / 50g) – adds a hint of molasses richness.
- Unsalted butter (¼ cup / 56g) – melted, it helps bind everything together and adds a subtle richness.
- Vanilla extract (1 teaspoon) – for a warm, aromatic touch.
- Salt (½ teaspoon) – balances the sweetness.
- Sweet dried fruit (1 cup / 150g) – chopped finely. I usually go with a mix of dried apricots, cherries, and cranberries. You can swap in raisins or dates if you prefer.
- Chia seeds or flaxseeds (optional, 2 tablespoons) – for a nutritional boost and a little extra texture.
Feel free to swap out the nuts for seeds if you’re allergic, or try almond flour in place of some oats for a slightly different texture. In summer, fresh berries aren’t great here, but dried blueberries or pineapple work wonders for adding a tropical twist.
Equipment Needed
- Mixing bowls: A large bowl for combining your dry ingredients and a smaller one for wet ingredients.
- Baking pan: An 8×8-inch (20×20 cm) square baking pan works perfectly. Line it with parchment paper for easy removal.
- Wooden spoon or spatula: For mixing everything thoroughly without breaking the dried fruit too much.
- Measuring cups and spoons: Accurate measurements make a big difference in texture.
- Sharp knife: To chop the dried fruit and nuts evenly.
- Oven: For toasting the oats and nuts to deepen flavor — honestly, it’s a game-changer.
If you don’t have a baking pan exactly that size, a 9×9-inch pan will do, though the bars will be slightly thinner. For a budget-friendly option, I sometimes use a loaf pan, which changes the shape but not the chewiness.
Preparation Method
- Preheat your oven: Set it to 350°F (175°C). While it warms up, spread the oats and chopped nuts evenly on a baking sheet. Toast for about 10 minutes, stirring halfway through, until golden and fragrant. This step brings out that nutty aroma you want in chewy granola bars.
- Prepare the wet mixture: In a medium saucepan, melt the butter over low heat. Stir in honey and brown sugar until everything dissolves and bubbles gently (about 2-3 minutes). Remove from heat and stir in vanilla extract and salt.
- Combine dry and wet: Transfer the toasted oats and nuts to a large mixing bowl. Add the finely chopped dried fruit and optional chia seeds. Pour the wet mixture over everything and mix thoroughly using a wooden spoon to coat all ingredients evenly. The mixture should be sticky but manageable.
- Press into the pan: Line your 8×8-inch baking pan with parchment paper, leaving some overhang for easy removal. Transfer the mixture into the pan and press down firmly with a spatula or your hands (lightly dampened to prevent sticking). Getting a tight, even pack here helps the bars hold together once cooled.
- Bake briefly: Pop the pan into the oven and bake for 15-18 minutes. The edges will start to turn golden but don’t let it brown too much—you want to keep that chewy texture.
- Cool and slice: Remove from oven and let cool completely in the pan on a wire rack (about 1-2 hours). Once cooled, lift out the parchment paper and transfer to a cutting board. Use a sharp knife to slice into bars or squares. For cleaner cuts, warm the knife slightly or wipe it between slices.
If the bars seem crumbly, try pressing them down a little more firmly before baking next time, or add an extra tablespoon of honey to improve binding. The smell of toasted oats and honey as these bake is honestly one of my favorite kitchen moments.
Cooking Tips & Techniques
Getting chewy granola bars just right is a bit of an art, but here are some tips I’ve picked up along the way:
- Toast your oats and nuts: It’s tempting to skip this step when you’re in a rush, but trust me, it adds a depth of flavor and a nuttier crunch that lifts the whole recipe.
- Chop dried fruit finely: Big chunks can cause the bars to break apart more easily. Smaller pieces distribute sweetness evenly and keep the bars intact.
- Don’t overbake: If you leave them in too long, the bars get hard and lose that chewy texture. Keep a close eye starting at 15 minutes.
- Press firmly: When packing the mixture into the pan, press it down with some force to compact the ingredients. This helps with binding and prevents crumbly bars.
- Let them cool fully: Cutting into warm bars is tempting but often leads to crumbling. Patience pays off here.
- Multitasking advice: While the oats and nuts toast, prep your dried fruit and measure wet ingredients. It speeds things up and keeps the workflow smooth.
I remember the first time I skipped the honey and tried maple syrup instead—it was tasty but way too sticky and didn’t set right. Lesson learned: honey’s natural viscosity is perfect for chewy granola bars.
Variations & Adaptations
Once you’ve nailed the basic recipe, it’s fun to experiment and make it your own. Here are some ideas:
- Nut-free version: Use sunflower seeds and pumpkin seeds instead of nuts, and add a touch more dried fruit for sweetness.
- Chocolate lover’s twist: Stir in ¼ cup (45g) mini chocolate chips after baking and cooling for a melty surprise in every bite.
- Seasonal flavors: Swap dried apricots for diced dried apple and add 1 teaspoon cinnamon for an autumn-inspired bar.
- Gluten-free option: Make sure you use certified gluten-free oats to keep these bars safe and tasty.
- Personal fave: I like adding a tablespoon of peanut butter to the wet mix for extra richness and protein—it also helps with the chewiness.
Depending on your oven and preferences, you can also try no-bake versions that chill in the fridge overnight, though the texture shifts towards a dense, fudge-like bar. For more snack ideas that are crowd-pleasers, I sometimes pair these with lighter treats like mini lemon blueberry cheesecakes for a sweet and tangy contrast.
Serving & Storage Suggestions
These chewy granola bars are just right at room temperature but also delicious slightly warmed. I like to enjoy one alongside a cup of tea in the afternoon haze of work, or pack a couple for hikes and busy mornings.
To store, keep them in an airtight container at room temperature for up to one week. If you want to keep a longer stash, wrap bars individually and freeze for up to 3 months. Thaw at room temperature or briefly microwave for 10-15 seconds to bring back that softness.
Flavors mellow and blend beautifully if you let the bars rest a day before eating, so consider making them a day ahead for best results. These bars also pair well with fresh fruit or yogurt for a balanced snack or light breakfast.
If you’re interested in other homemade snack recipes, the recipe collection on my site has lots of ideas that complement these bars well.
Nutritional Information & Benefits
Each chewy granola bar (based on 12 bars per batch) provides roughly:
| Calories | 180 |
|---|---|
| Protein | 4g |
| Fat | 7g |
| Carbohydrates | 25g |
| Fiber | 3g |
| Sugar | 12g (natural sugars from honey and dried fruit) |
The oats provide sustained energy and fiber, while nuts add healthy fats and protein to keep you fuller longer. Dried fruit contributes natural sweetness plus antioxidants and vitamins.
These bars are naturally gluten-free if made with certified oats and are free from artificial additives or preservatives. They’re a solid choice for a wholesome snack that feels indulgent but is actually quite good for you.
Conclusion
Honestly, these chewy granola bars with sweet dried fruit have earned a permanent spot in my kitchen routine. They’re straightforward to make, adaptable, and hit that perfect chewy texture that’s hard to find in store-bought bars. Whether you’re packing a lunchbox, heading out for a hike, or just need a quick bite between meetings, these bars deliver.
Don’t hesitate to tweak the dried fruit or nuts to suit your taste, and remember, the little toasting step makes a world of difference. I’d love to hear how you make them your own or any creative spins you try.
Give this recipe a shot, and maybe it’ll become your reliable snack, too. Drop a comment below to share your experience or questions—let’s talk snacks!
FAQs
Can I use maple syrup instead of honey?
You can, but maple syrup is thinner and may make the bars less sticky, so they might not hold together as well.
How long do homemade granola bars last?
Stored in an airtight container at room temperature, they last about a week. For longer storage, freeze them.
Can I make these bars gluten-free?
Yes! Just be sure to use certified gluten-free oats and check all other ingredients for gluten contamination.
What’s the best way to keep bars from crumbling?
Press the mixture firmly into the pan before baking and avoid overbaking. Also, letting them cool completely helps them set properly.
Can I add chocolate chips or other mix-ins?
Definitely! Stir in mini chocolate chips after baking and cooling for a melty touch, or try seeds and spices to customize flavor and texture.
Pin This Recipe!
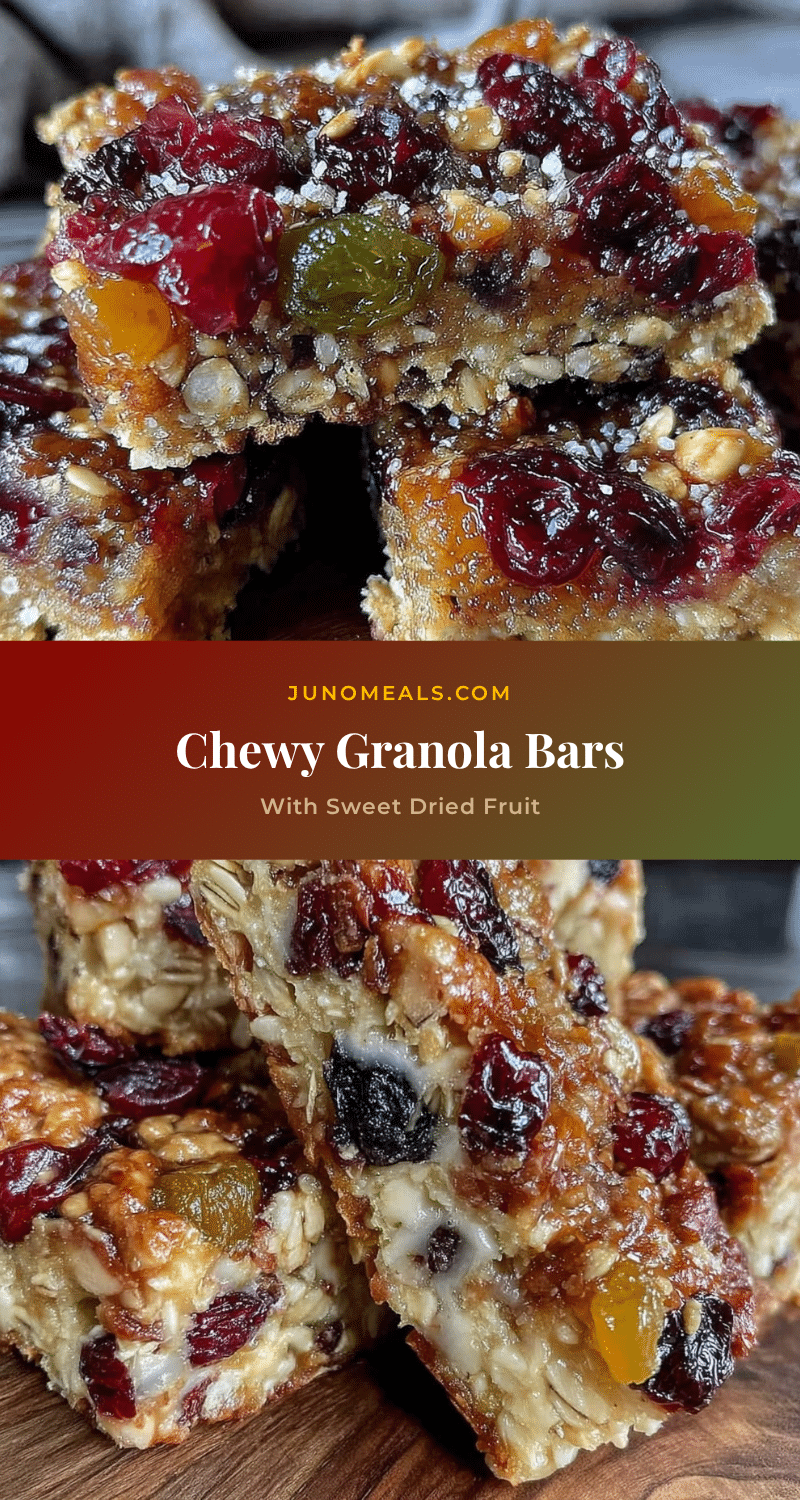
Chewy Granola Bars Recipe with Sweet Dried Fruit
A quick and easy homemade snack featuring chewy oats, sweet dried fruit, nuts, and honey, perfect for on-the-go or lunchboxes.
- Prep Time: 15 minutes
- Cook Time: 18 minutes
- Total Time: 1 hour 35 minutes
- Yield: 12 bars 1x
- Category: Snack
- Cuisine: American
Ingredients
- 2 cups old-fashioned rolled oats (180g)
- 1 cup mixed nuts, chopped (walnuts, almonds, or pecans) (120g)
- ½ cup honey (170g)
- ¼ cup brown sugar (50g)
- ¼ cup unsalted butter, melted (56g)
- 1 teaspoon vanilla extract
- ½ teaspoon salt
- 1 cup sweet dried fruit, chopped finely (apricots, cherries, cranberries) (150g)
- Optional: 2 tablespoons chia seeds or flaxseeds
Instructions
- Preheat oven to 350°F (175°C). Spread oats and chopped nuts evenly on a baking sheet and toast for about 10 minutes, stirring halfway through, until golden and fragrant.
- In a medium saucepan, melt butter over low heat. Stir in honey and brown sugar until dissolved and bubbling gently (2-3 minutes). Remove from heat and stir in vanilla extract and salt.
- Transfer toasted oats and nuts to a large mixing bowl. Add finely chopped dried fruit and optional chia seeds. Pour wet mixture over and mix thoroughly with a wooden spoon until sticky but manageable.
- Line an 8×8-inch baking pan with parchment paper, leaving overhang for easy removal. Transfer mixture into pan and press down firmly with a spatula or dampened hands to compact evenly.
- Bake for 15-18 minutes until edges turn golden but bars remain chewy. Avoid overbaking.
- Remove from oven and cool completely in pan on a wire rack (1-2 hours). Lift out using parchment overhang and slice into bars or squares with a sharp knife. Warm knife slightly or wipe between slices for cleaner cuts.
Notes
Toast oats and nuts to enhance flavor. Chop dried fruit finely to prevent bars from crumbling. Press mixture firmly into pan before baking. Avoid overbaking to keep chewy texture. Let bars cool completely before slicing. For better binding, add an extra tablespoon of honey if bars seem crumbly. Bars can be stored in an airtight container at room temperature for up to one week or frozen for up to 3 months.
Nutrition
- Serving Size: 1 bar (1/12th of bat
- Calories: 180
- Sugar: 12
- Fat: 7
- Carbohydrates: 25
- Fiber: 3
- Protein: 4
Keywords: granola bars, chewy granola bars, homemade snack, dried fruit bars, healthy snack, easy granola bars, no bake snack, gluten-free granola bars