My niece asked why I couldn’t just use maple syrup instead of sugar in my mocha syrup. I started to explain why that wouldn’t work—then stopped. She was twelve, and she was holding a jar of maple syrup like she’d just discovered fire. Honestly, I almost laughed. But something made me pause. I mean, what did I actually know? I’d been making mocha syrup the same way for years, and it was fine. But fine isn’t the same as great, and it’s definitely not the same as figuring out if a kid’s offhand idea might actually be brilliant. So I handed her the measuring spoons and let her take the lead. What came out of that experiment was this Lightened-Up Peppermint Mocha with Homemade Syrup—a recipe that tastes like a holiday hug but won’t leave you crashing an hour later. Let me tell you, I was wrong. She was right. And now I make this version on repeat, especially when I want something cozy that doesn’t weigh me down.
This recipe started in my tiny kitchen on a rainy Tuesday afternoon, with a cracked mug and a bag of peppermint candies that had been sitting in the cupboard since last Christmas. Maybe you’ve been there—staring at ingredients you bought with good intentions, wondering if you could actually make something good out of them without a trip to the store. That’s exactly where this mocha was born. It’s not fancy. It’s not complicated. But it is, without a doubt, the best peppermint mocha I’ve ever made at home. And the best part? It’s actually lightened up, so you can enjoy it without the sugar coma.
Why You’ll Love This Recipe
Let’s be real for a second. Most store-bought peppermint mochas are basically dessert in a cup. They’re loaded with sugar, artificial flavors, and enough calories to make you rethink your whole day. This version? It’s different. And I don’t say that lightly—I’ve tested this recipe about seven times to get it just right. Here’s what makes it stand out:
- Quick & Easy: Comes together in under 15 minutes, perfect for those mornings when you need a little holiday magic but don’t have time to fuss.
- Simple Ingredients: No fancy grocery trips needed. You probably already have maple syrup, cocoa powder, and peppermint extract in your pantry.
- Perfect for Cozy Mornings: Great for slow weekend breakfasts, holiday mornings, or even as a midday pick-me-up that feels like a treat.
- Crowd-Pleaser: Everyone who tries this asks for the recipe—seriously, I’ve had to text it to three friends already this week.
- Unbelievably Delicious: The combination of rich cocoa, cool peppermint, and smooth coffee is next-level comfort. You won’t miss the heavy cream or refined sugar one bit.
This isn’t just another peppermint mocha recipe. It’s the one where you actually feel good about what you’re drinking. The homemade syrup is naturally sweetened with maple syrup, which adds a subtle warmth you just can’t get from white sugar. And the peppermint? It’s bright and fresh, not that artificial, toothpaste-like flavor you sometimes get in coffee shops. I’ve tested this with different milks—oat, almond, whole—and every single one works beautifully. So whether you’re dairy-free, watching your sugar intake, or just want a lighter option that still tastes indulgent, this recipe has your back.
What Ingredients You Will Need
This recipe uses simple, wholesome ingredients to deliver bold flavor and satisfying texture without the fuss. Most of these are pantry staples, which makes this mocha perfect for spontaneous holiday cravings.
For the Homemade Peppermint Syrup
- Maple syrup, ½ cup (use pure maple syrup for best flavor—I prefer Grade A dark amber for its rich taste)
- Unsweetened cocoa powder, 2 tablespoons (I recommend Ghirardelli or Hershey’s Special Dark for a deep chocolate flavor)
- Peppermint extract, ½ teaspoon (look for pure peppermint extract, not imitation—the flavor is much cleaner)
- Vanilla extract, 1 teaspoon (adds warmth and rounds out the peppermint)
- Water, ¼ cup (helps thin the syrup to the perfect consistency)
For the Mocha
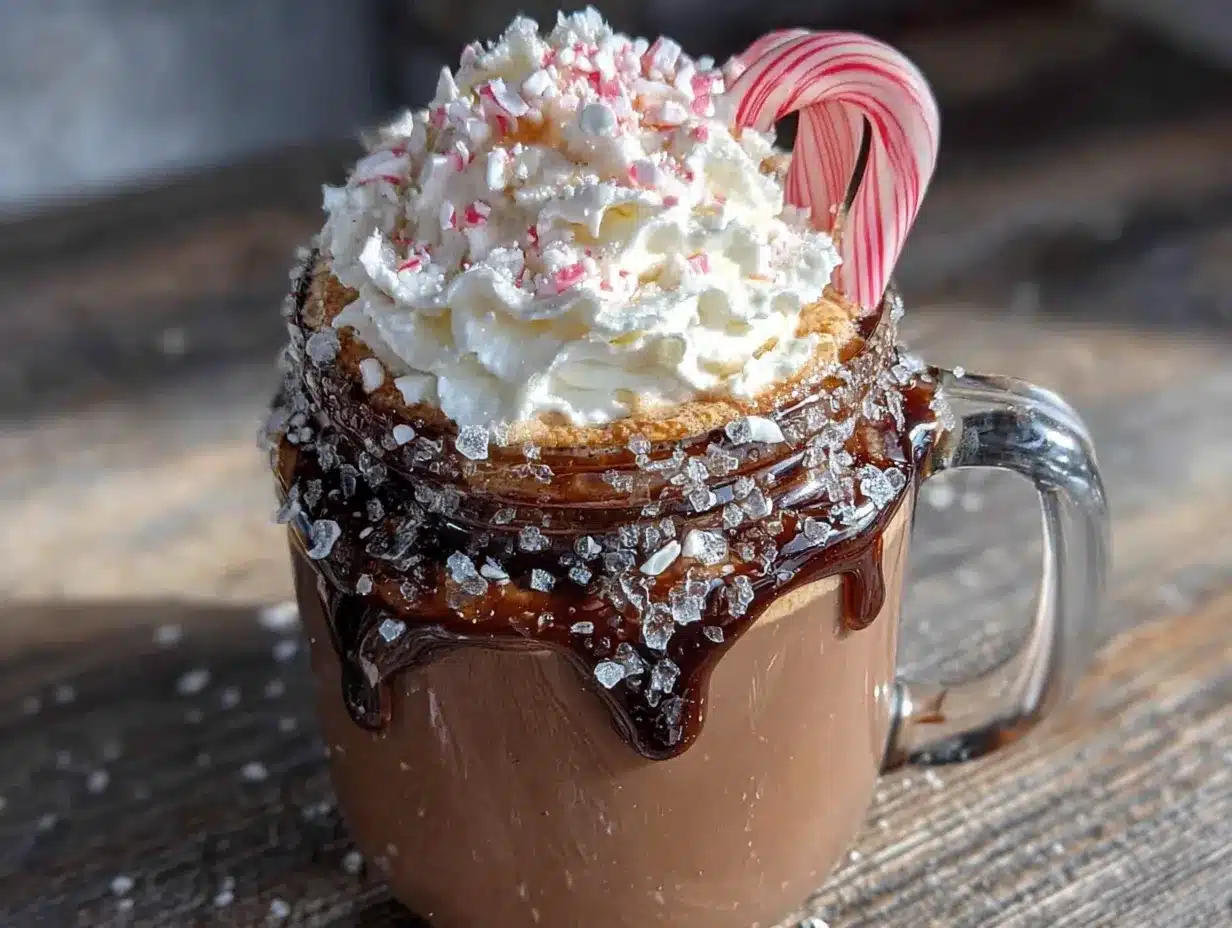
- Strong brewed coffee or espresso, 1 cup (hot—use your favorite roast; I like a medium-dark blend for balance)
- Milk of choice, ½ cup (oat milk gives a creamy texture, almond milk is lighter, and whole milk is classic—use what you have)
- Homemade peppermint syrup, 2 to 3 tablespoons (adjust to your sweetness preference)
- Optional toppings: unsweetened whipped cream, crushed peppermint candies (the sugar-free kind work great), and a sprinkle of cocoa powder
One thing I’ve learned through testing this recipe is that the quality of your peppermint extract really matters. I once used a cheap imitation extract, and the whole batch tasted like mouthwash. Not ideal. So spend the extra dollar on pure peppermint extract—it makes a noticeable difference. Also, if you’re using a dairy-free milk, go for one that’s barista-style or extra creamy. Thin milks like unsweetened almond can make your mocha taste a bit watery. Oat milk is my personal favorite here because it froths beautifully and adds a natural sweetness.
For the cocoa powder, I’ve tried both natural and Dutch-processed in this recipe. Dutch-processed gives a smoother, more mellow chocolate flavor, while natural cocoa powder is a bit more intense and slightly acidic. Both work, so use what you have on hand. Just don’t use hot cocoa mix—it has added sugar and milk powder that will throw off the whole balance.
Equipment Needed
- Small saucepan (for making the syrup—I use a 1-quart size)
- Whisk (to combine the syrup ingredients smoothly)
- Measuring cups and spoons
- Mug (a 12-ounce mug works perfectly for this recipe)
- Coffee maker or espresso machine (to brew your coffee—I’ve used both a French press and a drip machine, and both work fine)
- Milk frother (optional but nice for that café-style foam; a handheld frother costs about $10 and is totally worth it)
- Small jar or airtight container (for storing leftover syrup)
If you don’t have a milk frother, don’t worry. You can heat your milk in a small saucepan and whisk it vigorously, or just pour it straight into your coffee. The mocha will still be delicious. I actually forgot my frother was in the dishwasher last week and just used a fork to stir everything together—it worked fine. No fancy equipment required.
Preparation Method
- Make the peppermint syrup: In a small saucepan, combine ½ cup maple syrup, 2 tablespoons unsweetened cocoa powder, and ¼ cup water. Whisk everything together until the cocoa powder is fully dissolved—no lumps allowed. Place the saucepan over medium heat and bring the mixture to a gentle simmer, stirring occasionally. This should take about 2 to 3 minutes. You’ll know it’s ready when the syrup is smooth, slightly thickened, and smells like chocolate heaven.
- Add the extracts: Remove the saucepan from heat. Stir in 1 teaspoon vanilla extract and ½ teaspoon peppermint extract. Give it a taste—it should be sweet, chocolatey, and have that perfect cool peppermint kick. If you want a stronger peppermint flavor, add another ¼ teaspoon, but go slowly. Peppermint extract is potent, and you can always add more but you can’t take it out.
- Cool and store: Let the syrup cool for about 5 minutes in the saucepan, then transfer it to a small jar or airtight container. It will thicken slightly as it cools. You can use it immediately or store it in the refrigerator for up to two weeks. Pro tip: label the jar with the date so you don’t forget when you made it.
- Brew your coffee: While the syrup is cooling, brew 1 cup of strong coffee or a double shot of espresso. The stronger the coffee, the better it stands up to the chocolate and peppermint flavors. I like to use a medium-dark roast for a rich, smooth base.
- Heat your milk: In a small saucepan or microwave-safe container, warm ½ cup of your chosen milk until it’s hot but not boiling—about 150°F if you’re using a thermometer. If you have a milk frother, now’s the time to use it. Froth the milk until it’s creamy and doubled in volume. If you don’t have a frother, just heat the milk and pour it in—it’s still going to be delicious.
- Assemble your mocha: Pour the hot coffee into your mug. Add 2 to 3 tablespoons of the peppermint syrup—start with 2 if you prefer a less sweet drink. Stir until the syrup is fully incorporated. Then pour in the frothed milk, holding back the foam with a spoon so the liquid milk goes in first. Spoon the foam on top.
- Add toppings: If you’re feeling fancy, top with a dollop of unsweetened whipped cream and a sprinkle of crushed peppermint candies or a dusting of cocoa powder. This step is totally optional, but it does make the whole thing feel like a special occasion.
One thing I learned the hard way: don’t skip the step where you whisk the cocoa powder into the maple syrup before heating it. If you just dump everything in the pan and turn on the heat, you’ll end up with clumps of cocoa that are impossible to smooth out. Take the extra 30 seconds to whisk it thoroughly first. Trust me on this one.
Cooking Tips & Techniques
I’ve made this recipe enough times to know exactly where things can go wrong. Here are the tips I wish someone had told me before my first attempt:
Don’t boil the syrup. When you’re heating the maple syrup and cocoa mixture, keep it at a gentle simmer. If it comes to a full boil, the maple syrup can crystallize and the cocoa can scorch, leaving you with a gritty, bitter syrup. I made this mistake once and had to start over. Keep the heat at medium or medium-low, and stir frequently.
Taste as you go. This is the most important tip I can give you. Everyone’s palate is different—some people love a strong peppermint kick, while others want just a hint. Start with the recommended amount of peppermint extract and adjust from there. The same goes for the sweetness. You can always add more syrup to your coffee, but you can’t take it out.
Use room-temperature ingredients. If your maple syrup has been sitting in the fridge, it will be thick and hard to whisk. Let it come to room temperature before you start, or warm it gently in the microwave for 10 seconds. This makes the whole process smoother and prevents clumps.
Multitask like a pro. While the syrup is simmering, brew your coffee. While the coffee is brewing, heat your milk. This recipe comes together in under 15 minutes if you stay organized. I usually make the syrup first, then everything else while it cools. It’s a great way to start a lazy Sunday morning—efficient but still relaxing.
Store the syrup properly. The homemade syrup will keep in the refrigerator for up to two weeks, but make sure you use a clean, airtight jar. I once left the lid slightly loose, and the syrup absorbed some weird fridge smells. Not ideal for a peppermint mocha. Also, the syrup will thicken as it sits, so you might need to give it a quick stir or microwave it for 10 seconds before using it again.
Variations & Adaptations
One of the best things about this recipe is how easily it adapts to different tastes and dietary needs. Here are some variations I’ve tried and loved:
Dairy-Free Version: This is the easiest swap. Just use oat milk, almond milk, or coconut milk instead of dairy. Oat milk is my favorite because it froths beautifully and has a naturally creamy texture. If you’re using coconut milk, go for the kind in the carton (not the can) to avoid a coconut-heavy flavor that might clash with the peppermint.
Sugar-Free Version: If you’re watching your sugar intake, swap the maple syrup for a sugar-free syrup alternative like monk fruit syrup or a stevia-based maple syrup. The texture will be slightly thinner, but the flavor is still great. I’ve also tried using allulose syrup, which worked surprisingly well—it has a clean sweetness that doesn’t leave that weird aftertaste some sugar substitutes have.
Iced Peppermint Mocha: This is perfect for warmer months or when you want a refreshing treat. Make the syrup as directed, then let it cool completely. Brew your coffee and let it cool too. Fill a glass with ice, pour in the coffee and milk, add the syrup, and stir. Top with cold foam if you’re feeling fancy. It’s like a coffee shop drink, but better because you made it yourself.
Extra Chocolatey Version: For those days when you need a serious chocolate fix, increase the cocoa powder to 3 tablespoons. You might also want to add an extra tablespoon of maple syrup to balance the bitterness. I’ve done this on particularly cold mornings, and it’s like drinking a melted chocolate bar—in the best way possible.
Mint Chip Mocha: This one was a happy accident. I crushed some peppermint candies and stirred them into the finished mocha. The little bits of candy melt slightly, leaving tiny chocolate-mint flecks throughout. It’s texturally interesting and adds a fun crunch. Just be aware that the candies will add extra sugar, so adjust your syrup amount accordingly.
Serving & Storage Suggestions
This peppermint mocha is best served hot, right after you make it. The aromas of coffee, chocolate, and peppermint coming together in your kitchen are honestly half the experience. Pour it into your favorite mug—preferably one that’s big enough to hold all that frothy goodness—and take a moment to just enjoy it. I like to serve mine with a small cookie or a slice of banana bread on the side, but it’s also perfect on its own as a morning treat.
If you’re making this for a gathering, you can set up a little mocha bar. Brew a pot of strong coffee, heat a pitcher of milk, and put the peppermint syrup in a small serving bottle with a pour spout. Let everyone customize their own drink. It’s a fun, interactive way to serve coffee during the holidays, and it takes almost no effort on your part.
For storage, the homemade syrup is the star. Keep it in an airtight container in the refrigerator for up to two weeks. I’ve found that the flavor actually deepens after a day or two—the peppermint and chocolate meld together beautifully. Just give it a good stir before using, as the cocoa powder can settle at the bottom. If the syrup gets too thick, microwave it for 10 to 15 seconds and whisk it smooth.
As for the assembled mocha, it’s really best enjoyed fresh. The coffee will lose its brightness if it sits too long, and the frothed milk will deflate. But if you have leftover coffee and syrup, you can pour them over ice for an iced version later in the day. Waste not, want not.
One more thing: the flavors in this mocha develop as it cools slightly. The first sip is always the hottest and most intense, but as it cools to a drinkable temperature, the peppermint becomes more pronounced and the chocolate smooths out. So don’t rush it. Take your time. That’s the whole point of a cozy drink, right?
Nutritional Information & Benefits
This lightened-up version of a classic peppermint mocha is not only delicious but also kinder to your body than the coffee shop original. Here’s a rough estimate for one serving made with oat milk and 2 tablespoons of syrup (without whipped cream):
- Calories: Approximately 180
- Fat: 4g (mostly from the milk)
- Carbohydrates: 32g
- Sugar: 24g (naturally occurring from maple syrup, with no refined sugar added)
- Protein: 4g
- Fiber: 1g
Compare that to a 16-ounce peppermint mocha from a certain popular coffee chain, which can clock in at over 400 calories and 50 grams of sugar. This homemade version cuts those numbers nearly in half, and you’re getting real ingredients instead of artificial syrups and preservatives.
The maple syrup in this recipe contains antioxidants and minerals like zinc and manganese, which support immune health. Cocoa powder is rich in flavonoids, which are known to support heart health and improve blood flow. And peppermint? It’s been used for centuries to aid digestion and soothe headaches. So while this is still a treat, it’s one that comes with some actual benefits. I love knowing that my morning mocha is doing a little something good for me, even if it’s just making me smile.
If you’re following a specific diet, this recipe is naturally vegetarian and can easily be made vegan, dairy-free, gluten-free, and refined sugar-free. Just choose your milk and toppings accordingly.
Conclusion
This Lightened-Up Peppermint Mocha with Homemade Syrup has become a staple in my kitchen, and I hope it becomes one in yours too. It’s proof that you don’t need a fancy coffee shop or a bag of refined sugar to make something truly special. The homemade syrup is the heart of this recipe—simple, flexible, and far better than anything you’ll find in a bottle. Whether you’re making it for a quiet morning alone or sharing it with friends during the holidays, this mocha delivers warmth, comfort, and a little bit of magic.
I’d love to hear how this recipe turns out for you. Did you try a variation? Use a different milk? Add extra peppermint? Drop a comment below and let me know—I read every single one, and I’m always looking for new ideas to test in my kitchen. And if you loved this recipe, share it with someone who needs a little cozy cheer in their day. Happy sipping, friends.
Frequently Asked Questions
Can I use honey instead of maple syrup?
Yes, you can substitute honey for maple syrup in equal amounts. The flavor will be slightly different—honey is a bit more floral and less caramel-like—but it works well. Keep in mind that honey is sweeter than maple syrup, so you might want to start with a little less and adjust to taste.
How long does the homemade peppermint syrup last?
Stored in an airtight container in the refrigerator, the syrup will stay fresh for up to two weeks. I recommend making a batch on Sunday and using it throughout the week for quick mochas. Just give it a stir before each use, as the cocoa powder can settle.
Can I make this without a milk frother?
Absolutely. If you don’t have a milk frother, simply heat your milk in a small saucepan and whisk it vigorously for about 30 seconds. It won’t be as foamy, but the flavor will be just as good. You can also pour the warm milk directly into your coffee and stir—no fuss, no extra dishes.
Is this recipe keto-friendly?
Not as written, since maple syrup contains natural sugars. However, you can easily make a keto-friendly version by swapping the maple syrup for a sugar-free syrup alternative, like monk fruit syrup or allulose. The texture will be slightly thinner, but the flavor will still be delicious.
Can I double the syrup recipe?
Yes, this recipe doubles beautifully. Just use a larger saucepan and keep the heat at a gentle simmer. The cooking time will be roughly the same—about 2 to 3 minutes. Double batches are great for holiday gifting or for keeping on hand throughout the season.
Pin This Recipe!
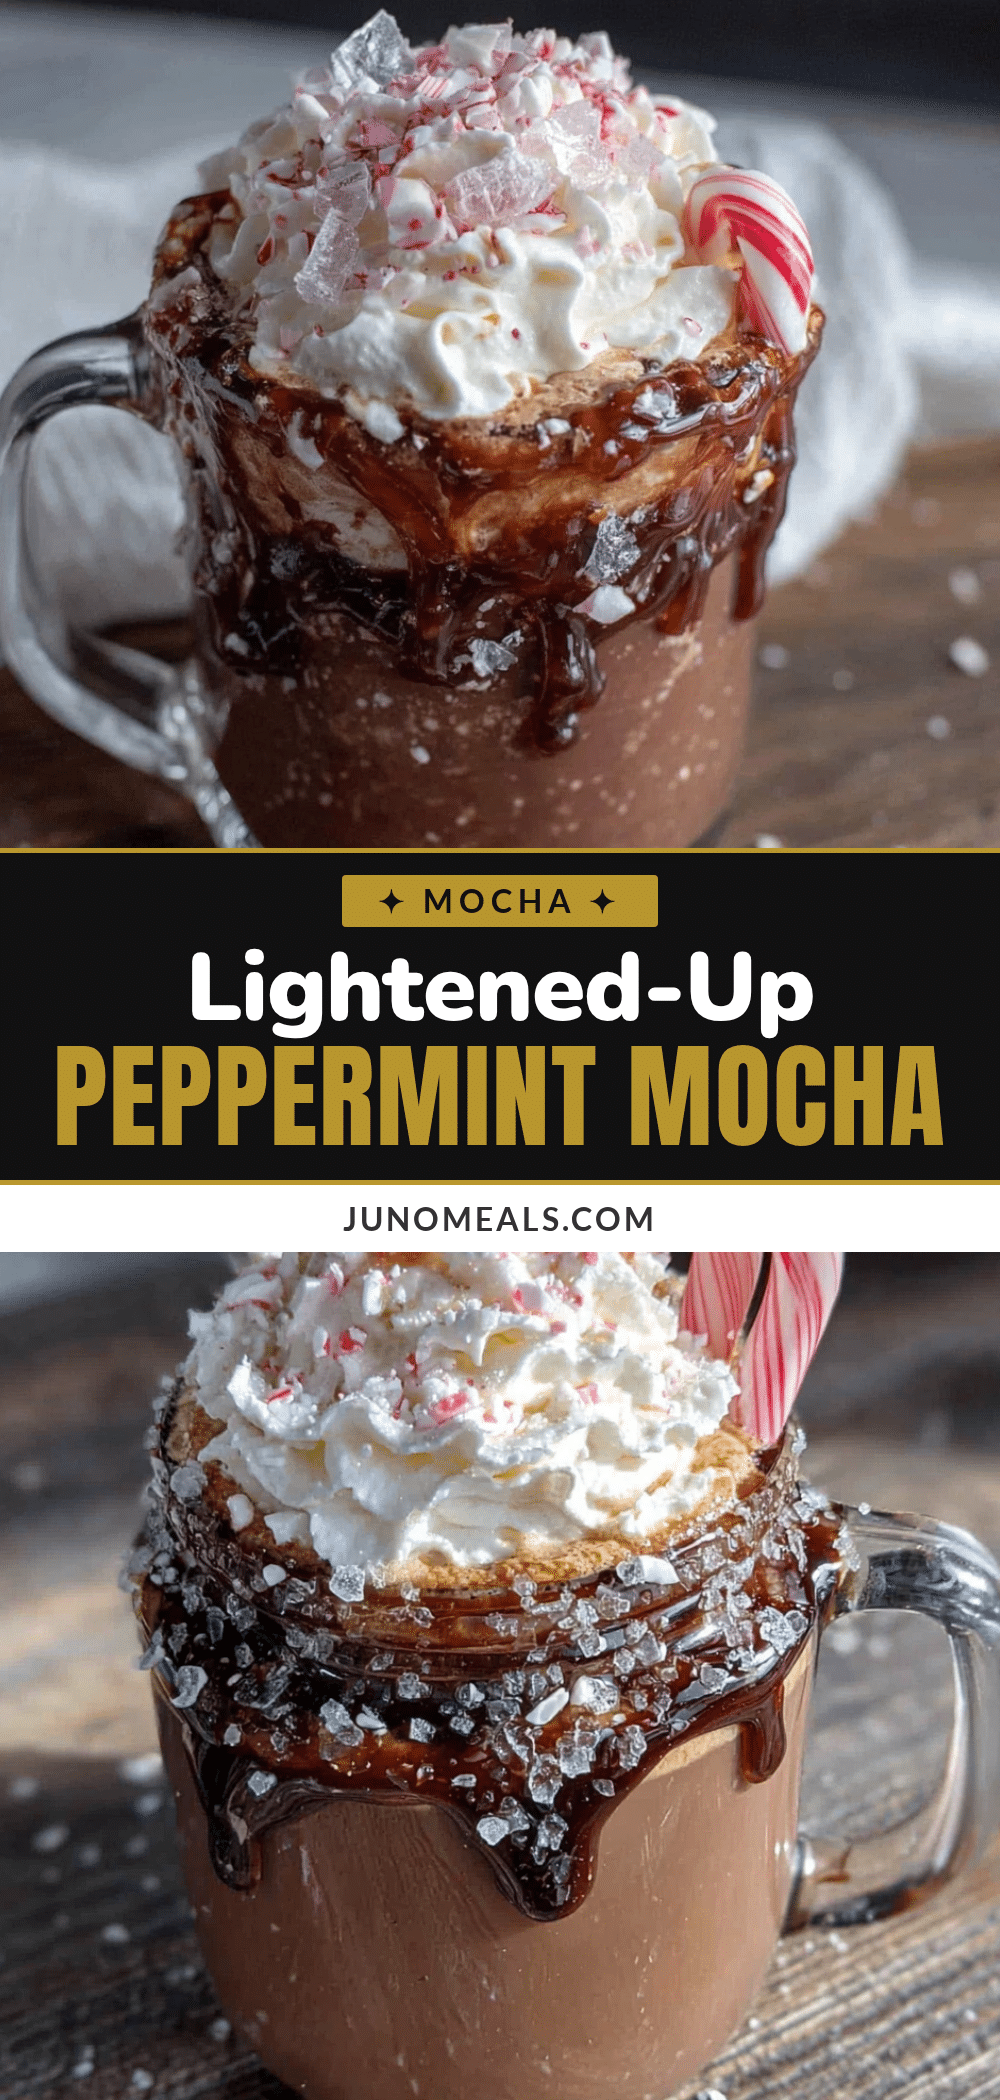
Lightened-Up Peppermint Mocha: Easy Homemade Syrup Recipe

A lightened-up peppermint mocha made with a homemade syrup sweetened with maple syrup instead of refined sugar. This cozy drink comes together in under 15 minutes and is perfect for holiday mornings or a midday pick-me-up.
- Prep Time: 5 minutes
- Cook Time: 10 minutes
- Total Time: 15 minutes
- Yield: 1 serving 1x
- Category: Beverage
- Cuisine: American
Ingredients
- ½ cup maple syrup (pure, Grade A dark amber preferred)
- 2 tablespoons unsweetened cocoa powder (Ghirardelli or Hershey’s Special Dark recommended)
- ½ teaspoon peppermint extract (pure, not imitation)
- 1 teaspoon vanilla extract
- ¼ cup water
- 1 cup strong brewed coffee or espresso (hot)
- ½ cup milk of choice (oat, almond, or whole milk)
- 2 to 3 tablespoons homemade peppermint syrup
- Optional toppings: unsweetened whipped cream, crushed peppermint candies (sugar-free), cocoa powder
Instructions
- Make the peppermint syrup: In a small saucepan, combine ½ cup maple syrup, 2 tablespoons unsweetened cocoa powder, and ¼ cup water. Whisk until cocoa powder is fully dissolved. Place over medium heat and bring to a gentle simmer, stirring occasionally, about 2 to 3 minutes.
- Add the extracts: Remove from heat. Stir in 1 teaspoon vanilla extract and ½ teaspoon peppermint extract. Taste and adjust peppermint if desired (add up to ¼ teaspoon more).
- Cool and store: Let syrup cool for about 5 minutes, then transfer to a small jar or airtight container. Use immediately or refrigerate for up to two weeks.
- Brew your coffee: While syrup cools, brew 1 cup of strong coffee or a double shot of espresso.
- Heat your milk: Warm ½ cup milk in a small saucepan or microwave until hot but not boiling (about 150°F). Froth if desired.
- Assemble your mocha: Pour hot coffee into a mug. Add 2 to 3 tablespoons of peppermint syrup and stir. Pour in frothed milk, holding back foam with a spoon, then spoon foam on top.
- Add toppings: Optionally top with unsweetened whipped cream, crushed peppermint candies, or a dusting of cocoa powder.
Notes
Don’t boil the syrup; keep at a gentle simmer to prevent crystallization. Use pure peppermint extract for best flavor. The syrup thickens as it cools; stir before each use. For a dairy-free version, use oat milk for best froth. The syrup can be stored in the refrigerator for up to two weeks.
Nutrition
- Serving Size: 1 mocha (12 ounces)
- Calories: 180
- Sugar: 24
- Sodium: 50
- Fat: 4
- Saturated Fat: 0.5
- Carbohydrates: 32
- Fiber: 1
- Protein: 4
Keywords: peppermint mocha, homemade syrup, lightened up, maple syrup, holiday coffee, easy recipe